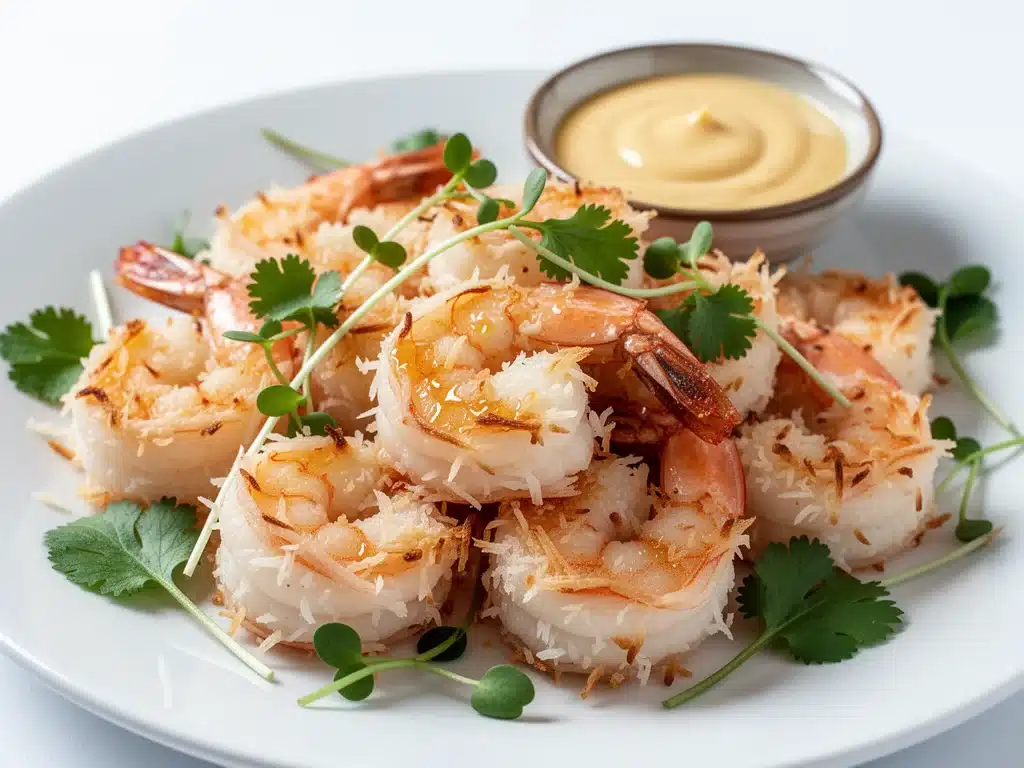
Last Friday night, my husband came home from work looking exhausted. We were both staring into the fridge, wondering if we had the energy to cook or if we should just order from that Thai place down the street. You know the one—the one with the plastic containers that leak orange sauce onto your coffee table and leave you feeling sluggish by midnight. Usually, we’d cave. But that night, I spotted a bag of frozen shrimp in the freezer and a half-empty bag of sweetened coconut flakes on the pantry shelf.
I made a bet with myself: I could make something better than takeout in 30 minutes. No deep frying, no mess, just crispy, golden goodness straight from the oven.
Twenty minutes later, we were sitting on the couch, dipping these crispy baked coconut shrimp bites into a spicy mayo sauce, completely forgetting about the takeout menu. My husband actually asked for the recipe. That’s the moment I knew I’d cracked the code. The secret isn’t in deep-frying or spending hours prepping. It’s in the coating and the oven temperature.
I’ve tested this version of coconut shrimp more times than I can count—sometimes up to ten times in a single week when I’m trying to perfect the crunch. And here’s the truth: most baked versions fall flat. They get soggy, or the coconut burns before the shrimp cooks. But this method? It’s reliable. It’s fast. And it tastes like a vacation in your mouth.
Why You’ll Love This Coconut Shrimp Recipe
There are a few reasons this has become my go-to appetizer, whether I’m hosting a dinner party or just need a late-night snack that doesn’t make me feel guilty. Here’s why you’re going to keep coming back to this recipe:
- Actually Crispy — I’m serious. Most baked shrimp recipes end up soft and sad. Not this one. By using a specific breading technique and a wire rack, these bites get shatteringly crisp. I’ve had friends blindfolded and asked them to guess if it was fried. They always say yes. Then I tell them it’s baked, and they don’t believe me.
- Lightning Fast Prep — From frozen shrimp to the oven in under 15 minutes. If you buy pre-peeled and deveined shrimp, this is almost entirely hands-off. I make this on weeknights when I’m too tired to chop vegetables but still want something fancy.
- Less Mess, Same Flavor — Deep frying is a hassle. The smell lingers, the oil needs disposal, and the cleanup is a nightmare. Baking means one baking sheet and minimal cleanup. Plus, you save money on oil.
- Perfect for Dipping — These bites are designed to be dipped. Sweet chili sauce, spicy mayo, garlic aioli—they all work. I usually make a quick sauce while the shrimp cooks, so everything is ready at the same time.
- Kid-Approved — My picky eater kids love these. They’re sweet, crunchy, and not too spicy. It’s a great way to get them to eat seafood without the usual fuss.
This isn’t just a recipe; it’s a life hack for busy weeknights. It’s my answer to “what’s for a snack?” when I want something that feels indulgent but doesn’t require a chef’s degree.
Ingredients You’ll Need
Here’s the best part: you probably have most of this already. I’m particular about a few things here, but for the most part, this is simple pantry stuff.
For the Shrimp
Large shrimp (1 pound / 450g) — Look for “wild-caught” if you can find it. They taste sweeter. Make sure they’re peeled and deveined. If you buy them with tails on, that’s fine—it makes them easier to hold for dipping—but remove the tails after baking if you prefer bite-sized pieces. I like to buy them frozen and thaw them quickly in cold water.
Cooking spray or olive oil — You’ll need this for the wire rack. Don’t skip it. It helps the breading stick and prevents sticking.
For the Breading Station
All-purpose flour (½ cup / 60g) — This is the base layer. It helps the egg wash stick to the shrimp. I sift mine just to make sure there are no lumps, but it’s not strictly necessary.
Large eggs (2 large) — Whisk these with a pinch of salt and pepper. Some people add a splash of milk, but I keep it simple. Just egg is fine.
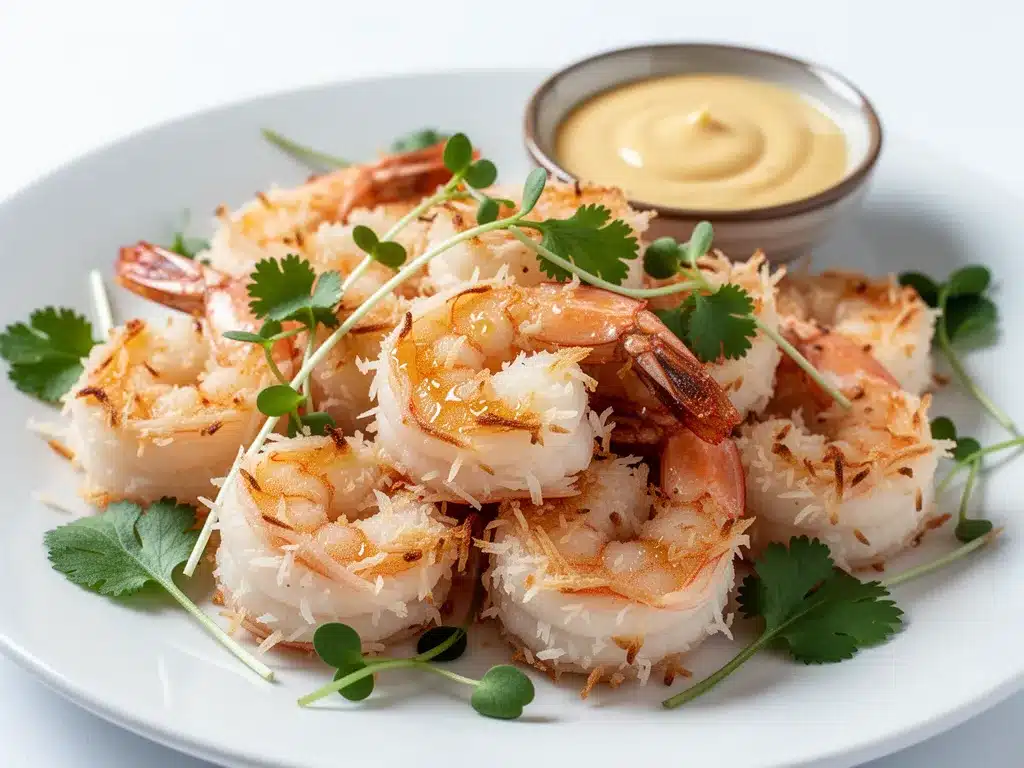
Sweetened shredded coconut (1 ½ cups / 120g) — This is the star. Do not use unsweetened coconut. You want that sweetness to caramelize in the oven. I buy the large-flake coconut because it gives a better crunch than the fine shreds. If you can’t find large flakes, chop the fine shreds up a bit with a knife.
Panko breadcrumbs (½ cup / 40g) — This is the secret weapon. Mixing panko with coconut gives you that extra crunch that plain coconut can’t achieve on its own. It adds texture and helps the coconut stay put.
Garlic powder (1 teaspoon) — Adds a savory depth that balances the sweet coconut. Don’t skip it.
Onion powder (½ teaspoon) — Again, savory balance. It’s subtle but important.
Salt and black pepper — To taste. I use about ½ teaspoon salt in the flour and a pinch in the egg.
For the Dipping Sauce
Mayonnaise (¼ cup / 60g) — I use Hellmann’s or Duke’s. Real mayo, not Miracle Whip.
Sweet chili sauce (2 tablespoons) — Adjust to taste. I like it spicy, so I use a lot.
Lime juice (1 teaspoon) — Just a squeeze to cut through the richness.
Equipment Needed
You don’t need fancy gear for this. Here’s what I actually use:
Wire rack — This is non-negotiable. I use a standard cooling rack that fits inside a baking sheet. It allows air to circulate under the shrimp, ensuring they cook evenly and get crispy on all sides. Without it, the bottoms get soggy.
Baking sheet — Any standard 13×18 inch sheet. Line it with parchment paper for easy cleanup, but the wire rack is what matters.
Three shallow bowls — For the dredging station. I use pie plates or shallow cereal bowls. You need one for flour, one for egg, and one for the coconut-panko mix.
Tongs — For flipping the shrimp. They’re easier to use than a fork.
Olive oil spray — Or a pastry brush. I prefer spray because it’s faster and more even.
How to Make It: Step-by-Step
Alright, let’s make this! I’m walking you through exactly how I do it, including the little tricks I’ve picked up.
Step 1: Prep Your Shrimp (5 minutes)
If your shrimp are frozen, thaw them in a bowl of cold water for 10-15 minutes. Pat them completely dry with paper towels. This is crucial. Wet shrimp = soggy breading. I usually dry them twice. If they’re wet, the flour won’t stick, and the whole process falls apart.
Step 2: Set Up Your Dredging Station (3 minutes)
Get three bowls ready. Bowl 1: Flour mixed with garlic powder, onion powder, salt, and pepper. Bowl 2: Whisked eggs. Bowl 3: Coconut flakes mixed with panko breadcrumbs. Arrange them in a line so you can move left to right easily.
Step 3: Dredge the Shrimp (5 minutes)
Take a shrimp, dip it in the flour mixture, shaking off any excess. Then dip it in the egg, letting the excess drip off. Finally, press it firmly into the coconut-panko mixture. Make sure it’s fully coated. I usually press the coconut on with my fingers to make sure it sticks. Place the coated shrimp on the wire rack.
Repeat with all the shrimp. Try to keep them in a single layer. If you crowd them, they’ll steam instead of bake.
Step 4: Spray and Bake (12-15 minutes)
Preheat your oven to 400°F (200°C). Once preheated, spray the coated shrimp lightly with olive oil spray. This helps them brown. Place the baking sheet in the oven and bake for 6 minutes. Then, carefully flip each shrimp using tongs and spray the other side with oil. Bake for another 6-9 minutes, or until the shrimp are pink and opaque, and the coating is golden brown.
Watch them closely in the last few minutes. Coconut burns fast. If you see dark spots, take them out immediately.
Step 5: Make the Sauce (2 minutes)
While the shrimp bake, mix the mayonnaise, sweet chili sauce, and lime juice in a small bowl. Taste and adjust. Want it sweeter? Add more chili sauce. Want it tangier? Add more lime.
Step 6: Serve Immediately
These are best served hot and crispy. Arrange them on a platter with the dipping sauce on the side. Garnish with chopped cilantro or green onions if you have them.
Expert Tips & Tricks
Here’s everything I’ve learned from making this dozens of times. These tips will save you from my mistakes.
Don’t Skip the Wire Rack
I know it’s an extra dish to wash, but it’s worth it. If you place the shrimp directly on the baking sheet, the bottoms will steam in their own moisture and become soggy. The rack allows hot air to circulate, ensuring even cooking and maximum crunch. If you don’t have a rack, you can use a cooling rack placed inside a rimmed baking sheet, or you can bake them on a parchment-lined sheet and flip them halfway through, but the results won’t be as crispy.
Pat Dry, Then Pat Dry Again
Moisture is the enemy of crispiness. After thawing your shrimp, use paper towels to press out every bit of water. If the shrimp are slick, the breading will slide off in the oven. I’ve ruined batches by rushing this step. Take the extra minute.
Press the Coconut On
Don’t just roll the shrimp in the coconut. Press it on with your fingers. You want a thick, even coating. If the coating is too thin, it’ll burn before the shrimp cooks. If it’s too thick, it might not crisp up properly. Aim for a substantial layer.
Watch the Oven Like a Hawk
Coconut burns quickly. It goes from golden to black in seconds. Keep an eye on the oven, especially in the last 3 minutes. If your oven runs hot, you might need to reduce the temperature by 25°F.
Double the Batch for Leftovers
These reheat surprisingly well in the oven. If you have leftovers, reheat them in a 375°F oven for 5 minutes to restore the crunch. Microwaving will make them soggy, so avoid that if possible.
Variations & Substitutions
Once you’ve nailed the basic version, here’s how you can mix it up. I’ve tried all of these.
Gluten-Free Version
Swap the all-purpose flour for gluten-free flour, and use gluten-free panko breadcrumbs. Most brands work well, but check the label. The coconut is naturally gluten-free.
Spicy Kick
Add ½ teaspoon of cayenne pepper or red pepper flakes to the flour mixture. Or, mix sriracha into the dipping sauce for a spicy mayo.
Lemon Pepper Coconut
Add lemon zest to the coconut mixture. It adds a bright, citrusy note that pairs beautifully with the sweetness.
Tropical Twist
Add a tablespoon of toasted macadamia nuts to the coconut mixture for extra richness and crunch.
Vegan Option
Use aquafaba (chickpea water) instead of eggs. It works surprisingly well as a binder. Use vegan panko and ensure your coconut is vegan-friendly (some brands use sulfur dioxide, but most are fine).
Serving & Storage
How to Serve:
I usually serve these straight from the oven on a large platter. They look beautiful and rustic. Pair them with a simple green salad or roasted vegetables for a light meal. For appetizers, they go great with a cold beer or a crisp white wine like Sauvignon Blanc.
Side Dishes:
– Mango salsa (adds a fresh, fruity contrast)
– Coleslaw (creamy and crunchy)
– Steamed jasmine rice (if you’re making it a main course)
Storage Instructions:
Refrigerator: Store leftovers in an airtight container for up to 2 days. The coating will soften slightly, but they’re still good cold or reheated.
Reheating: Reheat in a 375°F oven for 5-7 minutes. Do not microwave. Microwaving will make the coating soggy and rubbery.
Freezing: You can freeze the coated, unbaked shrimp on a baking sheet, then transfer to a freezer bag. Bake from frozen, adding 2-3 minutes to the cooking time. Do not freeze cooked shrimp, as the texture will suffer.
Nutrition Information
I’m not a nutritionist, but here’s the breakdown if you’re tracking. This is per serving (based on 4 servings, with 6-8 shrimp per serving).
| Nutrient | Amount |
|---|---|
| Calories | 320 |
| Protein | 25g |
| Carbs | 22g |
| Fat | 16g |
| Fiber | 3g |
| Sugar | 12g |
What’s Good:
– High in protein from the shrimp
– Lower in fat than deep-fried versions
– Contains healthy fats from the coconut oil
What to Know:
– Higher in sugar due to the sweetened coconut
– Contains gluten (unless modified)
– Moderate sodium (use low-sodium flour if needed)
Look, this is an appetizer or a treat. It’s not a diet meal. But it’s way better than takeout, costs less, and I know exactly what’s in it. When I want to make it lighter, I use unsweetened coconut and reduce the panko. But usually? I just eat a reasonable portion and enjoy it.
Final Thoughts
So that’s my go-to crispy baked coconut shrimp bites! I’ve probably talked your ear off at this point, but when you make a recipe this often, you have a lot to say about it.
This has saved weeknight dinners more times than I can count. It’s my answer to “what’s for a snack?” when I want something that feels indulgent but doesn’t require a chef’s degree. My kids are happy, my husband’s happy, and I’m happy because I’m not stressed about cooking.
Make it yours! Try different dips, add some spice, or swap in some nuts. The best recipes are the ones you adapt to your family’s tastes.
If you make this, drop a comment and let me know what you think! I love hearing how recipes turn out in your kitchen. And if something doesn’t work, tell me that too—I’m here to help troubleshoot.
Happy cooking! And I hope your kitchen smells half as good as mine does right now.
Frequently Asked Questions
Can I use fresh shrimp instead of frozen?
Absolutely. Fresh shrimp works great. Just make sure to pat them very dry before breading. The cooking time might be slightly shorter, so check them a minute or two early.
Why did my coconut burn?
Coconut burns easily because of its high fat and sugar content. Make sure your oven is preheated correctly, and watch the shrimp closely in the last 3 minutes. If your oven runs hot, consider reducing the temperature by 25°F.
Can I make this ahead of time?
You can bread the shrimp and keep them in the fridge for up to 4 hours before baking. Just cover them loosely with plastic wrap. Bake them straight from the fridge, adding 1-2 minutes to the cooking time.
What dipping sauces go well with coconut shrimp?
Sweet chili sauce is classic. Spicy mayo is a close second. You can also try a mango chutney, a garlic aioli, or a simple mix of soy sauce and rice vinegar.
Can I use unsweetened coconut?
You can, but the result will be less sweet and less caramelized. If you use unsweetened coconut, you might want to add a tablespoon of sugar to the coconut mixture to help it brown.
How do I reheat leftovers?
Reheat in a 375°F oven for 5-7 minutes. Do not microwave. Microwaving will make the coating soggy and rubbery. If you must use the microwave, do it in short bursts and expect a softer texture.
Can I double this recipe?
Yes! Just make sure you have a large enough baking sheet or use two sheets. Don’t overcrowd the shrimp, or they’ll steam instead of bake. You may need to bake in batches.
Pin This Recipe!
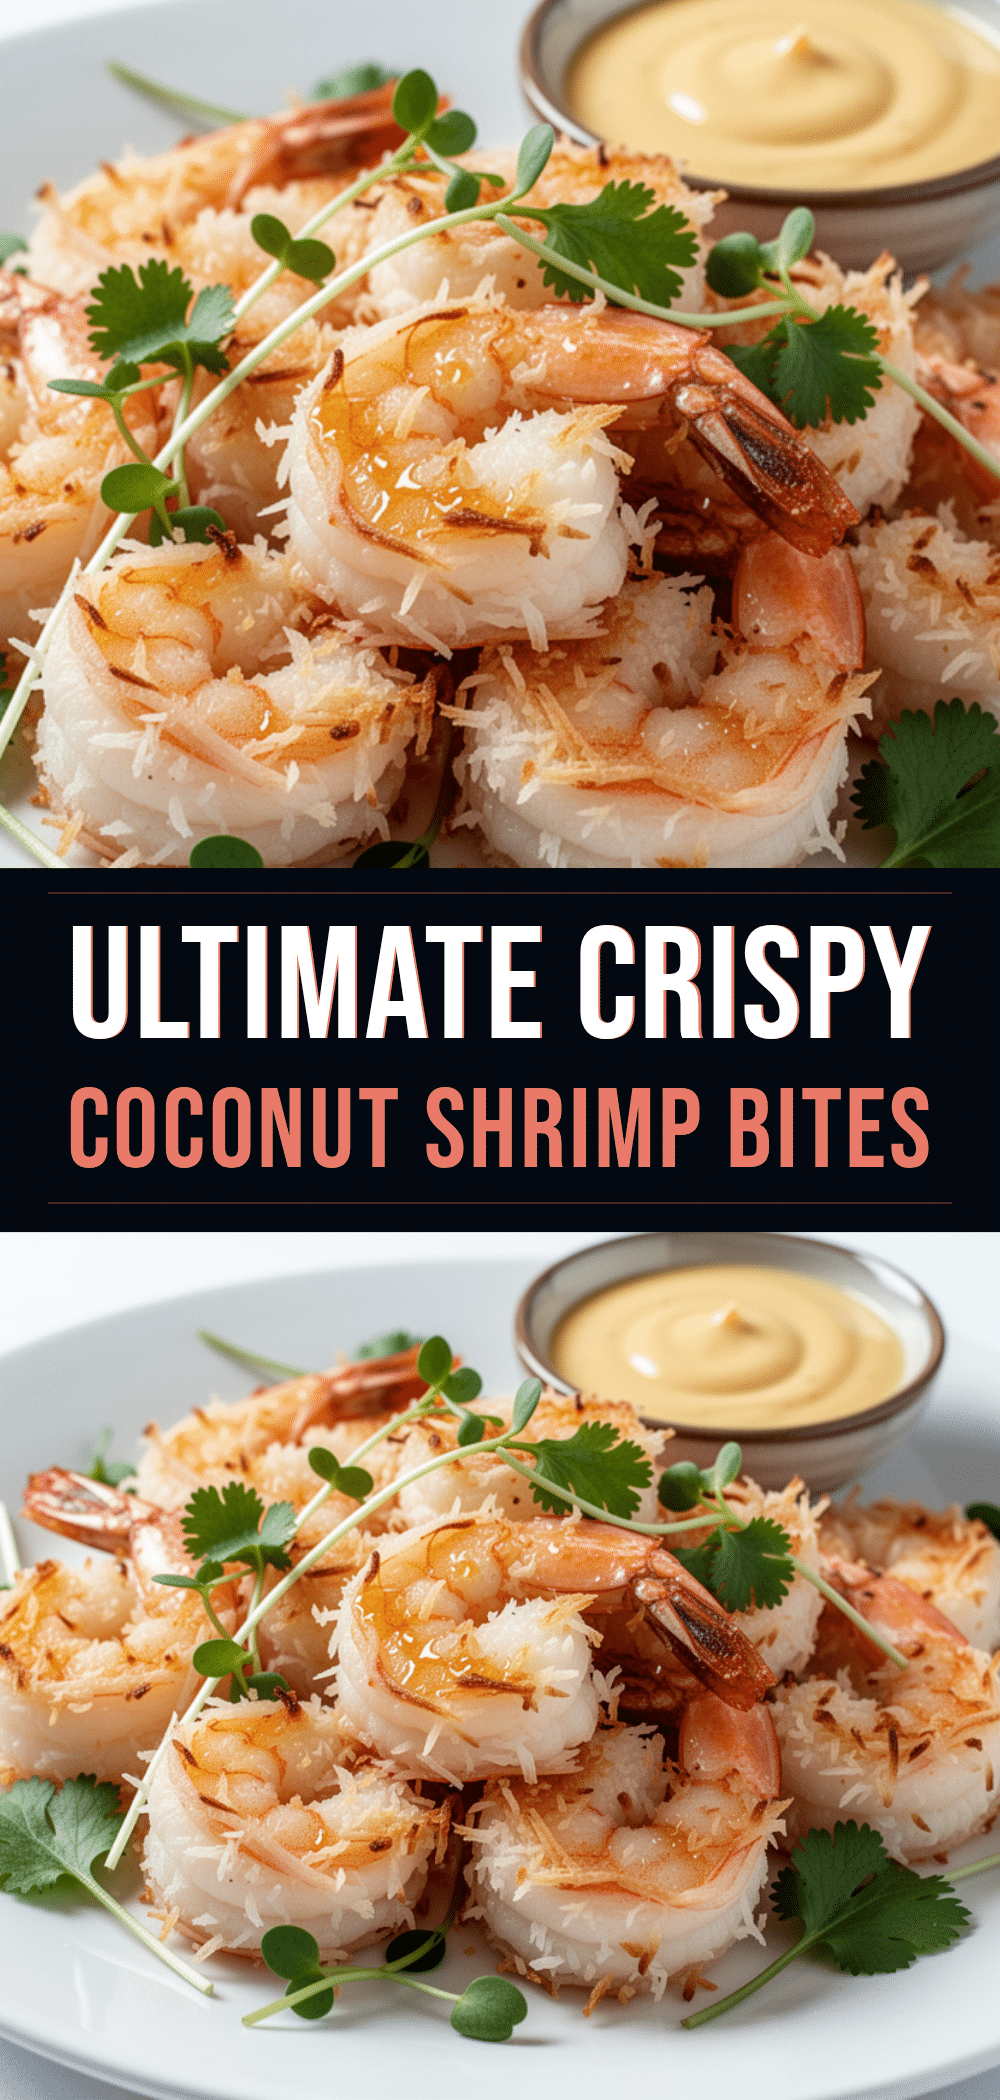
Crispy Baked Coconut Shrimp Bites
- Total Time: 30 minutes
- Yield: 4 servings 1x
Description
A fast, healthy, and incredibly crispy baked alternative to deep-fried coconut shrimp. This appetizer uses a panko-coconut breading and a wire rack to ensure a golden, crunchy finish in just 30 minutes.
Ingredients
- 1 pound large shrimp, peeled and deveined (frozen or fresh)
- ½ cup all-purpose flour
- 2 large eggs
- 1 ½ cups sweetened shredded coconut (large flakes preferred)
- ½ cup panko breadcrumbs
- 1 teaspoon garlic powder
- ½ teaspoon onion powder
- ½ teaspoon salt (plus more to taste)
- Black pepper (to taste)
- Cooking spray or olive oil
- ¼ cup mayonnaise
- 2 tablespoons sweet chili sauce
- 1 teaspoon lime juice
Instructions
- Preheat oven to 400°F (200°C). Line a baking sheet with parchment paper and place a wire rack on top.
- If using frozen shrimp, thaw in cold water for 10-15 minutes, then pat completely dry with paper towels.
- Set up a dredging station with three shallow bowls: Bowl 1 contains flour mixed with garlic powder, onion powder, salt, and pepper. Bowl 2 contains whisked eggs. Bowl 3 contains coconut flakes mixed with panko breadcrumbs.
- Dredge each shrimp in the flour mixture, shaking off excess. Dip into the egg, letting excess drip off. Press firmly into the coconut-panko mixture to coat evenly.
- Place coated shrimp in a single layer on the wire rack. Spray lightly with olive oil spray.
- Bake for 6 minutes. Flip shrimp using tongs and spray the other side with oil.
- Bake for another 6-9 minutes until shrimp are pink and opaque, and coating is golden brown. Watch closely to prevent burning.
- While shrimp bake, whisk together mayonnaise, sweet chili sauce, and lime juice for the dipping sauce.
- Serve immediately with the dipping sauce on the side.
Notes
Patting the shrimp dry is crucial for crispiness. Do not skip the wire rack as it allows air circulation to prevent soggy bottoms. Coconut burns easily, so watch the oven closely in the last few minutes. For leftovers, reheat in a 375°F oven for 5 minutes to restore crunch; do not microwave.
- Prep Time: 15 minutes
- Cook Time: 15 minutes
- Category: Appetizer
- Cuisine: Asian Fusion
Nutrition
- Serving Size: 6-8 shrimp per servi
- Calories: 320
- Sugar: 12
- Fat: 16
- Carbohydrates: 22
- Fiber: 3
- Protein: 25
Keywords: coconut shrimp, baked shrimp, appetizer, seafood, crispy shrimp, easy recipe, weeknight dinner, gluten-free option


