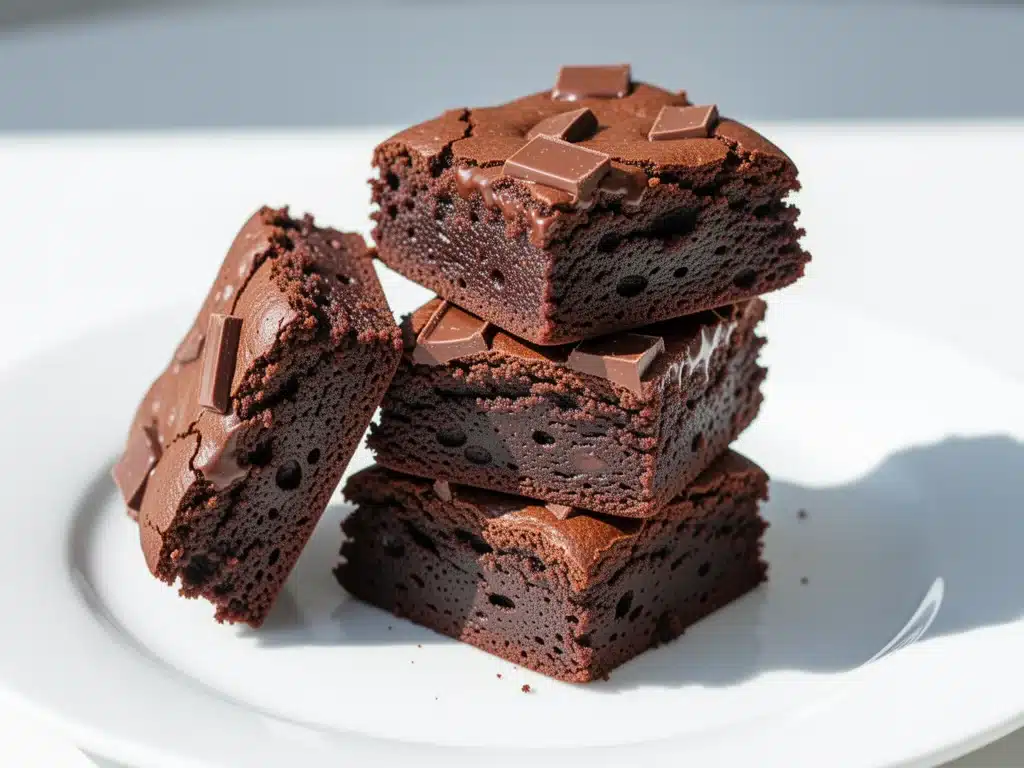
Last Tuesday, I was having one of those days where my willpower was hanging by a thread. You know the kind. It was 7 PM, the kids were finally asleep, and I had that heavy, specific craving for something rich, dense, and chocolatey. But I’m trying to keep my carb count low, so opening the pantry felt like walking into a minefield. I had almond flour, some coconut flour, and a bar of sugar-free chocolate. I figured, why not? I’d seen recipes for “keto brownies” before, and let’s be honest—most of them taste like dry, chalky cardboard that you eat out of guilt rather than joy.
But this time, something clicked. I didn’t overthink it. I just mixed, baked, and waited. When I pulled that pan out of the oven, the smell wasn’t like a diet food. It smelled like a bakery. And when I took the first bite? It was fudgy. Dense. Actually chocolatey. Not that weird, sweetener-aftertaste flavor that lingers on your tongue for hours. I ate one. Then I ate two. My husband walked in, saw me eating brownies at night, and immediately asked for one. I handed him a plate, half-expecting him to spit it out or ask what was wrong with me. He took a bite, chewed, and said, “These are good. Are these the ones with the coconut flour?” I nodded, trying to hide my smug satisfaction.
That was three weeks ago. Since then, I’ve made these keto coconut flour brownies with sugar-free chocolate at least ten times. I’ve tweaked the ratios, tested different brands of sweetener, and even tried swapping in different types of sugar-free chocolate. This recipe? It’s the winner. It’s the one that actually works. It’s moist, it’s indulgent, and it’s the only time I’ve felt like I’m cheating on my diet without actually cheating. If you’ve ever felt like you had to give up dessert to stay on track, you need to make these. Seriously. I promise you won’t miss the real thing.
Why You’ll Love These Sugar-Free Brownies
Look, I get it. Baking with alternative flours and sugar substitutes is hard. It’s frustrating. But these brownies change the game. Here’s why they’ve become my absolute favorite treat (and why I keep making them for everyone, keto or not):
- Actually Moist — Most coconut flour recipes are dry as the desert. Not these. The combination of coconut flour, eggs, and melted chocolate creates a texture that’s surprisingly fudgy. I’ve had people tell me they taste more like a lava cake than a traditional brownie.
- Gluten-Free by Default — No almond flour needed here. Coconut flour is naturally gluten-free, which makes these safe for my celiac friend Sarah, who usually has to sit out the dessert table. She begged for the recipe after one bite.
- Low Carb, High Satisfaction — Each brownie is only about 2 grams of net carbs. That means I can eat a whole square (or two) without derailing my week. It’s the ultimate guilt-free indulgence.
- 5 Ingredients Max — Seriously. You don’t need a pharmacy. Just coconut flour, sugar-free chocolate, butter (or coconut oil), eggs, and a sweetener. That’s it. If you can melt chocolate, you can make this.
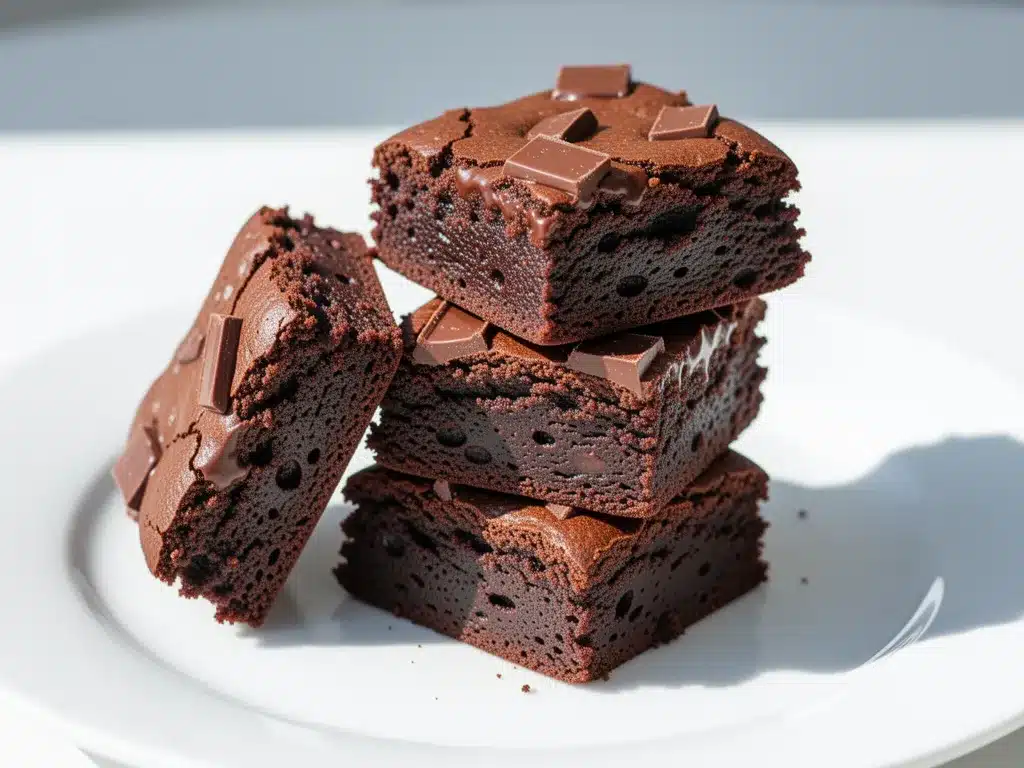
- Impressively Fudgy — These aren’t cakey. They aren’t crumbly. They are dense, rich, and deeply chocolatey. I’ve served them at dinner parties, and even the carb-loving guests have been fooled into thinking they’re eating “regular” brownies.
This recipe has saved me more times than I can count. Whether I’m having a sugar craving at midnight or need a dessert for a gathering, these brownies always step up. They’re reliable, delicious, and proof that you don’t need sugar to make something amazing.
Ingredients You’ll Need
Here’s the best part: you probably have most of these in your kitchen already. I’m not asking you to drive to three different stores for obscure ingredients. This is simple, clean, and effective.
For the Brownie Base
Sugar-Free Chocolate (6 ounces / 170g) — This is the star. I use chips or chopped bars that are at least 85% cocoa. Look for brands that use erythritol or allulose as sweeteners. Avoid ones with maltitol if you have a sensitive stomach—it can cause digestive issues. My go-to is Lindt 90% Dark or Lily’s Chocolate Chips. They melt smoothly and don’t have that weird chemical aftertaste.
Unsalted Butter (½ cup / 113g) — I prefer butter for the flavor, but if you’re dairy-free, you can use high-quality coconut oil. Just make sure it’s melted and cooled slightly. The fat is crucial for that fudgy texture. Don’t skimp on it.
Eggs (3 large) — Room temperature eggs work best here. They help bind the coconut flour and add structure. If your eggs are cold, just run them under warm water for a minute before cracking them.
Coconut Flour (½ cup / 50g) — This is non-negotiable. Do not substitute with almond flour or oat flour. Coconut flour is hyper-absorbent, and that’s what gives these brownies their unique dense texture. Make sure you use unsweetened, finely ground coconut flour. The coarse stuff won’t work as well.
Granulated Sweetener (¼ cup / 30g) — I use a blend of erythritol and monk fruit. Brands like Swerve or Lakanto work great. You want something that measures cup-for-cup like sugar. If you use a powdered sweetener, you might need to adjust the amount slightly, but granulated is safer for texture.
Vanilla Extract (1 teaspoon) — Pure vanilla, please. I know it’s a small amount, but it rounds out the bitter notes of the dark chocolate. Skip it, and the brownies will taste one-dimensional.
Salt (¼ teaspoon) — A pinch of salt enhances the chocolate flavor. Don’t skip it. It’s the secret ingredient that makes the chocolate taste more like chocolate.
Optional Add-Ins
Chopped Walnuts or Pecans (¼ cup) — For a crunch factor. I add these sometimes, but if you’re keeping it strict, leave them out. They’re delicious, though.
Sugar-Free Chocolate Chips (2 tablespoons) — If you want extra chocolate pockets, fold in a handful of chips. Just make sure they’re the same type of sugar-free chips you used for the base.
Equipment Needed
You don’t need fancy gadgets for this. Here’s what I actually use:
8×8 Inch Baking Pan — Line it with parchment paper. This is crucial. Coconut flour brownies can be sticky, and you want them to slide out easily. I leave an overhang on two sides to use as handles.
Microwave-Safe Bowl or Double Boiler — For melting the chocolate and butter. I use the microwave in 30-second intervals, stirring in between. It’s faster and easier than a double boiler.
Mixing Bowl — A medium-sized bowl is perfect. Glass or ceramic works well.
Whisk — You need to whisk the eggs and sweetener thoroughly. A whisk is better than a spoon here because it incorporates air and ensures the sweetener dissolves.
Spatula — A silicone spatula is great for folding in the coconut flour. You want to be gentle to avoid overmixing.
Wire Rack — Let the brownies cool on a rack. This prevents them from getting soggy on the bottom. Trust me, cooling is part of the process.
How to Make It: Step-by-Step
Alright, let’s make these bad boys. I’m walking you through exactly how I do it, including the little tricks that keep them fudgy.
Step 1: Prep Your Pan and Oven (5 minutes)
Preheat your oven to 350°F (175°C). Line your 8×8 inch baking pan with parchment paper. Leave a bit of overhang on the sides so you can lift the brownies out later. This is a lifesaver for cleanup and for getting clean squares.
Step 2: Melt the Chocolate and Butter (3 minutes)
In a microwave-safe bowl, combine the chopped sugar-free chocolate and butter. Microwave in 30-second intervals, stirring well after each interval. Stop when there are just a few small lumps left and stir until smooth. The residual heat will melt the rest. Be careful not to overheat—chocolate burns easily and can seize up. Set aside to cool slightly.
Step 3: Whisk the Wet Ingredients (2 minutes)
In your mixing bowl, whisk the eggs and granulated sweetener together vigorously. You want this mixture to be pale and slightly frothy. This takes about a minute of whisking. It helps dissolve the sweetener and creates a better texture. Add the vanilla extract and salt, and whisk again.
Step 4: Combine Wet and Dry (2 minutes)
Pour the melted chocolate and butter mixture into the egg mixture. Stir with a spatula until combined. Now, add the coconut flour. This is the critical step. Coconut flour absorbs liquid quickly, so stir gently but thoroughly. The batter will look thick and paste-like. This is normal. Do not add more flour. If it looks too dry, add a teaspoon of water, but it should be very thick.
Step 5: Bake (20-25 minutes)
Pour the batter into the prepared pan. Spread it out evenly with your spatula. It will be thick, so you might need to wet your spatula slightly to get it smooth. Bake for 20-25 minutes. The edges should be set and pulling away slightly from the pan, but the center should still look a bit soft. Do not overbake! These continue to cook as they cool. If you bake them until they look done in the oven, they’ll be dry once cooled.
Step 6: Cool Completely (30+ minutes)
This is the hardest part. Let the brownies cool in the pan on a wire rack for at least 30 minutes. Ideally, let them cool completely before cutting. If you cut them warm, they will be crumbly and messy. Cooling allows the structure to set and the fudgy texture to develop. Patience pays off.
Step 7: Slice and Serve
Once cool, lift the brownies out of the pan using the parchment paper. Slice into squares. Store in an airtight container. Enjoy!
Expert Tips & Tricks
Here’s everything I’ve learned from making these dozens of times. These tips will save you from my mistakes.
Don’t Overbake — This is the #1 mistake. Coconut flour brownies are done when the edges are set but the center is still slightly jiggly. They firm up as they cool. If you wait until they look fully set in the oven, they’ll be dry.
Use Fine Coconut Flour — Make sure your coconut flour is finely ground. Coarse coconut flour will leave gritty bits in your brownies. If you buy a new bag, give it a quick pulse in a blender if it seems chunky.
Room Temperature Eggs — Cold eggs can seize the melted chocolate. Let your eggs sit out for 15 minutes before using. It’s a small step that makes a big difference in texture.
Sweetener Choice Matters — Erythritol can have a cooling effect (that minty feeling) in some people. If you’re sensitive to that, try using allulose or a monk fruit blend. Allulose browns better and doesn’t have the cooling effect. I’ve tested both, and allulose gives a slightly more “traditional” brownie taste.
Let Them Cool — I know it’s tempting to eat them warm, but they are much better once fully cooled. The texture changes from cakey to fudgy as they cool. Give it 30 minutes minimum.
Storage is Key — These brownies actually improve after a day in the fridge. The flavors meld together, and the texture becomes even denser and fudgier. I usually make them on Sunday and eat them throughout the week.
Variations & Substitutions
Once you’ve nailed the basic version, here’s how you can mix it up. I’ve tried all of these.
Double Chocolate — Add 2 tablespoons of unsweetened cocoa powder to the dry ingredients. This intensifies the chocolate flavor for serious chocoholics.
Mint Chip — Add 1 teaspoon of peppermint extract to the wet ingredients and fold in ¼ cup of sugar-free chocolate chips. Refreshing and delicious.
Walnut Brownies — Fold in ½ cup of chopped walnuts before baking. The crunch contrasts nicely with the fudgy texture.
Dairy-Free — Swap the butter for coconut oil. The taste will be slightly more coconut-forward, which actually pairs well with the coconut flour. Use a dairy-free sugar-free chocolate bar.
Gluten-Free & Nut-Free — This recipe is naturally nut-free (assuming your chocolate is nut-free). It’s safe for school lunches or gatherings with nut allergies.
Low-Fat Version — You can reduce the butter to ¼ cup, but the texture will be less fudgy and more cake-like. I don’t recommend this if you want that dense brownie feel.
Serving & Storage
How to Serve
I usually serve these plain, but here are some ideas:
- With Whipped Cream — A dollop of sugar-free whipped cream on top is amazing.
- With Ice Cream — Pair with a scoop of vanilla keto ice cream for a dessert that feels fancy.
- Warm — Microwave a square for 10 seconds for a warm, gooey center.
Storage Instructions
Room Temperature — Store in an airtight container for up to 3 days. They stay moist at room temperature.
Refrigerator — Store for up to 1 week. The fridge makes them firmer and fudgier, which I personally prefer.
Freezer — Yes, these freeze well! Wrap individual squares in plastic wrap and place them in a freezer bag. They’ll last for up to 3 months. Thaw at room temperature or microwave for 10 seconds.
Reheating — If you refrigerate them, let them come to room temperature before eating for the best texture. Microwaving for 5-10 seconds can restore that fresh-baked softness.
Nutrition Information
I’m not a nutritionist, but here’s the breakdown if you’re tracking. This is based on 16 brownies, using erythritol sweetener and 85% dark chocolate.
- Calories: 90
- Total Fat: 7g
- Total Carbs: 4g
- Fiber: 2g
- Sugar Alcohols: 1g
- Net Carbs: 1g
- Protein: 2g
What’s Good: Low net carbs, high fiber, no added sugar. It’s a satisfying treat that fits into most low-carb diets.
What to Know: Coconut flour is high in fiber, so if you’re not used to it, start with one brownie to see how your body reacts. Also, sweetener types vary in net carb calculations, so check your specific brand.
My Take: Look, this is a treat. It’s not a salad. But it’s a far cry from a donut. I enjoy these as a controlled indulgence. One or two squares is plenty. They satisfy the craving without the guilt.
Final Thoughts
So that’s my go-to keto coconut flour brownies! I’ve probably talked your ear off at this point, but when you find a recipe that actually works, you want to share it. These brownies have saved my sanity during this diet. They’re my answer to “what’s for dessert” when I’m tired of fruit and cheese sticks.
Make it yours! Try different chocolates, add nuts, or switch up the sweetener. The best recipes are the ones you adapt to your tastes. If you make these, drop a comment and let me know how they turned out. I love hearing from you. And if something doesn’t work, tell me—I’m here to help troubleshoot.
Happy baking! And I hope your kitchen smells like a chocolate factory.
Frequently Asked Questions
Why are my brownies dry?
This usually happens if you overbake them or use too much coconut flour. Coconut flour is incredibly absorbent. Make sure you’re measuring it correctly (spoon and level, don’t scoop). Also, don’t bake them until they look fully set in the oven. They should look slightly underdone when you take them out. They will firm up as they cool.
Can I use almond flour instead?
No. Coconut flour and almond flour absorb liquids very differently. Coconut flour needs much more liquid and eggs. If you substitute almond flour, you’ll need a completely different recipe. Stick with coconut flour for this one.
What sweetener works best?
Erythritol and monk fruit blends work great. Allulose is also excellent because it browns better and doesn’t have a cooling aftertaste. Avoid maltitol if you have a sensitive stomach. I recommend testing a small batch with your preferred sweetener to see how it tastes to you.
Can I make these in a muffin tin?
Yes! Divide the batter into a greased muffin tin. Bake for 15-18 minutes. They’ll be more cake-like than fudgy, but they’re still delicious. Great for portion control.
Why did my brownies crumble?
This happens if you cut them while they’re still warm. Coconut flour brownies need time to set. Let them cool completely in the pan before cutting. Also, ensure you’re using enough eggs—they provide the structure. If you’re using very large eggs, the recipe might need a slight adjustment, but standard large eggs should work fine.
Are these brownies keto-friendly?
Yes, as long as you use sugar-free chocolate and a keto-approved sweetener. Check the labels of your chocolate and sweetener to ensure they don’t have hidden sugars or carbs. These brownies are low in net carbs and high in fat, making them suitable for a ketogenic diet.
Pin This Recipe!
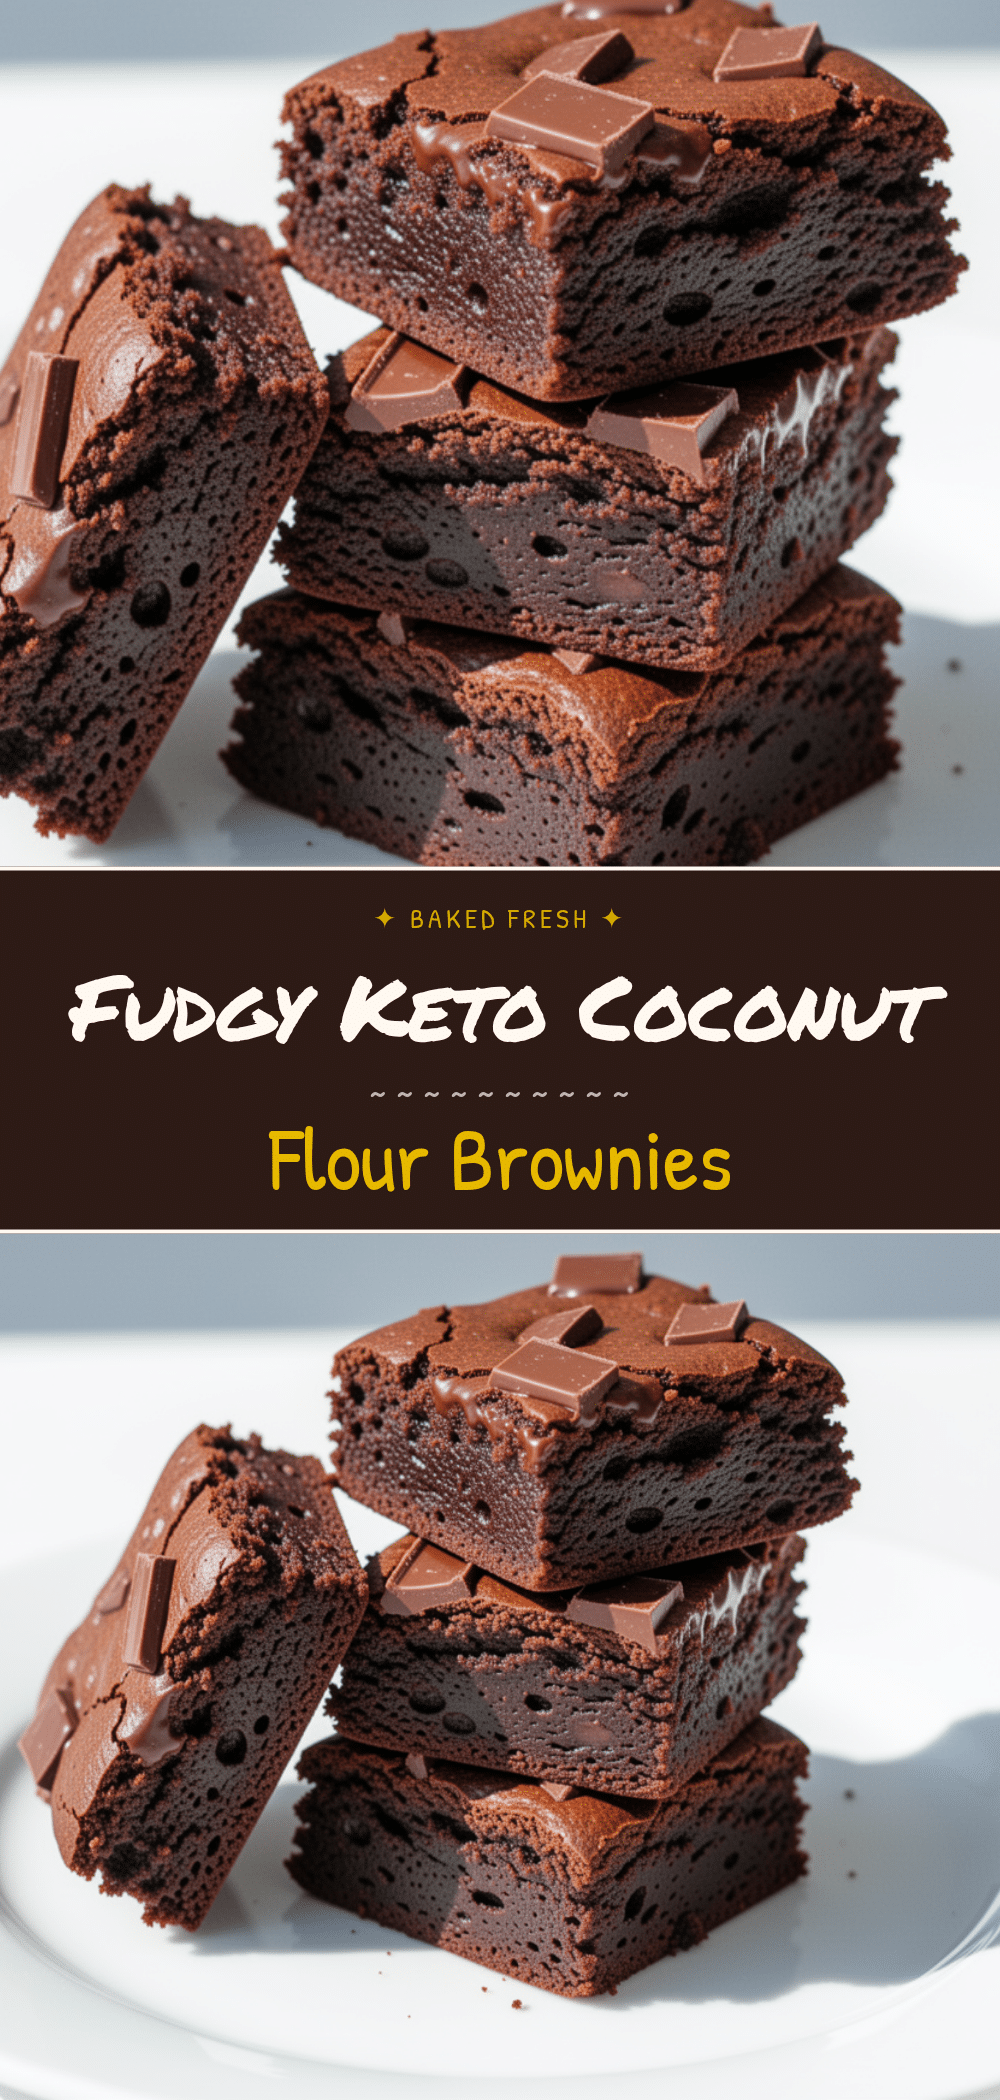
Keto Coconut Flour Brownies: Best Sugar-Free Chocolate
- Total Time: 45 minutes
- Yield: 16 servings 1x
Description
These keto coconut flour brownies are fudgy, dense, and deeply chocolatey without the guilt. Made with just 5 main ingredients and sugar-free chocolate, they are naturally gluten-free and low-carb.
Ingredients
- 6 ounces (170g) sugar-free chocolate (chips or chopped bar, at least 85% cocoa)
- 1/2 cup (113g) unsalted butter, melted and cooled slightly
- 3 large eggs, room temperature
- 1/2 cup (50g) unsweetened, finely ground coconut flour
- 1/4 cup (30g) granulated sweetener (erythritol or monk fruit blend)
- 1 teaspoon pure vanilla extract
- 1/4 teaspoon salt
- Optional: 1/4 cup chopped walnuts or pecans
- Optional: 2 tablespoons sugar-free chocolate chips
Instructions
- Preheat oven to 350°F (175°C). Line an 8×8 inch baking pan with parchment paper, leaving an overhang on two sides for easy removal.
- In a microwave-safe bowl, combine the sugar-free chocolate and butter. Microwave in 30-second intervals, stirring between each, until mostly melted. Stir until smooth and set aside to cool slightly.
- In a medium mixing bowl, vigorously whisk the eggs and granulated sweetener until pale and slightly frothy (about 1 minute). Add vanilla extract and salt, and whisk again.
- Pour the melted chocolate and butter mixture into the egg mixture and stir with a spatula until combined.
- Add the coconut flour and stir gently but thoroughly. The batter will be thick and paste-like. Do not add more flour.
- Pour the batter into the prepared pan and spread evenly. If needed, wet your spatula slightly to smooth the top.
- Bake for 20-25 minutes. The edges should be set and pulling away from the pan, but the center should still look slightly soft. Do not overbake.
- Let the brownies cool in the pan on a wire rack for at least 30 minutes, or until completely cool, before slicing. This allows the texture to set and become fudgy.
- Lift brownies out using the parchment paper and slice into squares. Serve plain or with toppings.
Notes
Do not overbake; the center should look slightly soft as they firm up while cooling. Use finely ground coconut flour for best texture. Room temperature eggs help prevent seizing the chocolate. These brownies improve in flavor and texture after sitting in the fridge for a day.
- Prep Time: 5 minutes
- Cook Time: 20-25 minutes
- Category: Dessert
- Cuisine: American
Nutrition
- Serving Size: 1 square
- Calories: 90
- Sodium: 30
- Fat: 7
- Saturated Fat: 4
- Carbohydrates: 4
- Fiber: 2
- Protein: 2
Keywords: keto brownies, coconut flour brownies, sugar-free chocolate, gluten-free dessert, low carb brownies, fudgy brownies, dairy-free option


