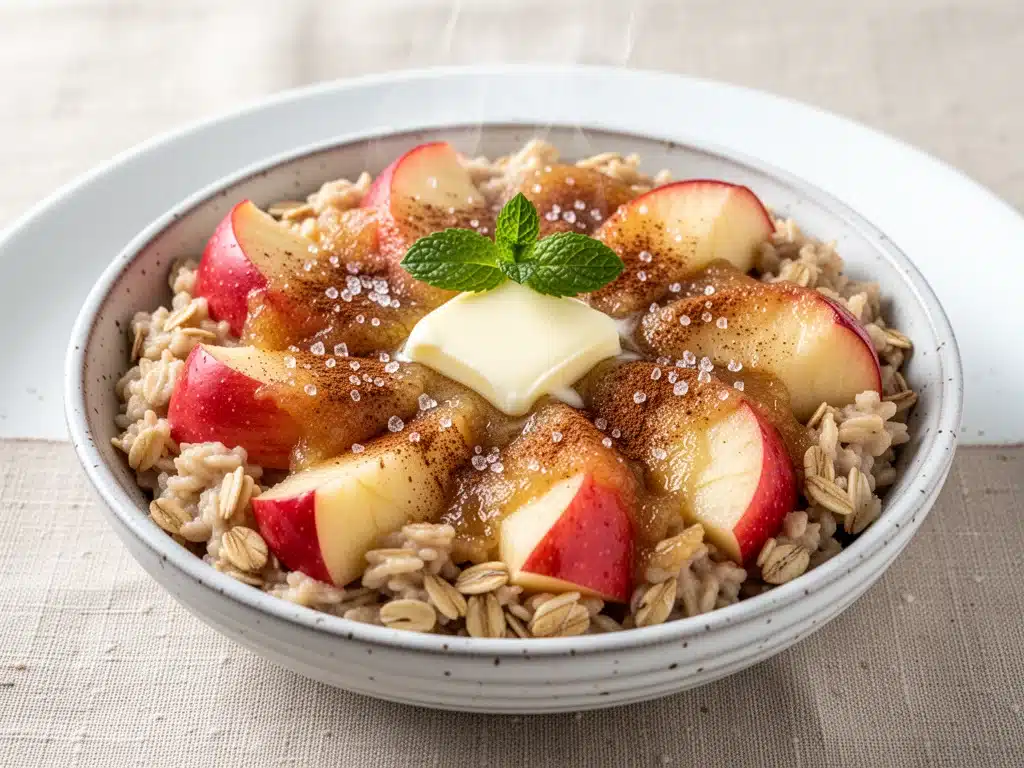
There is a specific kind of magic that happens on Saturday mornings when the house is quiet, the coffee is brewing, and you realize you don’t have to be an expert chef to make something spectacular. For years, my weekends were a chaotic mess of burnt toast and rushed decisions. I’d wake up late, panic about breakfast, and end up eating cereal over the sink while my partner made coffee. It wasn’t romantic. It wasn’t cozy. And honestly? It wasn’t good.
Then, three years ago, I tried baking my oatmeal. I was desperate. I had a pile of old-fashioned oats, a few bruised apples that were about to go bad, and zero motivation to stand over a stove stirring a pot for twenty minutes. I threw everything into a casserole dish, shoved it in the oven, and went back to bed. When I woke up, the smell hit me first. It smelled like a fall day in a bakery. Warm, sweet, spicy, and comforting.
I walked into the kitchen to find my partner already sitting at the table, eating straight from the dish with a spoon. He didn’t say anything, he just held out a bowl for me. That was the moment I knew: Classic Baked Apple Cinnamon Oatmeal wasn’t just breakfast. It was a lifestyle shift.
This isn’t the mushy, sad oatmeal that tastes like wet cardboard. This is the kind of oatmeal that sets your table for company. It’s golden on top, soft in the middle, studded with tender apple chunks, and fragrant enough to wake up the whole neighborhood. And the best part? It’s stupidly simple. You literally need five ingredients. That’s it. No fancy powders, no weird superfoods you can’t pronounce, no hours of prep.
I’ve made this recipe for every weekend brunch since then. I’ve served it to in-laws who claim they “don’t really like breakfast food.” I’ve made it for friends coming over after a hike. I’ve made it for lazy rainy days when the only thing I want to do is nap. And every single time, it works. It’s reliable. It’s healthy, but it doesn’t taste like diet food. It tastes like a hug in a bowl.
If you’ve been searching for a way to make your weekends feel a little more special without spending half the morning in the kitchen, stop scrolling. This is the recipe. I promise you, once you try this baked apple cinnamon oatmeal, you’ll never go back to stovetop oats again. The texture is completely different—crispier edges, creamy centers, and those caramelized apples that melt in your mouth. It’s the ultimate comfort food, and it’s ready in about 45 minutes, mostly while you’re doing literally anything else.
Why You’ll Love This Recipe
Look, I get it. There are a million oatmeal recipes out there. Why this one? Why baked? Why apples? Here’s the real talk: this recipe solves the biggest problem with oatmeal—it gets boring. And it solves the weekend brunch problem—it takes too much effort.
It’s Set-It-and-Forget-It — Seriously. Once you mix the ingredients in the dish and put it in the oven, you’re done. You can shower, read a book, or actually finish your coffee without staring at a pot. I’ve made this while helping my kid with homework. It’s that low-stress.
The Texture Is Unbeatable — Stovetop oatmeal is soft. This is different. The top gets a little crispy from the butter and sugar, while the inside stays lush and creamy. The apples soften but don’t turn to mush. It’s a mouthfeel that keeps you coming back for seconds.
It Smells Like Heaven — This is huge for brunch. When friends come over, the aroma is the first thing they notice. It sets a mood. It makes your kitchen feel warm and inviting before you even sit down. My friends have literally texted me saying, “I’m outside, let me in, the house smells amazing.”
Healthy Without Being Sad — Yes, it has butter and sugar. But it’s also packed with fiber from the oats, vitamins from the apples, and it’s naturally gluten-free (if you use certified oats). It’s a balanced meal that keeps you full until lunch. No sugar crash at 10 AM.
Perfect for Batch Cooking — I make this on Saturday, and we eat it for Saturday and Sunday. It reheats beautifully. In fact, I think it tastes even better on Sunday morning because the flavors have had time to meld overnight. It’s the ultimate meal prep hack for lazy weekends.
This is my go-to when I want to feel like a good host without the stress. No complicated techniques, no weird ingredients, just reliable, delicious food that makes everyone happy. And it’s cheap. Oats and apples are two of the cheapest things in the grocery store. You’re feeding a family of four for under $5.
Ingredients You’ll Need
Here’s the best part: you probably have most of this already in your pantry. I’m not asking you to go to three different stores for obscure items. This is about simplicity. I’m particular about three things here—the oats, the apples, and the butter—and I’ll tell you exactly why.
For the Base
Old-Fashioned Rolled Oats (3 cups / 270g) — Do not use instant oats. Do not use steel-cut oats for this. Instant oats turn to mush. Steel-cut oats stay too hard. You want old-fashioned rolled oats. They have the right structure to hold up in the oven and get that nice texture. I use Bob’s Red Mill, but any brand works. Just check the box to make sure they are certified gluten-free if that’s a concern for you.
Milk (3 cups / 720ml) — I use whole milk for richness. It makes the oatmeal creamy and luxurious. If you’re dairy-free, almond milk or oat milk works, but the texture will be slightly less rich. Coconut milk adds a nice tropical twist, but it changes the flavor profile. Stick to whole milk for the classic taste.
Eggs (2 large) — This is the secret weapon. The eggs bind everything together and give the baked oatmeal that custard-like texture. It’s what makes it feel like a dessert rather than just hot cereal. Don’t skip them.
Maple Syrup (½ cup / 120ml) — Real maple syrup, please. Not pancake syrup. Not corn syrup. Real maple syrup has a depth of flavor that sugar just can’t match. I use Grade A Dark Amber. It’s not too sweet, but it has that robust maple taste. If you’re strict about sugar, you can use honey, but maple is the traditional choice for a reason.
Butter (4 tablespoons / 60g) — Unsalted butter. I use unsalted so I can control the saltiness. Melt this. Don’t put cold cubes in. Melted butter integrates better with the oats and creates that crispy top layer.
For the Flavor
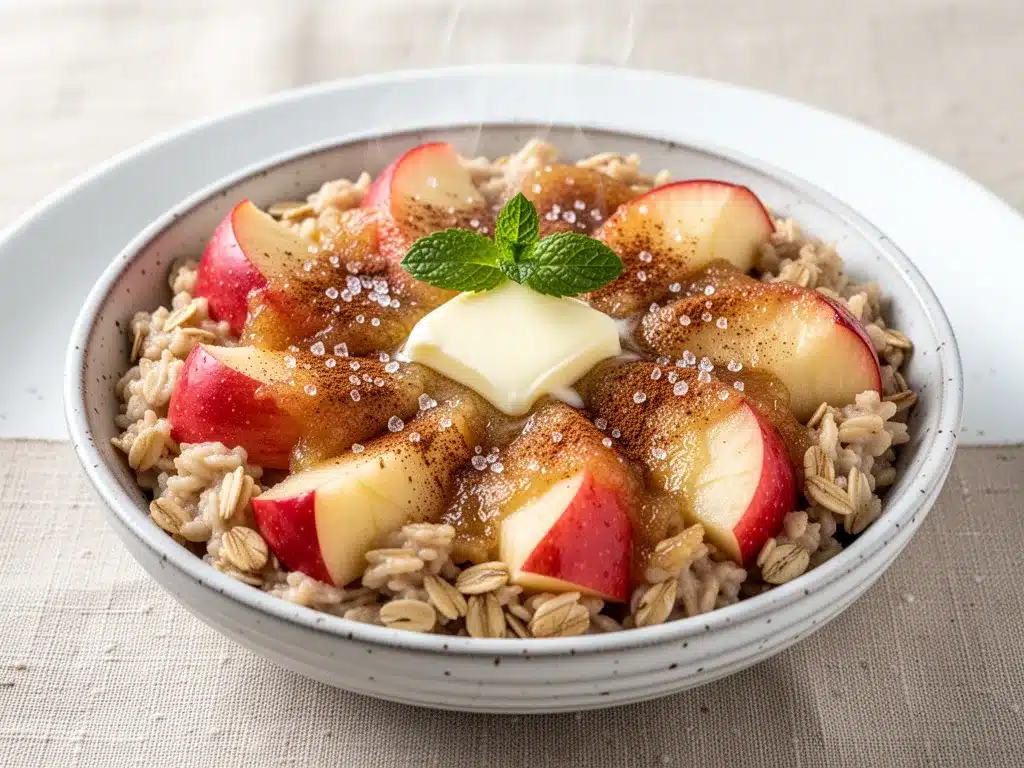
Apples (3 medium, about 450g) — This is where you need to pick wisely. You want apples that hold their shape when baked. Granny Smith is my top pick because they’re tart and firm. They provide a nice contrast to the sweet oats. Honeycrisp is also great—they’re sweet and crisp. Avoid Red Delicious; they turn mealy and bland when baked. You want texture. You want a bite.
Cinnamon (2 teaspoons) — Ground cinnamon. Don’t skimp. Cinnamon is the soul of this recipe. I use McCormick, but any good quality ground cinnamon works. If you have a jar that’s been sitting for five years, toss it. Buy fresh. The flavor difference is night and day.
Nutmeg (¼ teaspoon) — Just a pinch. It adds warmth and complexity. It’s subtle, but you’ll miss it if it’s not there. It’s what makes it taste “baked” rather than just “boiled.”
Salt (½ teaspoon) — Yes, salt in sweet oatmeal. It balances the sweetness and makes the apple flavor pop. I use kosher salt. If you use table salt, use a little less because it’s denser.
For the Topping (Optional but Recommended)
Extra Butter (1 tablespoon) — For dotting the top before baking. This helps the crust get golden and crisp.
Chopped Pecans or Walnuts (½ cup) — If you like crunch, add nuts. Toast them in the oven with the oatmeal for extra flavor. If you’re nut-free, skip this or use seeds like pumpkin seeds.
Extra Maple Syrup — For serving. Always serve with extra syrup on the side. People like to control their sweetness.
Equipment Needed
You don’t need fancy equipment for this. Here’s what I actually use.
9×13 Inch Baking Dish — I use a ceramic or glass dish. It distributes heat evenly. Metal pans work too, but they might brown the edges too fast. I’ve used Pyrex for years—it’s durable and easy to clean. If you don’t have a 9×13, a 9×9 dish works, but the oatmeal will be thicker, so you might need to adjust the baking time.
Large Mixing Bowl — Any big bowl works. I use a glass bowl because I can see what’s happening. You need enough room to whisk the eggs and milk without spilling.
Whisk — For mixing the wet ingredients. A fork works in a pinch, but a whisk is faster and ensures no lumps of egg remain.
Peeler and Knife — To peel and dice the apples. I use a paring knife for precision. If you’re lazy, you can leave the skins on, but I prefer peeled apples for a more uniform texture.
Measuring Cups and Spoons — Standard stuff. Dollar store versions work fine. Just make sure your cups are level for accuracy.
Spatula — For scraping the bowl and spreading the oatmeal evenly in the dish. Silicone spatulas are best because they don’t scratch the bowl.
Oven — Preheated to 350°F (175°C). Make sure your oven is calibrated. If your oven runs hot, check the oatmeal 5 minutes early.
How to Make It: Step-by-Step
Alright, let’s make this! I’m walking you through exactly how I do it, including the little tricks I’ve picked up. It’s simple, but there are a few key moments that make all the difference.
Step 1: Prep Your Oven and Dish (2 minutes)
Preheat your oven to 350°F (175°C). While it’s heating, grab your 9×13 baking dish. I like to grease it lightly with butter or cooking spray. This prevents sticking and helps the edges get crispy. If you’re using a dish that you know sticks (like some older ceramic ones), be generous with the grease.
Step 2: Dice the Apples (5 minutes)
Peel your apples. I prefer peeled, but if you want more fiber and texture, leave the skins on. Dice them into ½-inch cubes. You want them small enough to eat easily with a spoon, but not so small that they disappear. If you cut them too big, you’ll get huge chunks of apple in every bite, which can be overwhelming. Uniform cubes ensure even cooking.
Step 3: Mix the Wet Ingredients (3 minutes)
In your large bowl, whisk together the eggs, milk, maple syrup, melted butter, cinnamon, nutmeg, and salt. Whisk until it’s completely smooth and well combined. You want no streaks of egg or syrup. This mixture is the base of your oatmeal, so getting it right now ensures even flavor throughout.
Step 4: Combine Everything (2 minutes)
Add the rolled oats and diced apples to the wet mixture. Stir everything together until the oats are fully coated. The oats will start absorbing the liquid immediately, which is good—it means the flavors are melding. Pour this mixture into your prepared baking dish. Use a spatula to spread it out evenly. You want a flat surface so it bakes uniformly.
Step 5: Add the Topping (1 minute)
If you’re using nuts, sprinkle them evenly over the top. Dot the surface with small pieces of cold butter. This is crucial. The cold butter melts slowly during baking, creating pockets of richness and helping the top get that golden, slightly crispy crust. If you’re not using nuts, you can just dot with butter.
Step 6: Bake (40-45 minutes)
Place the dish in the preheated oven. Bake for 40-45 minutes. You’ll know it’s done when the top is golden brown and the edges are bubbling. The center should be set, not jiggly. If you’re worried about the top browning too fast, you can tent it with foil for the last 10 minutes. But honestly, I never do this. I like a good crust.
Step 7: Rest and Serve (10 minutes)
Remove from the oven and let it rest for 10 minutes. This is hard, I know, because it smells amazing. But resting allows the oatmeal to set. If you cut into it immediately, it might be a bit soupy. After 10 minutes, it’s perfect. Slice it into squares or serve it family-style with a spoon. Drizzle with extra maple syrup and enjoy.
Total Time: About 50 minutes (10 minutes prep, 40 minutes baking, 10 minutes resting)
Troubleshooting Tips
Too dry? If your oatmeal looks dry after baking, it might be because your oats absorbed too much liquid. Next time, add an extra ¼ cup of milk. Or, when reheating, add a splash of milk to loosen it up.
Too wet? If the center is still liquidy after 45 minutes, bake for another 5-10 minutes. Ovens vary, so trust your eyes, not just the clock.
Apples too hard? If your apples are still crunchy, you might have used a variety that’s too firm. Next time, use Honeycrisp or Gala, or cut the apples smaller.
Expert Tips & Tricks
Here’s everything I’ve learned from making this dozens of times. These tips will save you from my mistakes.
Use Real Butter
I know it sounds basic, but the quality of butter matters. Margarine or cheap butter substitutes don’t give you that rich, creamy flavor. Use good quality unsalted butter. It’s worth the extra dollar.
Don’t Skip the Resting Time
I know you want to eat it now. But wait 10 minutes. The oatmeal continues to cook and set as it rests. Cutting into it hot makes it messy and soggy. Patience pays off.
Toast Your Nuts
If you’re adding pecans or walnuts, toast them in a dry pan for 2-3 minutes before adding them to the oatmeal. It brings out their flavor and adds a deeper crunch. It’s a small step that makes a big difference.
Customize Your Sweetness
Maple syrup sweetness varies by brand. Taste your mixture before baking. If it’s not sweet enough for you, add a little more syrup. You can always add more syrup when serving, but you can’t take it out.
Make It Ahead
You can mix everything the night before and store it in the fridge. In the morning, just pop it in the oven. This is my favorite way to do it. Wake up to a house that smells like breakfast. Add 5-10 minutes to the baking time if you’re baking it cold from the fridge.
Variations & Substitutions
Once you’ve nailed the basic version, here’s how you can mix it up. I’ve tried all of these.
Berry Blast
Swap the apples for 2 cups of fresh or frozen berries (blueberries, raspberries, or strawberries). They release more juice, so you might need an extra 10 minutes of baking. Add a teaspoon of lemon zest to brighten the flavor.
Pumpkin Spice
Swap the apples for 1 cup of pumpkin puree. Add 1 teaspoon of pumpkin pie spice instead of cinnamon and nutmeg. It’s like eating pumpkin pie for breakfast. Amazing in the fall.
Chocolate Chip
Skip the apples and add ½ cup of chocolate chips. Add a teaspoon of vanilla extract. It’s like a breakfast cookie. My kids love this version.
Protein Boost
Add ½ cup of protein powder (vanilla or unflavored) to the dry ingredients. You might need an extra ¼ cup of milk to compensate for the dryness. Great for post-workout brunches.
Dairy-Free
Use almond milk or oat milk and coconut oil instead of butter. Use maple syrup (which is usually dairy-free). It’s still creamy and delicious, just slightly less rich.
Gluten-Free
Use certified gluten-free oats. Everything else is naturally gluten-free. Just double-check your maple syrup and spices to ensure they’re processed in a GF facility.
Serving & Storage
How to Serve:
I usually serve this straight from the dish at the dinner table—it looks rustic and stays warm. But here are other ways I’ve enjoyed it:
- With Yogurt: A dollop of Greek yogurt adds protein and a nice tangy contrast.
- With Cream: A splash of heavy cream or whipped cream for indulgence.
- With Fruit: Fresh sliced bananas or berries on top for extra freshness.
Storage Instructions:
Store leftovers in an airtight container in the refrigerator for up to 5 days. It actually gets better after a day or two as the flavors meld.
Reheating:
Best method: Microwave individual portions for 1-2 minutes with a splash of milk. The milk brings back the creamy texture.
Oven method: Reheat in a 350°F oven for 15-20 minutes, covered with foil. This is better for larger portions.
Freezing:
Yes, you can freeze baked oatmeal! Wrap individual slices in plastic wrap and foil. Freeze for up to 3 months. Thaw overnight in the fridge and reheat. It’s a great meal prep option.
Nutrition Information
I’m not a nutritionist, but here’s the breakdown if you’re tracking. This is per serving (based on 8 servings).
| Nutrient | Amount |
|---|---|
| Calories | 280 |
| Protein | 8g |
| Carbs | 45g |
| Fiber | 5g |
| Sugar | 18g |
| Fat | 9g |
| Saturated Fat | 5g |
| Cholesterol | 55mg |
| Sodium | 180mg |
What’s Good:
High in fiber, which is great for digestion. Good source of protein from the eggs and oats. Natural sugars from apples and maple syrup.
What to Know:
Contains dairy and gluten (unless you use GF oats). Moderate sugar content. If you’re watching sugar, reduce the maple syrup to ¼ cup.
My Take:
Look, this is comfort food. It’s not a diet recipe. But it’s way better than a donut or pastry, and it keeps you full. When I want to make it lighter, I use less butter and more apples. But usually? I just eat a reasonable portion and enjoy it.
Final Thoughts
So that’s my go-to baked apple cinnamon oatmeal! I’ve probably talked your ear off at this point, but when you make a recipe this often, you have a lot to say about it. This has saved weekend brunches more times than I can count. It’s my answer to “what’s for breakfast” when I want to feel special but don’t want to work.
Make it yours! Try different apples, swap the nuts, add some chocolate. The best recipes are the ones you adapt to your family’s tastes. If you make this, drop a comment and let me know what you think! I love hearing how recipes turn out in your kitchen. And if something doesn’t work, tell me that too—I’m here to help troubleshoot.
Happy cooking! And I hope your kitchen smells half as good as mine does right now.
Frequently Asked Questions
Can I use steel-cut oats instead of rolled oats?
I don’t recommend it. Steel-cut oats are much harder and take longer to cook. In a baked oatmeal, they often stay too chewy or hard. If you really want to use them, soak them overnight in the milk first, but even then, the texture will be different. Stick to old-fashioned rolled oats for the best result.
Why did my oatmeal turn out mushy?
This usually happens if you use instant oats or if you add too much liquid. Make sure you’re using old-fashioned rolled oats, not quick oats. Also, check your measuring cups—too much milk will make it soupy. If it’s already mushy, you can try baking it for a few more minutes to evaporate some moisture, but it’s hard to fix completely.
Can I make this ahead of time?
Yes! This is one of the best things about it. You can mix everything the night before, cover it, and refrigerate it. In the morning, just put it in the oven. You might need to add 5-10 minutes to the baking time since it’s starting cold. It’s a lifesaver for busy mornings.
How do I reheat leftovers without it getting dry?
Always add a splash of milk or water when reheating. If you’re microwaving, add a tablespoon of milk per serving and stir it in. This rehydrates the oats and brings back the creamy texture. If you’re using the oven, cover it with foil to trap moisture.
Can I freeze baked oatmeal?
Absolutely. Let it cool completely, then cut it into squares. Wrap each square in plastic wrap and then foil. Freeze for up to 3 months. Thaw overnight in the fridge and reheat. It’s perfect for meal prepping.
What’s the best apple for this recipe?
Granny Smith is my favorite because they’re tart and hold their shape. Honeycrisp is also great for a sweeter, crisper bite. Avoid Red Delicious or McIntosh, as they tend to turn mushy when baked. You want an apple that can withstand the heat.
Can I make this gluten-free?
Yes, just use certified gluten-free rolled oats. Everything else in the recipe is naturally gluten-free, but cross-contamination can happen with oats, so check the label. The rest of the ingredients (milk, eggs, apples, maple syrup, butter) are all GF.
Pin This Recipe!
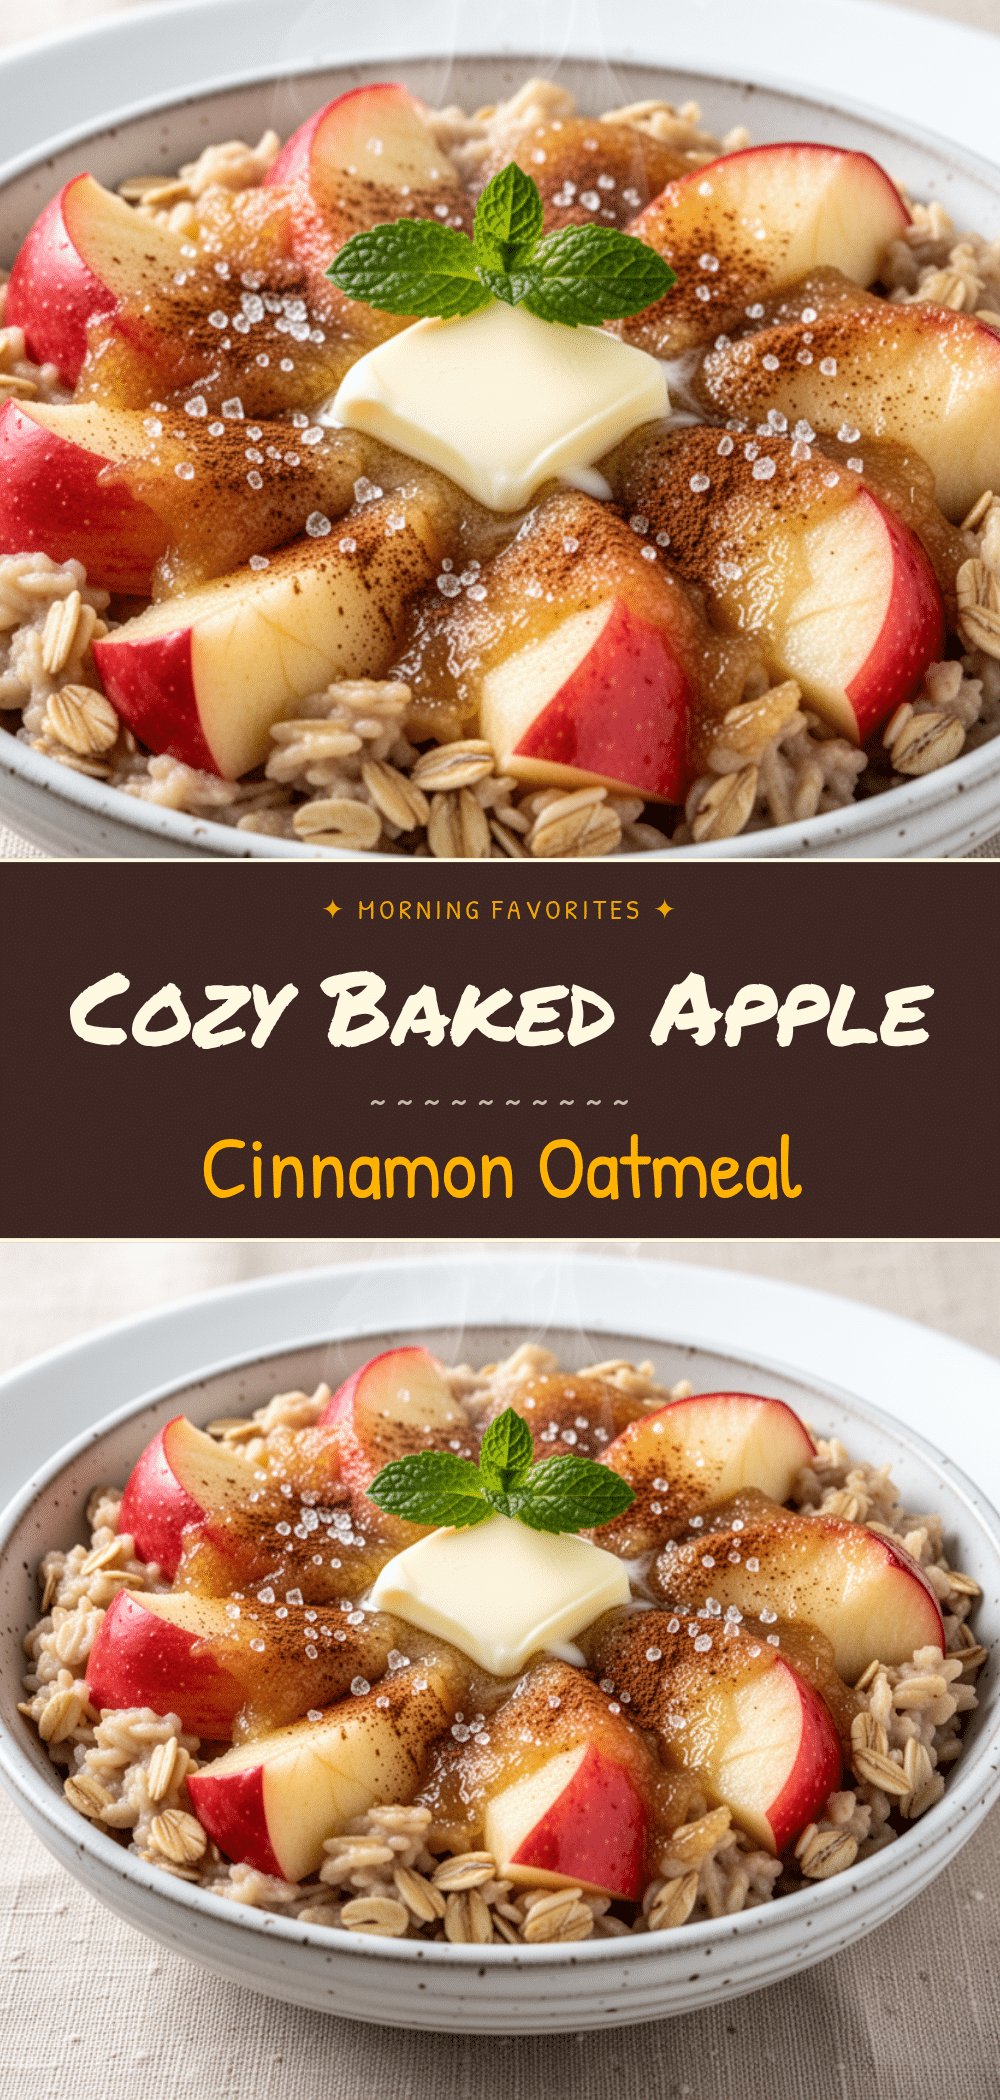

Classic Baked Apple Cinnamon Oatmeal
- Total Time: 50 minutes
- Yield: 8 servings 1x
Description
A simple, healthy weekend brunch recipe featuring old-fashioned oats, tender apples, and warm spices baked to golden perfection. This set-it-and-forget-it dish offers a crispy top and creamy center, ready in about 45 minutes.
Ingredients
- 3 cups old-fashioned rolled oats
- 3 cups milk (whole milk recommended)
- 2 large eggs
- 1/2 cup real maple syrup
- 4 tablespoons unsalted butter, melted
- 3 medium apples (Granny Smith or Honeycrisp), peeled and diced
- 2 teaspoons ground cinnamon
- 1/4 teaspoon nutmeg
- 1/2 teaspoon salt
- 1 tablespoon butter (for topping, optional)
- 1/2 cup chopped pecans or walnuts (optional)
Instructions
- Preheat oven to 350°F (175°C). Grease a 9×13 inch baking dish with butter or cooking spray.
- Peel and dice the apples into 1/2-inch cubes.
- In a large mixing bowl, whisk together the eggs, milk, maple syrup, melted butter, cinnamon, nutmeg, and salt until smooth.
- Add the rolled oats and diced apples to the wet mixture. Stir until oats are fully coated.
- Pour the mixture into the prepared baking dish and spread evenly.
- If using, sprinkle chopped nuts over the top and dot the surface with small pieces of cold butter.
- Bake for 40-45 minutes, or until the top is golden brown and the edges are bubbling.
- Remove from oven and let rest for 10 minutes to allow the oatmeal to set.
- Slice into squares and serve with extra maple syrup if desired.
Notes
For best results, use old-fashioned rolled oats, not instant or steel-cut. Let the oatmeal rest for 10 minutes after baking to ensure it sets properly. You can make this ahead by mixing ingredients the night before and refrigerating; add 5-10 minutes to baking time if baking from cold. Leftovers can be stored in the fridge for up to 5 days or frozen for up to 3 months.
- Prep Time: 10 minutes
- Cook Time: 40 minutes
- Category: Breakfast
- Cuisine: American
Nutrition
- Serving Size: 1 square slice
- Calories: 280
- Sugar: 18
- Sodium: 180
- Fat: 9
- Saturated Fat: 5
- Carbohydrates: 45
- Fiber: 5
- Protein: 8
Keywords: baked oatmeal, apple cinnamon oatmeal, healthy breakfast, weekend brunch, gluten-free option, meal prep, comfort food


