I have to confess something. For years, I’ve been the person who bought the expensive gluten-free flour blends at the grocery store, stared at them like they were alien artifacts, and then put them back on the shelf. I just couldn’t get past the idea that a dessert could ever be truly decadent without wheat flour. I assumed “gluten-free” meant “dry,” “crumbly,” or at best, “acceptable.”
Then came the winter of 2022. I was visiting my sister, who had recently been diagnosed with celiac disease. We were sitting in her kitchen, eating store-bought cookies that tasted like cardboard soaked in sugar. I felt awful. I wanted to give her something that felt special, something that screamed “celebration” rather than “compromise.” That night, I pulled out a bag of hazelnuts, a bar of dark chocolate, and a handful of pantry staples. I didn’t have a recipe. I just had a hunch.
I mixed it up, baked it, and waited for the verdict. My sister took one bite, closed her eyes, and said, “Wait. Is this actually gluten-free?” That moment changed everything. I’ve tested this gluten-free chocolate hazelnut torte at least thirty times since then. Thirty. I’ve tweaked the chocolate-to-nut ratio, swapped vanilla brands, and even tried different sweeteners. But the core recipe? The one that works every single time? It’s the one I’m sharing with you today.
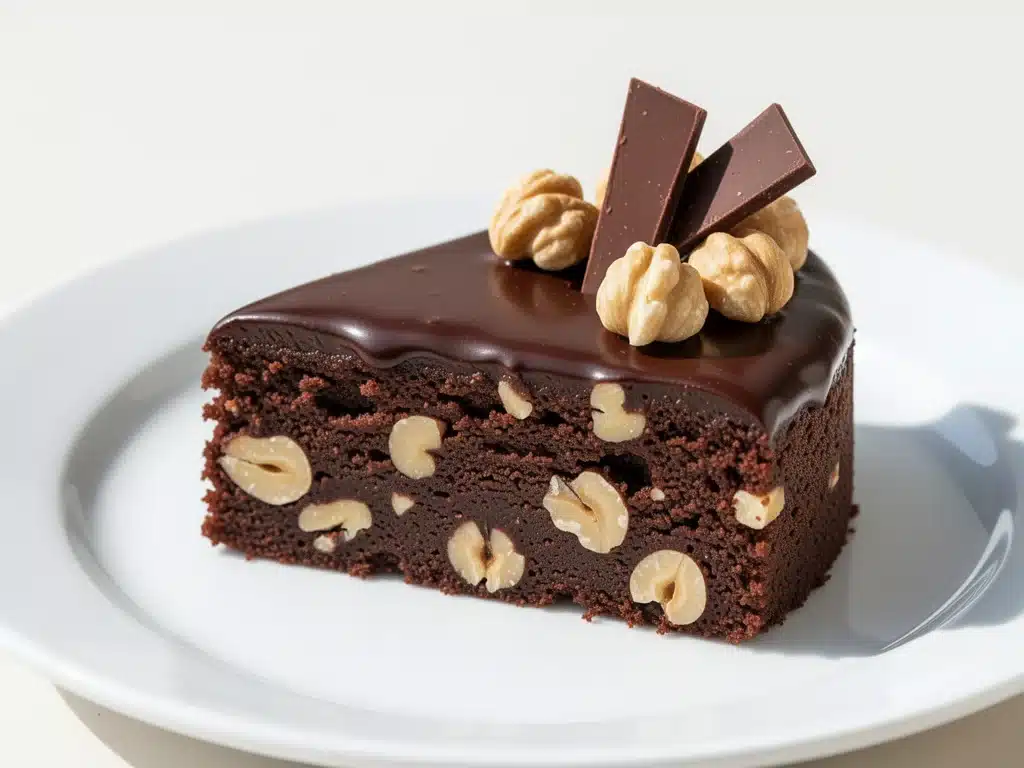
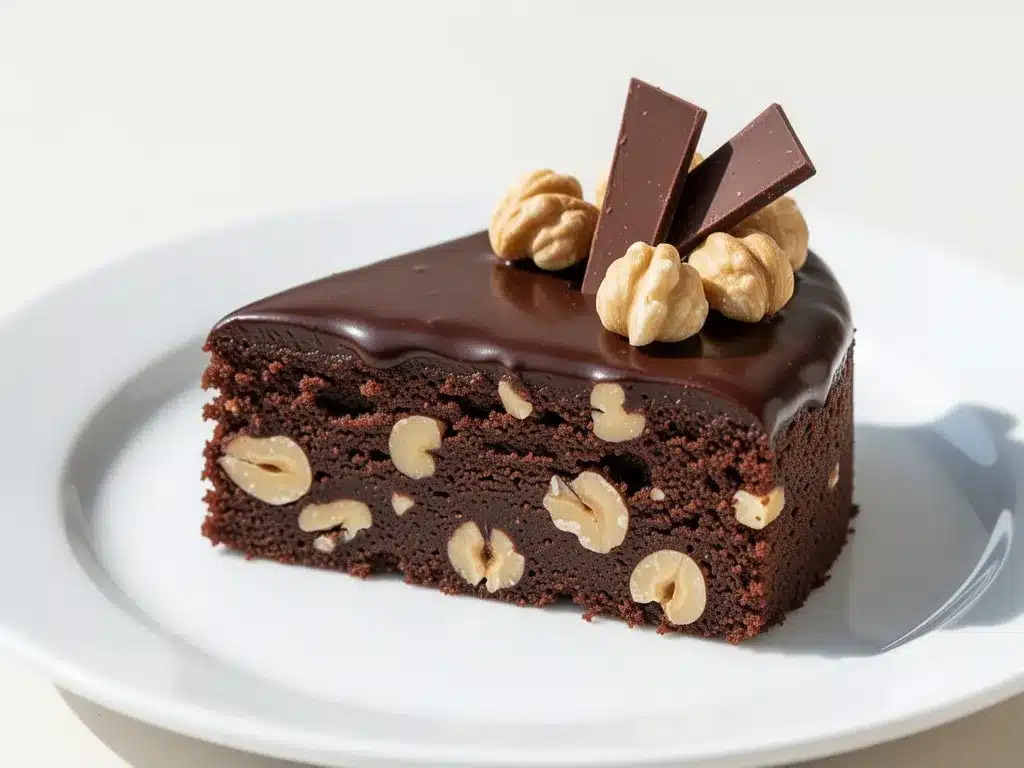
This isn’t just a dessert. It’s a game-changer. It’s dense, fudgy, and intensely chocolatey, with the toasted nuttiness of hazelnuts cutting through the richness in the most beautiful way. And the best part? You only need five ingredients. Yes, five. No xanthan gum, no almond flour (unless you want to get fancy), no complicated techniques. Just real food that tastes like you spent hours in the kitchen, even though you’ll have it ready in under an hour.
If you’re skeptical about gluten-free baking, I get it. I was too. But this torte is the one that converts people. It’s the dessert you serve when you want to impress guests who don’t even know they’re eating gluten-free. It’s the treat you make when you’re craving something chocolate but want to feel good about it. And honestly? It’s the recipe I make on repeat because it’s so good that my family fights over the last slice.
Why You’ll Love This 5-Ingredient Chocolate Hazelnut Torte
There are a few reasons this gluten-free chocolate hazelnut torte has taken over my kitchen rotation, but let’s be real—it’s mostly about the taste. But here’s the full breakdown of why this recipe is worth your time (and your calories).
Stupid Simple Ingredients — Seriously. You need hazelnuts, chocolate, butter, eggs, and sugar. That’s it. If you have these in your pantry (or can grab them in a 10-minute grocery run), you’re golden. No obscure flours or weird gums that you’ll have to order online and wait two weeks for.
Texture That Actually Works — The biggest fear with gluten-free desserts is that they’ll be dry or crumbly. This torte is neither. It’s moist, dense, and fudgy, almost like a brownie but with a more sophisticated, nutty depth. The hazelnuts provide structure without the gluten, and the eggs bind everything together perfectly. It holds its shape when sliced but melts in your mouth.
Lightning Fast — Prep time is about 10 minutes. Bake time is 20-25 minutes. That’s it. I’ve made this on weeknights when I came home from work stressed and needed a dessert that felt indulgent but didn’t require a weekend of baking. It’s the perfect “I need chocolate now” recipe.
Gluten-Free Without the Guilt — This is naturally gluten-free because it uses ground nuts instead of flour. It’s also low-carb friendly if you swap the sugar for a keto-friendly alternative (more on that in the variations). But even with regular sugar, it’s a dessert that feels lighter than a traditional cake because it’s so rich. You only need a small slice.
Crowd-Pleaser Status — I’ve served this to my gluten-eating friends, my celiac sister, and my picky nephew. Everyone loved it. The gluten-free folks felt included and special, and the regular eaters just thought it was an amazing chocolate dessert. It bridges the gap beautifully.
This torte is my go-to when I need to bake something that feels elegant but is actually effortless. It’s reliable, delicious, and makes everyone happy. No complicated techniques, no weird ingredients, just pure chocolate hazelnut goodness.
Ingredients You’ll Need
Here’s the best part: you probably have most of this already. I’m being specific about the types of ingredients because, in baking, quality matters. Especially with only five ingredients, you can’t hide behind flour or spices.
Hazelnuts (2 cups / 220g, raw or toasted) — This is the star. Use raw hazelnuts if you want to toast them yourself (highly recommended for flavor), or buy them pre-toasted and skinned. Skinned hazelnuts have a smoother, less bitter taste. If you can’t find hazelnuts, almonds work, but the flavor profile changes. Don’t use walnuts; they’re too oily for this.
Dark Chocolate (8 ounces / 225g, chopped) — Use good quality chocolate here. I prefer 60-70% cocoa. It needs to be rich but not bitter. Chop it into small pieces so it melts evenly. Chocolate chips don’t work well here because they have stabilizers that prevent smooth melting. Buy a bar and chop it up.
Unsalted Butter (½ cup / 115g, softened) — Room temperature butter is key. If it’s too cold, it won’t cream properly with the sugar. If it’s melted, you’ll get a different texture. Softened is the sweet spot. I always keep butter out on the counter when I’m planning to bake.
Eggs (4 large) — Room temperature eggs blend more smoothly into the batter. If you’re short on time, just drop them in warm water for 5 minutes. Don’t skip this step; it affects the emulsion.
Sugar (1 cup / 200g, granulated white) — White sugar gives the best texture. Brown sugar works but makes it chewier and denser. I like the slight crispiness that white sugar provides on the edges. If you’re using a sugar substitute, see the variations section.
Vanilla Extract (1 teaspoon) — Pure vanilla, not imitation. It adds that warm, aromatic note that ties the chocolate and nuts together. A pinch of salt is also crucial to balance the sweetness, even though it’s not a main ingredient. I always add a pinch.
Equipment Needed
You don’t need fancy gadgets for this. Here’s what I actually use, and what you can swap if you don’t have it.
Food Processor — This is essential for grinding the hazelnuts into a fine meal. A blender can work, but it’s harder to control. You want a fine, sandy texture, not a paste. If you don’t have a food processor, you can buy hazelnut flour, but grinding it yourself is cheaper and fresher.
8-Inch Round Springform Pan — A springform pan is ideal because it releases the torte easily without flipping it. The delicate structure needs gentle handling. If you don’t have one, a regular 8-inch round cake pan works, but you’ll need to line it with parchment paper and be careful when removing it.
Mixing Bowls — Two medium bowls. One for the dry ingredients (ground nuts), one for the wet (eggs, sugar, butter).
Microwave-Safe Bowl or Double Boiler — For melting the chocolate. I use the microwave in 30-second intervals, stirring in between. It’s faster and easier than a double boiler for this amount of chocolate.
Whisk — A simple wire whisk is all you need. No stand mixer required.
Offset Spatula — For spreading the batter evenly in the pan. A regular spoon works too if you’re being lazy.
How to Make It: Step-by-Step
Alright, let’s make this! I’m walking you through exactly how I do it, including the little tricks I’ve picked up over dozens of batches.
Step 1: Prep Your Pan and Oven (5 minutes)
Preheat your oven to 350°F (175°C). Grease your 8-inch springform pan generously with butter or non-stick spray. Line the bottom with a circle of parchment paper for easy removal. This is crucial because this torte is sticky and dense; you don’t want it sticking to the pan.
Step 2: Grind the Hazelnuts (2 minutes)
If your hazelnuts are raw, toast them first. Spread them on a baking sheet and bake at 350°F for 10-12 minutes until fragrant and lightly browned. Let them cool slightly, then rub them in a clean kitchen towel to remove the skins. Skins can be bitter. Once skinned, pulse the hazelnuts in a food processor until they’re finely ground. Be careful not to over-process; you want a meal, not hazelnut butter. If you see oil separating, stop immediately.
Step 3: Melt the Chocolate (3 minutes)
Chop your dark chocolate into small pieces. Place them in a microwave-safe bowl. Microwave in 30-second intervals, stirring well between each. Stop when there are just a few small chunks left, then stir until completely smooth. Alternatively, melt it over a double boiler on the stove. Set aside to cool slightly so it doesn’t cook the eggs later.
Step 4: Cream the Butter and Sugar (3 minutes)
In a large mixing bowl, beat the softened butter and sugar together with a whisk or hand mixer until light and fluffy. This takes about 2-3 minutes. It aerates the mixture, which helps give the torte a slight lift and tender crumb. Don’t skip this step.
Step 5: Add Eggs and Vanilla (2 minutes)
Add the eggs one at a time, beating well after each addition. Mix in the vanilla extract. The mixture might look slightly curdled at this point—that’s normal. It will come together when you add the chocolate and nuts.
Step 6: Combine Wet and Dry (3 minutes)
Fold the melted chocolate into the butter mixture. Then, gently fold in the ground hazelnuts. Use a spatula and mix just until combined. Overmixing can make the torte tough. The batter should be thick, glossy, and dark.
Step 7: Bake (20-25 minutes)
Pour the batter into the prepared springform pan and smooth the top. Bake at 350°F (175°C) for 20-25 minutes. The edges should be set and slightly cracked, but the center should still have a slight jiggle. It will continue to set as it cools. Do not overbake; this torte is meant to be fudgy, not dry.
Step 8: Cool and Serve (30+ minutes)
Let the torte cool in the pan for 10 minutes, then run a knife around the edge and release the springform. Let it cool completely on a wire rack. This takes patience, but cutting it warm will result in a messy, gooey mess. Once cooled, it’s ready to slice. Dust with powdered sugar or serve with whipped cream.
Expert Tips & Tricks
Here’s everything I’ve learned from making this dozens of times. These tips will save you from my mistakes.
Toast Your Nuts — Raw hazelnuts have a bland flavor. Toasting them unlocks their natural oils and brings out a deep, nutty aroma that transforms the torte. It’s the difference between “okay” and “wow.”
Don’t Over-Process the Nuts — If you process the hazelnuts too long, they’ll turn into butter. You want a fine meal, like coarse sand. If it gets oily, stop and use it anyway, but the texture will be denser.
Room Temperature Ingredients — I can’t stress this enough. Cold eggs and butter won’t emulsify properly. Take your butter and eggs out of the fridge 30 minutes before you start. It makes the mixing process so much smoother.
The Jiggle Test — When checking for doneness, look at the edges. If they’re set and pulling away slightly from the pan, it’s done. The center should jiggle like Jell-O. It will firm up as it cools. If it’s firm when you take it out, it’s overbaked.
Cool Completely — I know it’s tempting to cut it warm. But this torte sets as it cools. If you cut it warm, it will be mushy. Let it cool for at least 30 minutes, preferably an hour.
Common Mistakes
Mistake: Torte is too dry — Fix: You overbaked it. Next time, take it out 2-3 minutes earlier. The residual heat will finish cooking it.
Mistake: Torte is too greasy — Fix: You over-processed the nuts. Next time, pulse in short bursts.
Mistake: Torte won’t release from pan — Fix: You didn’t line the bottom with parchment. Always line it!
Variations & Substitutions
Once you’ve nailed the basic version, here’s how you can mix it up. I’ve tried all of these.
Keto/Low-Carb Version — Swap the sugar for erythritol or monk fruit sweetener. Use sugar-free dark chocolate. The texture will be slightly different but still delicious. My keto-loving friends request this version often.
Vegan Version — Replace butter with coconut oil (solid) and eggs with flax eggs (4 tablespoons ground flax + 12 tablespoons water). It’s less fudgy but still tasty. I’ve made it for vegan guests and it holds up well.
Almond Version — Swap hazelnuts for almonds. It’s called an almond torte, and it’s also delicious. Less distinctive flavor, but still great.
Espresso Boost — Add 1 teaspoon of instant espresso powder to the dry ingredients. It enhances the chocolate flavor without making it taste like coffee. My husband adds this because he’s a coffee addict.
Lemon Zest — Add the zest of one lemon to the batter. It cuts the richness and adds a bright, fresh note. Great for spring.
Serving & Storage
How to Serve: I usually serve this straight from the counter, sliced into wedges. It looks rustic and elegant. But here are other ways I’ve enjoyed it:
Toppings: Powdered sugar (classic), whipped cream (my favorite), fresh raspberries (the tartness balances the sweet), or a dollop of crème fraîche.
Wine Pairing: A sweet dessert wine like Port or Moscato pairs beautifully. Or a glass of red wine if you prefer.
Storage: Store in an airtight container at room temperature for up to 3 days. It actually tastes better on day 2 as the flavors meld. In the fridge, it lasts up to 5 days, but it will be firmer. Bring to room temperature before serving.
Freezing: Yes, you can freeze it! Wrap slices tightly in plastic wrap and foil. Freeze for up to 3 months. Thaw in the fridge overnight. It doesn’t lose much texture.
Nutrition Information
I’m not a nutritionist, but here’s the breakdown if you’re tracking. Note that this is a rich dessert, so portions matter.
Per Serving (based on 8 servings):
- Calories: 380
- Protein: 8g
- Carbs: 22g
- Fiber: 4g
- Sugar: 18g
- Fat: 32g
- Saturated Fat: 12g
What’s Good: High in healthy fats from hazelnuts, good source of protein, gluten-free. What to Know: Higher in calories and fat due to chocolate and butter. It’s indulgent, so enjoy in moderation. If you’re using a sugar substitute, the carbs and calories will be lower.
Final Thoughts
So that’s my go-to gluten-free chocolate hazelnut torte! I’ve probably talked your ear off at this point, but when you make a recipe this often, you have a lot to say about it.
This has saved dessert nights more times than I can count. It’s my answer to “what’s for dessert” when I want something special but don’t want to fuss. My family is happy, my guests are impressed, and I’m happy because I’m not stressed about gluten-free baking anymore.
Make it yours! Try different chocolates, add nuts, or swap the sweetener. The best recipes are the ones you adapt to your tastes. If you make this, drop a comment and let me know what you think! I love hearing how recipes turn out in your kitchen. And if something doesn’t work, tell me that too—I’m here to help troubleshoot.
Happy baking! And I hope your kitchen smells half as good as mine does right now.
Frequently Asked Questions
Can I use almond flour instead of hazelnuts?
You can, but the flavor will be different. Almond flour is milder and sweeter. Hazelnuts have a distinct, earthy flavor that defines this torte. If you use almond flour, you’ll lose that signature nutty depth. I’d recommend sticking with hazelnuts if you can find them.
Why did my torte crack on top?
This is normal for dense, fudgy desserts. It happens because the outside sets faster than the inside. It doesn’t affect the taste or texture. If you want a smoother top, you can cover the torte with foil for the last 10 minutes of baking to prevent over-browning.
Can I make this ahead for a party?
Yes! This torte actually tastes better the next day. Make it 1-2 days ahead and store it covered at room temperature. It will be firm and easy to slice. Just bring it to room temperature before serving for the best texture.
Can I use milk chocolate instead of dark chocolate?
You can, but it will be much sweeter and less rich. Dark chocolate (60-70%) provides the best balance. If you use milk chocolate, reduce the sugar in the recipe by half to avoid it being cloying.
How do I know when the torte is done?
The edges should be set and slightly cracked. The center should still jiggle slightly when you shake the pan. It will firm up as it cools. If it’s firm when you take it out, it’s overbaked. Remember, it’s a torte, not a cake, so it should be fudgy.
Can I double this recipe?
I wouldn’t recommend it. The baking time and temperature would need to be adjusted, and it’s hard to get the ratios right in a larger pan. Stick to the 8-inch springform for best results. If you need more, just make two tortes!
Pin This Recipe!
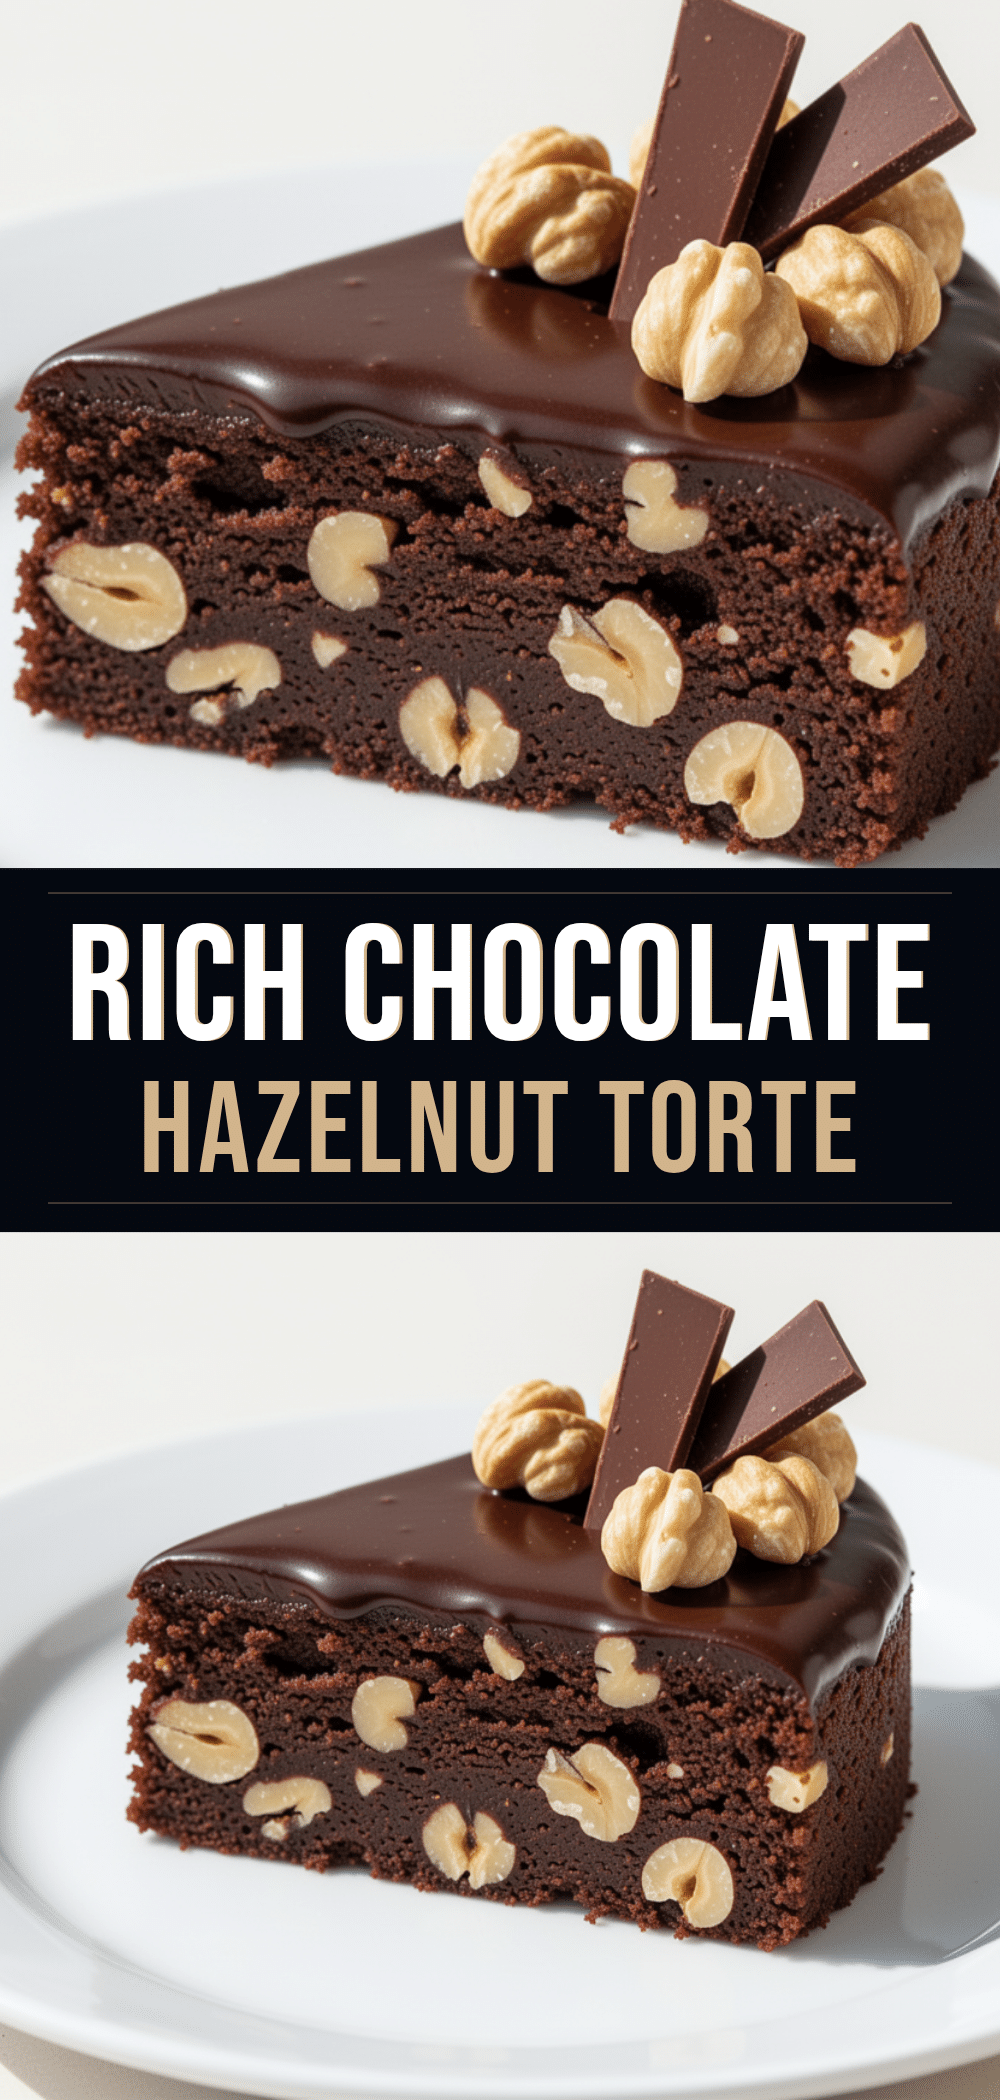
Gluten-Free Chocolate Hazelnut Torte: 5-Ingredient Easy Dessert
- Total Time: 45 minutes
- Yield: 8 servings 1x
Description
A dense, fudgy, and intensely chocolatey gluten-free torte made with just five simple ingredients. This naturally gluten-free dessert is moist, rich, and requires no xanthan gum or obscure flours.
Ingredients
- 2 cups (220g) raw or toasted hazelnuts
- 8 ounces (225g) dark chocolate (60-70% cocoa), chopped
- ½ cup (115g) unsalted butter, softened
- 4 large eggs, room temperature
- 1 cup (200g) granulated white sugar
- 1 teaspoon pure vanilla extract
- Pinch of salt
Instructions
- Preheat oven to 350°F (175°C). Grease an 8-inch springform pan and line the bottom with parchment paper.
- If using raw hazelnuts, toast them at 350°F for 10-12 minutes until fragrant. Let cool, rub in a towel to remove skins, then pulse in a food processor until finely ground (do not over-process into butter).
- Melt the chopped dark chocolate in a microwave-safe bowl in 30-second intervals, stirring until smooth. Set aside to cool slightly.
- In a large bowl, beat the softened butter and sugar together until light and fluffy (2-3 minutes).
- Add eggs one at a time, beating well after each addition. Mix in the vanilla extract.
- Fold the melted chocolate into the butter mixture, then gently fold in the ground hazelnuts until just combined.
- Pour batter into the prepared pan and smooth the top.
- Bake for 20-25 minutes. The edges should be set and slightly cracked, but the center should still have a slight jiggle.
- Cool in the pan for 10 minutes, then release the springform. Cool completely on a wire rack before slicing.
Notes
Ensure ingredients are at room temperature for proper emulsion. Do not over-process hazelnuts or they will turn to butter. The torte sets as it cools, so do not cut it warm. It tastes better on day 2 as flavors meld.
- Prep Time: 10 minutes
- Cook Time: 20-25 minutes
- Category: Dessert
- Cuisine: American
Nutrition
- Serving Size: 1 slice
- Calories: 380
- Sugar: 18
- Fat: 32
- Saturated Fat: 12
- Carbohydrates: 22
- Fiber: 4
- Protein: 8
Keywords: gluten-free, chocolate hazelnut torte, 5-ingredient dessert, fudgy cake, nut-free flour, easy baking, celiac friendly


