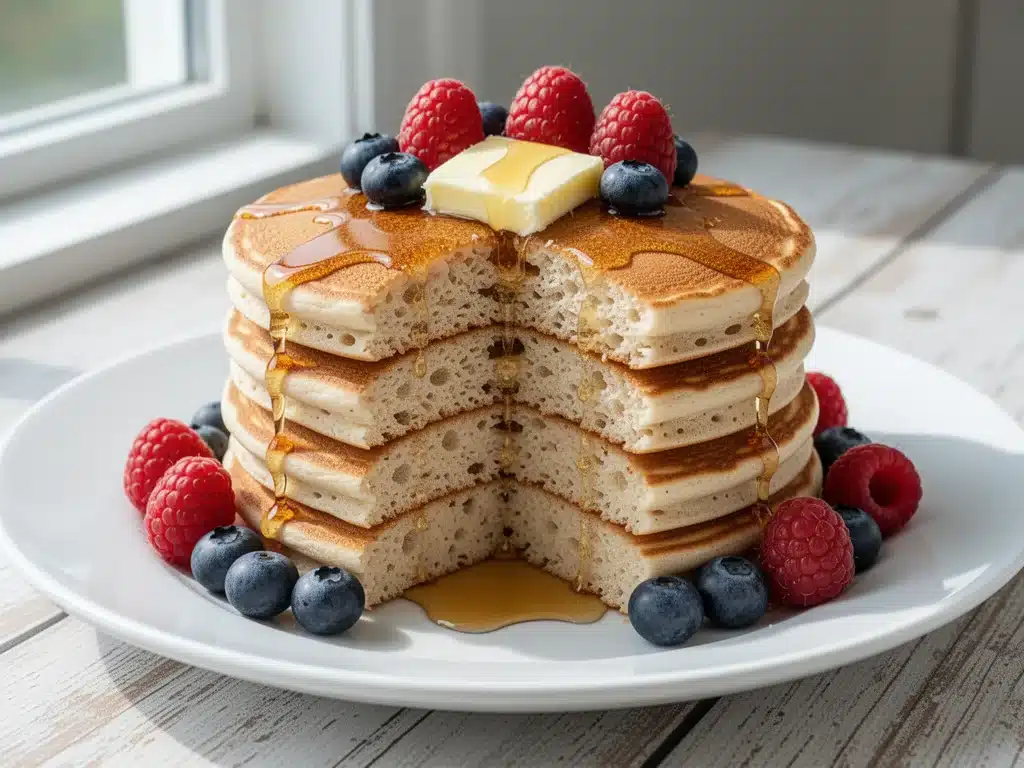
There is a specific kind of panic that hits me around 8:00 AM on a Saturday. You know the one. I’m standing in my kitchen, coffee in one hand, staring at the clock in the other, realizing I promised my kids (and myself) a “special breakfast” but have absolutely no idea what that entails. Usually, this panic ends with a trip to the drive-thru. But last weekend, something different happened. I was feeling guilty about the $12 I’d just spent on syrup-laden waffles, and I decided to try that coconut flour pancake recipe I’d pinned months ago but never had the courage to attempt. I expected dense, dry discs. Instead, I got clouds. Soft, fluffy, golden pancakes that tasted like a vacation.
It turns out, making gluten-free coconut flour pancakes fluffy isn’t magic—it’s just understanding the science of that finicky flour. Coconut flour is a beast. It drinks liquid like a desert sponge. If you treat it like regular wheat flour, you get a brick. But once I figured out the right ratio of eggs to liquid, and the secret trick of letting the batter rest, everything changed. Now, these gluten-free coconut flour pancakes are my go-to weekend breakfast. They’re naturally gluten-free, grain-free, and dairy-free (if you choose your milk wisely), but they taste indulgent enough to serve to guests who aren’t even on a special diet. My husband, who is notoriously picky about anything “healthy,” asks for these every Saturday. He has no idea they’re packed with fiber and protein.
I’ve tested this recipe probably thirty times. I’ve used different brands of coconut flour, different types of milk, and even tried baking powder vs. baking soda. Some batches were flat. Some were rubbery. But the version I’m sharing with you today? It’s the one. It’s the one that actually works. It’s simple, it’s fast, and it makes your kitchen smell like a bakery without the hassle of sifting gluten-free flour blends that cost $8 a bag. If you’ve been struggling with gluten-free baking, or if you just want a healthier alternative to your weekend stack, you need to try this. It’s going to change your Saturday mornings.
Why You’ll Love This Recipe
Look, I get it. Gluten-free baking has a reputation. It’s often expensive, complicated, and results in food that feels like you’re eating cardboard. But these gluten-free coconut flour pancakes are the exception to every rule. Here’s why they’ve earned a permanent spot in my weekend rotation:
Actually Fluffy, Not Flat — Most gluten-free pancakes are dense. These are light and airy. The key is using enough eggs and letting the batter sit. I’ve had friends bite into these and swear they’re regular flour pancakes. The texture is surprisingly tender, not crumbly.
Pantry-Friendly Ingredients — You probably have everything you need right now. Coconut flour, eggs, milk, baking powder, vanilla, and a little sweetener. No obscure flours or weird gums to order online. This is a “wake up and cook” recipe, not a “wait for delivery” recipe.
High Protein and Fiber — Because coconut flour is so absorbent, you use very little of it. But what you do use is nutrient-dense. These pancakes keep you full. I used to eat a stack of regular pancakes and be hungry an hour later. With these, I’m satisfied until lunch. That’s a huge win for busy parents.
Quick and Easy — From bowl to plate in about 15 minutes. Yes, fifteen. The batter comes together in one bowl, and the cooking time is short because the pancakes are small and thin. No standing over the stove for an hour.
Customizable Toppings — These pancakes are a blank canvas. I love them with fresh berries and a drizzle of maple syrup, but they’re also great with peanut butter and banana slices, or even savory with a little cheese and chives. They hold up well to toppings without falling apart.
This recipe has saved me from drive-thru guilt more times than I can count. It’s healthy enough to feel good about, but tasty enough to feel like a treat. That’s the holy grail of weekend breakfasts.
Ingredients You’ll Need
Before we get to the flipping, let’s talk about what goes into the bowl. This recipe is simple, but with coconut flour, precision matters. Here’s exactly what you need and why each ingredient plays a role.
Coconut Flour (1/2 cup / 50g) — This is the star. Use unsweetened, finely ground coconut flour. If you buy a bag that’s chunky or coarse, it won’t work as well. I prefer brands like Bob’s Red Mill or Anthony’s because they grind it finer. Don’t use almond flour as a direct 1:1 substitute here; it has different absorbency.
Eggs (4 large) — This is non-negotiable. Eggs are the structure in gluten-free baking. They bind everything together. If you use fewer eggs, the pancakes will fall apart. Room temperature eggs mix better, so I try to take them out of the fridge when I start.
Milk (1/2 to 3/4 cup / 120-180ml) — I use almond milk or oat milk for a dairy-free version, but cow’s milk works great too. The amount varies because coconut flour brands absorb liquid differently. Start with 1/2 cup, and add more if the batter is too thick. It should be like thick crepe batter, not pancake batter.
Baking Powder (1 teaspoon) — This gives them the lift. Make sure it’s fresh! Old baking powder makes flat pancakes. I keep a fresh tin specifically for baking.
Sweetener (2 tablespoons / 30g) — I use maple syrup or honey. You can use granulated erythritol for a keto version, but liquid sweetener helps keep them moist. Brown sugar works too, but it makes them denser. I stick to maple syrup for that classic pancake flavor.
Vanilla Extract (1 teaspoon) — For flavor. Don’t skip it. It masks any “eggy” taste from the high egg count.
Salt (1/4 teaspoon) — Just a pinch to balance the sweetness. It makes the flavors pop.
Butter or Oil (1 tablespoon) — For the pan. I use coconut oil for dairy-free, or butter for flavor. It doesn’t go into the batter; it’s for cooking.
Optional Add-ins — Blueberries, chocolate chips, or mashed banana. If you add berries, toss them in flour (or coconut flour) first so they don’t sink. I usually skip add-ins to keep the texture perfect, but sometimes I get lazy and throw in a handful of blueberries.
Equipment Needed
You don’t need fancy gadgets for this. Here’s what I actually use in my kitchen.
Medium Mixing Bowl — Just a standard bowl. I use a 3-quart bowl because the batter expands a bit when you mix.
Whisk — Essential for breaking up any lumps in the coconut flour. Coconut flour clumps easily, so a whisk is better than a spoon.
Non-Stick Skillet or Griddle — This is crucial. Coconut flour pancakes stick more than regular ones. I use a 10-inch non-stick skillet. If you have a griddle, even better, but you’ll have to cook in batches.
Silicone Spatula — For scraping the bowl and flipping. A metal spatula can scratch non-stick, so silicone is my go-to.
Measuring Cups and Spoons — For accuracy. Coconut flour is so absorbent that even a little extra can ruin the texture.
Paper Towels — I wipe my pan between batches. This helps prevent sticking and keeps the pancakes from burning.
How to Make Gluten-Free Coconut Flour Pancakes Fluffy
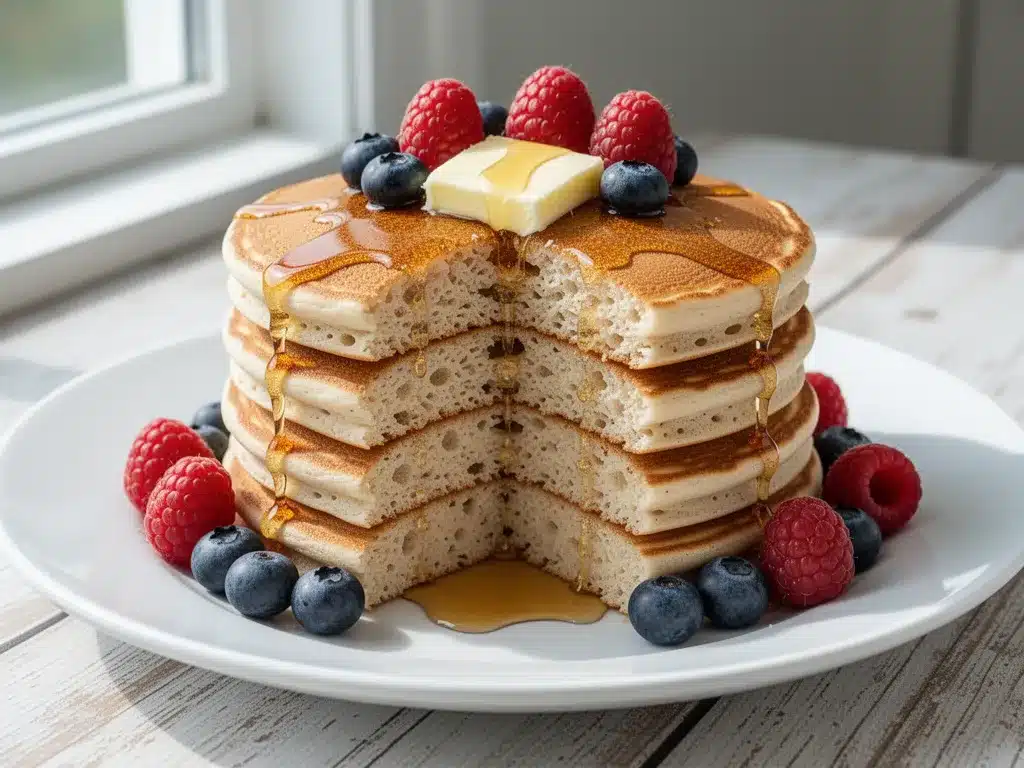
Alright, let’s get cooking. I’m going to walk you through exactly how I do it, step by step. There’s one critical step that most people miss, and I’ll highlight it so you don’t make my early mistakes.
Step 1: Mix the Wet Ingredients (2 minutes)
In your medium bowl, whisk together the eggs, milk, maple syrup, vanilla, and salt. Whisk vigorously until the mixture is smooth and slightly frothy. This incorporates air, which helps with fluffiness. Make sure the eggs are fully beaten in—no streaks of white or yellow.
Step 2: Add the Coconut Flour (1 minute)
Add the baking powder and coconut flour to the wet mixture. Whisk until combined. It will look thick and pasty. Don’t worry, this is normal. Coconut flour absorbs liquid instantly. Make sure there are no dry pockets of flour left at the bottom of the bowl.
Step 3: The Secret Rest (5-10 minutes)
Here is the game-changer. Let the batter sit for at least 5 minutes, preferably 10. This gives the coconut flour time to absorb the liquid fully. If you skip this, your pancakes will be gritty and dry. You’ll see the batter thicken and become more like a traditional pancake batter. This step ensures they are fluffy, not dense.
Step 4: Heat the Pan (2 minutes)
Place your non-stick skillet over medium-low heat. Add a small amount of butter or oil. Coconut flour burns easily, so keep the heat lower than you would for regular pancakes. Wait until the butter stops foaming and the oil shimmers. If the pan is too hot, the outside will burn before the inside cooks.
Step 5: Cook the Pancakes (3-4 minutes per batch)
Use a 1/4 cup measuring cup to scoop batter into the pan. Don’t spread them out—they will spread on their own. Cook for 2-3 minutes until you see bubbles form on the surface and the edges look set. The bottom should be golden brown. Flip gently with a spatula. Cook for another 1-2 minutes on the other side. They are done when they are golden and firm to the touch.
Step 6: Serve Immediately
Transfer to a plate and keep warm in a 200°F oven while you cook the rest. Serve with your favorite toppings. I love fresh strawberries and a drizzle of pure maple syrup.
Expert Tips for Perfect Fluffy Pancakes
After making these dozens of times, here are the lessons I’ve learned so you don’t have to fail like I did.
Let the Batter Rest — I cannot stress this enough. The 5-10 minute rest is what makes them fluffy. Coconut flour needs time to hydrate. If you rush this step, you get dense pancakes.
Low and Slow Heat — Coconut flour burns fast. Keep your pan on medium-low. If the first pancake browns too quickly, lower the heat. It’s better to cook them slower than to burn them.
Don’t Overmix — Once you add the flour, mix just until combined. Overmixing can make them tough. A few small lumps are okay.
Use Enough Fat — Even though they are healthy, don’t skimp on the butter or oil in the pan. Coconut flour is dry and needs lubrication to release from the pan.
Batch Cooking — This recipe makes about 8-10 small pancakes. I cook them in batches of 2 or 3. Keep the finished ones warm in the oven while you cook the rest.
Check Your Baking Powder — If your pancakes are flat, your baking powder is likely old. Fresh baking powder is essential for lift.
Variations and Substitutions
Once you’ve mastered the basic recipe, here are some ways to mix it up. I’ve tried all of these.
Banana Pancakes — Mash 1/2 ripe banana into the batter. It adds natural sweetness and moisture. You can reduce the maple syrup if you like.
Berry Blast — Fold in 1/2 cup fresh or frozen blueberries. If using frozen, don’t thaw them first, or they’ll bleed color into the batter.
Chocolate Chip — Add 1/4 cup dark chocolate chips. These are a hit with kids. The chocolate melts into pockets of goodness.
Pumpkin Spice — Add 1/4 cup pumpkin puree and 1 teaspoon pumpkin pie spice. Great for fall mornings.
Keto Version — Use erythritol instead of maple syrup and almond milk instead of dairy milk. These are low-carb and keto-friendly.
Gluten-Free Flour Blend — If you can’t find coconut flour, you can use a 1:1 gluten-free flour blend, but you’ll need to adjust the liquid. Start with 1 cup flour and 1 cup milk, and adjust as needed.
Serving and Storage
How to Serve:
I serve these straight from the pan, stacked high with fresh fruit and a drizzle of syrup. They’re also great with whipped cream, nut butter, or even a dollop of Greek yogurt for extra protein.
Leftovers:
Store leftovers in an airtight container in the fridge for up to 3 days. Reheat in the microwave for 30 seconds or in a toaster oven for crispiness. They don’t freeze well because coconut flour can become crumbly when thawed.
Make Ahead:
You can mix the batter the night before and store it in the fridge. Let it sit out for 10 minutes before cooking. This saves time on busy mornings.
Nutrition Information
I’m not a nutritionist, but here’s the breakdown if you’re tracking. These are estimates per pancake (based on 10 pancakes).
Per Serving:
– Calories: 70
– Protein: 4g
– Carbs: 3g
– Fiber: 2g
– Sugar: 2g
– Fat: 5g
– Saturated Fat: 4g
– Cholesterol: 80mg
– Sodium: 50mg
These are naturally low-carb and high-protein. They’re a great way to start the day without the sugar crash of regular pancakes.
Final Thoughts
So there you have it—my secret to fluffy, gluten-free coconut flour pancakes. I know I’ve talked a lot about the importance of the resting step and the heat, but once you nail those, you’ll never go back to regular flour pancakes. They’re healthier, they’re satisfying, and they make weekend mornings feel special without the stress.
Make these this Saturday. Try them with your favorite toppings. And if you have trouble, leave a comment below. I’m here to help. Happy cooking!
Frequently Asked Questions
Why are my coconut flour pancakes dry?
This usually happens if you don’t let the batter rest. Coconut flour needs time to absorb the liquid. Also, make sure you’re using enough eggs. They provide moisture and structure. If your coconut flour is very absorbent, you might need a little more milk.
Can I use almond flour instead?
You can, but the texture will be different. Almond flour is less absorbent, so you’ll need more of it and less liquid. I recommend sticking to coconut flour for this specific recipe for the best results.
How do I keep them from sticking?
Use a good quality non-stick pan. Make sure the pan is properly heated before adding batter. Wipe the pan with a paper towel between batches to remove any burnt bits. Don’t flip too early—wait until the edges are set and bubbles form.
Can I make these dairy-free?
Yes! Just use plant-based milk (almond, oat, soy) and cook with coconut oil or vegan butter. The rest of the ingredients are naturally dairy-free.
Why are my pancakes flat?
This is likely due to old baking powder or not letting the batter rest. Also, make sure you’re not overmixing the batter. Gentle mixing is key.
Can I freeze the batter?
No, the batter doesn’t freeze well. The eggs can separate, and the texture changes. It’s best to make fresh batter each time.
How many pancakes does this make?
This recipe makes about 8-10 small pancakes (2-3 inches in diameter). They are small because coconut flour is so absorbent. You can make larger pancakes if you use more batter per pancake, but they’ll take longer to cook.
Pin This Recipe!
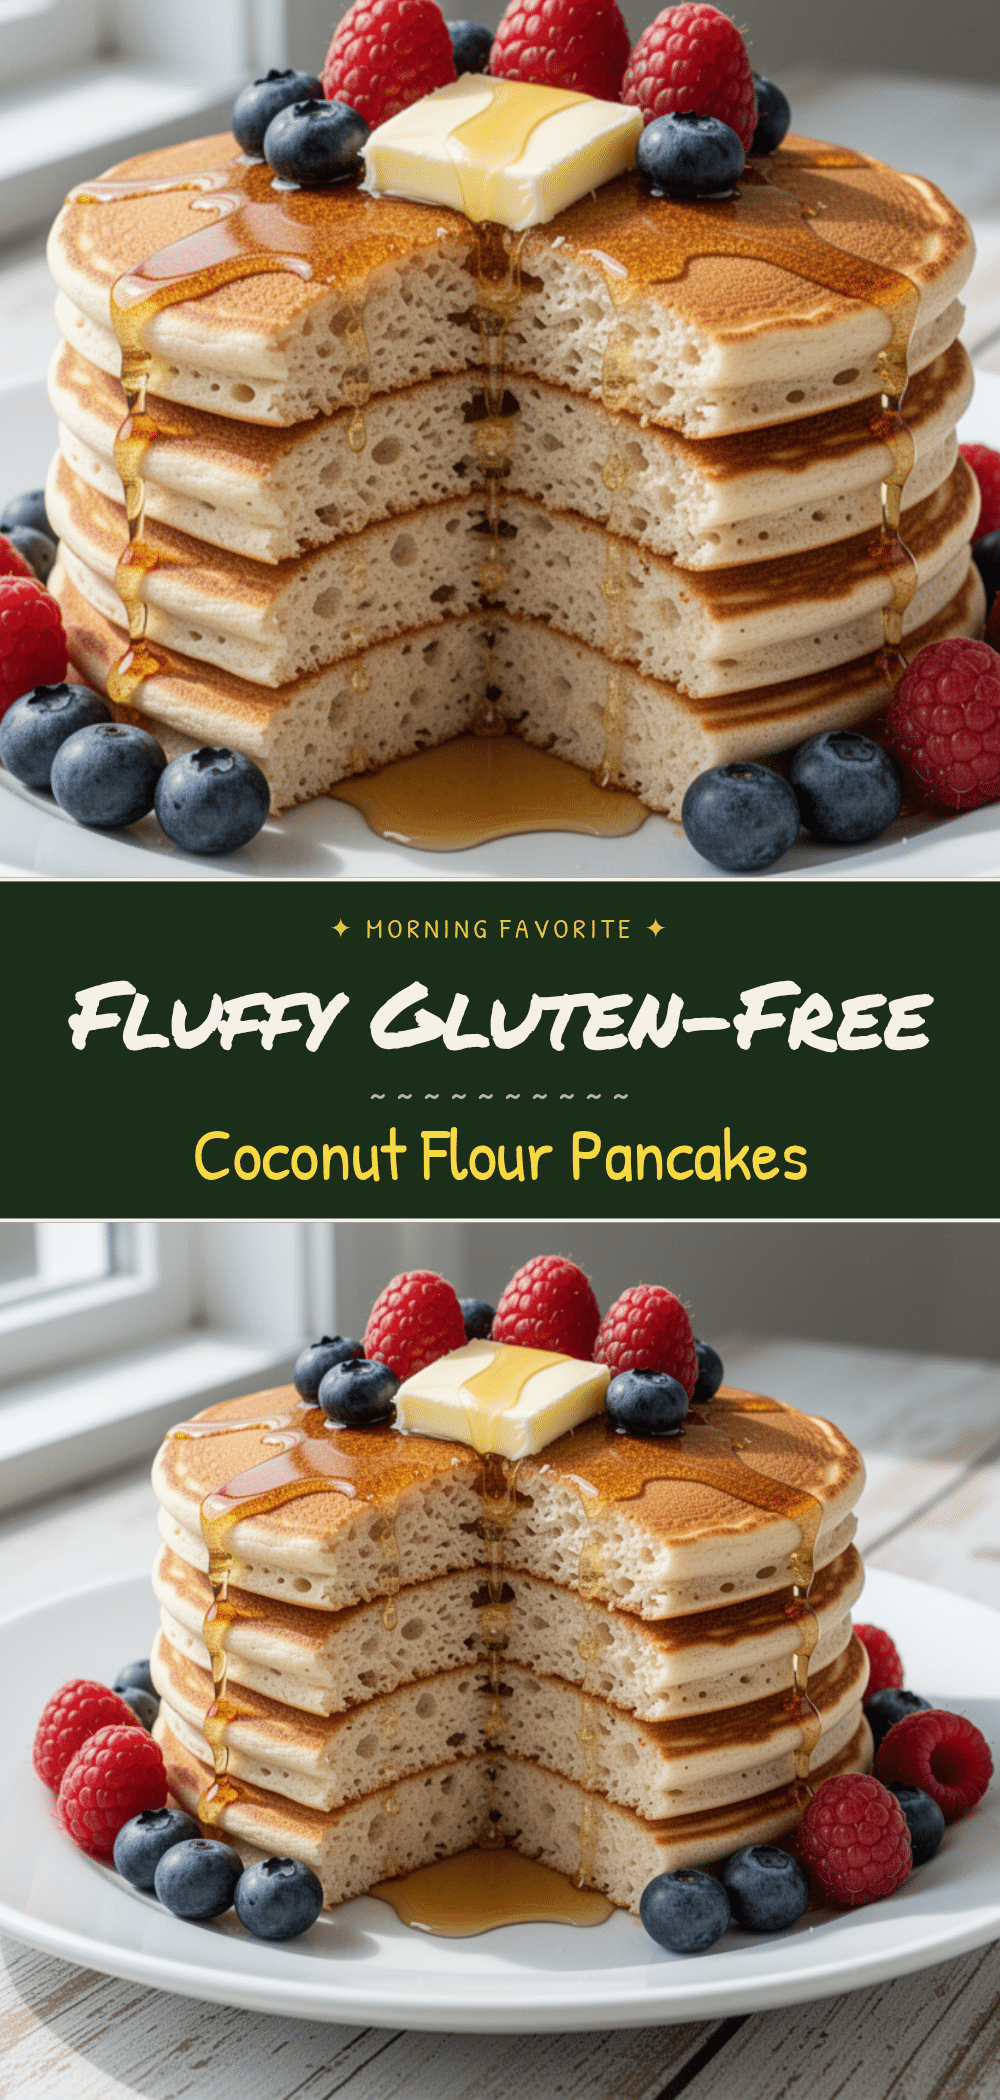
Gluten-Free Coconut Flour Pancakes: 5-Step Fluffy Weekend Breakfast
- Total Time: 25 minutes
- Yield: 8-10 servings 1x
Description
Soft, fluffy, and golden gluten-free coconut flour pancakes that are naturally grain-free and dairy-free. These quick, high-protein pancakes are easy to make with pantry ingredients and require a simple resting step for the perfect texture.
Ingredients
- 1/2 cup (50g) unsweetened, finely ground coconut flour
- 4 large eggs, room temperature
- 1/2 to 3/4 cup (120-180ml) milk (almond, oat, or cow’s milk)
- 1 teaspoon baking powder
- 2 tablespoons (30g) maple syrup or honey
- 1 teaspoon vanilla extract
- 1/4 teaspoon salt
- 1 tablespoon butter or coconut oil (for cooking)
Instructions
- In a medium mixing bowl, whisk together the eggs, milk, maple syrup, vanilla, and salt until smooth and slightly frothy.
- Add the baking powder and coconut flour to the wet mixture. Whisk until just combined; the batter will look thick and pasty.
- Let the batter rest for 5-10 minutes to allow the coconut flour to fully absorb the liquid.
- Heat a non-stick skillet or griddle over medium-low heat and add a small amount of butter or oil.
- Scoop 1/4 cup of batter into the pan for each pancake. Do not spread the batter.
- Cook for 2-3 minutes until bubbles form on the surface and edges look set. Flip gently and cook for another 1-2 minutes until golden brown and firm.
- Transfer cooked pancakes to a plate and keep warm in a 200°F oven while cooking the remaining batches.
Notes
Coconut flour is highly absorbent, so precision with measurements is key. The resting step is crucial for fluffiness; do not skip it. Keep heat on medium-low to prevent burning. If adding berries, toss them in a little coconut flour first to prevent sinking. These do not freeze well due to texture changes.
- Prep Time: 10 minutes
- Cook Time: 15 minutes
- Category: Breakfast
- Cuisine: American
Nutrition
- Serving Size: 1 small pancake (2-3
- Calories: 70
- Sugar: 2
- Sodium: 50
- Fat: 5
- Saturated Fat: 4
- Carbohydrates: 3
- Fiber: 2
- Protein: 4
Keywords: gluten-free, coconut flour, pancakes, fluffy, healthy breakfast, dairy-free, grain-free, keto-friendly, weekend breakfast


