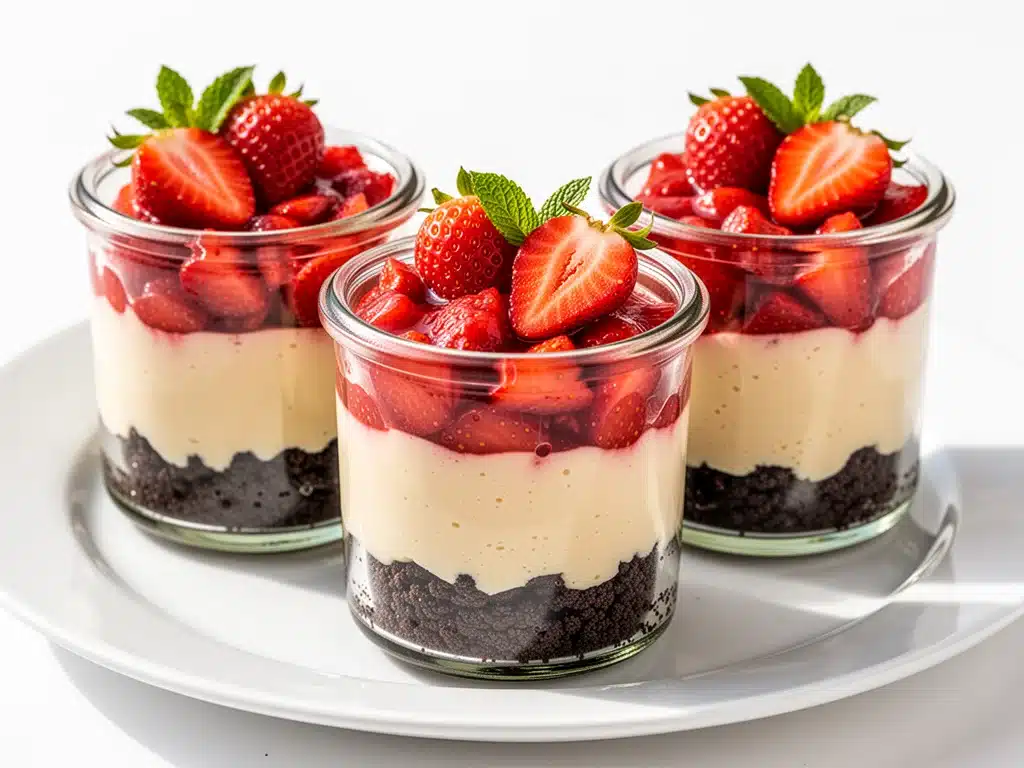
I still remember the first time I brought these jars to a potluck. It was one of those humid July evenings where the air feels heavy and the last thing you want to do is turn on the oven. I pulled out a stack of glass mason jars, each layered with creamy, tangy cheesecake filling and bright, juicy strawberries, and set them on the table. Within ten minutes, the empty jars were piling up in the trash bin.
People were asking me for the recipe before they’d even finished their second bite. “Is this baked?” someone asked. “How do you keep it from falling apart?” Another friend asked if I used a special mixer. The truth is, there’s no baking involved, no springform pan to fuss with, and no complicated techniques. It’s just five simple ingredients that come together in about 15 minutes.
These No-Bake Strawberry Cheesecake Jars everyone always asks for have become my go-to dessert for everything from last-minute dinner parties to mid-week treats. They’re portable, visually stunning, and honestly? They taste like a vacation in a glass. I’ve made them so many times that I can probably mix the filling with my eyes closed. But even after dozens of batches, I still get excited when I see that first glossy layer of strawberry topping glistening under the light.
What I love most is how forgiving this recipe is. If your strawberries are a bit on the sour side, you add a touch more sugar. If you don’t have time to chill the jars, you can freeze them for 20 minutes to speed things up. It’s the kind of dessert that feels fancy but doesn’t require a culinary degree. And unlike a traditional cheesecake that demands a water bath and hours of waiting, these jars are ready when you are. Let me walk you through exactly how I make them, the little tricks that keep them firm, and why they’re taking over my kitchen (and your dinner table).
Why You’ll Love This No-Bake Strawberry Cheesecake Jars Recipe
There are a million dessert recipes out there, so why this one? Why the jars? Why the no-bake version? Here’s the honest truth about what makes these jars special enough to keep making them over and over again.
Zero Oven Heat — Seriously, if it’s 85 degrees outside, you do not want to turn on the oven. These jars stay cool in your kitchen. I’ve made them in the middle of summer when the AC was broken, and my house stayed comfortable. No steam, no heat, no stress.
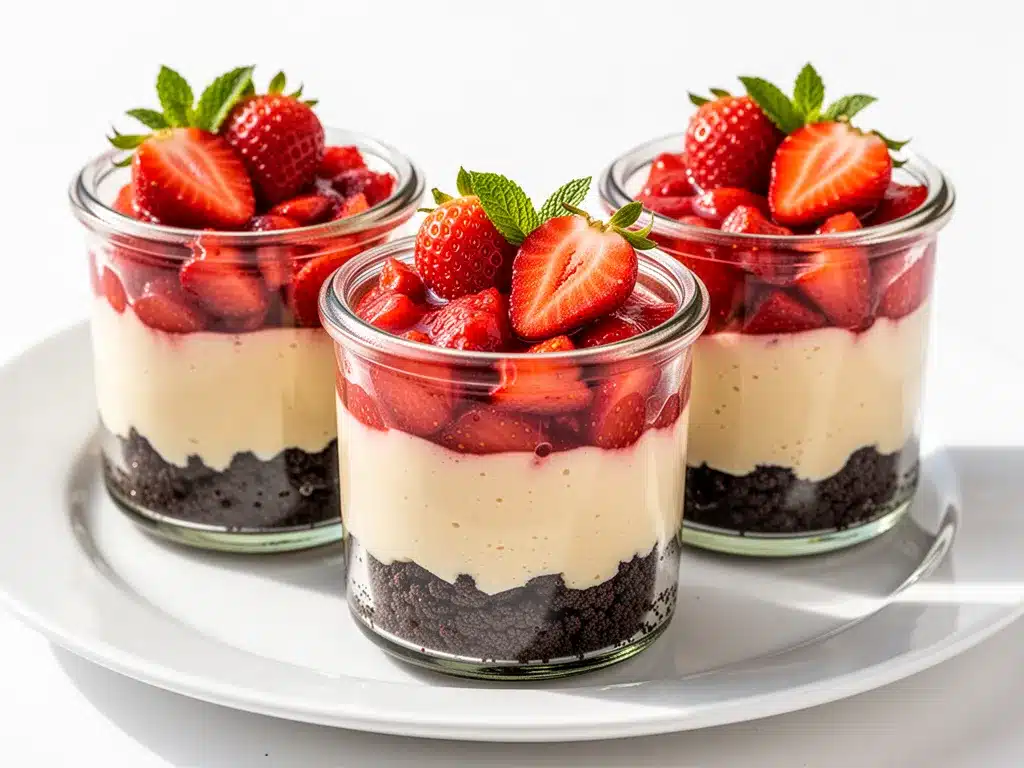
Visual Appeal That Stops Scrolling — Let’s be real, we eat with our eyes first. The layers in these jars are gorgeous. You’ve got the golden crumb base, the stark white cream cheese filling, and that vibrant red strawberry compote on top. It’s Instagram-worthy without trying too hard. I’ve served these at bridal showers, birthdays, and casual hangouts, and they always get compliments. They look like you spent hours on them, but you didn’t.
Make-Ahead Magic — This is the big one. I can assemble these jars two days in advance. I keep them in the fridge, covered, and they actually get better as they sit. The flavors meld together, the crust sets up nicely, and the strawberries soften just a little. When guests arrive, I just pull them out. No last-minute panic, no burning my hands on a hot pan. It’s dinner party salvation.
Perfect Portions — Who else hates having half a cheesecake sitting in the fridge for a week? With these jars, you get individual servings. No slicing, no crumbling, no messy cleanup. You just grab a jar, maybe a spoon, and you’re done. It’s perfect for portion control or for feeding a crowd without making a huge dessert.
Simple Ingredients — You don’t need exotic items or hard-to-find flour. Just cream cheese, sugar, vanilla, graham crackers, butter, and strawberries. If you can find those, you can make this. I keep graham crackers and cream cheese stocked specifically for this dessert because it’s that reliable.
This is my answer to “I need a dessert that looks impressive but I’m tired.” It’s the kind of treat that makes everyone happy, even the people who claim they don’t like cheesecake. The strawberry flavor cuts through the richness, and the texture is light, not heavy. It’s refreshing, sweet, and totally addictive.
Ingredients You’ll Need for No-Bake Strawberry Cheesecake Jars
Here’s the thing about this recipe: it’s deceptively simple. You only need a handful of ingredients, but the quality matters. I’m not trying to sell you on expensive brands, but I will tell you where to spend your money and where you can save. I’ve tested this with budget items and premium items, and here’s what actually makes a difference.
For the Graham Cracker Crust
Graham cracker crumbs (1 ½ cups / 150g) — You can buy pre-made crumbs, but I prefer making my own. It’s easier and tastes fresher. Just pulse graham crackers in a food processor until fine. If you use store-bought, make sure they’re fine crumbs, not chunks. It affects the texture of the base.
Unsalted butter (6 tablespoons / 85g, melted) — This binds the crust. Use real butter, not margarine. Margarine can make the crust greasy and soggy. Melt it completely so it mixes evenly with the crumbs. If you’re in a rush, microwave it in 15-second bursts, stirring in between.
Granulated sugar (2 tablespoons / 25g) — Just a touch to sweeten the crust. Don’t skip it; it balances the tartness of the cream cheese. Brown sugar works too, but it makes the crust darker and chewier. I stick to white for that classic look.
Pinch of salt — Enhances the flavor. Don’t underestimate a pinch of salt. It makes the sweet tastes sweeter.
For the Cheesecake Filling
Full-fat cream cheese (16 oz / 450g, softened) — This is the star. Do not use low-fat cream cheese. It won’t set properly and will be runny. Let it sit on the counter for 30 minutes before you start. Softened cream cheese blends smoothly. If you try to mix cold cream cheese, you’ll get lumps, and nobody wants lumpy cheesecake.
Powdered sugar (½ cup / 60g) — I use powdered sugar, not granulated. It dissolves instantly into the cream cheese. Granulated sugar will stay gritty in a no-bake recipe. Sift it if it’s clumpy.
Heavy cream (1 cup / 240ml, cold) — This gives the filling its light, airy texture. Whip it to stiff peaks before folding it in. If your cream is warm, it won’t whip. Keep it cold until the last moment.
Vanilla extract (1 teaspoon) — Pure vanilla, not imitation. It adds that classic cheesecake flavor. If you don’t have vanilla, you can use almond extract, but it’s a different flavor profile.
Lemon juice (1 tablespoon) — Just a splash. It cuts the richness and brightens the flavor. Don’t skip it; it’s what makes it taste like real cheesecake and not just sweet cheese.
For the Strawberry Topping
Fresh strawberries (2 cups / 300g, hulled and sliced) — Use ripe, red strawberries. If they’re pale or hard, they won’t be sweet enough. If fresh strawberries are out of season, you can use frozen, but thaw and drain them well first. I prefer fresh for the best flavor and texture.
Strawberry jam or preserves (¼ cup / 60g) — This adds gloss and extra strawberry flavor. If you don’t have jam, you can make a quick compote by simmering chopped strawberries with a teaspoon of sugar until soft. But jam is easier.
Water (1 tablespoon) — Thins the jam for easy drizzling.
Optional: Fresh mint leaves — For garnish. Adds a pop of green and freshness. I like it for presentation.
Equipment You’ll Need
You don’t need fancy gadgets for this. Here’s what I actually use in my kitchen.
Food processor or blender — For crushing the graham crackers. If you don’t have one, put them in a ziplock bag and crush with a rolling pin. It takes more effort but works fine.
Mixing bowls — Two large bowls. One for the crust, one for the filling. I use glass bowls because I can see what’s mixing.
Hand mixer or stand mixer — For whipping the cream cheese and cream. A hand mixer is perfect. A whisk works too, but it takes arm strength. I’ve done it with a whisk, but I’m tired for days.
Measuring cups and spoons — Standard stuff. Accuracy matters with the sugar and liquid.
Spatula — For folding the whipped cream into the cheese mixture. A silicone spatula is best because it gets into the corners.
Glass jars or cups — I use 8-ounce mason jars. You can use any clear glass, like dessert cups or tumblers. Clear glass shows off the layers. Opaque mugs hide the beauty, so avoid those.
Chiller or refrigerator — Obviously, you need a place to set them. But if you’re in a hurry, the freezer works for 20 minutes.
Piping bag or spoon — For layering. A spoon is fine, but a piping bag makes it look professional. I use a spoon because I’m lazy, and it still looks great.
How to Make No-Bake Strawberry Cheesecake Jars
Alright, let’s make this! It’s easier than you think. I’m walking you through exactly how I do it, step by step, so you can get it right the first time.
Step 1: Make the Crust (5 minutes)
In a medium bowl, mix the graham cracker crumbs, melted butter, sugar, and salt. Stir until it looks like wet sand. It should hold together when you pinch it. If it’s too dry, add a teaspoon more butter. If it’s too wet, add a tablespoon more crumbs.
Press about 2 tablespoons of the mixture into the bottom of each jar. Use the back of a spoon to pack it down firmly. You want a solid base, not a loose crumb layer. I press it in with a flat-bottomed glass for an even surface.
Step 2: Whip the Cream Cheese Filling (10 minutes)
In a large bowl, beat the softened cream cheese and powdered sugar with a hand mixer on medium speed until smooth and creamy. Scrape down the sides of the bowl. This should take about 2-3 minutes. Make sure there are no lumps.
In a separate cold bowl, whip the heavy cream and vanilla extract on high speed until stiff peaks form. The cream should hold its shape when you lift the beaters. Don’t over-whip it into butter, just stiff peaks.
Gently fold the whipped cream into the cream cheese mixture. Use a spatula and fold from the bottom up. Do this slowly so you don’t deflate the cream. You want a light, airy texture. Add the lemon juice and fold it in last.
Step 3: Layer the Jars (5 minutes)
Spoon about ¼ cup of the cheesecake filling into each jar, on top of the crust. Smooth the top with a knife or spatula. Repeat for all jars.
In a small bowl, mix the strawberry jam with water until smooth. Drizzle a teaspoon of the jam over the cheesecake layer in each jar. You don’t need to cover it completely; just a few streaks look nice.
Slice the fresh strawberries thinly. Arrange the slices on top of the jam layer. You can fan them out or just pile them on. I like fanning them for a pretty look.
Step 4: Chill and Set (At least 2 hours)
Place the jars in the refrigerator. Let them chill for at least 2 hours, but overnight is best. This allows the crust to set and the flavors to meld. If you’re in a hurry, freeze them for 20 minutes, but they’ll be colder.
Before serving, garnish with a mint leaf if you like. Serve cold. Enjoy!
Expert Tips for Perfect Cheesecake Jars
Here’s everything I’ve learned from making these dozens of times. These tips will save you from my mistakes.
Softened Cream Cheese is Non-Negotiable
If your cream cheese is cold, it will be lumpy. I’ve tried to rush it in the microwave, but it melts unevenly. Let it sit on the counter for 30 minutes. If you forget, cut it into cubes and let it sit for 15 minutes. It’s worth the wait.
Don’t Overmix the Filling
Once you add the whipped cream, fold gently. Overmixing deflates the air, and your filling will be dense. You want it light and fluffy. If it’s heavy, it won’t feel like cheesecake.
Press the Crust Firmly
A loose crust falls apart. Press it down hard. I use the bottom of a measuring cup to pack it tight. It should feel solid when you touch it.
Use Ripe Strawberries
Bland strawberries mean bland topping. Pick red, fragrant berries. If they’re white or hard, they’ll be sour. Taste one before you slice them.
Chill Longer Than You Think
2 hours is the minimum, but 4 hours is better. Overnight is best. The longer they chill, the better the texture. I usually make them the night before.
Drizzle, Don’t Drown
When adding the jam, drizzle lightly. Too much jam makes the topping soggy. You want streaks, not a pool.
Variations & Substitutions
Once you’ve nailed the basic version, here’s how you can mix it up. I’ve tried all of these.
Blueberry Cheesecake Jars
Swap strawberries for blueberries. Use blueberry jam for the drizzle. Same recipe, different fruit. My kids prefer blueberries.
Raspberry Cheesecake Jars
Raspberries are tart, so add a teaspoon more sugar to the topping. Use raspberry jam. It’s tangy and delicious.
Chocolate Cheesecake Jars
Add 2 tablespoons of cocoa powder to the cream cheese mixture. Use chocolate crumbs instead of graham crackers. Drizzle with chocolate sauce. For chocolate lovers.
Oreo Cheesecake Jars
Use crushed Oreos for the crust. Skip the sugar in the crust. Drizzle with white chocolate. It’s like a dessert in a jar.
Gluten-Free
Use gluten-free graham crackers or almond flour for the crust. Everything else is naturally gluten-free. I use almond flour for a nuttier flavor.
Dairy-Free
Use coconut cream instead of heavy cream, and dairy-free cream cheese. It’s heavier but still tasty. My dairy-free friend likes it.
Vegan
Use vegan cream cheese and coconut cream. Same method. It’s different but works. I make this for vegan guests.
Serving & Storage
How to Serve
I serve these straight from the jar. They’re elegant but casual. I put them on a platter with a few extra strawberries on the side. They’re perfect for picnics because they’re portable. No plates needed.
Side Dishes
These are desserts, so they stand alone. But if you want a savory side, serve with grilled chicken or salad. They’re light enough to follow a heavy meal.
Storage
Store in the fridge for up to 3 days. Cover with plastic wrap or lids. They get firmer in the fridge, which is good. Don’t leave them out for more than 2 hours.
Freezing
These don’t freeze well. The cream cheese separates when thawed. Make them fresh or store in the fridge. I don’t recommend freezing.
Meal Prep
Make the crust and filling ahead. Assemble the day of. Or assemble 2 days ahead. I do both. It’s flexible.
Nutrition Information
I’m not a nutritionist, but here’s the breakdown if you’re tracking. This is an estimate per jar (makes 8 jars).
– Calories: 320
– Protein: 6g
– Carbs: 35g
– Fiber: 1g
– Sugar: 22g
– Fat: 18g
– Saturated Fat: 11g
– Cholesterol: 55mg
– Sodium: 180mg
– Calcium: 80mg
What’s Good
– Moderate protein from cream cheese
– Calcium from dairy
– Vitamins from strawberries
What to Know
– Higher in sugar and fat
– Contains dairy and gluten
– Moderate sodium
My Take
This is a treat. It’s sweet and rich. Enjoy it in moderation. I make it for special occasions, not every day. But when I do, I love it.
Final Thoughts
So that’s my go-to No-Bake Strawberry Cheesecake Jars! I’ve talked your ear off, but I hope you’re hungry now. These jars have saved me more times than I can count. They’re my answer to “I need dessert, but I’m tired.” They’re easy, pretty, and delicious. My family loves them, and so will yours.
Make them your own! Try different fruits, different jams, different crumbs. The best recipes are the ones you adapt. If you make these, drop a comment and let me know what you think! I love hearing how recipes turn out. If something doesn’t work, tell me. I’m here to help.
Happy cooking! And I hope your kitchen smells as good as mine does right now.
Frequently Asked Questions
Can I use frozen strawberries?
Yes, but thaw them first and drain the liquid. Frozen strawberries are watery, and too much liquid makes the topping runny. Pat them dry with a paper towel. They’ll work, but fresh is better.
Why is my cheesecake filling runny?
Usually, the cream cheese wasn’t softened enough, or the whipped cream was over-mixed. Make sure the cream cheese is smooth before adding the cream. And fold gently. If it’s still runny, chill it longer. It might set up.
Can I make these ahead?
Yes! Make them 1-2 days ahead. Store in the fridge. They get better as they sit. I usually make them the night before a party.
Can I freeze these jars?
No. The cream cheese separates when frozen and thawed. The texture becomes grainy. Make them fresh or store in the fridge. Don’t freeze.
What size jars work best?
8-ounce mason jars are perfect. You can use smaller (4 oz) or larger (12 oz) jars, but adjust the layers. I stick to 8 oz for a good portion size.
Can I use low-fat cream cheese?
I don’t recommend it. It doesn’t set well and is runny. Use full-fat for the best texture. It’s worth the extra calories.
How long do they last in the fridge?
Up to 3 days. After that, the crust gets soggy and the strawberries wilt. Make them in batches if needed.
Pin This Recipe!
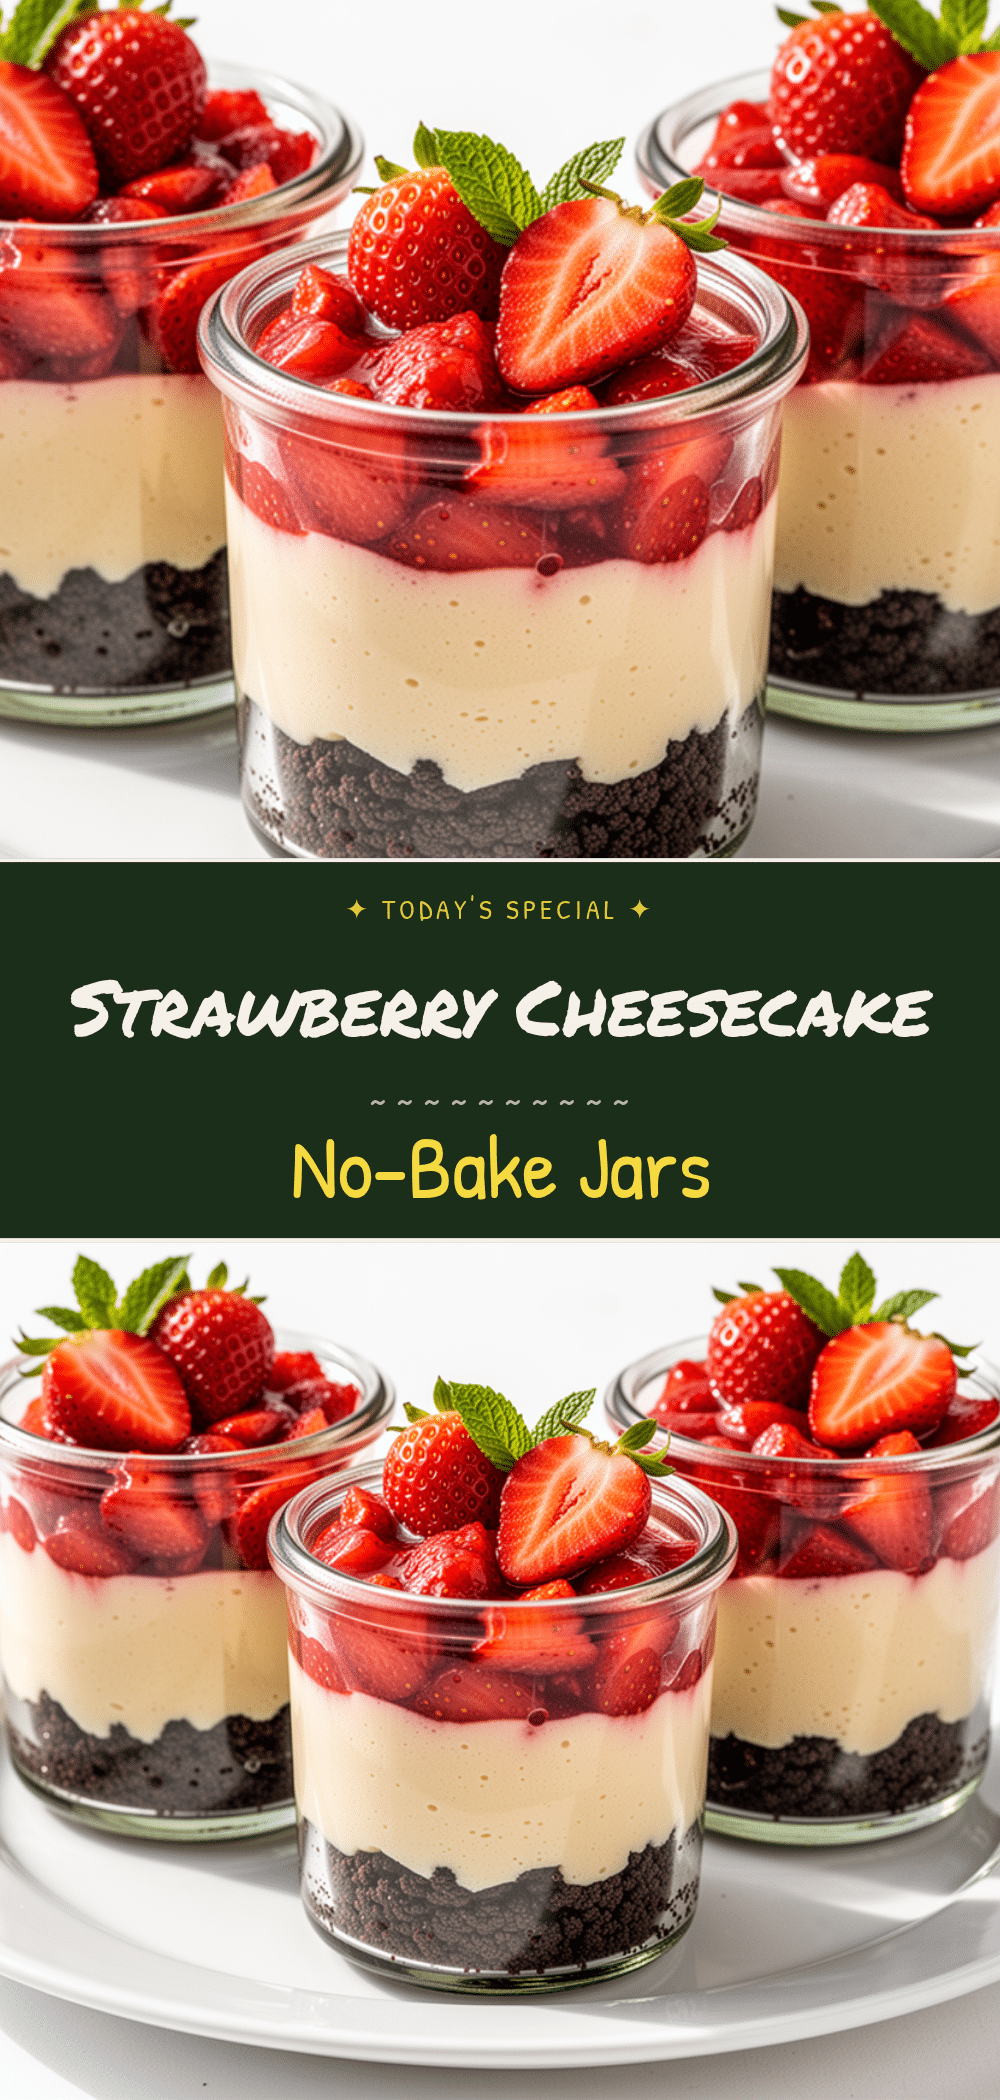
No-Bake Strawberry Cheesecake Jars
- Total Time: 2 hours 15 minutes
- Yield: 8 servings 1x
Description
These easy, no-bake strawberry cheesecake jars are a refreshing summer dessert that requires no oven. With layers of graham cracker crust, creamy cheesecake filling, and fresh strawberries, they are perfect for make-ahead entertaining and individual servings.
Ingredients
- 1 ½ cups (150g) graham cracker crumbs
- 6 tablespoons (85g) unsalted butter, melted
- 2 tablespoons (25g) granulated sugar
- Pinch of salt
- 16 oz (450g) full-fat cream cheese, softened
- ½ cup (60g) powdered sugar
- 1 cup (240ml) heavy cream, cold
- 1 teaspoon vanilla extract
- 1 tablespoon lemon juice
- 2 cups (300g) fresh strawberries, hulled and sliced
- ¼ cup (60g) strawberry jam or preserves
- 1 tablespoon water
- Fresh mint leaves, optional for garnish
Instructions
- In a medium bowl, mix graham cracker crumbs, melted butter, granulated sugar, and salt until the mixture resembles wet sand.
- Press about 2 tablespoons of the crust mixture into the bottom of each 8-ounce glass jar, packing it down firmly with the back of a spoon or a flat-bottomed glass.
- In a large bowl, beat the softened cream cheese and powdered sugar with a hand mixer on medium speed until smooth and creamy, about 2-3 minutes.
- In a separate cold bowl, whip the heavy cream and vanilla extract on high speed until stiff peaks form.
- Gently fold the whipped cream into the cream cheese mixture using a spatula, folding from the bottom up to maintain airiness.
- Add the lemon juice to the filling and fold gently to combine.
- Spoon about ¼ cup of the cheesecake filling into each jar on top of the crust and smooth the top.
- In a small bowl, mix the strawberry jam with water until smooth, then drizzle a teaspoon over the cheesecake layer in each jar.
- Arrange sliced fresh strawberries on top of the jam layer.
- Refrigerate the jars for at least 2 hours, or overnight for best results, to allow the crust to set and flavors to meld.
- Garnish with fresh mint leaves before serving cold.
Notes
Ensure cream cheese is fully softened to avoid lumps. Do not overmix the filling once whipped cream is added to keep it light. The jars can be made 1-2 days in advance. They do not freeze well as the cream cheese may separate upon thawing. For gluten-free, use gluten-free graham crackers or almond flour. For dairy-free, use coconut cream and dairy-free cream cheese.
- Prep Time: 15 minutes
- Cook Time: 0 minutes
- Category: Dessert
- Cuisine: American
Nutrition
- Serving Size: 1 jar (8 oz)
- Calories: 320
- Sugar: 22
- Sodium: 180
- Fat: 18
- Saturated Fat: 11
- Carbohydrates: 35
- Fiber: 1
- Protein: 6
Keywords: no-bake cheesecake, strawberry dessert, mason jar desserts, summer dessert, make-ahead dessert, easy cheesecake, individual desserts


