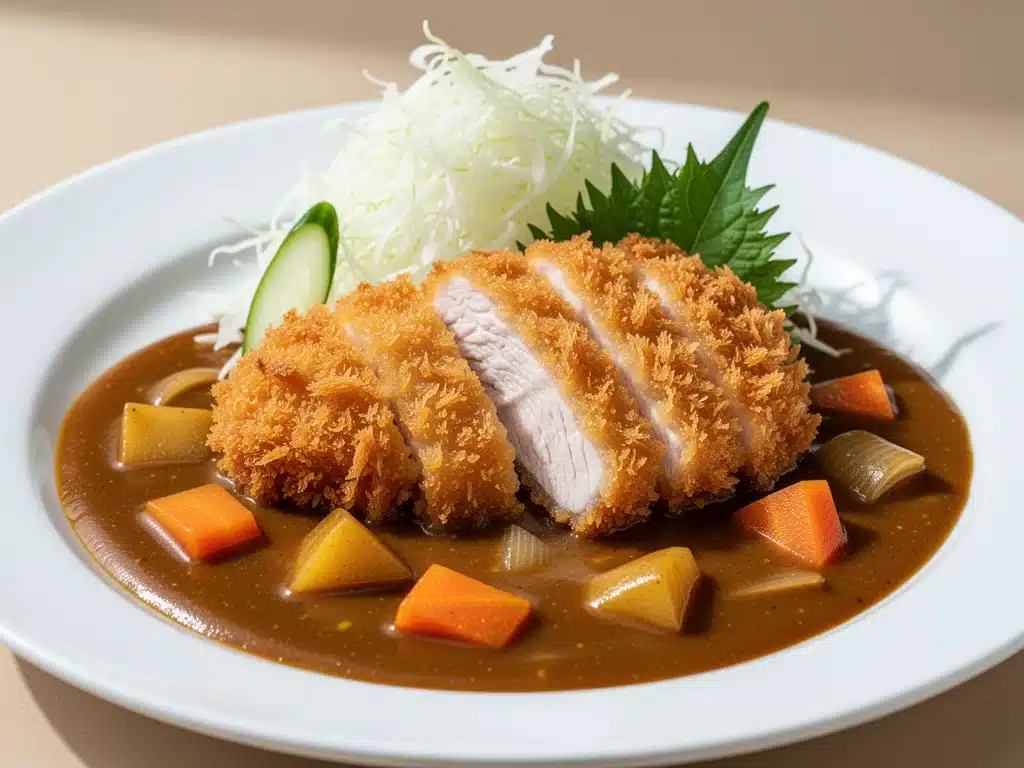
I still remember the first time I tried Japanese chicken katsu curry in a tiny, steamy restaurant in Tokyo. It was raining sideways, and I was huddled over a bowl that looked like a work of art. The curry wasn’t spicy like Thai or Indian curries; it was sweet, savory, and deeply comforting. The chicken katsu sat on top, golden and crunchy, and when I cut into it, the juices mixed with the thick, orange sauce. It was love at first bite.
For years, I tried to recreate that magic at home. I bought jars of curry roux from the Asian market, but they never tasted quite right. They were either too sweet, too thick, or the chicken wasn’t crispy enough. I spent months tweaking my authentic Japanese chicken katsu curry recipe, testing different breading methods, adjusting the spice blends, and perfecting the sauce consistency. Now, I can confidently say this is the best homemade version I’ve ever made. It’s better than takeout, easier than you think, and it smells like a Tokyo street food stall every time you make it.
Why You’ll Love This Chicken Katsu Curry
This recipe has completely changed our weeknight dinner routine. Here’s why:
- Crunchy Chicken Perfection — The double-dredge method (flour, egg, panko) creates an impossibly crispy coating that stays crunchy even after soaking in the curry sauce. I’ve tried single-dredging, and it just doesn’t hold up. This method is non-negotiable.
- Rich, Complex Sauce — Using a combination of curry roux blocks and homemade additions (like grated apple and soy sauce) gives it a depth of flavor that store-bought jars can’t match. It’s sweet, savory, and slightly tangy.
- Weeknight Friendly — Yes, it looks fancy, but it takes about 45 minutes from start to finish. The sauce can simmer while you fry the chicken. I make this on busy Tuesdays when I need something impressive but not stressful.
- Crowd-Pleaser — My picky eaters love the mild sweetness, and my spice-loving friends appreciate the subtle heat from the ginger and garlic. Everyone asks for the recipe.
- Amazing Leftovers — The next day, the chicken gets even more flavorful as it absorbs the sauce. I deliberately make extra for lunch. It reheats beautifully in the microwave.
This is my go-to when I want to feel like I’m dining out but staying in. No complicated techniques, no weird ingredients, just reliable, delicious food that makes everyone happy.
Ingredients You’ll Need
Here’s the best part: you probably have most of this already. I’m particular about three ingredients here, and I’ll tell you exactly why.
For the Chicken Katsu
Chicken breasts (2 large, about 1.5 lbs / 680g) — I use boneless, skinless breasts. Pound them to an even ½-inch thickness so they cook evenly. If they’re too thick, the outside burns before the inside cooks.
Panko breadcrumbs (2 cups / 160g) — This is crucial. Regular breadcrumbs are too fine. Panko creates those big, airy, crunchy flakes that define katsu. I buy the Japanese brand, but any panko works.
All-purpose flour (1 cup / 125g) — For the first coating. It helps the egg stick to the chicken.
Eggs (2 large) — Beaten with a pinch of salt. This is the glue for the panko.
Vegetable oil (1 cup / 240ml) — For frying. I use a deep skillet or Dutch oven. Canola oil works too, but vegetable oil has a higher smoke point.
For the Curry Sauce
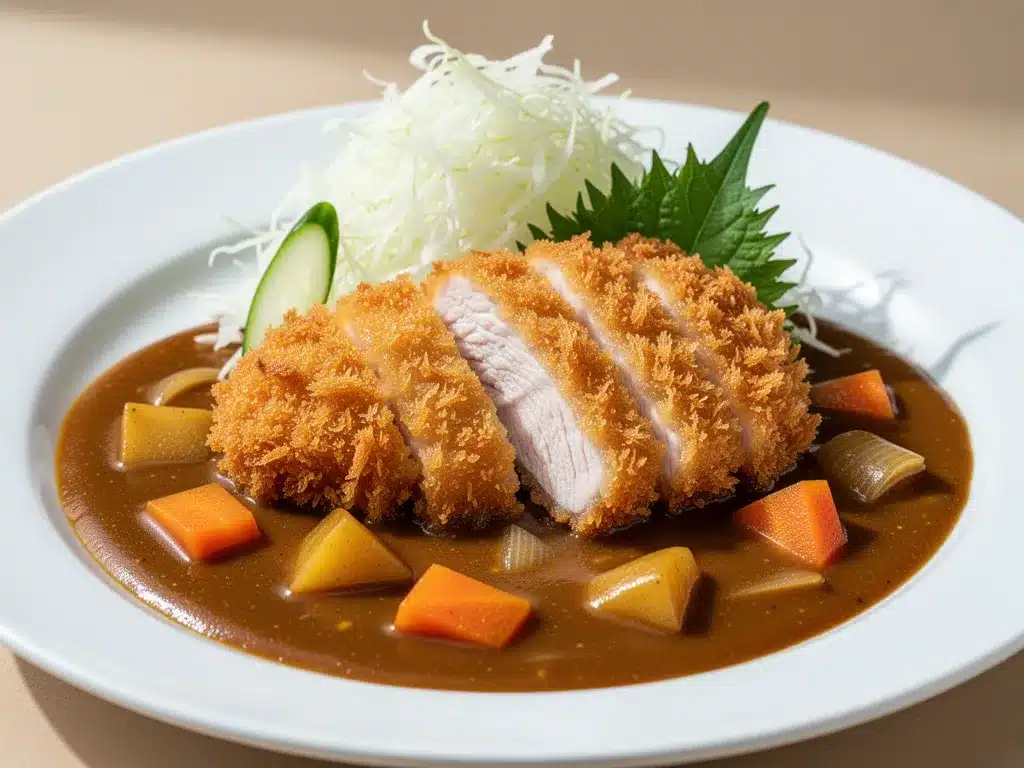
Curry roux blocks (2 packages, about 14 oz / 400g) — I use S&B Golden Curry or Vermont Curry. Medium heat is best for beginners. Sweet is too sweet; hot is too spicy. Medium is the Goldilocks zone.
Onion (2 medium, thinly sliced) — The base of the sauce. Caramelize them slowly for deep flavor. This takes patience but is worth it.
Carrots (2 medium, chopped) — Adds sweetness and color. I like them chunky so they hold their shape.
Potatoes (2 medium, cubed) — Starchy and comforting. Cut them into 1-inch cubes so they don’t disintegrate.
Water or chicken broth (4 cups / 960ml) — Broth adds more flavor, but water works fine if you’re keeping it simple.
Grated apple (1 small) — This is the secret ingredient. It adds natural sweetness and balances the spices. I use a food processor to grate it quickly.
Soy sauce (1 tablespoon) — Adds umami and depth. Don’t skip it.
Ginger and garlic (1 teaspoon each, minced) — Fresh is best. Jarred works in a pinch, but fresh tastes so much better.
For Serving
Steamed rice (4 cups cooked) — Japanese short-grain rice is traditional. It’s sticky and perfect for soaking up the curry.
Pickled vegetables (optional) — Takuan (pickled daikon) or pickled ginger cuts the richness of the curry. I always have some in the fridge.
Equipment Needed
You don’t need fancy equipment for this. Here’s what I actually use:
Large skillet or Dutch oven — For frying the chicken. I use a 12-inch skillet. Needs to fit two cutlets comfortably without crowding.
Deep pot — For the curry sauce. A 6-quart pot works well. I prefer stainless steel for even heating.
Meat mallet or rolling pin — To pound the chicken breasts. I use a metal mallet, but a rolling pin works if you’re careful.
Three shallow bowls — For the breading station (flour, egg, panko). I use pie dishes because they’re shallow and wide.
Wire rack and baking sheet — To rest the fried chicken. Keeps the bottom crispy so it doesn’t get soggy.
Grater or food processor — For the apple. A box grater works, but a food processor is faster.
How to Make It: Step-by-Step
Alright, let’s make this! I’m walking you through exactly how I do it, including the little tricks I’ve picked up.
Step 1: Prepare the Chicken (10 minutes)
Pound the chicken breasts to an even ½-inch thickness. This ensures they cook evenly and stay tender. If you have a meat mallet, use it. If not, a rolling pin works. Season both sides with salt and pepper.
Step 2: Set Up Breading Station (5 minutes)
Set up three shallow bowls: one with flour, one with beaten eggs, and one with panko breadcrumbs. This is called the “standard breading procedure.” Having everything ready makes the process smooth.
Step 3: Dredge the Chicken (5 minutes)
Dredge each chicken breast in flour, shaking off excess. Dip into the egg, letting the excess drip off. Then press firmly into the panko, making sure it’s fully coated. Press the panko into the chicken so it sticks. This double-dredge method is key for extra crunch.
Step 4: Fry the Chicken (10 minutes)
Heat oil in a large skillet over medium-high heat. Test the oil by dropping in a piece of panko—it should sizzle immediately. Fry the chicken for 3-4 minutes per side until golden brown and cooked through (internal temperature of 165°F / 74°C). Drain on a wire rack. Don’t skip the rack—it keeps the bottom crispy.
Step 5: Make the Curry Sauce (20 minutes)
In a large pot, sauté the sliced onions until soft and caramelized. Add the minced garlic and ginger, cook for 1 minute. Add the carrots and potatoes, stir for 2 minutes. Pour in the water or broth. Bring to a boil, then reduce heat and simmer for 10 minutes until vegetables are tender.
Step 6: Add Roux and Seasonings (5 minutes)
Turn off the heat. Break the curry roux blocks into pieces and add them to the pot. Stir until completely dissolved. Turn the heat back on low. Stir in the grated apple and soy sauce. Simmer for 5 more minutes, stirring occasionally, until thickened. Taste and adjust seasoning if needed.
Step 7: Assemble and Serve
Slice the chicken katsu into strips. Place a generous scoop of rice on a plate. Top with the chicken strips. Ladle the curry sauce over the chicken and rice. Garnish with pickled vegetables if desired. Serve immediately while the chicken is still crispy.
Expert Tips & Tricks
Here’s everything I’ve learned from making this dozens of times. These tips will save you from my mistakes.
Double Dredge for Extra Crunch
I forgot to double-dredge once, and the breading fell off in the oil. Now I always press the panko firmly into the chicken. It makes a huge difference in texture.
Caramelize Onions Slowly
Don’t rush the onions. They should be soft and sweet, not browned. This takes 10-15 minutes. If you rush them, the sauce will taste sharp instead of mellow.
Turn Off Heat for Roux
Always remove the pot from heat before adding the roux blocks. High heat can make the roux clumpy. Once dissolved, turn the heat back on low. This ensures a smooth sauce.
Rest the Chicken on a Rack
Never drain fried chicken on paper towels. The steam gets trapped and makes the bottom soggy. A wire rack allows air circulation, keeping the crust crispy.
Add Apple for Balance
The grated apple adds natural sweetness and tenderizes the sauce. It’s a classic Japanese trick. Don’t skip it—it balances the savory spices perfectly.
Variations & Substitutions
Once you’ve nailed the basic version, here’s how you can mix it up. I’ve tried all of these.
Pork Katsu Curry
Swap chicken for pork loin cutlets. Pork has a richer flavor that pairs well with the sweet curry. I use the same breading method.
Vegetable Katsu Curry
Use eggplant or tofu instead of chicken. Slice eggplant, salt it to remove bitterness, then bread and fry. Tofu needs to be pressed and frozen first for a meaty texture.
Spicy Curry
Add 1-2 teaspoons of chili powder or sriracha to the sauce. Or use “hot” curry roux blocks. I add a dash of cayenne for extra kick.
Lighter Version
Bake the chicken instead of frying. Spray with cooking oil and bake at 400°F / 200°C for 20 minutes, flipping halfway. It’s less crispy but still delicious.
Gluten-Free
Use gluten-free curry roux (available in Asian markets) and gluten-free panko. The rest of the ingredients are naturally gluten-free.
Serving & Storage
How to Serve: I usually serve this straight from the skillet at the dinner table. It looks rustic and stays warm. Side dishes: steamed rice, pickled vegetables, and a simple green salad.
Toppings Bar: When I have guests, I put out: extra panko for crunch, pickled ginger, chopped green onions, and chili flakes. Everyone customizes their bowl.
Storage: Store in an airtight container for up to 3 days. The curry thickens in the fridge—totally normal. Add a splash of water when reheating.
Reheating: Best method: Add to a saucepan with a splash of water over low heat. Stir until heated through. Microwave works but can make the chicken soggy. If microwaving, cover with a damp paper towel.
Freezing: This doesn’t freeze well because the potatoes can become grainy. Make it fresh or store in the fridge for up to 3 days.
Nutrition Information
I’m not a nutritionist, but here’s the breakdown if you’re tracking. Per serving (based on 4 servings):
- Calories: 650
- Protein: 35g
- Carbs: 75g
- Fiber: 4g
- Fat: 22g
- Sodium: 800mg
Look, this is comfort food. It’s not a diet recipe. But it’s way better than takeout, costs less, and I know exactly what’s in it. When I want to make it lighter, I use less oil for frying and more vegetables in the sauce. But usually? I just eat a reasonable portion and enjoy it.
Final Thoughts
So that’s my go-to authentic Japanese chicken katsu curry! I’ve probably talked your ear off at this point, but when you make a recipe this often, you have a lot to say about it. This has saved weeknight dinners more times than I can count. It’s my answer to “what’s for dinner” when I’m tired, don’t want takeout, and still want something that tastes really good. My kids are happy, my husband’s happy, and I’m happy because I’m not stressed about cooking.
Make it yours! Try different add-ins, swap in your favorite vegetables, adjust the spice level. The best recipes are the ones you adapt to your family’s tastes. If you make this, drop a comment and let me know what you think! I love hearing how recipes turn out in your kitchen. And if something doesn’t work, tell me that too—I’m here to help troubleshoot.
Happy cooking! And I hope your kitchen smells half as good as mine does right now.
Frequently Asked Questions
Can I use mild curry roux instead of medium?
You can, but the flavor will be milder. Medium is the standard for Japanese curry. If you use mild, you might want to add a teaspoon of soy sauce or a pinch of chili powder for depth. I’ve used mild in a pinch, but medium is definitely better.
Why did my sauce get too thick?
Curry roux thickens as it cools. If it’s too thick, add a splash of water or broth while reheating. Also, don’t add all the roux at once if you’re making a large batch. Taste as you go.
Can I make this ahead for a dinner party?
Yes! Make the curry sauce up to 2 days ahead. Reheat gently and add water if needed. Fry the chicken fresh right before serving (takes 10 minutes). It won’t be quite as good as fresh, but it’s close and saves you stress during the party.
Why did my chicken breading fall off?
Probably didn’t press the panko firmly enough, or the oil wasn’t hot enough. Make sure to press the breadcrumbs into the chicken. Test the oil with a piece of panko before frying—if it doesn’t sizzle, wait longer.
Can I bake the chicken instead of frying?
You can, but it won’t be as crispy. Bake at 400°F / 200°C for 20 minutes, flipping halfway, and spray with oil. It’s a healthier option, but the fried version is the authentic way.
How do I reheat leftovers without it getting dry?
Add a splash of water or milk to the curry when reheating. This brings back the creamy texture. For the chicken, microwave it separately or let it sit in the warm curry for a minute to reabsorb moisture.
Can I double this recipe?
Absolutely! Double everything and use your biggest pot. The cooking times stay the same. I do this when I’m meal-prepping or feeding a crowd. Just make sure your skillet is big enough for the chicken—you might need to fry in batches.
Pin This Recipe!
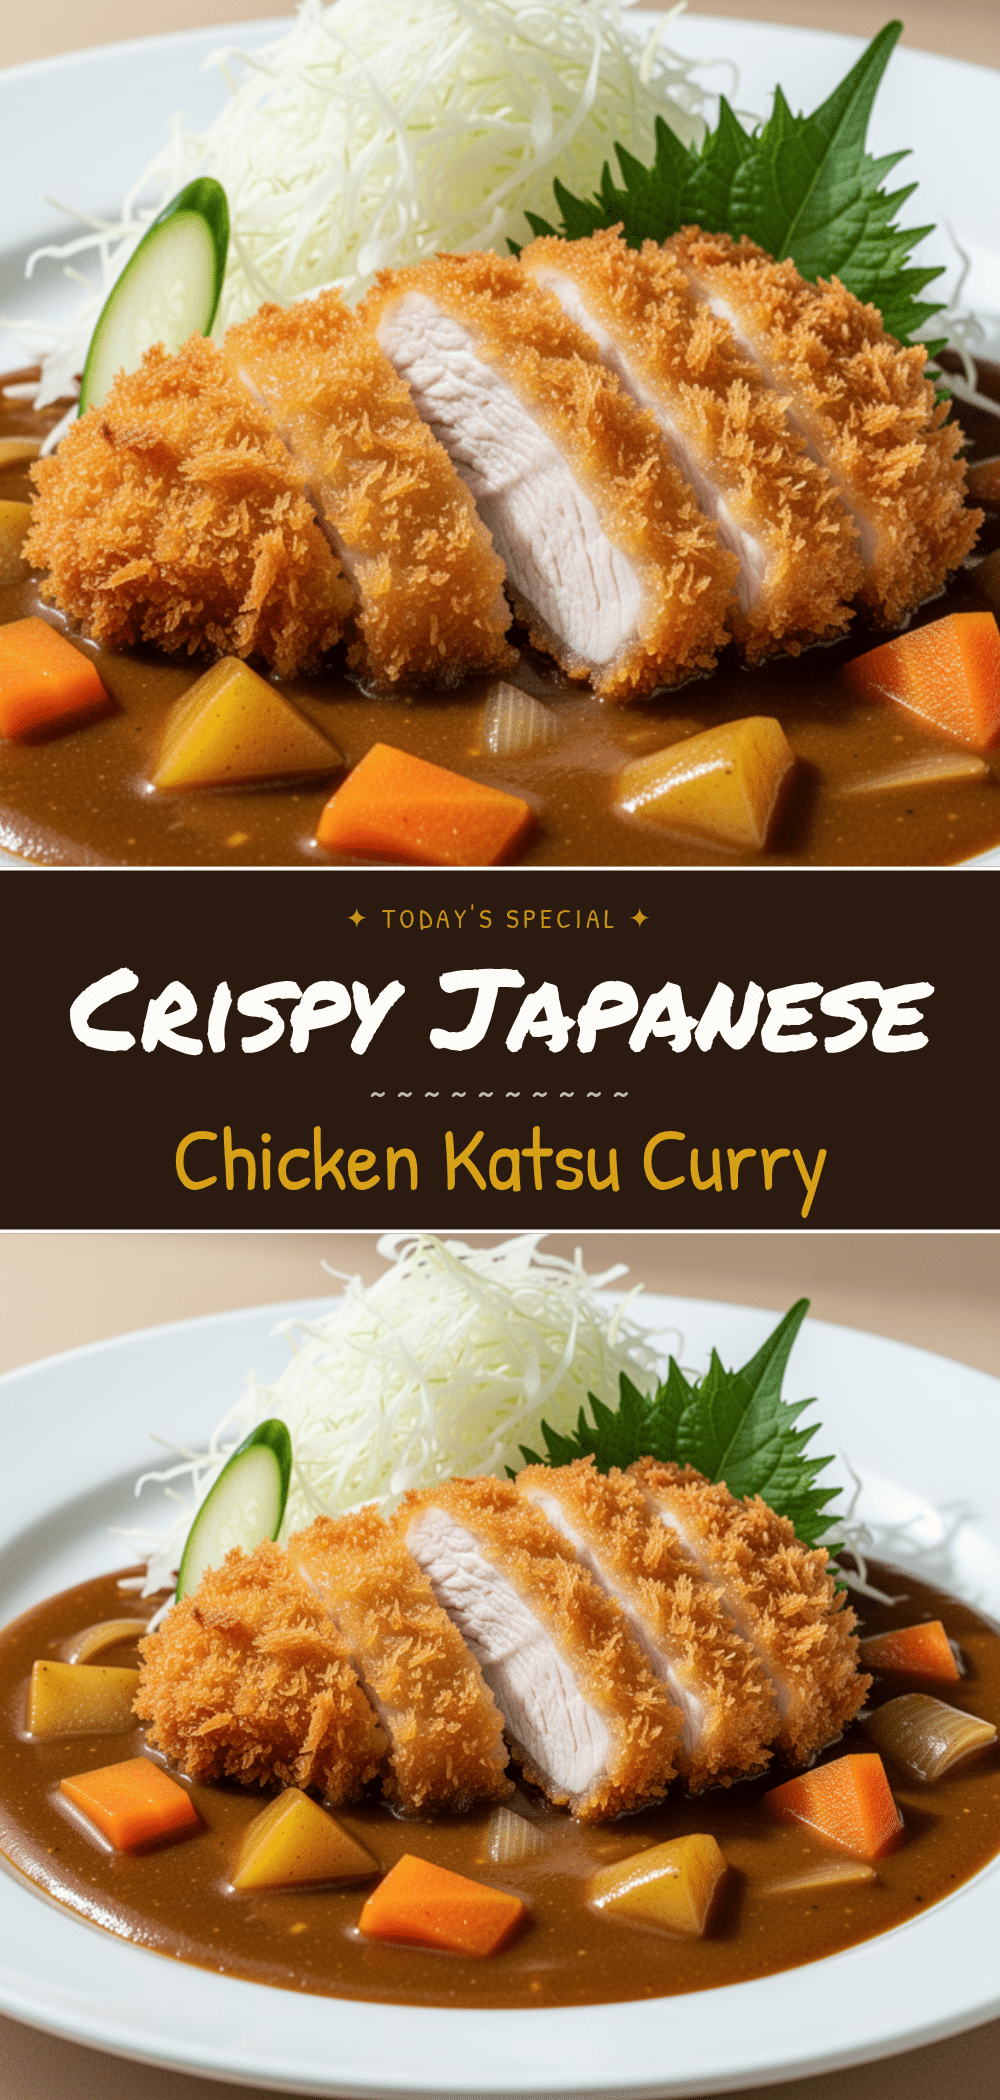
Japanese Chicken Katsu Curry: Best Homemade Recipe
- Total Time: 45 minutes
- Yield: 4 servings 1x
Description
An authentic, homemade Japanese chicken katsu curry featuring double-dredged crispy chicken and a rich, complex curry sauce made with roux blocks, grated apple, and soy sauce. It is a weeknight-friendly dish that delivers restaurant-quality flavor.
Ingredients
- 2 large boneless, skinless chicken breasts (about 1.5 lbs / 680g)
- 2 cups panko breadcrumbs (160g)
- 1 cup all-purpose flour (125g)
- 2 large eggs, beaten with a pinch of salt
- 1 cup vegetable oil (240ml)
- 2 packages curry roux blocks (about 14 oz / 400g)
- 2 medium onions, thinly sliced
- 2 medium carrots, chopped
- 2 medium potatoes, cubed
- 4 cups water or chicken broth (960ml)
- 1 small apple, grated
- 1 tablespoon soy sauce
- 1 teaspoon ginger, minced
- 1 teaspoon garlic, minced
- 4 cups cooked steamed rice
- Pickled vegetables (optional, for serving)
- Salt and pepper to taste
Instructions
- Pound chicken breasts to an even ½-inch thickness and season both sides with salt and pepper.
- Set up a breading station with three shallow bowls containing flour, beaten eggs, and panko breadcrumbs.
- Dredge each chicken breast in flour, shaking off excess. Dip into the egg, then press firmly into the panko to ensure a thick coating.
- Heat vegetable oil in a large skillet over medium-high heat. Fry chicken for 3-4 minutes per side until golden brown and cooked through (internal temperature 165°F / 74°C). Drain on a wire rack.
- In a large pot, sauté sliced onions until soft and caramelized (10-15 minutes). Add minced garlic and ginger, cooking for 1 minute.
- Add carrots and potatoes to the pot, stirring for 2 minutes. Pour in water or broth, bring to a boil, then reduce heat and simmer for 10 minutes until vegetables are tender.
- Turn off the heat. Break curry roux blocks into pieces and add them to the pot, stirring until completely dissolved.
- Turn heat back to low. Stir in grated apple and soy sauce. Simmer for 5 more minutes until thickened.
- Slice the fried chicken katsu into strips. Serve over steamed rice, topped with the curry sauce and pickled vegetables if desired.
Notes
Use the double-dredge method (flour, egg, panko) for extra crunch. Caramelize onions slowly for deep flavor. Always remove the pot from heat before adding roux blocks to prevent clumping. Rest fried chicken on a wire rack to keep the bottom crispy. The sauce thickens as it cools; add water when reheating.
- Prep Time: 20 minutes
- Cook Time: 25 minutes
- Category: Main Course
- Cuisine: Japanese
Nutrition
- Serving Size: 1 plate with rice, c
- Calories: 650
- Sodium: 800
- Fat: 22
- Carbohydrates: 75
- Fiber: 4
- Protein: 35
Keywords: Japanese chicken katsu curry, homemade curry, crispy chicken, weeknight dinner, Asian recipe, comfort food


