Last Tuesday, I found myself standing in the cereal aisle of my local grocery store, staring at a colorful box of granola bars. The front of the package promised “all-natural ingredients” and “no refined sugar.” I turned the box over, expecting to find a short list of wholesome items I could actually pronounce. Instead, I found a paragraph of text that looked like a chemistry experiment. High fructose corn syrup? Check. Soy lecithin? Check. Artificial flavors? Double check. And the price? $5.49 for a pack of six small, dense squares that tasted like sweetened cardboard.
I put the box back on the shelf and drove home. I was hungry, but I refused to eat something that had more preservatives than my grandmother’s pantry. That’s when I remembered the bag of pecans and the bottle of maple syrup gathering dust in my cupboard. I had about twenty minutes before I needed to leave for a meeting, and I decided to throw something together. No fancy equipment, no exotic ingredients, just the basics.
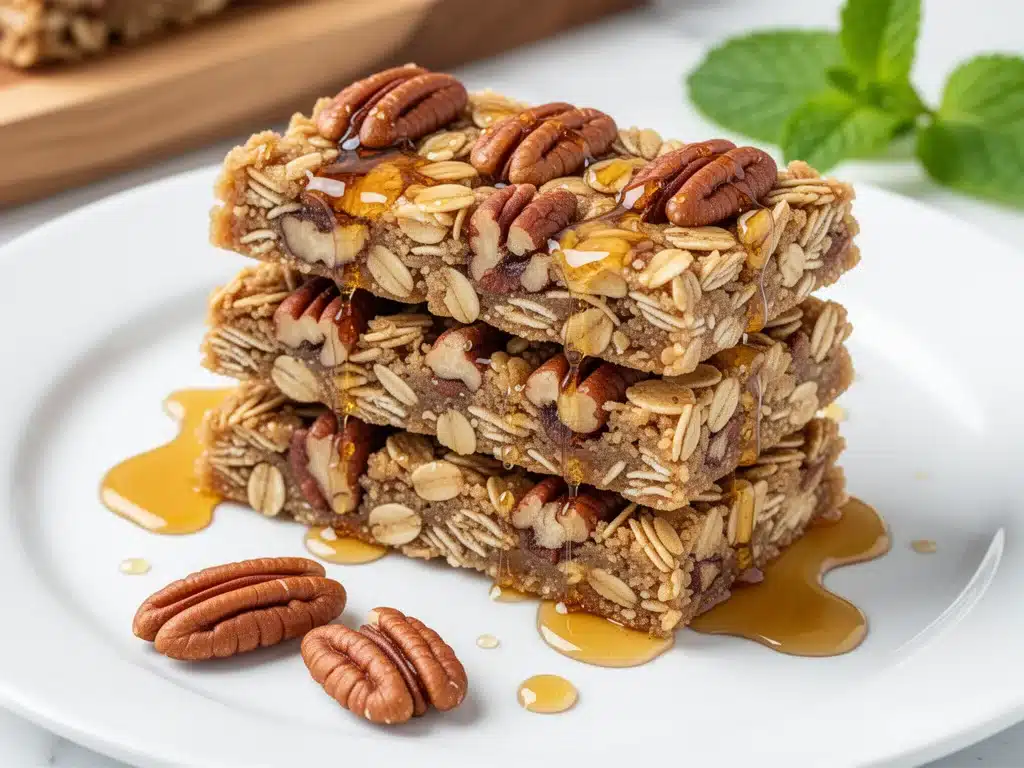
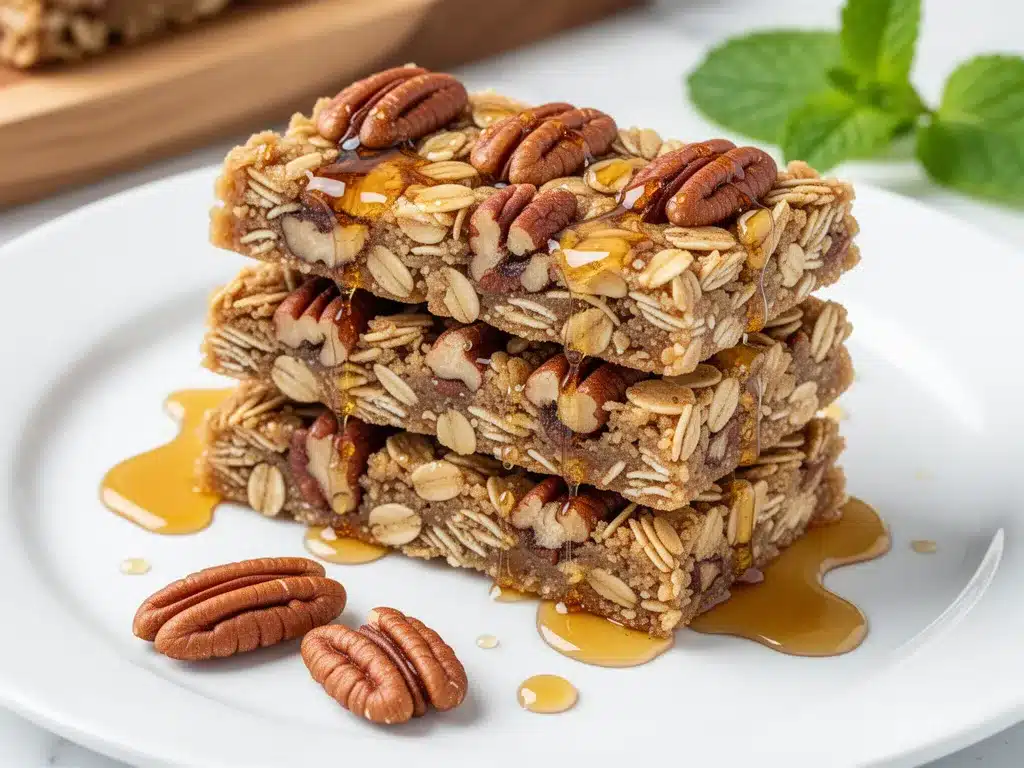
Twenty minutes later, I pulled a tray of golden, sticky, nutty bars from the oven. The smell alone was better than any store-bought option. I let them cool, broke one in half (the crust was perfectly crisp, the center chewy), and took a bite. It was rich, naturally sweet, and actually filling. I ate the whole thing in three bites and immediately started planning my next batch.
That was three months ago. Since then, I’ve made these homemade maple pecan granola bars at least fifteen times. I’ve made them for my kids’ lunches, I’ve handed them out to neighbors, and I’ve eaten them straight from the pan while standing at the counter (don’t judge me). They’ve replaced every other snack in my house because they just work. They’re healthy enough for breakfast, sweet enough for dessert, and sturdy enough for hiking. If you’re tired of mystery ingredients and overpriced snacks, you need to make these. You’ll make them on repeat, I promise.
Why You’ll Love This Recipe
I’ve tried dozens of granola bar recipes over the years. Some are too crumbly and fall apart in your bag. Others are so hard they chip a tooth. Some taste like sawdust. But this recipe hits the sweet spot—literally and figuratively. Here’s why this homemade maple pecan granola bars recipe has earned a permanent spot in my weekly rotation:
- Stupid Simple Ingredients — You probably have 90% of this in your pantry right now. Rolled oats, pecans, maple syrup, honey, butter, and a pinch of salt. No weird thickeners or obscure superfoods. Just real food.
- Under 30 Minutes — From start to finish, including cooling time, this takes about 25 minutes of active work. The rest is passive. I make these on Sunday mornings while the coffee brews.
- Actually Chewy — This is the hardest part of granola bars to get right. Most recipes turn into brittle shards. The secret? A specific ratio of wet to dry ingredients and pressing them down firmly. These bars hold together perfectly but still have that satisfying chew.
- Customizable — Love chocolate chips? Throw them in. Want to use almonds instead of pecans? Go for it. This recipe is a template, not a rulebook. I’ve made versions with dried cranberries, sunflower seeds, and even white chocolate. All of them are winners.
- Budget-Friendly — Making this at home costs about $2.50 for the whole batch. That’s less than $0.20 per bar. Compare that to $1.50 for a single organic bar at the store, and the math is pretty clear.
- Meal Prep Hero — These keep for up to two weeks in an airtight container. I make a double batch on Sunday, pack them into individual bags, and I’m set for the entire workweek. No more 3 PM hunger pangs forcing me to buy chips.
This is my go-to when I need a snack that doesn’t leave me feeling sluggish an hour later. It’s real fuel, real flavor, and zero guilt.
Ingredients You’ll Need
Here’s the best part: this isn’t a complicated ingredient list. I’m particular about a few things here, but mostly, you just need good quality basics. Let’s break down what you need and why it matters.
For the Base
Old-Fashioned Rolled Oats (6 cups / 540g) — Do not use instant oats. They turn to mush. Do not use steel-cut oats. They’re too hard. You need the flat, old-fashioned kind. I use Quaker or Bob’s Red Mill—they’re consistent and cook evenly. This is the backbone of your bar.
Pecan Halves (2 cups / 220g) — This is where the flavor comes from. Use raw pecans. Pre-toasted pecans are fine, but you’ll need to adjust the baking time slightly. I buy pecans in bulk from Costco because they’re fresher and cheaper. Chop them into rough halves or quarters. You want chunks, not dust.
Butter (½ cup / 115g) — Unsalted butter is best so you can control the salt level. I use high-quality European-style butter if I’m feeling fancy, but regular supermarket butter works perfectly fine. Melt this before you start.
Maple Syrup (½ cup / 120ml) — This is the star. Use 100% pure maple syrup. Not “maple-flavored syrup” or “pancake syrup” with high fructose corn syrup. Check the label. Real maple syrup has a depth of flavor that sugar just can’t match. It’s worth the extra few dollars.
Honey (¼ cup / 85g) — Honey helps bind the bars and adds a different layer of sweetness. I use clover honey, but any mild honey works. If you’re avoiding honey, you can use all maple syrup, but the bars might be slightly less chewy.
For the Flavor
Vanilla Extract (1 teaspoon) — Pure vanilla. Not imitation. It sounds picky, but in a recipe with only a few ingredients, the vanilla really shines through.
Cinnamon (1 teaspoon) — Ground cinnamon. It adds warmth and makes the maple flavor taste more “cozy.” If you don’t like cinnamon, skip it, but I highly recommend it.
Salt (½ teaspoon) — Kosher salt is ideal because it’s less salty by volume than table salt. This balances the sweetness. Do not skip the salt. Sweet things taste flat without a little salt.
Flaxseed Meal (2 tablespoons) — This is my secret weapon for binding. It acts like a natural glue, helping the oats and nuts stick together so your bars don’t crumble. If you don’t have flaxseed, you can skip it, but the bars might be a bit looser.
Optional Add-Ins
Dark Chocolate Chips (½ cup) — For the chocolate lovers. Stir these in at the end so they don’t melt completely into the batter. Semi-sweet or dark chocolate works best.
Dried Cranberries (½ cup) — Adds a tart chewiness that cuts through the sweetness. Great for a “trail mix” vibe.
Shredded Coconut (½ cup) — Unsweetened coconut adds texture and a tropical note. I love this combination with the pecans.
Equipment Needed
You don’t need fancy equipment for this. Here’s what I actually use:
9×13 Inch Baking Pan — This is the standard size for this recipe. Line it with parchment paper, leaving an overhang on the sides. This is crucial for lifting the bars out later. I use Reynolds Wrap or generic parchment—it works.
Large Mixing Bowl — You need enough space to toss the oats and nuts with the wet ingredients without spilling. A 6-quart bowl is perfect.
Medium Saucepan — For melting the butter, maple syrup, and honey together. A small saucepan works, but make sure it’s big enough to prevent boiling over.
Spatula — Silicone is best for scraping the bowl clean. You want every bit of that sticky goodness.
Cheese Knife or Large Knife — For cutting the bars after they’ve cooled. A serrated knife works well if the bars are still a bit soft.
Cooling Rack — Optional, but helpful for cooling the pan evenly. If you don’t have one, just let the pan sit on the stovetop or a heat-safe counter.
How to Make It: Step-by-Step
Alright, let’s make these homemade maple pecan granola bars! I’m walking you through exactly how I do it, including the little tricks I’ve picked up over fifteen batches.
Step 1: Prep Your Pan and Oven (2 minutes)
Preheat your oven to 350°F (175°C). Line your 9×13 inch baking pan with parchment paper. Leave a little overhang on the long sides—this acts like a handle to lift the bars out later. I usually spray the parchment with a little cooking spray just to be safe, though it’s rarely needed.
Step 2: Toast the Pecans (5 minutes)
Spread your chopped pecans on a baking sheet and toast them in the oven for 5 minutes. This brings out their natural oils and makes them crunchier. Keep an eye on them—they burn fast. While they toast, you can start measuring your dry ingredients.
Step 3: Mix the Dry Ingredients (3 minutes)
In your large mixing bowl, combine the rolled oats, toasted pecans, flaxseed meal, cinnamon, and salt. Toss them together so the spices and flax are evenly distributed. If you’re adding dried fruit or coconut, add it now.
Step 4: Warm the Wet Ingredients (3 minutes)
In a small saucepan over low heat, melt the butter. Once melted, stir in the maple syrup and honey. Heat just until everything is combined and bubbly—don’t let it boil hard. Remove from heat and stir in the vanilla extract. The mixture should be smooth and glossy.
Step 5: Combine Everything (2 minutes)
Pour the warm wet mixture over the dry ingredients. Use your spatula to fold everything together. You want every oat and nut coated in that sticky syrup. It will look thick and clumpy—that’s good. If it looks too dry, add a splash more maple syrup. If it looks too wet, add a handful more oats.
Step 6: Press Into the Pan (3 minutes)
Transfer the mixture to your prepared pan. This is the most important step for texture. Use the back of a spoon or your fingers (if you’re okay with sticky hands) to press the mixture down firmly. I use a small measuring cup to press it down evenly. You want it compact. If it’s loose, your bars will crumble. Press hard. Really hard.
Step 7: Bake (20 minutes)
Bake for 20 minutes at 350°F. The edges should turn golden brown, and the center should look set but still slightly soft. It will firm up as it cools. Don’t overbake them, or they’ll be dry.
Step 8: Cool Completely (30 minutes)
This is the hardest part. Let the bars cool in the pan on a wire rack for at least 30 minutes. Do not try to cut them while they’re hot—they will fall apart. If you can wait an hour, even better. The longer they cool, the firmer they get.
Step 9: Cut and Serve
Once completely cool, lift the bars out of the pan using the parchment overhang. Place on a cutting board and slice into squares or rectangles. I usually cut them into 12 large bars or 16 smaller snack-sized ones. Enjoy!
Expert Tips & Tricks
Here’s everything I’ve learned from making these dozens of times. These tips will save you from my mistakes.
Press It Down
I can’t stress this enough. The texture of your bars depends entirely on how firmly you press them into the pan. If you just dump the mixture in and smooth it out, you’ll get crumbly bars. Use a flat-bottomed glass or measuring cup to tamp it down. You’re packing it in.
Don’t Skip the Toasting
Raw pecans are fine, but toasted pecans have so much more flavor. The nuttiness pairs perfectly with the maple. Just watch them closely—they go from golden to burnt in seconds.
Use Real Maple Syrup
I know it’s expensive, but fake syrup tastes like candy corn. Real maple syrup has a complex flavor that makes these bars taste gourmet. If you’re on a budget, mix half real maple syrup and half honey, but don’t skimp on the maple entirely.
Let Them Cool
I know you want to eat them now. But if you cut them hot, they’ll be a mess. Set a timer for 30 minutes and distract yourself with a podcast or a quick chore. It’s worth the wait.
Storage is Key
These bars are moist. If you leave them out on the counter, they’ll dry out or get sticky. Store them in an airtight container. If you’re packing them for lunch, wrap them individually in parchment paper or wax paper. This prevents them from sticking together.
Variations & Substitutions
Once you’ve nailed the basic version, here’s how you can mix it up. I’ve tried all of these.
Chocolate Chip Pecan
Add ½ cup of semi-sweet chocolate chips after removing from the oven. The residual heat will melt them slightly into the bars. My kids’ favorite.
Trail Mix Style
Add ½ cup each of dried cranberries, dried cherries, and sunflower seeds. Swap the pecans for a mix of almonds and walnuts. Great for hiking.
Coconut Lime
Add ½ cup of shredded coconut and the zest of one lime. Swap the cinnamon for cardamom. Refreshing and tropical.
Protein-Packed
Add ½ cup of protein powder (vanilla or unflavored) and an extra ¼ cup of oats. You may need a splash more milk or water if the mixture is too dry. Good for post-workout.
Gluten-Free
Simply use certified gluten-free rolled oats. Everything else is naturally gluten-free. I use Bob’s Red Mill GF oats—they work perfectly.
Vegan
Swap the butter for coconut oil or vegan butter. Use agave nectar instead of honey. The texture will be slightly different but still delicious.
Serving & Storage
How do I enjoy these? I usually eat one for breakfast with a cup of coffee, or as an afternoon snack with a piece of fruit. They pair well with yogurt or almond butter on the side.
Refrigerator:
Store in an airtight container for up to 2 weeks. They stay fresh and chewy this way. I keep mine in the fridge to prevent them from getting too soft in warm weather.
Freezer:
Yes! These freeze beautifully. Wrap them individually in plastic wrap or parchment paper, then put them in a freezer bag. They’ll last for up to 3 months. Thaw at room temperature for 10 minutes before eating. Great for meal prepping ahead.
Room Temperature:
If your house is cool, you can keep them in an airtight container on the counter for 3-4 days. But if it’s hot, they’ll get sticky. Fridge is safer.
Nutrition Information
I’m not a nutritionist, but here’s the breakdown if you’re tracking. Note that this is an estimate and will vary based on the specific brands and sizes of your ingredients.
Per Bar (makes 12 bars):
- Calories: 280
- Protein: 6g
- Carbs: 32g
- Fiber: 3g
- Sugar: 14g (mostly from maple syrup and honey)
- Fat: 15g
- Saturated Fat: 3g
These are calorie-dense because of the nuts and oats, which is good for sustained energy. They’re also relatively low in refined sugar compared to store-bought bars. If you’re watching carbs, you can reduce the oats and increase the nuts, but the texture will change.
Final Thoughts
So that’s my go-to homemade maple pecan granola bars! I’ve probably talked your ear off at this point, but when you make a recipe this often, you have a lot to say about it. These bars have saved my mornings, my hikes, and my wallet. They’re my answer to “what’s a healthy snack” when I’m tired of chips and cookies.
Make it yours! Try different nuts, add chocolate, swap the syrup. The best recipes are the ones you adapt to your family’s tastes. If you make this, drop a comment and let me know what you think! I love hearing how recipes turn out in your kitchen. And if something doesn’t work, tell me that too—I’m here to help troubleshoot.
Happy baking! And I hope your kitchen smells half as good as mine does right now.
Frequently Asked Questions
Can I use quick oats instead of rolled oats?
You can, but the texture will be different. Quick oats are finer and will make the bars denser and less chewy. Old-fashioned rolled oats give that classic granola bar texture. If you only have quick oats, it’ll still taste good, just don’t expect the same chew.
Why did my bars crumble?
This usually happens for two reasons: you didn’t press them down firmly enough into the pan, or you didn’t let them cool completely before cutting. Make sure you pack them down tight and wait at least 30 minutes after baking before slicing.
Can I substitute the maple syrup with honey?
Yes, you can use all honey instead of maple syrup. The bars will have a different flavor profile (more floral, less deep) but will still be delicious. You can also use agave nectar for a vegan option, though it’s thinner and might require a touch more oats.
How do I store these for lunch?
Wrap each bar individually in parchment paper or wax paper. Then put them in a small reusable container or a Ziploc bag. This keeps them fresh and prevents them from sticking together in your lunch bag. They hold up well in backpacks and won’t get squished easily.
Can I make these nut-free?
Absolutely. Swap the pecans for sunflower seeds, pumpkin seeds, or roasted chickpeas. The texture will be different, but the maple-oat flavor will still be there. Just make sure to toast the seeds for the best flavor.
Do I need to toast the pecans?
It’s highly recommended. Toasting brings out the nutty flavor and adds crunch. If you skip it, the pecans will be softer and the bars will taste blander. It only takes 5 minutes, so it’s worth the effort.
Pin This Recipe!
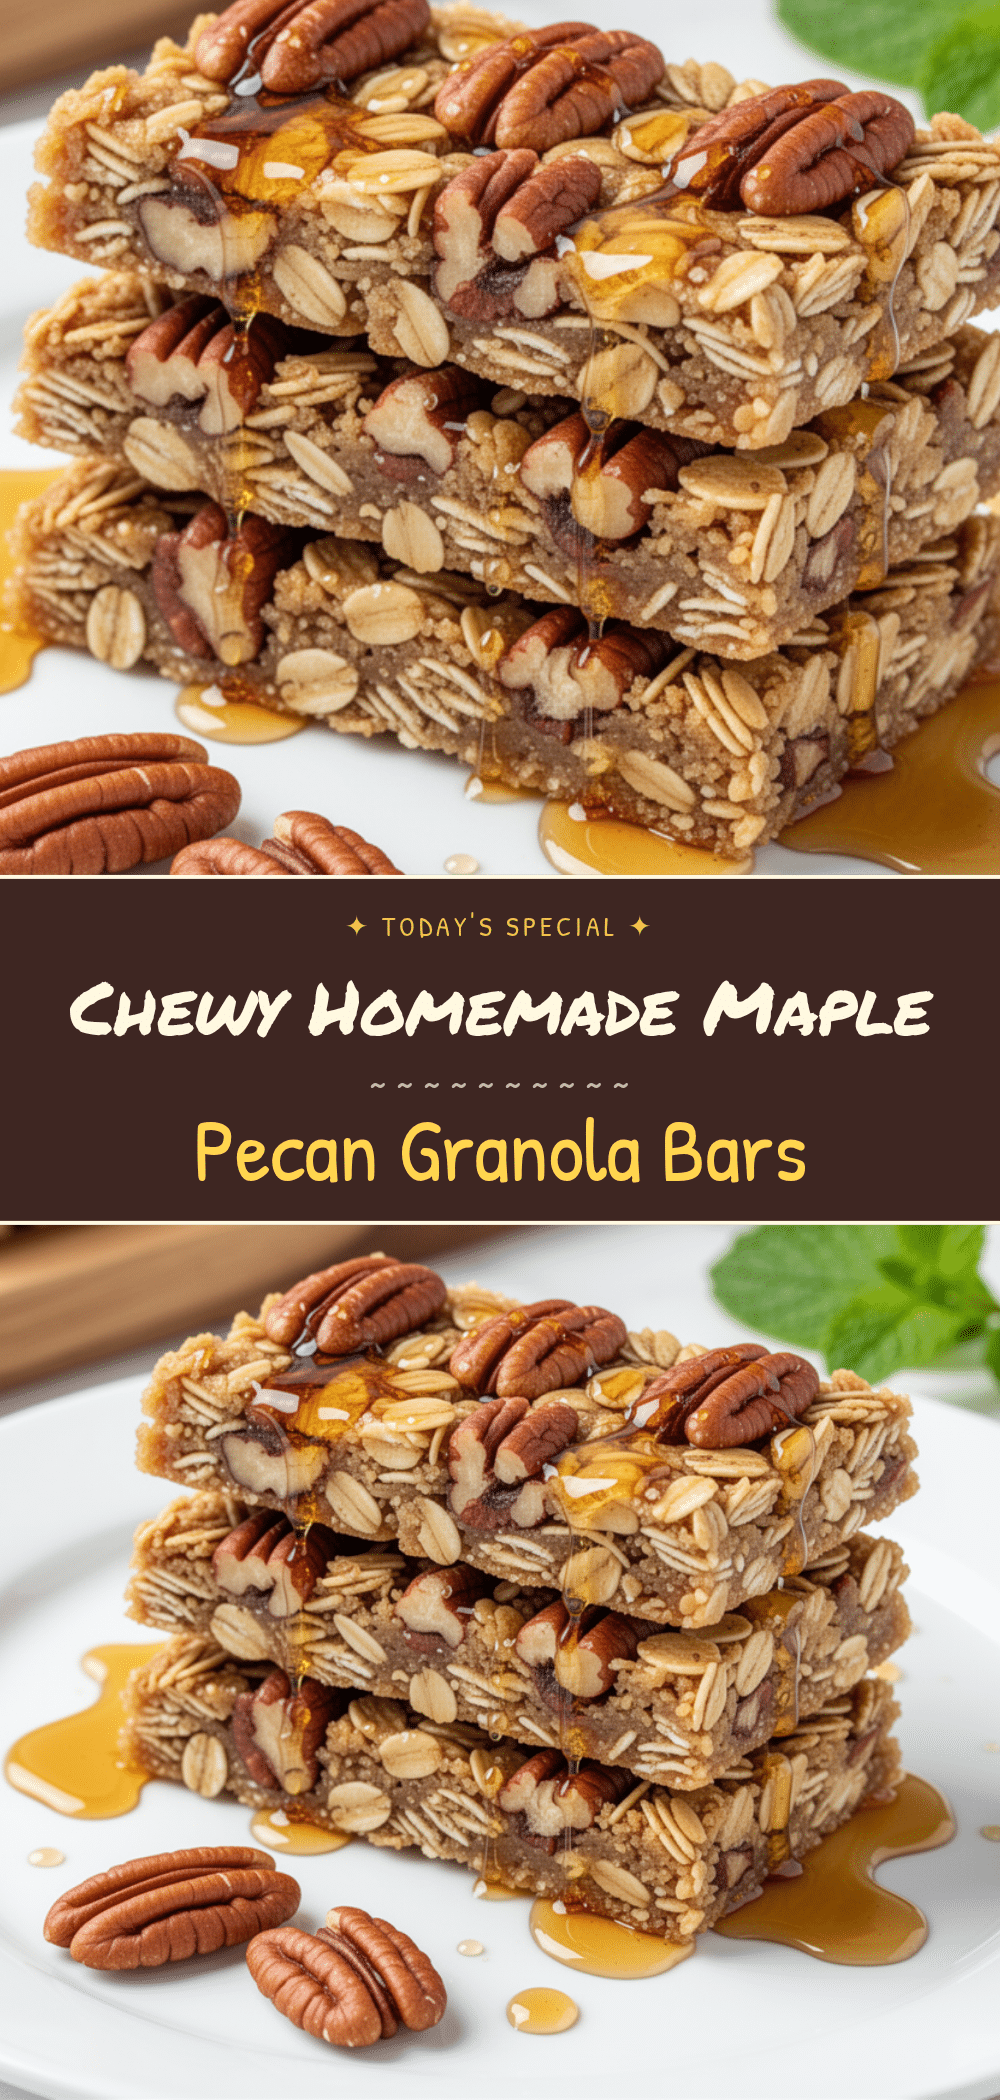
Homemade Maple Pecan Granola Bars
- Total Time: 35 minutes
- Yield: 12 servings 1x
Description
These easy, healthy homemade granola bars are chewy, naturally sweetened with maple syrup and honey, and packed with toasted pecans. They are budget-friendly, customizable, and perfect for meal prep or on-the-go snacking.
Ingredients
- 6 cups old-fashioned rolled oats
- 2 cups pecan halves, chopped
- 1/2 cup unsalted butter, melted
- 1/2 cup pure maple syrup
- 1/4 cup honey
- 1 teaspoon vanilla extract
- 1 teaspoon ground cinnamon
- 1/2 teaspoon kosher salt
- 2 tablespoons flaxseed meal
- Optional: 1/2 cup dark chocolate chips, dried cranberries, or shredded coconut
Instructions
- Preheat oven to 350°F (175°C). Line a 9×13 inch baking pan with parchment paper, leaving an overhang on the sides.
- Spread chopped pecans on a baking sheet and toast in the oven for 5 minutes to bring out flavor. Remove and let cool slightly.
- In a large mixing bowl, combine rolled oats, toasted pecans, flaxseed meal, cinnamon, and salt. Toss to combine evenly.
- In a medium saucepan over low heat, melt the butter. Stir in maple syrup and honey, heating just until combined and bubbly. Remove from heat and stir in vanilla extract.
- Pour the warm wet mixture over the dry ingredients. Fold with a spatula until all oats and nuts are coated. The mixture should look thick and clumpy.
- Transfer the mixture to the prepared pan. Press down firmly and evenly using the back of a spoon or a measuring cup. Compacting is crucial for texture.
- Bake for 20 minutes, until edges are golden brown and the center looks set but slightly soft.
- Let the bars cool completely in the pan on a wire rack for at least 30 minutes (or up to an hour) before cutting to ensure they hold together.
- Lift bars out of the pan using the parchment overhang. Slice into 12 large bars or 16 smaller snack-sized pieces.
Notes
Do not use instant or steel-cut oats; old-fashioned rolled oats are required for the correct texture. Press the mixture firmly into the pan to prevent crumbling. Toasting the pecans enhances flavor significantly. Bars can be stored in the fridge for up to 2 weeks or frozen for up to 3 months.
- Prep Time: 10 minutes
- Cook Time: 25 minutes
- Category: Snack
- Cuisine: American
Nutrition
- Serving Size: 1 bar
- Calories: 280
- Sugar: 14
- Sodium: 150
- Fat: 15
- Saturated Fat: 3
- Carbohydrates: 32
- Fiber: 3
- Protein: 6
Keywords: granola bars, maple pecan, healthy snack, homemade granola, meal prep, gluten-free option, vegan option, oat bars


