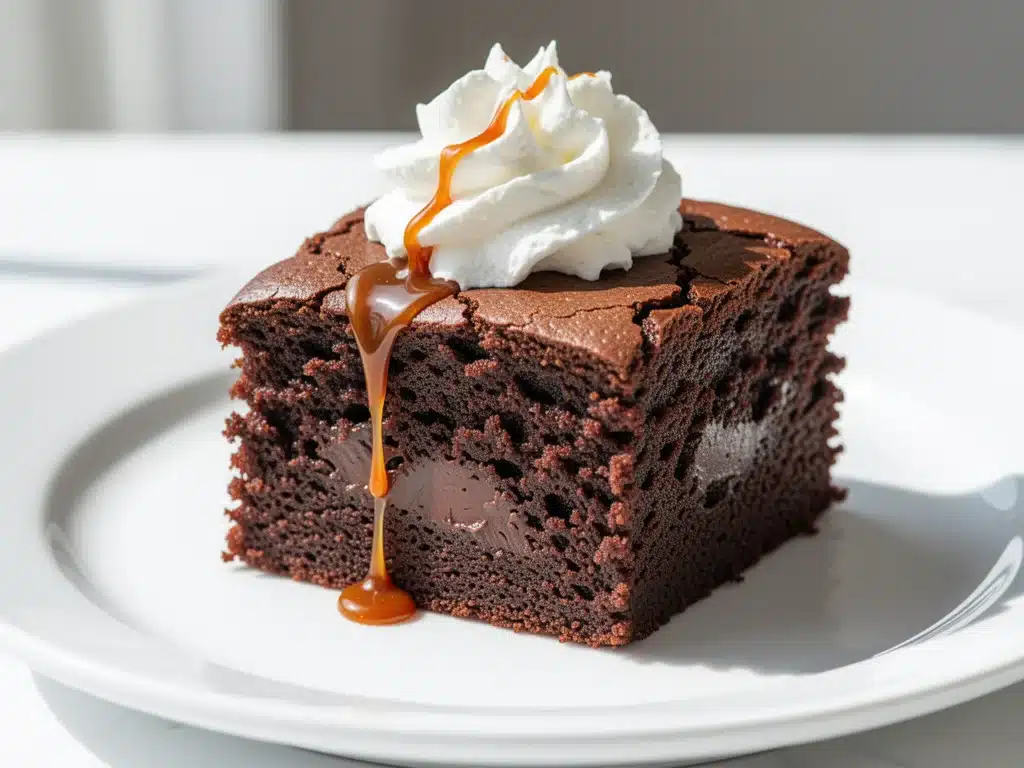
There is a specific kind of panic that sets in when you realize you promised to bring dessert to a potluck, it’s Tuesday night, and you have zero interest in turning your oven on. Last month, I was staring at a calendar reminder that said “Potluck – 6 PM” with only three hours to spare. My oven was already full of lasagna for the main course, and I was desperate for something chocolate, impressive, and miraculously easy. I threw together this Instant Pot Chocolate Fudge Cake using ingredients I found in my pantry. I didn’t expect much. I expected a dense, maybe slightly gummy dessert.
Instead, I brought home an empty plate and three different people asking for the recipe. That’s how this recipe was born—not from a fancy culinary school, but from a Tuesday night rescue mission. Since then, I’ve made this Instant Pot Chocolate Fudge Cake dozens of times. It’s become my secret weapon for last-minute gatherings, rainy Sunday afternoons, and whenever I need a hit of chocolate that doesn’t require a stand mixer or a trip to the grocery store.
The best part? It tastes like it took hours to make. The texture is incredibly moist, almost like a brownie meets a soufflé, and the fudgy center is pure magic. I’ve tested this recipe with different types of chocolate, adjusted the sweetness, and even tried it with gluten-free flour. It always works. If you’ve been intimidated by pressure cooking desserts, this is the one that will change your mind. It’s not just convenient; it’s genuinely delicious.
Why You’ll Love This Recipe
I’ve made this Instant Pot Chocolate Fudge Cake for everything from birthday parties to my husband’s “just because” cravings. Here’s why it keeps showing up in my weekly rotation:
- Zero Oven Required — Seriously. This is a lifesaver in the summer when you don’t want to heat up your kitchen, or in the winter when you’re trying to save on heating bills. The Instant Pot does all the heavy lifting. I love that I can make this without turning on the big oven.
- Ready in Under an Hour — From mixing to eating, it takes about 45 minutes. That’s 10 minutes of prep, 30 minutes of cooking, and 5 minutes of cooling. It’s faster than ordering takeout, and it tastes better. I’ve made this on weeknights when I was too tired to think, and it saved dinner (well, dessert).
- One-Bowl Mixing — No electric mixer, no fancy bowls. Just whisk everything together in one bowl. I’ve walked my teenagers through this over FaceTime, and they got it right the first time. It’s that simple.
- Impossibly Moist Texture — Pressure cooking creates a steamy environment that keeps the cake incredibly tender. Unlike baked cakes that can dry out, this stays fudgy even after sitting out for a few hours. My kids say it tastes like a brownie, and I’m not going to argue with them.
- Impressive but Simple — It looks like something from a bakery. The glossy chocolate top and the soft center make it look fancy. But the reality? It’s just flour, sugar, cocoa, and a few other staples. It’s the perfect “I didn’t try too hard” dessert that actually works.
- Great for Beginners — If you’ve never used an Instant Pot before, this is a great starter recipe. It’s forgiving. If you overcook it slightly, it’s still good. If you undercook it slightly, it’s just fudgier. There’s really no way to mess this up.
This recipe has saved me more times than I can count. It’s my go-to when I need dessert to just work. No complicated techniques, no weird ingredients, just reliable, delicious chocolate goodness that makes everyone happy.
Ingredients You’ll Need
Here’s the best part: you probably have most of these ingredients already. This Instant Pot Chocolate Fudge Cake relies on pantry staples, so you don’t need to run to the store. I’m particular about a few things, though, so pay attention to the details.
For the Batter
All-purpose flour (1 cup / 125g) — Standard flour works perfectly. I’ve tried cake flour, but it made the cake too delicate. Stick with all-purpose for that fudgy, brownie-like texture. If you need gluten-free, use a 1:1 gluten-free blend.
Granulated sugar (1 cup / 200g) — This provides sweetness and structure. Don’t reduce it too much, or the cake won’t set right. I’ve tried reducing it by 25%, and it was too dense. Stick to the full cup for the best texture.
Dutch-process cocoa powder (½ cup / 50g) — This is crucial. Dutch-process cocoa is darker and less acidic, giving the cake a richer, deeper chocolate flavor. I use Ghirardelli or Droste. Natural cocoa powder works, but the flavor will be lighter and less intense.
Baking powder (1 teaspoon) — Helps the cake rise slightly. Don’t skip it, or it’ll be too dense.
Baking soda (½ teaspoon) — Reacts with the acidity in the cocoa and buttermilk to help the cake rise. Make sure it’s fresh, or it won’t work.
Salt (½ teaspoon) — Enhances the chocolate flavor. Don’t skip it, even if you’re watching sodium.
Large eggs (2) — Room temperature eggs mix better. I take them out of the fridge 15 minutes before I start. If I forget, I soak them in warm water for a minute.
Vegetable oil (¼ cup / 60ml) — Keeps the cake moist. Canola or sunflower oil work too. I don’t use olive oil here—it has too strong a flavor for a chocolate cake.
Buttermilk (½ cup / 120ml) — Adds tang and tenderness. If you don’t have buttermilk, make your own: add 1 tablespoon of lemon juice or vinegar to ½ cup of milk, let it sit for 5 minutes. It works just as well.
Vanilla extract (1 teaspoon) — Adds depth. Use real vanilla, not imitation. It makes a noticeable difference.
For the Chocolate Sauce (The Magic Part)
Semi-sweet chocolate chips (½ cup / 90g) — I use Hershey’s or Ghirardelli. They melt smoothly. Dark chocolate chips work too, but they’ll be less sweet.
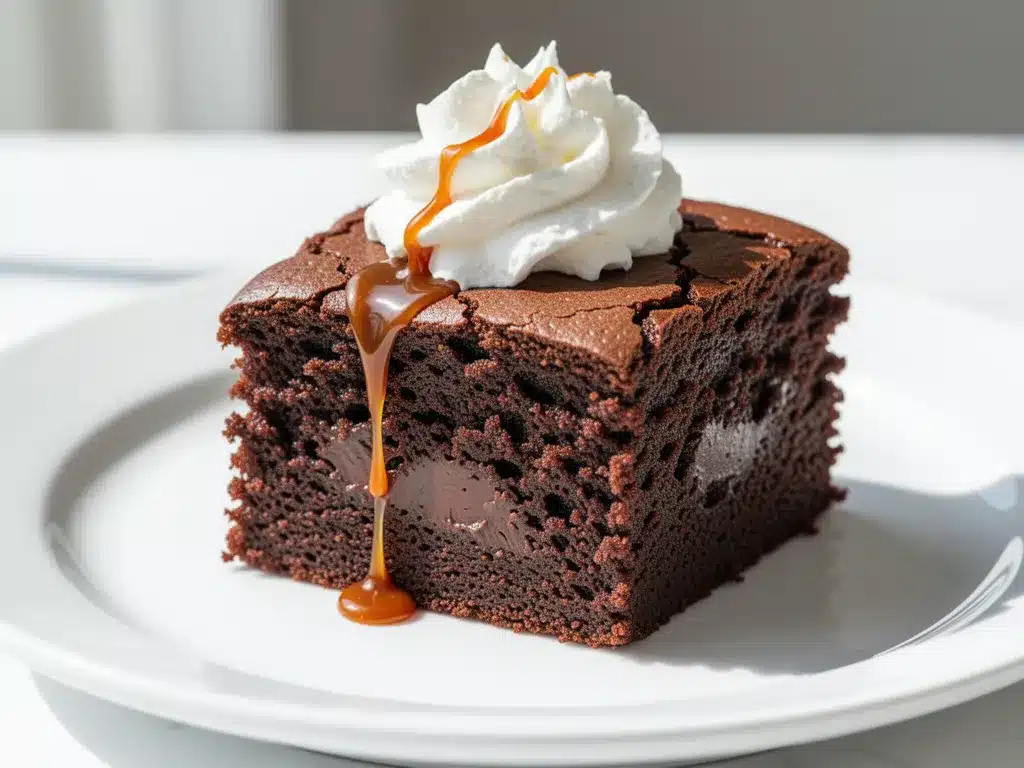
Heavy cream (½ cup / 120ml) — Creates the fudgy center. Full-fat only. Half-and-half is too thin. This is what turns the batter into a molten lava cake.
Optional Toppings
Whipped cream — Homemade is best, but store-bought works in a pinch.
Fresh berries — Raspberries or strawberries add a nice tartness to cut through the sweetness.
Ice cream — Vanilla bean ice cream is classic. Chocolate ice cream is overkill but delicious.
Equipment Needed
You don’t need fancy equipment for this. Here’s what I actually use:
Instant Pot or Electric Pressure Cooker — I use a 6-quart model. It’s the standard size and fits the 7-inch springform pan perfectly. If you have an 8-quart, it’ll work too, but the cooking time might be slightly longer. Don’t have an Instant Pot? You can use any electric pressure cooker.
7-Inch Springform Pan — This is essential. The springform pan allows you to release the cake easily. I use a 7-inch size because it fits perfectly in a 6-quart pot. A 9-inch pan will be too flat and cook unevenly. If you don’t have a springform pan, you can use a small round cake pan, but you’ll need to line it with parchment paper to lift it out.
Parchment Paper — I line the bottom of the pan to prevent sticking. It also makes cleanup easier. I don’t grease the sides because the cake needs to climb up the walls to rise properly.
Aluminum Foil — I use a piece of foil to create a trivet (a rack) to hold the pan above the water. This prevents the bottom of the cake from getting soggy. I also use foil to cover the top of the pan if the top starts to crack.
Mixing Bowls and Whisk — Just one bowl and a whisk. Simple.
Spatula — For scraping the bowl and smoothing the batter.
Measuring Cups and Spoons — Standard stuff. Dollar store versions work fine.
Knife or Toothpick — For testing doneness.
That’s it. No stand mixer, no complicated tools. Just basic kitchen gear.
How to Make It: Step-by-Step
Alright, let’s make this! I’m walking you through exactly how I do it, including the little tricks I’ve picked up.
Step 1: Prep Your Pan and Trivet
Line the bottom of your 7-inch springform pan with a circle of parchment paper. Do not grease the sides. The cake needs to grip the sides to rise properly. In your Instant Pot, add 1 cup of water. Create a trivet by folding a piece of aluminum foil into a tight ball or using the metal rack that came with your pot. Place it in the bottom of the pot.
Step 2: Mix the Dry Ingredients
In a large bowl, whisk together the flour, sugar, cocoa powder, baking powder, baking soda, and salt. Make sure there are no lumps of cocoa. This ensures even distribution of flavor. I usually whisk for about 30 seconds to be sure.
Step 3: Add the Wet Ingredients
Add the eggs, vegetable oil, buttermilk, and vanilla extract to the dry ingredients. Whisk until the batter is smooth and glossy. It should look thick but pourable. Don’t overmix—it just needs to be combined. If you mix too much, the cake can become tough.
Step 4: Prepare the Chocolate Center
In a small bowl, mix the chocolate chips and heavy cream. Microwave for 30 seconds and stir until smooth. This is your molten center. You’ll pour this into the batter later.
Step 5: Assemble the Cake
Pour half of the batter into the prepared springform pan. Smooth it out with a spatula. Then, carefully spoon the chocolate sauce over the center of the batter. It doesn’t need to cover the whole surface—just a generous dollop in the middle. Then, pour the remaining batter over the top and smooth it out. The chocolate sauce will sink slightly as it bakes, creating that fudgy center.
Step 6: Cook in the Instant Pot
Place the springform pan on the trivet in the Instant Pot. Make sure it’s centered. Close the lid and set the valve to “Sealing.” Select “Manual” or “Pressure Cook” on High Pressure for 30 minutes. The Instant Pot will take about 10-15 minutes to come to pressure, then it will cook for 30 minutes.
Step 7: Natural Release
Once the cooking time is complete, let the pressure release naturally for 10 minutes. Then, do a quick release for any remaining pressure. This gradual release prevents the cake from cracking. Open the lid carefully—steam will escape.
Step 8: Cool and Serve
Let the cake cool in the pan for 10 minutes. Then, run a knife around the edge and release the springform. Let it cool completely on a wire rack. This step is crucial—the cake needs to set. If you cut into it while it’s hot, it’ll be too soft. Once cooled, slice and serve with whipped cream or ice cream.
Expert Tips & Tricks
Here’s everything I’ve learned from making this dozens of times. These tips will save you from my mistakes.
Don’t Skip the Parchment Paper — I tried making this without parchment paper once, and the cake stuck to the bottom. It was a disaster. Now I always line the pan. It makes removal so much easier.
Use Room Temperature Eggs — Cold eggs can cause the batter to seize up slightly. Room temperature eggs mix more evenly. I keep a bowl of warm water ready to quickly warm them up if I forget.
Don’t Open the Lid Early — I’m guilty of peeking. But opening the lid during cooking releases pressure and can cause the cake to collapse. Trust the process. Wait for the natural release.
Check for Doneness — Insert a toothpick into the center. If it comes out with moist crumbs, it’s done. If it comes out with wet batter, cook for another 5 minutes. If it comes out clean, it might be overcooked. Aim for moist crumbs.
Let It Cool Completely — This is the hardest part. The cake looks soft and jiggly when it’s hot. But once it cools, it firms up. If you cut into it too soon, it’ll be messy. Patience pays off.
Adjust for Altitude — If you live at high altitude, you might need to reduce the baking powder by ¼ teaspoon. I live at sea level, so I haven’t tested this, but it’s a good rule of thumb.
Use a Water Bath? — Some people put the pan in a larger pan of water. I don’t do this. The steam in the Instant Pot is enough. Adding extra water can make the bottom soggy.
Storage — Store leftovers in the fridge for up to 3 days. The cake actually tastes better the next day as the flavors meld. Bring it to room temperature before serving for the best texture.
Variations & Substitutions
Once you’ve nailed the basic version, here’s how you can mix it up. I’ve tried all of these.
Gluten-Free Version — Use a 1:1 gluten-free flour blend. I’ve used Bob’s Red Mill and King Arthur, and both work great. The texture is slightly different but still delicious.
Dairy-Free Version — Use dairy-free chocolate chips and coconut milk (full-fat) instead of heavy cream. For the buttermilk, use soy milk with lemon juice. It’s surprisingly good.
Vegan Version — Replace eggs with flax eggs (2 tablespoons ground flaxseed mixed with 6 tablespoons water). Use dairy-free chocolate and coconut milk. It’s dense but fudgy.
Strawberry Shortcake Style — Swap the chocolate chips for fresh strawberries. Slice them and layer them on top of the first layer of batter before adding the second layer. It’s like a strawberry fudge cake.
Red Velvet — Replace the cocoa powder with red velvet cake mix. Add 1 teaspoon of vanilla extract and a splash of red food coloring. It’s festive and delicious.
Peanut Butter Swirl — Instead of chocolate chips, use peanut butter cups or swirl in 2 tablespoons of peanut butter. It’s a classic combination.
Mint Chocolate — Add ½ teaspoon of peppermint extract to the batter and use mint chocolate chips. It’s like a Thin Mint cookie in cake form.
Serving & Storage
How to Serve
I usually serve this straight from the springform pan. It looks rustic and homemade. But here are other ways I’ve enjoyed it:
- With Whipped Cream — Homemade whipped cream is best. Sweeten it with a little powdered sugar and vanilla.
- With Ice Cream — Vanilla bean ice cream is the classic pairing. The cold ice cream contrasts with the warm cake.
- With Fresh Berries — Raspberries or strawberries add a nice tartness. It cuts through the richness of the chocolate.
- With a Dusting of Powdered Sugar — For a simple, elegant touch. I use a sieve for an even dusting.
Storage Instructions
Refrigerator: Store in an airtight container for up to 3 days. The cake will firm up in the fridge. Let it come to room temperature before serving for the best texture.
Freezing: This cake doesn’t freeze well. The texture changes, and it can become crumbly. I recommend eating it fresh or storing it in the fridge.
Reheating: If you want to warm it up, microwave a slice for 20-30 seconds. It’ll be soft and gooey again. Don’t overheat it, or it’ll dry out.
Pro Tip: If you’re making this for a party, make it the night before. It’ll be easier to slice, and the flavors will have time to develop. Just keep it in the fridge until you’re ready to serve.
Nutrition Information
I’m not a nutritionist, but here’s the breakdown if you’re tracking. This is per slice (based on 8 slices).
Calories: 320
Protein: 5g
Carbs: 45g
Fiber: 3g
Sugar: 30g
Fat: 14g
Saturated Fat: 7g
Cholesterol: 45mg
Sodium: 250mg
What’s Good: It’s a decent source of iron from the cocoa powder. It’s also relatively low in protein, so pair it with something protein-rich if you’re tracking macros.
What to Know: It’s high in sugar and carbs, obviously. It’s a dessert, so enjoy it in moderation. If you want to reduce sugar, you can reduce it by ¼ cup, but the texture will be slightly denser.
My Take: Look, this is chocolate cake. It’s not a diet food. But it’s way better than store-bought, costs less, and I know exactly what’s in it. When I want to make it lighter, I use a smaller slice and top it with fresh berries instead of whipped cream. But usually? I just eat a slice and enjoy it.
Final Thoughts
So that’s my Instant Pot Chocolate Fudge Cake! I’ve probably talked your ear off at this point, but when you make a recipe this often, you have a lot to say about it. This has saved me more times than I can count. It’s my answer to “what’s for dessert” when I’m tired, don’t want takeout, and still want something that tastes really good. My kids are happy, my husband’s happy, and I’m happy because I’m not stressed about cooking.
Make it yours! Try different add-ins, swap in your favorite toppings, adjust the sweetness to your liking. The best recipes are the ones you adapt to your family’s tastes. If you make this, drop a comment and let me know what you think! I love hearing how recipes turn out in your kitchen. And if something doesn’t work, tell me that too—I’m here to help troubleshoot.
Happy cooking! And I hope your kitchen smells half as good as mine does right now.
Frequently Asked Questions
Can I use a different size pan?
You can, but the cooking time will change. A 9-inch pan will be thinner and cook faster (about 20-25 minutes). A 6-inch pan will be thicker and cook slower (about 35-40 minutes). The 7-inch springform pan is ideal because it creates the perfect height for a fudgy center. If you use a different pan, keep a close eye on it and test for doneness with a toothpick.
Why did my cake crack on top?
Cracking is normal for pressure cooker cakes. It happens because the steam creates pressure inside the cake as it rises. If you want to prevent it, you can cover the top of the pan with foil for the first 15 minutes of cooking, then remove it. Or, just embrace the crack—it adds to the rustic charm. The taste isn’t affected at all.
Can I make this in a regular pot on the stove?
Technically, yes, but it’s not recommended. You’d need to create a makeshift pressure cooker with a heavy-bottomed pot and a tight-fitting lid. The results won’t be as consistent. The Instant Pot is designed for this, and it’s much safer and easier. If you don’t have a pressure cooker, I’d recommend baking it in the oven at 350°F for 25-30 minutes.
Is this cake too sweet?
It’s moderately sweet, which is typical for chocolate cake. If you prefer less sweet, reduce the sugar by ¼ cup. The cocoa powder will balance it out. I’ve made it with less sugar, and it’s still delicious, just less sweet. It’s all about personal preference.
Can I freeze this cake?
I don’t recommend freezing it. The texture changes, and it can become crumbly or dry. It’s best eaten fresh or stored in the fridge for up to 3 days. If you need to make it ahead, prepare it the night before and keep it in the fridge.
What if I don’t have buttermilk?
You can make your own buttermilk by adding 1 tablespoon of lemon juice or white vinegar to ½ cup of milk. Let it sit for 5-10 minutes until it curdles. It works just as well as store-bought buttermilk. You can also use plain yogurt thinned with a little milk, but the flavor will be slightly different.
Can I double this recipe?
Yes, but you’ll need a larger Instant Pot (8-quart) and a larger springform pan (9-inch). The cooking time will be longer—about 35-40 minutes. Keep a close eye on it and test for doneness. If you don’t have a larger pot, it’s better to make two separate cakes than to overcrowd the pot.
Pin This Recipe!
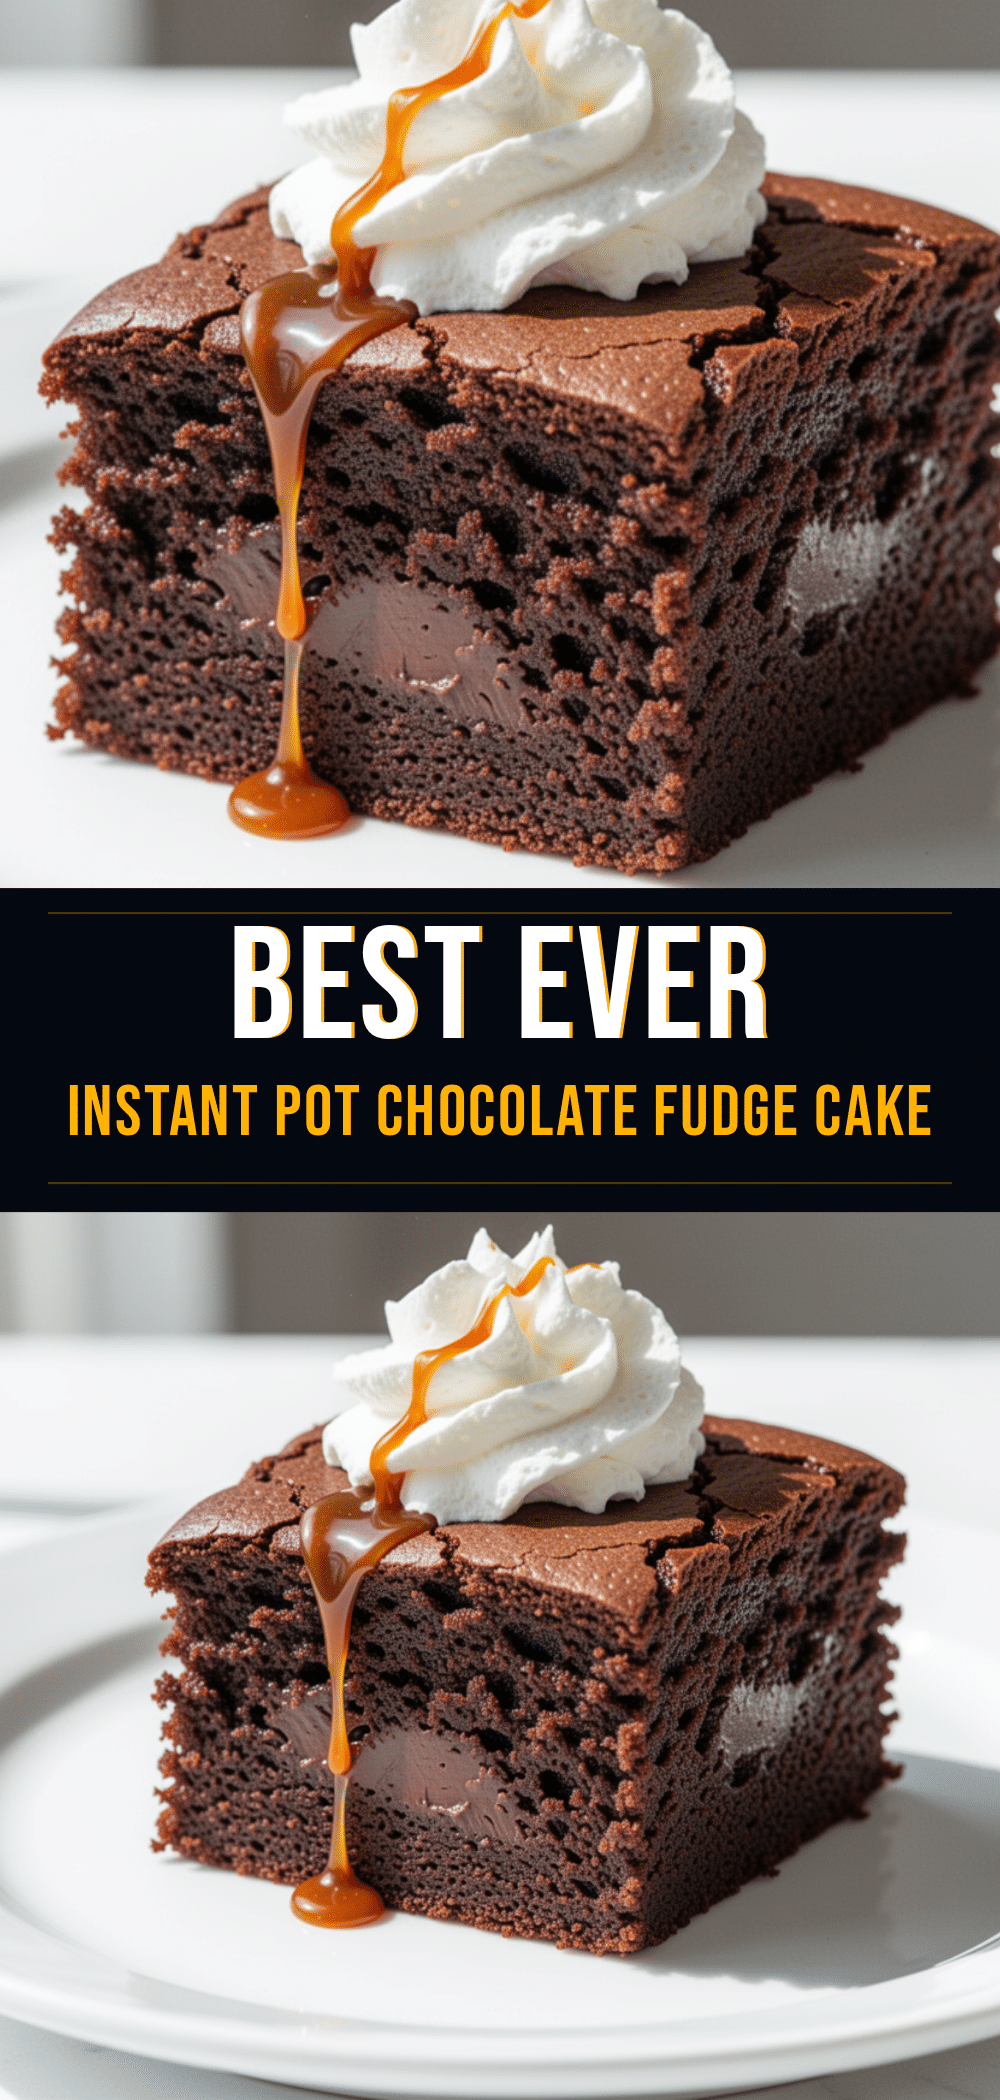
Instant Pot Chocolate Fudge Cake: Easy Pressure Cooker Dessert
- Total Time: 45 minutes
- Yield: 8 servings 1x
Description
A moist, fudgy chocolate cake made in an Instant Pot that requires no oven. This easy one-bowl dessert features a molten chocolate center and is ready in under an hour.
Ingredients
- 1 cup all-purpose flour
- 1 cup granulated sugar
- ½ cup Dutch-process cocoa powder
- 1 teaspoon baking powder
- ½ teaspoon baking soda
- ½ teaspoon salt
- 2 large eggs, room temperature
- ¼ cup vegetable oil
- ½ cup buttermilk
- 1 teaspoon vanilla extract
- ½ cup semi-sweet chocolate chips
- ½ cup heavy cream
Instructions
- Line the bottom of a 7-inch springform pan with parchment paper. Do not grease the sides.
- Add 1 cup of water to the Instant Pot and place a trivet (foil ball or metal rack) at the bottom.
- In a large bowl, whisk together flour, sugar, cocoa powder, baking powder, baking soda, and salt until no lumps remain.
- Add eggs, vegetable oil, buttermilk, and vanilla extract to the dry ingredients. Whisk until smooth and glossy, being careful not to overmix.
- In a small bowl, mix chocolate chips and heavy cream. Microwave for 30 seconds and stir until smooth.
- Pour half of the batter into the prepared pan. Spoon the chocolate sauce into the center. Pour the remaining batter over the top and smooth it out.
- Place the pan on the trivet in the Instant Pot. Close the lid and set the valve to ‘Sealing’.
- Select ‘Manual’ or ‘Pressure Cook’ on High Pressure for 30 minutes.
- Allow the pressure to release naturally for 10 minutes, then perform a quick release for any remaining pressure.
- Let the cake cool in the pan for 10 minutes, then release the springform and let it cool completely on a wire rack before slicing.
Notes
Use room temperature eggs for better mixing. Do not grease the sides of the pan to allow the cake to climb up. Let the cake cool completely before cutting to ensure it sets properly. For gluten-free, use a 1:1 gluten-free flour blend. For dairy-free, use coconut milk and dairy-free chocolate chips.
- Prep Time: 10 minutes
- Cook Time: 30 minutes
- Category: Dessert
- Cuisine: American
Nutrition
- Serving Size: 1 slice
- Calories: 320
- Sugar: 30
- Sodium: 250
- Fat: 14
- Saturated Fat: 7
- Carbohydrates: 45
- Fiber: 3
- Protein: 5
Keywords: Instant Pot, Chocolate Cake, Pressure Cooker Dessert, Fudgy Cake, Easy Dessert, No Oven, One Bowl


