Last Tuesday, I was standing in my kitchen at 6:45 PM, staring into the fridge with that specific kind of panic only a parent can recognize. My husband was already at the table, my toddler was climbing the curtains, and I had absolutely nothing planned for dinner. The takeout menu looked tempting, but my wallet—and my waistline—were screaming no. I needed something fast, cheap, and actually good.
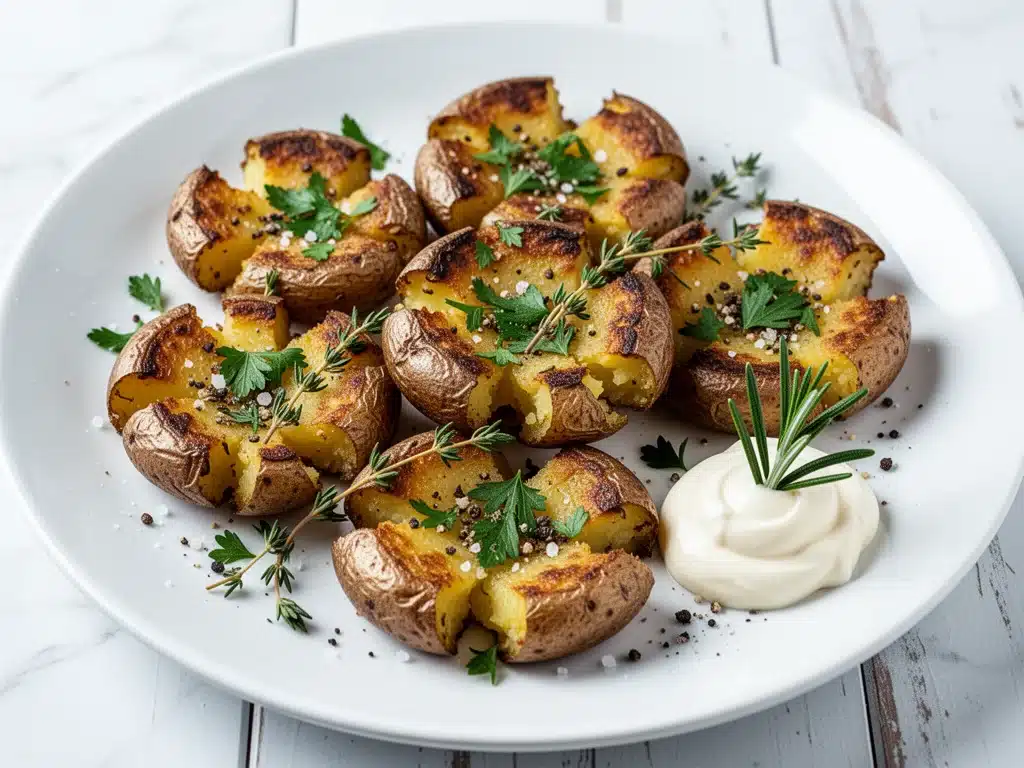
I spotted a bag of baby potatoes in the crisper drawer. They were supposed to be for Sunday brunch, but brunch was off. So, I threw them into a pot of boiling water, waited ten minutes, and did the one thing I’ve been avoiding: smashing them. I’d seen these crispy smashed baby potatoes with herbs all over Pinterest, looking golden, rustic, and impossibly delicious. I figured, what’s the worst that could happen? They’d be soggy.
They weren’t soggy. They were crispy. Like, actually crispy. The edges got shatteringly crunchy while the centers stayed fluffy and buttery. I tossed them with rosemary, thyme, and a ridiculous amount of garlic, and suddenly, dinner was saved. It took 35 minutes from start to finish. My husband asked if I’d been secretly taking a culinary class. I didn’t correct him.
That night changed how I view side dishes. I used to think side dishes were an afterthought—something you threw together while the main course did the heavy lifting. But these smashed potatoes? They stole the show. I’ve made them since then at least a dozen times. Sometimes with chicken, sometimes with steak, sometimes just on their own with a dollop of sour cream. They are the most reliable, crowd-pleasing side dish in my rotation. And the best part? You don’t need fancy equipment or hours of prep. Just potatoes, oil, herbs, and a little patience.
Why You’ll Love This Recipe
There are about ten reasons I keep making these crispy smashed baby potatoes with herbs, but here are the big ones that keep me coming back to the stove.
- Stupid Simple Technique — Seriously, if you can boil water and mash a potato with the bottom of a glass, you can make this. I’ve walked my teenage son through it over FaceTime while he was at college. He sent me a photo of his “experiment” that was actually better than mine.
- Lightning Fast — 35 minutes from start to finish. Only 10 of those minutes are active cooking. The rest is just boiling and baking. I make this on weeknights when I get home at 7pm and still want to eat something that didn’t come in a cardboard box.
- Pantry-Friendly — You probably have 80% of these ingredients already. Potatoes, oil, salt, pepper. The herbs are the only specialty item, but dried herbs work just fine if you’re in a pinch. I keep a stash of dried thyme and rosemary specifically for this.
- Crowd-Pleaser — I’ve served this to my picky 6-year-old, my food-snobby sister, and my dad who thinks “vegetables are just filler.” Everyone asked for seconds. Even the picky eater cleaned his plate.
- Texture Heaven — The magic is in the smash. You get this incredible contrast: crispy, salty edges and soft, creamy centers. It’s the best of both worlds. I love that it feels fancy but is actually comfort food.
- Budget-Smart — Feeds 4-6 people for under $8. That’s less than one appetizer at a restaurant. I buy the small bags of baby potatoes when they’re on sale and freeze them (yes, you can freeze raw baby potatoes, but I usually just cook them fresh).
This is my go-to when I need dinner to just work. No complicated techniques, no weird ingredients, just reliable, delicious food that makes everyone happy. It’s the side dish that proves you don’t need to spend hours in the kitchen to eat well.
Ingredients You’ll Need
Here’s the best part: this recipe is incredibly forgiving. You don’t need perfect produce or expensive imports. I’m particular about a few things, but mostly, it’s just simple stuff.
For the Potatoes
Baby potatoes (2 pounds / 900g) — Small, uniform potatoes are key. I use Yukon Gold or red baby potatoes. Yukons are buttery and hold their shape; reds are waxier and crispier up to the edges. Avoid large russets—they’re too starchy and fall apart when smashed. If you can’t find baby potatoes, cut larger potatoes into quarters so they’re roughly the same size.
Water (enough to cover) — For boiling. Simple.
Salt (1 tablespoon) — For the boiling water. This seasons the potato from the inside out. Don’t skip it. Undersalted potatoes taste bland no matter how much seasoning you add later.
For the Crispy Topping
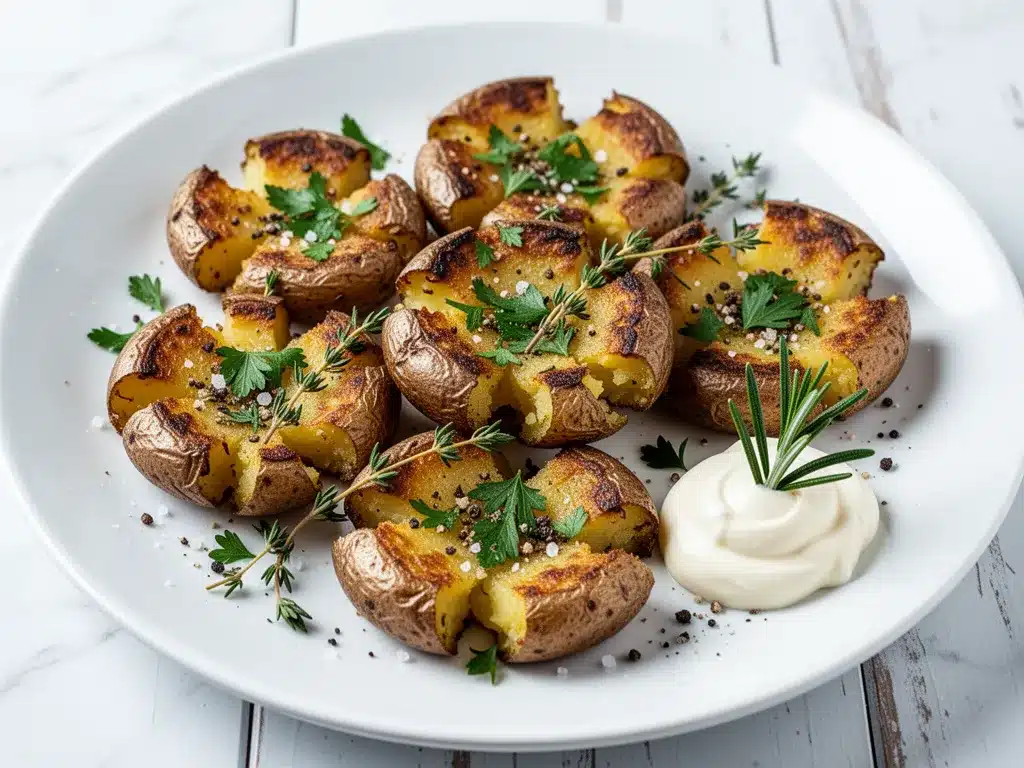
Olive oil (3 tablespoons) — Use good quality extra virgin olive oil. It adds flavor and helps the herbs stick. I keep a bottle of Bertolli or Filippo Berio on hand—it’s reliable and affordable. You can also use melted butter for a richer flavor, but olive oil gives that rustic, Mediterranean vibe.
Garlic (4 cloves, minced / about 2 tablespoons) — Fresh garlic is non-negotiable here. Jarred garlic has a metallic taste that clashes with the delicate potato. If you’re being lazy, use a garlic press. If you’re feeling fancy, mince it finely. I learned the hard way that big chunks of garlic burn easily in the oven.
Dried thyme (1 teaspoon) — Earthy and subtle. I buy McCormick’s or Simply Organic. If you have fresh thyme, use 1 tablespoon. Fresh herbs are stronger, so adjust accordingly.
Dried rosemary (1 teaspoon) — Piney and bold. Crush it between your palms before adding it to the oil. This releases the oils and makes the flavor pop. I always do this—it’s a small step that makes a big difference.
Sea salt flakes (½ teaspoon) — For finishing. Kosher salt works too, but flaky salt gives that restaurant-quality crunch on top. Maldon is my favorite, but any flaky salt will do.
Freshly cracked black pepper (½ teaspoon) — To taste. I like a good amount of pepper for contrast.
Optional Add-ins
Grated Parmesan cheese (¼ cup) — Sprinkle on during the last 5 minutes of baking. Adds a salty, umami kick. My kids love this version.
Chopped chives (2 tablespoons) — Garnish after baking. Adds color and a mild onion flavor. Fresh chives are best, but dried work in a pinch.
Hot honey (drizzle) — For a sweet-heat kick. Drizzle over the finished potatoes. This is my favorite way to eat them now—crispy, herby, and slightly sweet.
Equipment Needed
You don’t need fancy equipment for this. Here’s what I actually use.
Baking sheet — I use a standard half-sheet pan (18×13 inches). Make sure it’s lined with parchment paper. This is crucial for easy cleanup and preventing sticking. I’ve burned potatoes to a crisp before by skipping the parchment. Don’t make my mistake.
Pot — A medium saucepan or Dutch oven for boiling. Needs to hold the potatoes comfortably with room for water to circulate. My 4-quart pot works perfectly.
Mashing tool — The bottom of a heavy glass or a potato masher. I use a heavy drinking glass. It’s clean, easy to wash, and the flat bottom smashes evenly. A fork works too, but it doesn’t create the same flat, crispy surface.
Small bowl — For mixing the oil and herbs. I use a ramekin.
Parchment paper — Essential. I never bake potatoes without it. Cleanup is so much easier.
Pastry brush — Optional, but helpful for spreading the oil evenly. I use a silicone brush. A spoon works too, but a brush gives better coverage.
Oven — Obviously. Preheated to 425°F (220°C). I use my standard electric oven. Convection works too, but reduce the time by 5 minutes.
How to Make It: Step-by-Step
Alright, let’s make this! I’m walking you through exactly how I do it, including the little tricks I’ve picked up over dozens of batches.
Step 1: Boil the Potatoes (15 minutes)
Start by washing the baby potatoes thoroughly. You don’t need to peel them—the skins add flavor and texture. Drop them into a pot of cold, salted water. Bring to a boil over high heat, then reduce to a simmer. Cook for 10-12 minutes, or until a fork slides in easily. They should be tender but not mushy. If they’re overcooked, they’ll fall apart when you smash them. Undercooked potatoes will be crunchy in the center. Aim for fork-tender.
Pro Tip: Drain the potatoes immediately and let them sit in the colander for 2 minutes to steam off excess water. Wet potatoes = soggy smashed potatoes. This step is crucial.
Step 2: Preheat and Prep (5 minutes)
While the potatoes are boiling, preheat your oven to 425°F (220°C). Line a baking sheet with parchment paper. I always use parchment—it’s a game-changer for cleanup. In a small bowl, whisk together the olive oil, minced garlic, dried thyme, dried rosemary, and black pepper. The mixture should look fragrant and oily. If the garlic looks too clumpy, add another teaspoon of oil.
Step 3: Smash the Potatoes (5 minutes)
Place the drained potatoes on the prepared baking sheet. Give them a gentle pat with a paper towel to remove any surface moisture. This helps them crisp up. Now, the fun part: smash them. Take the bottom of a heavy glass and press down on each potato. You want them flattened to about ½-inch thickness. Don’t worry about them being perfect—they should look rustic and uneven. The edges will crack and crisp up, which is exactly what we want.
Visual Cue: The potato should look like a small, flat disc with cracked edges. If it’s still too thick, press harder. If it breaks, that’s fine—it’ll still taste good.
Step 4: Oil and Herbs (2 minutes)
Brush the top of each smashed potato generously with the herb-oil mixture. Make sure the oil gets into the cracks and edges. This is where the flavor lives. Don’t be shy with the oil—potatoes need fat to crisp up. If you’re worried about calories, you can use less, but you’ll sacrifice crispiness. Trust me, the calories are worth it.
Step 5: Bake Until Crispy (15-20 minutes)
Place the baking sheet in the preheated oven. Bake for 15-20 minutes, or until the edges are golden brown and crispy. I check them at 15 minutes. If they’re not crispy enough, give them 5 more minutes. The goal is deep golden brown, not pale yellow. Rotate the pan halfway through for even browning.
Sensory Cue: You’ll smell the garlic and herbs filling the kitchen. It should smell like a bakery. The potatoes will sizzle slightly in the oven.
Step 6: Finish and Serve (2 minutes)
Remove from the oven and immediately sprinkle with sea salt flakes and fresh chives if using. If adding Parmesan, sprinkle it on during the last 5 minutes of baking so it melts but doesn’t burn. Serve hot. They lose crispiness if they sit too long, so get them to the table quickly.
Total Time: About 35 minutes (10 minutes active, 25 minutes hands-off)
Expert Tips & Tricks
Here’s everything I’ve learned from making this recipe dozens of times. These tips will save you from my mistakes.
The Smash Technique
Don’t press too hard. You want to flatten the potato, not turn it into a pancake. The cracks are important—they create surface area for crispiness. If you press too hard, the potato becomes dense and steams instead of roasting. Aim for a gentle, even press.
Oil Coverage is Key
Make sure every part of the potato is coated. I use a pastry brush to get into the cracks. If you just drizzle oil, the edges won’t crisp evenly. The oil acts as a conductor for heat, helping the potato fry in the oven.
Don’t Crowd the Pan
Leave space between the potatoes. If they’re touching, they’ll steam each other instead of roasting. Use two baking sheets if necessary. I’ve made the mistake of overcrowding before, and the results were soggy. Two pans in the oven works fine—just rotate them halfway.
Herb Timing
Using dried herbs is fine, but fresh herbs can burn in the oven. If you use fresh thyme or rosemary, add them in the last 5 minutes of baking. Or, mix dried herbs into the oil and fresh herbs on top. This gives you the best of both worlds.
The Garlic Trap
Minced garlic burns easily. If your garlic looks like it’s browning too fast, lower the oven temperature to 400°F (200°C) and bake for an extra 5 minutes. Burnt garlic tastes bitter. I’ve ruined batches before by using large chunks of garlic. Mince it finely or use a press.
Crispiness Secrets
For extra crispiness, flip the potatoes halfway through baking. This exposes the bottom to direct heat. I usually don’t bother, but if you want restaurant-level crunch, flip them. Also, let them cool for 2 minutes after baking—they crisp up further as they cool.
Variations & Substitutions
Once you’ve nailed the basic version, here’s how you can mix it up. I’ve tried all of these.
Cheesy Smashed Potatoes
Sprinkle ¼ cup grated Parmesan or cheddar cheese on top during the last 5 minutes of baking. The cheese melts and creates a salty, gooey crust. My kids request this version specifically.
Bacon-Infused
Cook 4 strips of bacon until crispy, crumble it, and mix it into the herb-oil mixture before brushing. Top with crumbled bacon after baking. Smoky, salty, and irresistible.
Spicy Kick
Add ½ teaspoon red pepper flakes or cayenne pepper to the oil mixture. Or, drizzle with hot honey after baking. This is my favorite variation for game day.
Herb-Free Version
Skip the herbs and just use olive oil, garlic, salt, and pepper. It’s simple but still delicious. Great for kids who are picky about herbs.
Dietary Modifications
Gluten-Free: Naturally gluten-free. Just check your seasoning blends for hidden gluten.
Dairy-Free: Naturally dairy-free. Skip the Parmesan or use a dairy-free alternative.
Lower-Fat: Use cooking spray instead of oil. The potatoes will still crisp, but not as golden. I don’t recommend this—it’s not worth the texture loss.
Protein Add-ins
Chickpeas: Toss 1 can of drained chickpeas on the same baking sheet. They roast alongside the potatoes and add protein.
Sausage: Slice 1 pound of chicken sausage and roast on the same pan. The juices flavor the potatoes.
Serving & Storage
How to Serve: I usually serve these straight from the baking sheet at the dinner table—it looks rustic and stays warm. But here are other ways I’ve enjoyed them:
- Side Dish: Perfect with roasted chicken, grilled steak, or fish. They’re the ultimate comfort side.
- Appetizer: Serve with a dipping sauce like ranch, aioli, or sour cream. Great for parties.
- Breakfast: Yes, really. I’ve eaten these cold for breakfast with a fried egg on top. It’s surprisingly good.
Storage: Store leftovers in an airtight container in the fridge for up to 3 days. The potatoes will soften in the fridge—this is normal.
Reheating: The best method is the oven. Preheat to 400°F (200°C) and bake for 10-15 minutes until crispy again. The microwave makes them soggy, so avoid it. I’ve tried the air fryer at 350°F for 5 minutes, and it works well too.
Freezing: I don’t recommend freezing these. The texture changes significantly, and they become mushy when thawed. It’s better to make them fresh.
Meal Prep: You can boil and smash the potatoes ahead of time. Store them in the fridge for up to 2 days. When ready to serve, brush with oil and bake as directed. This saves time on busy nights.
Nutrition Information
I’m not a nutritionist, but here’s the breakdown if you’re tracking. This is per serving (based on 6 servings).
Calories: 180
Protein: 3g
Carbs: 22g
Fiber: 2g
Sugar: 1g
Fat: 10g
Saturated Fat: 1.5g
Cholesterol: 0mg
Sodium: 320mg
Potassium: 450mg
What’s good: High in potassium and fiber from the potatoes. The olive oil provides healthy fats. It’s a balanced side dish.
What to know: Higher in calories from the oil. Contains no dairy or gluten. Moderate sodium depending on how much salt you add.
My take: Look, this is comfort food. It’s not a diet recipe, but it’s not junk food either. Potatoes are a great source of energy, and the olive oil adds heart-healthy fats. When I want to make it lighter, I use less oil and add more herbs. But usually? I just eat a reasonable portion and enjoy it. It’s about balance.
Final Thoughts
So that’s my go-to crispy smashed baby potatoes with herbs! I’ve probably talked your ear off at this point, but when you make a recipe this often, you have a lot to say about it. These potatoes have saved weeknight dinners more times than I can count. They’re my answer to “what’s for dinner” when I’m tired, don’t want takeout, and still want something that tastes really good.
Make it yours! Try different herbs, add cheese, or drizzle with hot honey. The best recipes are the ones you adapt to your family’s tastes. If you make this, drop a comment and let me know what you think! I love hearing how recipes turn out in your kitchen. And if something doesn’t work, tell me that too—I’m here to help troubleshoot.
Happy cooking! And I hope your kitchen smells half as good as mine does right now.
Frequently Asked Questions
Can I use large potatoes instead of baby potatoes?
You can, but you’ll need to cut them into quarters or halves so they’re roughly the same size. Large russets are too starchy and fall apart when smashed. Yukon Golds or red potatoes work best because they hold their shape. If you use large potatoes, just be prepared for more uneven smashing.
Why did my smashed potatoes turn out soggy?
This usually happens for three reasons: 1) The potatoes weren’t dried after boiling. Moisture prevents crisping. 2) The oven wasn’t hot enough. 425°F is ideal. 3) The pan was overcrowded. Potatoes need space to roast, not steam. Next time, pat them dry, leave space, and check your oven temp.
Can I make these ahead for a dinner party?
Sort of. You can boil and smash the potatoes up to 2 days ahead. Store them in the fridge on a baking sheet covered with plastic wrap. When ready to serve, brush with oil and bake as directed. They won’t be quite as crispy as fresh, but they’re close and save you stress during the party.
Can I use fresh herbs instead of dried?
Yes, but adjust the amount. Use 1 tablespoon of fresh herbs for every 1 teaspoon of dried. Fresh herbs can burn in the oven, so I recommend mixing dried herbs into the oil and adding fresh herbs in the last 5 minutes of baking. Or, use fresh herbs as a garnish after baking.
How do I reheat leftovers without them getting dry?
Use the oven or air fryer. Preheat to 400°F and bake for 10-15 minutes. The microwave makes them soggy, so avoid it. If you must use the microwave, do it in short bursts and let them sit for a minute to redistribute the moisture. But honestly, the oven is worth the extra time.
Can I double this recipe?
Absolutely! Double everything and use two baking sheets. The cooking times stay the same. I do this when I’m feeding a crowd. Just make sure your oven has space for two pans, and rotate them halfway through for even browning.
Why did my garlic burn?
Minced garlic burns easily because it has a high sugar content and low water content. If your garlic looks like it’s browning too fast, lower the oven temperature to 400°F and bake for an extra 5 minutes. Next time, mince it finer or use a garlic press to distribute it more evenly.
Pin This Recipe!
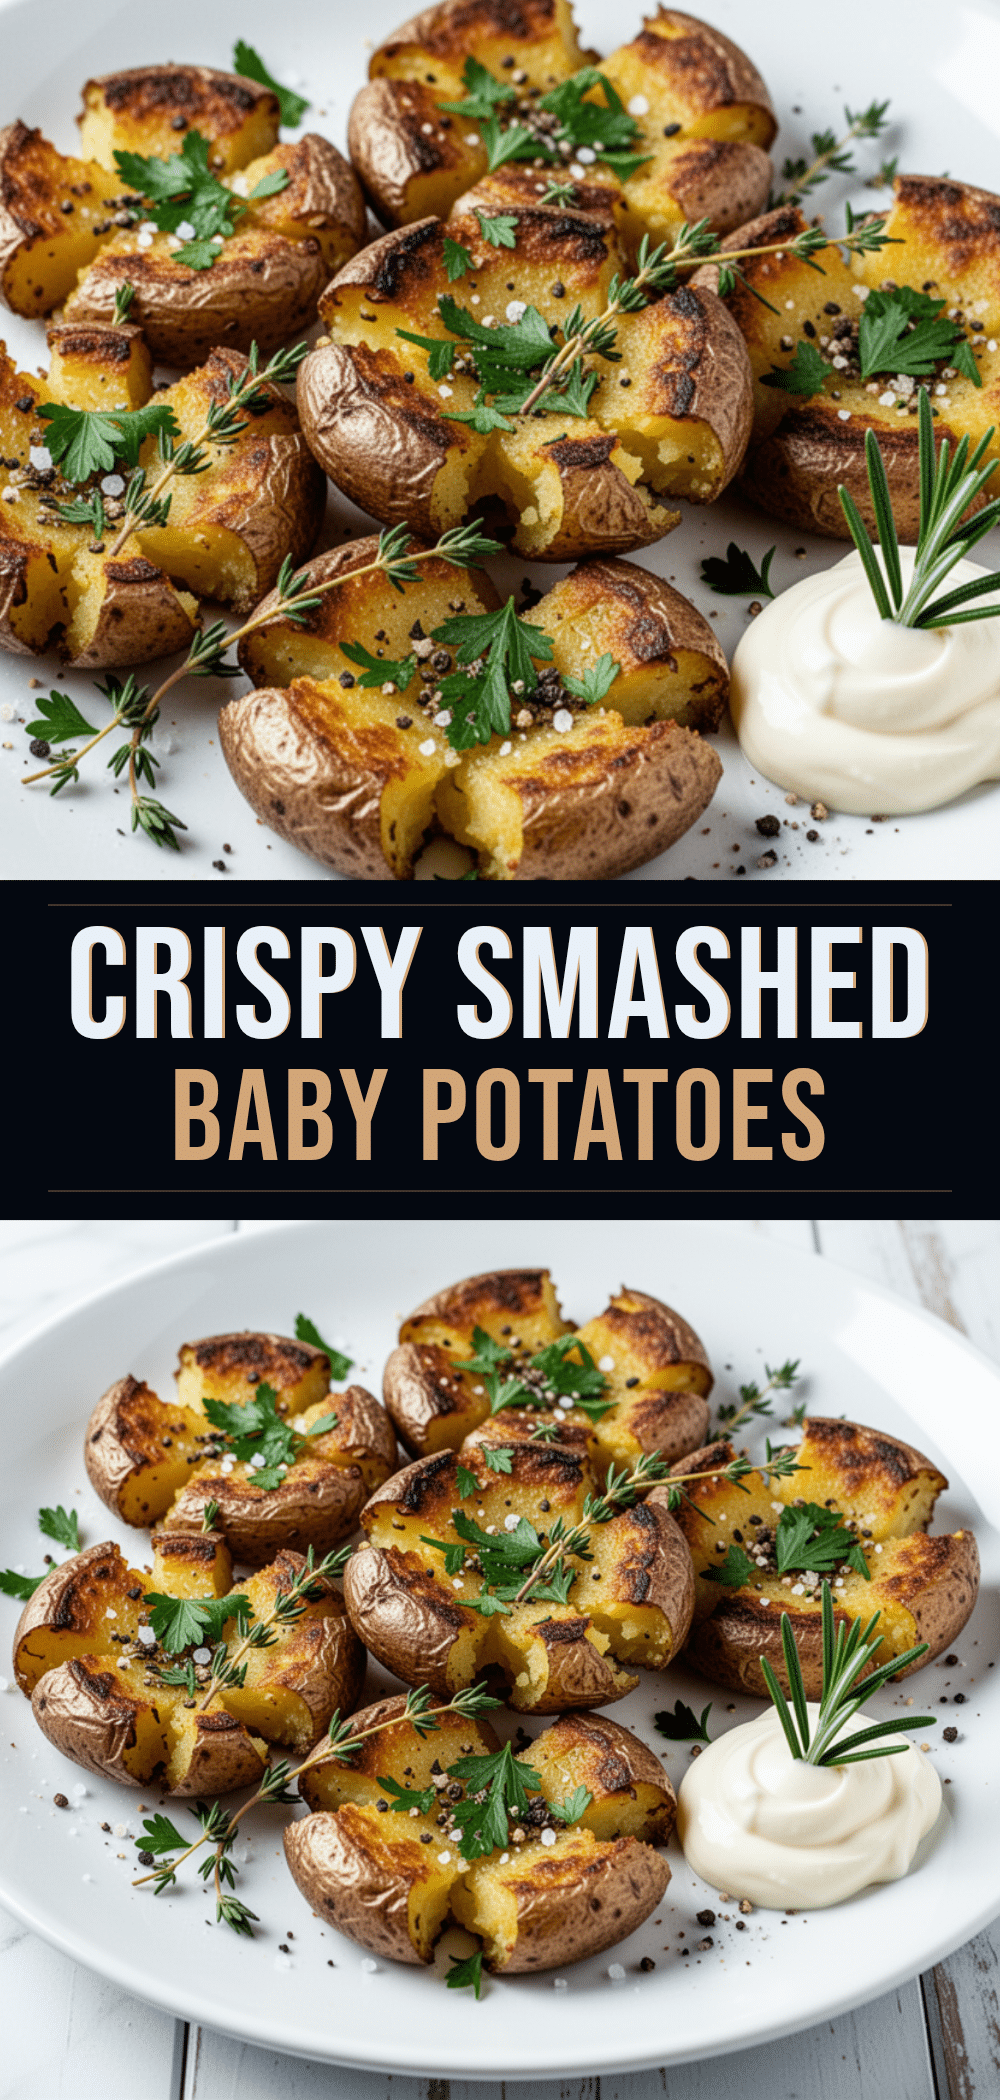
Crispy Smashed Baby Potatoes: Easy Side Dish
- Total Time: 35 minutes
- Yield: 4-6 servings 1x
Description
A fast, budget-friendly side dish featuring baby potatoes that are boiled, smashed, and baked until shatteringly crispy with herbs and garlic.
Ingredients
- 2 pounds baby potatoes (Yukon Gold or red)
- Water (enough to cover)
- 1 tablespoon salt (for boiling water)
- 3 tablespoons olive oil
- 4 cloves garlic, minced
- 1 teaspoon dried thyme
- 1 teaspoon dried rosemary
- ½ teaspoon sea salt flakes
- ½ teaspoon freshly cracked black pepper
- Optional: ¼ cup grated Parmesan cheese
- Optional: 2 tablespoons chopped chives
- Optional: Hot honey for drizzling
Instructions
- Wash baby potatoes thoroughly. Do not peel them.
- Place potatoes in a pot of cold, salted water. Bring to a boil, then reduce to a simmer.
- Cook for 10-12 minutes until fork-tender but not mushy.
- Drain potatoes and let them sit in a colander for 2 minutes to steam off excess water.
- Preheat oven to 425°F (220°C). Line a baking sheet with parchment paper.
- In a small bowl, whisk together olive oil, minced garlic, dried thyme, dried rosemary, and black pepper.
- Pat potatoes dry with a paper towel to remove surface moisture.
- Place potatoes on the prepared baking sheet. Smash each potato flat to about ½-inch thickness using the bottom of a heavy glass.
- Brush the top of each smashed potato generously with the herb-oil mixture, ensuring oil gets into the cracks.
- Bake for 15-20 minutes until edges are golden brown and crispy. Rotate pan halfway through.
- Remove from oven and immediately sprinkle with sea salt flakes and fresh chives if using.
- Serve hot.
Notes
Ensure potatoes are dry before smashing to maximize crispiness. Do not overcrowd the pan; leave space between potatoes to allow for proper roasting. If using fresh herbs, add them in the last 5 minutes of baking to prevent burning. For extra crispiness, flip potatoes halfway through baking.
- Prep Time: 10 minutes
- Cook Time: 25 minutes
- Category: Side Dish
- Cuisine: American
Nutrition
- Serving Size: Approximately 1/6th
- Calories: 180
- Sugar: 1
- Sodium: 320
- Fat: 10
- Saturated Fat: 1.5
- Carbohydrates: 22
- Fiber: 2
- Protein: 3
Keywords: smashed potatoes, baby potatoes, crispy potatoes, side dish, easy recipe, weeknight dinner, gluten-free, vegetarian


