Last Thanksgiving, I made the mistake of bringing store-bought toffee bars to the dessert table. You know the kind—those shiny, individually wrapped squares from the gourmet gift shop that cost eight dollars for a tiny box of twelve. I pulled them out alongside my homemade pecan pie, expecting everyone to be impressed by the convenience. Instead, my aunt took one bite, handed it back, and said, “This tastes like wax and regret.”
Ouch. But she was right. Those commercial bars are mostly sugar, corn syrup, and a thin veneer of chocolate that cracks before you even get it home. They lack soul. They lack crunch. And they certainly lack that perfect balance of salty and sweet that makes you close your eyes and sigh.
That was the day I decided I was done with the fake stuff. I spent the next six months testing bar after bar, adjusting sugar ratios, fighting with tempering chocolate (spoiler: you don’t need to temper it for bars), and perfecting the caramel layer. I wanted something that tasted like it came from a high-end candy shop but was actually easy enough to throw together on a random Tuesday night.
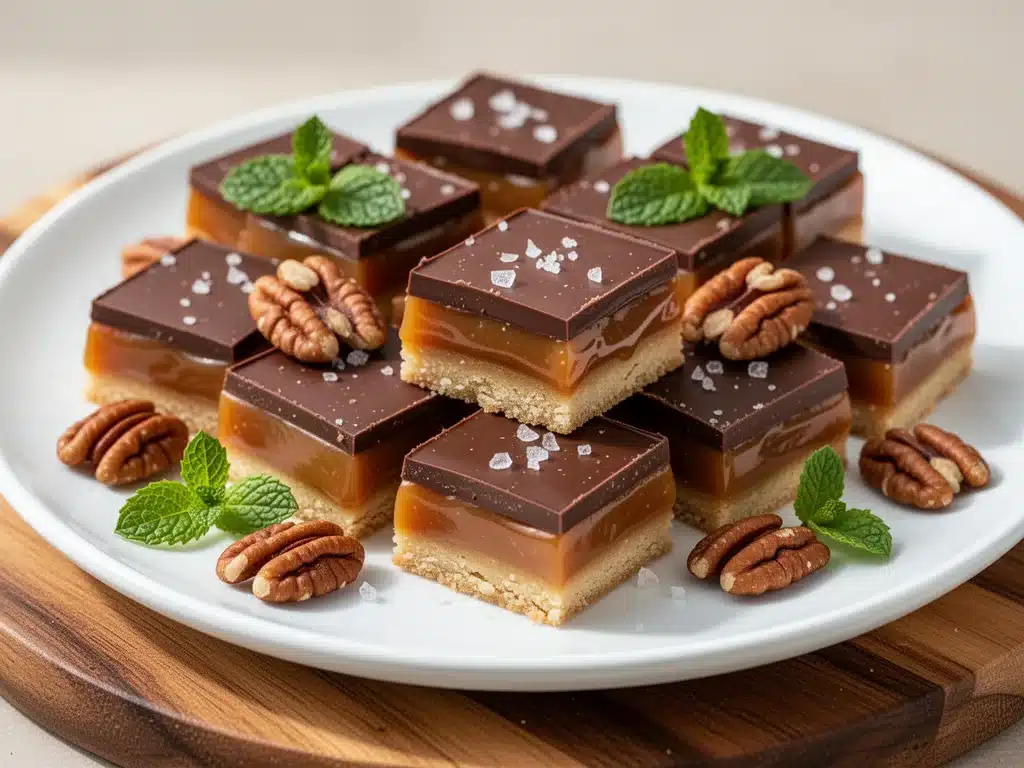
What I created are these Salted Caramel Toffee Bars. They are crisp, buttery, chewy, salty, and sweet all at once. They are honestly better than takeout dessert, and way better than the store-bought version. I’ve made these for game day, for potlucks, and just because I had a craving. Every single time, they disappear faster than Nashville Hot Chicken Sliders. If you’re looking for a dessert that actually impresses people without requiring a degree in pastry arts, this is it. Let’s get into why these bars are worth the effort.
Why You’ll Love These Homemade Toffee Bars
There are about ten reasons I keep making these salted caramel toffee bars, but here are the big ones that will win you over immediately.
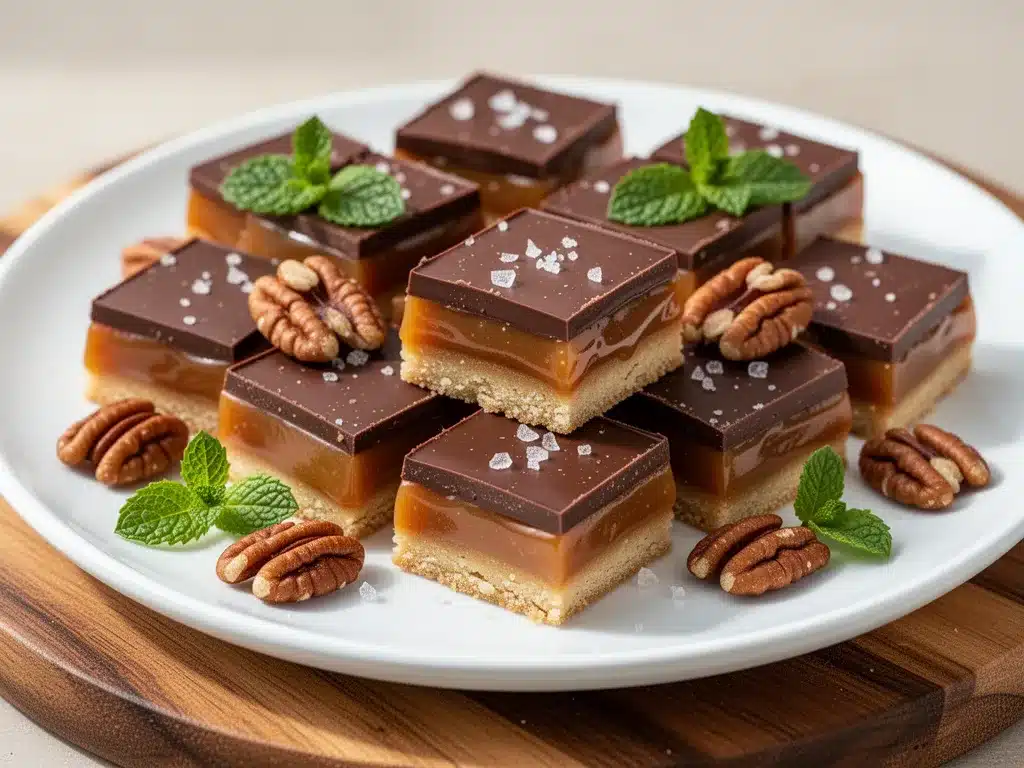
That Perfect Texture Combo — Seriously, the crunch-to-chew ratio is insane. You get the buttery, crisp shortbread-like base, the soft and sticky caramel middle, and the firm-but-melty chocolate top. It’s a textural symphony. I’ve had people tell me they can’t stop eating them because they’re always looking for that next perfect bite.
Stupid Simple Techniques — You don’t need a candy thermometer. You don’t need to temper chocolate. You just need to watch the stove and stir. If you can make a simple syrup or melt chocolate chips, you can make these. I’ve walked my teenage nephew through the whole process over video call, and he nailed it on the first try.
Make-Ahead Friendly — These bars actually taste better after they’ve sat in the fridge for 24 hours. The flavors meld together, the caramel sets up nicely, and the chocolate gets that snap you want. I often make them three days before a party so I don’t have to stress on the day of.
Customizable — Love nuts? Add pecans or almonds. Hate nuts? Skip them. Want white chocolate instead of dark? Go for it. I’ve made these with sea salt flakes, flaky salt, and even a sprinkle of crushed pretzels on top. The base recipe is solid, but you can make it your own.
Budget-Smart — Store-bought gourmet toffee runs about $12-$15 for a small tin. These bars cost me about $8 to make a full 9×13 pan, and you get like 30-40 bars. That’s less than 25 cents per bar. I buy the chocolate in bulk, and the butter and sugar are pantry staples.
This is my go-to when I need a dessert that looks fancy but doesn’t require me to stand over the stove for three hours. No complicated techniques, no weird ingredients, just reliable, delicious food that makes everyone happy. Plus, they pair perfectly with a cold glass of fresh watermelon agua fresca for a summer treat.
Ingredients You’ll Need
Here’s the best part: you probably have most of this already. The ingredient list is short, but quality matters here. Since there’s not much going on, every ingredient needs to shine.
For the Crisp Base
Unsalted butter (1 cup / 226g) — This is the foundation. I use high-quality European-style butter if I can find it, but regular unsalted works fine. Softened for creaming, but don’t melt it yet. The cold butter vs. room temp debate is real here; I’ve found that soft but cool butter gives the best crispness.
Granulated sugar (1 cup / 200g) — White sugar creates that crisp, sandy texture. Brown sugar will make it chewier, but we want crisp. Don’t substitute honey or maple syrup; it’ll change the chemistry completely.
All-purpose flour (2 cups / 250g) — Just standard flour. Sift it if it’s lumpy. I measure by weight for accuracy, but scooping and leveling works if you’re careful not to pack it down.
Salt (½ teaspoon) — A pinch to balance the sweetness. Since we’re using unsalted butter, this is important.
For the Caramel Layer
Unsalted butter (1 cup / 226g) — Yes, more butter. Caramel is basically butter and sugar. Don’t skimp here; it adds richness.
Dark brown sugar (2 cups / 400g) — Packed. This gives the caramel that molasses depth and chewiness. Light brown sugar works but is less flavorful.
Heavy cream (1 cup / 240ml) — Room temperature is best. Cold cream can seize the caramel if added too fast. I take it out of the fridge while the butter melts.
Vanilla extract (1 teaspoon) — Real vanilla, please. I know it’s pricey, but artificial vanilla tastes chemical in caramel. It’s the only place I’m picky.
For the Chocolate Top
Semi-sweet chocolate chips (2 cups / 340g) — I use Ghirardelli or Guittard. Baker’s chocolate works too, but chips are easier because they melt evenly without burning. Do not use white chocolate chips for this layer unless you want it to be overly sweet.
Flaky sea salt (like Maldon) — For sprinkling on top. This is non-negotiable. The big flakes provide that salty crunch that contrasts with the sweet chocolate.
Optional: Chopped pecans or almonds (1 cup) — I like to press these into the chocolate while it’s soft. It adds texture and looks professional.
Equipment Needed
You don’t need fancy equipment for this. Here’s what I actually use.
9×13 inch baking pan — I line it with parchment paper, leaving an overhang on the sides. This is crucial. These bars are sticky. If you don’t use parchment, you’ll be picking caramel out of your pan for hours. Grease the parchment lightly too.
Heavy-bottomed saucepan — I use a 3-quart saucepan. Thin pans burn sugar faster. Stainless steel or enameled cast iron is best. I’ve ruined batches in a thin aluminum pot before; the sugar burned in spots before the rest melted.
Wooden spoon or silicone spatula — For stirring the caramel. You need something that can handle high heat and won’t scratch your pan.
Offset spatula — For spreading the chocolate evenly. A regular butter knife works in a pinch, but an offset gives you that smooth, professional finish.
Cutting tool — A sharp chef’s knife works, but I prefer a pizza cutter. It slices through the chocolate and caramel cleanly without squishing the bars. Dip the blade in hot water between cuts for super clean edges.
How to Make Salted Caramel Toffee Bars
Alright, let’s make this! I’m walking you through exactly how I do it, including the little tricks I’ve picked up over dozens of batches.
Step 1: Prep Your Pan and Oven (5 minutes)
Preheat your oven to 350°F (175°C). Line your 9×13 inch pan with parchment paper. Leave a 2-inch overhang on the long sides so you can lift the bars out later like a sling. Grease the parchment lightly with butter or cooking spray. This step is non-negotiable for easy removal.
Step 2: Make the Crisp Base (15-20 minutes)
In a large bowl, beat the softened butter and granulated sugar together until it looks like wet sand. It shouldn’t be creamy like cookie dough; just combined. Sift in the flour and salt. Mix until a dough forms. It will look crumbly at first, then come together.
Press this dough firmly and evenly into the bottom of your prepared pan. Use your fingers or the bottom of a measuring cup to pack it down tight. Any gaps will result in uneven bars. Bake for 15 minutes until the edges are lightly golden. Remove from the oven and let it cool while you make the caramel. Don’t skip the cooling; if the base is hot, the caramel will melt into it too much.
Step 3: Cook the Caramel (10-12 minutes)
In your heavy-bottomed saucepan, melt the 1 cup of butter over medium heat. Once melted, stir in the brown sugar. Keep stirring constantly. The mixture will bubble up and look weird at first. Don’t panic. Keep stirring.
Bring it to a boil. Once it boils, add the heavy cream. It will bubble violently—step back slightly. Stir constantly. The caramel will thicken and darken. Cook for 5 minutes after it starts boiling, stirring every 30 seconds to prevent burning. The temperature should reach 240°F (115°C) if you have a thermometer, but if you don’t, watch for the texture. It should coat the back of a spoon heavily and leave a clear path when you run your finger through it.
Remove from heat. Stir in the vanilla. The caramel will be very hot and liquid. Immediately pour it over the cooled crisp base. Use a spatula to spread it evenly to the edges. Let it sit for 5 minutes to set slightly before adding the chocolate.
Step 4: Add the Chocolate Layer (5 minutes)
Sprinkle the chocolate chips evenly over the caramel. Let them sit for 2-3 minutes. The residual heat from the caramel will start to melt them. After 3 minutes, use an offset spatula to spread the chocolate into an even layer. If some spots aren’t melting, microwave for 10-second bursts and stir.
If you’re adding nuts, press them into the chocolate now. Sprinkle with flaky sea salt. The salt should be visible but not overwhelming. You want those little white flakes on top.
Step 5: Chill and Cut (3+ hours)
Refrigerate the pan for at least 3 hours, preferably overnight. The chocolate needs to harden completely. If you try to cut it warm, you’ll get a mess. Once set, lift the bars out using the parchment sling. Use a sharp knife or pizza cutter to slice into squares. I cut them into 24 large bars, but you can go smaller for bite-sized portions.
Troubleshooting Tips:
- Caramel too soft? You didn’t cook it long enough. Next time, let it boil for a full 5-6 minutes.
- Chocolate cracked? The pan was too hot when you added the chocolate. Let the caramel cool for 5-10 minutes first.
- Base too hard? You pressed it down too tight or baked it too long. Keep an eye on the edges.
Expert Tips & Tricks
Here’s everything I’ve learned from making these dozens of times. These tips will save you from my mistakes.
Don’t Rush the Caramel
This is where most people fail. If you rush the caramel, it stays runny and never sets. The sugar needs to reach the soft-ball stage. If you don’t have a thermometer, use the cold water test. Drop a little caramel into a bowl of ice water. If it forms a soft ball that holds its shape, it’s ready. If it’s just a syrup, keep cooking.
Use Flaky Salt, Not Table Salt
Table salt dissolves instantly and disappears. Flaky sea salt (like Maldon) stays crunchy and provides bursts of saltiness. It’s a textural element, not just a seasoning. If you can’t find flaky salt, use kosher salt, but flaky is best.
Chocolate Quality Matters
Since the chocolate is the top layer, it’s what people see and taste first. Cheap chocolate chips can taste waxy. Use good quality semi-sweet chocolate. If you want a richer flavor, use dark chocolate chunks. But keep in mind, darker chocolate is less sweet, so you might want to add a little extra salt.
Cutting Like a Pro
To get clean cuts, dip your knife in hot water and wipe it dry between every cut. The heat melts the chocolate and caramel slightly, allowing the blade to glide through without squishing the layers. A pizza cutter works even better because the wheel rolls through cleanly.
Storage is Key
These bars need to stay in the fridge. The caramel continues to set and harden as it cools. At room temperature, they’ll get soft and sticky. Store them in an airtight container in the fridge for up to two weeks. Layer them with parchment paper to prevent sticking.
Variations & Substitutions
Once you’ve nailed the basic version, here’s how you can mix it up. I’ve tried all of these.
White Chocolate Version
Swap the semi-sweet chocolate for white chocolate chips. Sprinkle with crushed red candied ginger or dried cranberries for a festive look. This version is sweeter, so reduce the sugar in the base by 2 tablespoons.
Peanut Butter Cup Style
Drizzle melted peanut butter over the caramel before adding the chocolate. Then sprinkle with chocolate chips. It’s like a homemade Reese’s. My kids love this version.
Coconut Lovers
Add 1 cup of shredded coconut to the crisp base. Use white chocolate on top and sprinkle with toasted coconut flakes. It’s tropical and delicious.
Gluten-Free
Use a 1:1 gluten-free flour blend in the base. Make sure your chocolate chips are certified gluten-free (some contain wheat starch). Everything else is naturally gluten-free.
Nut-Free
Simply omit the nuts. The bars are still crunchy from the base and chewy from the caramel. No one will miss them.
Espresso Boost
Add 1 tablespoon of instant espresso powder to the caramel. It enhances the chocolate flavor without making it taste like coffee. Perfect for coffee lovers.
Serving & Storage
How to Serve:
I usually serve these chilled, straight from the fridge. They’re best when the chocolate is firm and the caramel is chewy. Bring them to the table in the pan, or lift them out and slice them right there. They look impressive with the flaky salt glistening on top.
Side Dishes:
These bars are rich, so they don’t need much accompaniment. A cup of hot coffee or tea is perfect. I also like them with a scoop of vanilla ice cream if I’m feeling decadent. For a lighter option, serve with frozen lemonade icebox pie to balance the sweetness.
Storage Instructions:
Refrigerator: Store in an airtight container for up to 2 weeks. Layer with parchment paper.
Freezing: These freeze well! Wrap individual bars in plastic wrap, then put them in a freezer bag. They last for 3 months. Thaw in the fridge overnight.
Room Temperature: Not recommended. The caramel will get too soft and sticky.
Pro Tip: If you’re bringing them to a party, keep them in the cooler or a cold area. Warm toffee bars are a mess to eat.
Nutrition Information
I’m not a nutritionist, but here’s the breakdown if you’re tracking. Keep in mind, these are rich, sweet bars, so portion control is key.
Per Serving (based on 24 bars):
- Calories: 280
- Protein: 3g
- Carbs: 38g
- Fiber: 1g
- Sugar: 28g
- Fat: 14g
- Saturated Fat: 8g
- Cholesterol: 25mg
- Sodium: 120mg
What’s Good:
They provide a bit of energy from the carbs, and the nuts (if used) add healthy fats.
What to Know:
High in sugar and saturated fat. This is a treat, not a health food. Enjoy in moderation.
Dietary Notes:
Contains: dairy, gluten, nuts (if added).
Can be made: gluten-free, nut-free.
Not suitable for: vegan (without modifications).
Final Thoughts
So that’s my go-to salted caramel toffee bars! I’ve probably talked your ear off at this point, but when you make a recipe this often, you have a lot to say about it.
This has saved my dessert game more times than I can count. It’s my answer to “what should I bring?” when I’m invited to dinner or when I need a quick win for a bake sale. My friends are happy, my family’s happy, and I’m happy because I’m not stressed about cooking. Plus, they’re so much better than anything you can buy at the store.
Make it yours! Try different nuts, different chocolates, or different salts. The best recipes are the ones you adapt to your family’s tastes. And honestly, once you try homemade toffee, you’ll never go back to the store-bought version again.
If you make this, drop a comment and let me know what you think! I love hearing how recipes turn out in your kitchen. And if something doesn’t work, tell me that too—I’m here to help troubleshoot. Happy baking! And I hope your kitchen smells half as good as mine does right now.
Frequently Asked Questions
Can I use light brown sugar instead of dark?
You can, but the flavor will be milder. Dark brown sugar has more molasses, which gives the caramel that deep, rich taste. If you only have light brown, it’ll still work, but the bars won’t have quite as much depth. I wouldn’t recommend granulated white sugar for the caramel layer—it won’t get that chewy texture.
Why did my caramel get hard as a rock?
You cooked it too long. If the caramel reaches the hard-crack stage (300°F), it will be brittle and hard. For these bars, you want the soft-ball stage (240°F). If you don’t have a thermometer, use the cold water test. If the caramel forms a hard ball that doesn’t squish, it’s too hot. Next time, pull it off the heat a minute earlier.
Can I make these without a stand mixer?
Absolutely! The base is just butter, sugar, and flour. You can mix it by hand with a wooden spoon or even your clean hands. It doesn’t need to be aerated like a cake batter; it just needs to be combined. In fact, overmixing can make the base tough, so handle it gently.
How do I store these for a bake sale?
If the bake sale is indoors with air conditioning, you can leave them out for a few hours, but they’ll get softer. For best results, keep them in the fridge until right before the sale. If you’re transporting them, keep them in a cooler with ice packs. Wrap them tightly in plastic wrap to prevent them from absorbing other smells.
Can I substitute butter with coconut oil?
You can, but the flavor and texture will change. Coconut oil is solid at room temperature but melts at a lower temperature than butter. The bars might be softer, and you’ll taste coconut. If you’re dairy-free, use a dairy-free butter alternative that has a high fat content. Avoid using olive oil or other liquid oils; they won’t create the same crisp base.
Why is my chocolate seizing?
Seizing happens when water gets into the chocolate. Make sure your bowl and utensils are completely dry. Also, don’t microwave the chocolate for too long. Heat it gently. If it does seize, you can try adding a teaspoon of warm water or cream and stirring vigorously, but it might not come back to a smooth state. For these bars, it’s better to use the residual heat from the caramel to melt the chips rather than microwaving them.
Can I double this recipe?
No, I don’t recommend doubling this recipe in a standard 9×13 pan. The layers will be too thick to cook evenly or cut cleanly. If you need more bars, make two batches and bake them in separate pans. Or, use a larger pan (like a 10×15 jelly roll pan), but you’ll need to adjust the baking times and keep a close eye on the caramel.
Pin This Recipe!
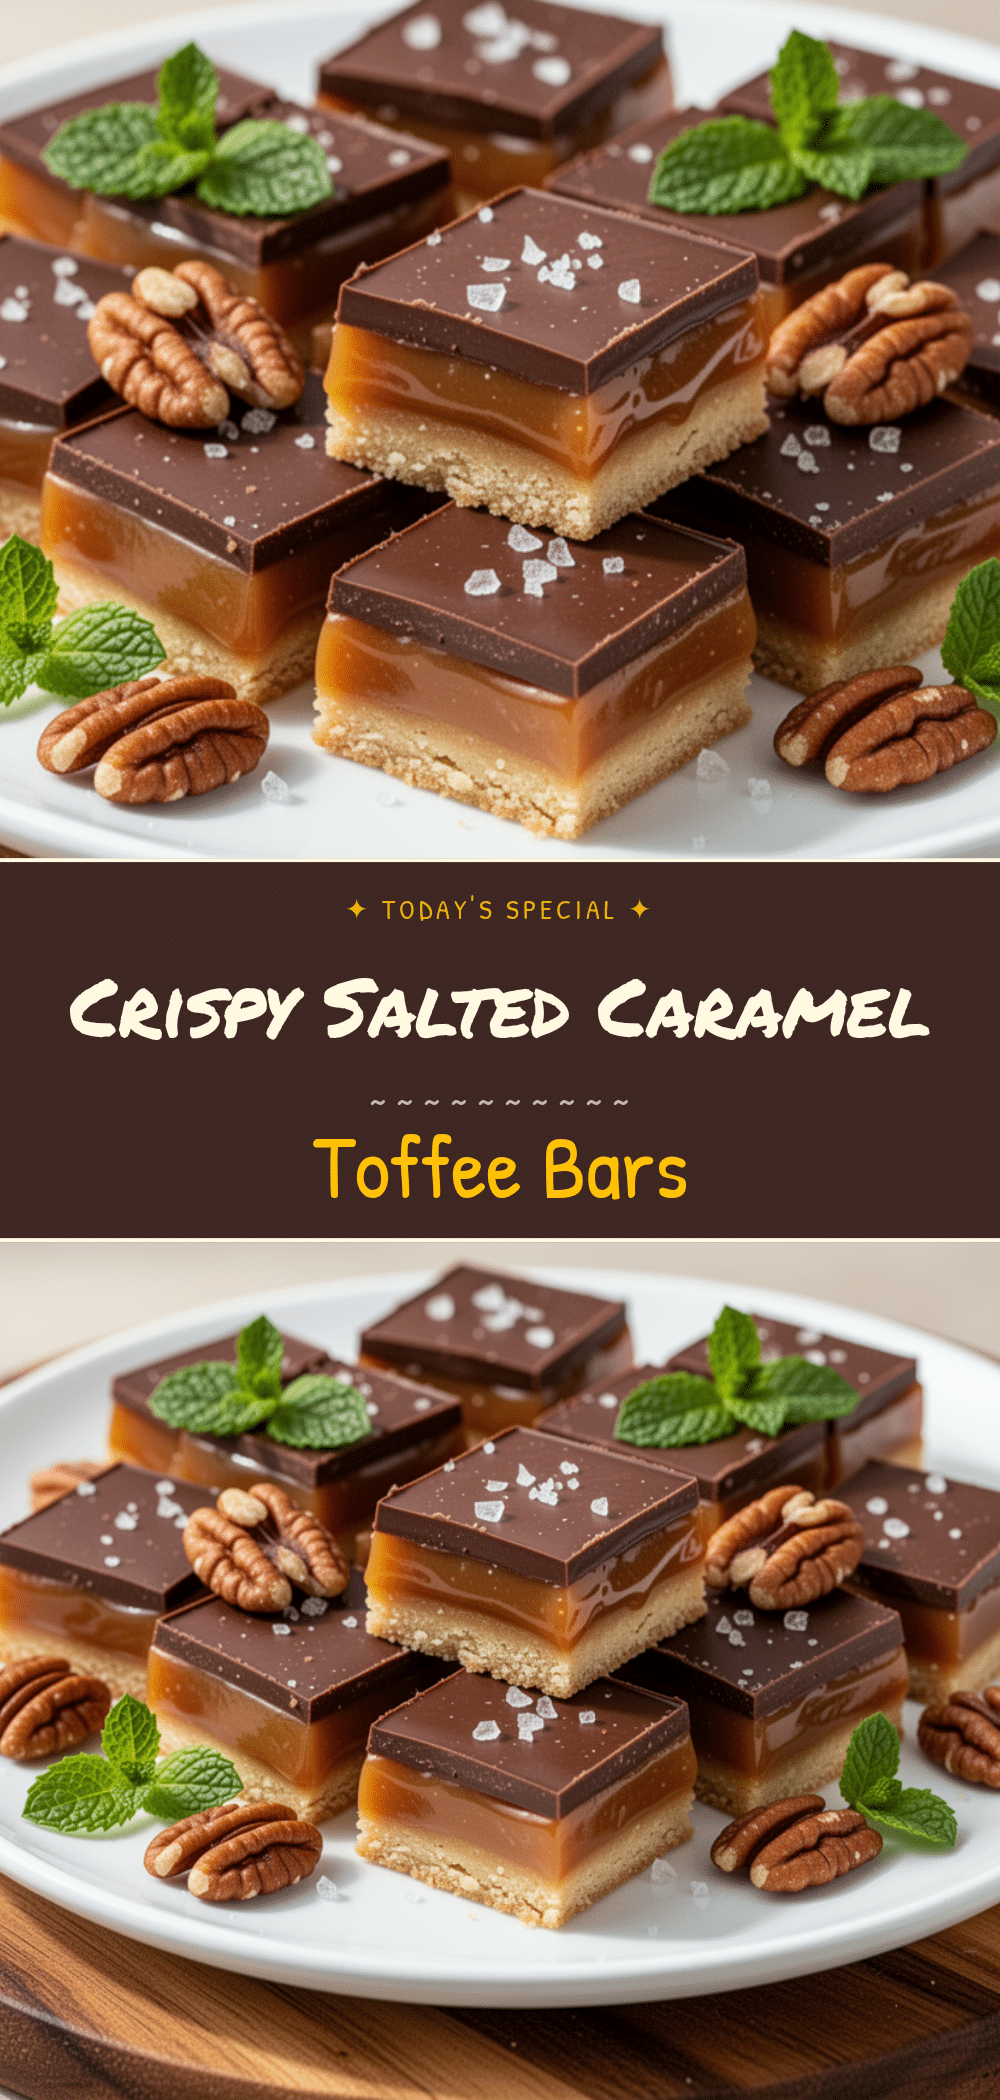

Salted Caramel Toffee Bars: Best Easy Homemade Dessert
- Total Time: 3 hours 35 minutes
- Yield: 24 servings 1x
Description
Crisp, buttery, chewy, salty, and sweet homemade toffee bars featuring a shortbread-like base, soft caramel middle, and firm chocolate top. Easier than store-bought and perfect for any occasion.
Ingredients
- 1 cup (226g) unsalted butter, softened (for base)
- 1 cup (200g) granulated sugar
- 2 cups (250g) all-purpose flour
- 1/2 teaspoon salt
- 1 cup (226g) unsalted butter (for caramel)
- 2 cups (400g) dark brown sugar, packed
- 1 cup (240ml) heavy cream, room temperature
- 1 teaspoon vanilla extract
- 2 cups (340g) semi-sweet chocolate chips
- Flaky sea salt (like Maldon), for sprinkling
- 1 cup chopped pecans or almonds (optional)
Instructions
- Preheat oven to 350°F (175°C). Line a 9×13 inch baking pan with parchment paper, leaving a 2-inch overhang on the long sides. Lightly grease the parchment.
- In a large bowl, beat softened butter and granulated sugar until it resembles wet sand. Sift in flour and salt, mixing until a crumbly dough forms.
- Press the dough firmly and evenly into the bottom of the prepared pan. Bake for 15 minutes until edges are lightly golden. Remove and let cool completely.
- In a heavy-bottomed saucepan, melt 1 cup of butter over medium heat. Stir in brown sugar and bring to a boil.
- Add heavy cream carefully (it will bubble violently). Stir constantly and cook for 5 minutes after boiling begins, or until the mixture reaches 240°F (115°C) and coats the back of a spoon.
- Remove from heat and stir in vanilla extract. Immediately pour the hot caramel over the cooled base and spread evenly. Let sit for 5 minutes.
- Sprinkle chocolate chips evenly over the caramel. Let sit for 2-3 minutes to soften, then spread into an even layer using an offset spatula.
- If using, press chopped nuts into the chocolate. Sprinkle with flaky sea salt.
- Refrigerate for at least 3 hours or overnight until the chocolate is hard.
- Lift bars out using the parchment sling. Slice into squares using a sharp knife or pizza cutter (dip blade in hot water between cuts for clean edges).
Notes
These bars taste better after sitting in the fridge for 24 hours. Store in an airtight container in the refrigerator for up to two weeks. Do not store at room temperature as the caramel will become too soft. For clean cuts, dip your knife in hot water and wipe dry between each slice.
- Prep Time: 5 minutes
- Cook Time: 30 minutes
- Category: Dessert
- Cuisine: American
Nutrition
- Serving Size: 1 bar
- Calories: 280
- Sugar: 28
- Sodium: 120
- Fat: 14
- Saturated Fat: 8
- Carbohydrates: 38
- Fiber: 1
- Protein: 3
Keywords: salted caramel toffee bars, homemade toffee, easy dessert, chocolate bars, caramel bars, holiday dessert, make-ahead dessert


