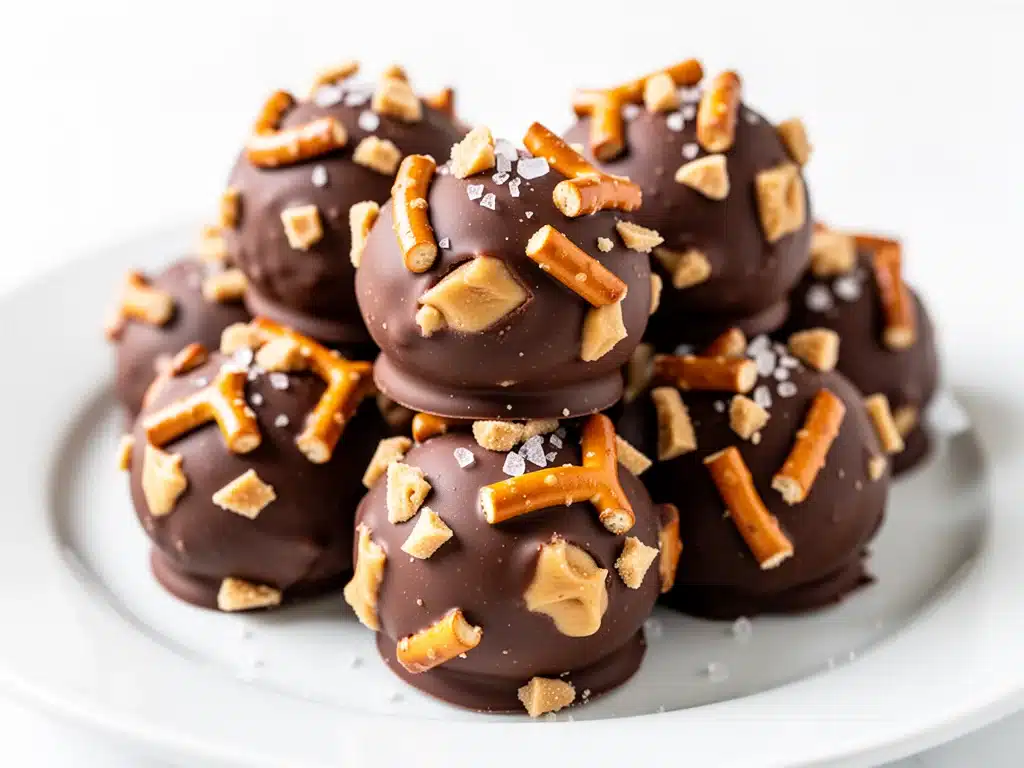
I’m not going to lie to you. Last Thursday night, I had a problem. I had zero energy, my kids were asking for dessert, and the last thing I wanted to do was turn on the oven. You know that feeling? It’s 7:30 PM, you’ve been working all day, and the idea of chopping veggies or monitoring a simmering pot feels like climbing Everest. So I raided the pantry. I found some pretzels, a jar of peanut butter, and a bag of chocolate chips that had been sitting there since Christmas. I threw them together in a bowl, expecting mediocrity. Maybe a few sad, lumpy bites.
Instead? I made magic. Three kids, one husband, and me. Gone in twenty minutes. No baking. No mess (well, minimal mess). Just pure, salty-sweet, crunchy-creamy bliss. That’s when I knew I had found a winner. These No-Bake Chocolate Peanut Butter Pretzel Bites have officially replaced my standard go-to dessert, and honestly, they’ve taken over my kitchen. I’ve made them at least five times in the last two weeks. Five. Times.
Here’s the thing about these little bites: they solve the biggest problem with homemade desserts. Usually, making treats from scratch takes effort. You need to bake, cool, frost, and decorate. With these bites, you mix, roll, and chill. That’s it. It’s the kind of recipe that feels like a cheat code for busy parents and lazy cooks. Plus, they’re sturdy enough to pack in a lunchbox or bring to a potluck without falling apart. They’re sweet, they’re salty, and they’re ridiculously easy. If you’re looking for a dessert that actually works on a Tuesday night, this is it.
Why You’ll Love This Recipe
There are a lot of no-bake desserts out there, but this one has a special place in my heart. It’s not just because it’s easy (though that’s a huge plus). It’s because the flavor profile is just *chef’s kiss*. Here’s why these No-Bake Chocolate Peanut Butter Pretzel Bites have earned a permanent spot in my weekly rotation:
- Zero Oven Required — Seriously. Zero. If you have a bowl and a spoon, you can make these. I’ve made them while helping my daughter with her math homework. No oven means no heating up the house in the summer, and no waiting for cooling racks.
- The Crunch Factor — Most no-bake bites are just soft and chewy. These have pretzels, which adds a serious crunch that contrasts with the creamy peanut butter and smooth chocolate. It’s the texture you didn’t know you needed. It keeps you eating bite after bite.
- Ingredients You Already Have — I’m not kidding. Peanut butter, chocolate chips, pretzels, butter, and maybe a little powdered sugar if you want them sweeter. You probably have half of this in your pantry right now. It’s the ultimate “I need dessert now but don’t want to shop” recipe.
- Perfect for Gifting — Because they hold their shape well, I’ve packaged these in little cellophane bags with a ribbon for teacher gifts and neighbor favors. They look fancy and homemade, but they take ten minutes to make. My neighbors are hooked.
- Kid-Approved — My picky eater, who usually turns his nose up at “weird” textures, devours these. The pretzel makes it feel like a snack, not a dessert, which is a great trick for getting kids to eat something that feels slightly more substantial.
This is my go-to when I need a win in the kitchen. It’s reliable, it’s delicious, and it makes everyone happy. No complicated techniques, no fancy ingredients, just pure comfort food in bite-sized form.
Ingredients You’ll Need
The beauty of this recipe is its simplicity. You don’t need a grocery run. Here’s what I use, and why each ingredient matters. I’m particular about the peanut butter and the pretzels, so I’ll share my tips on which ones work best.
For the Pretzel Base
Mini pretzel twists (10 ounces / 280g) — This is the star. You want mini twists because they’re the perfect size for rolling into balls. Large pretzels are too big and hard to coat evenly. I buy the generic store brand because it’s cheaper and works just as well as the name brand. Just make sure they’re fresh and crunchy. If they’re stale, the bites won’t hold together.
Peanut butter (½ cup / 125g) — I use creamy, natural peanut butter. Look for one where the only ingredient is peanuts (and maybe salt). Avoid the ones with added sugar or hydrogenated oils, as they can make the mixture too oily. If your natural PB is very runny, you might need to chill it slightly before mixing, but usually, it’s fine. Skippy or Jif work too if you prefer the processed kind, but natural tastes better.
For the Chocolate Coating
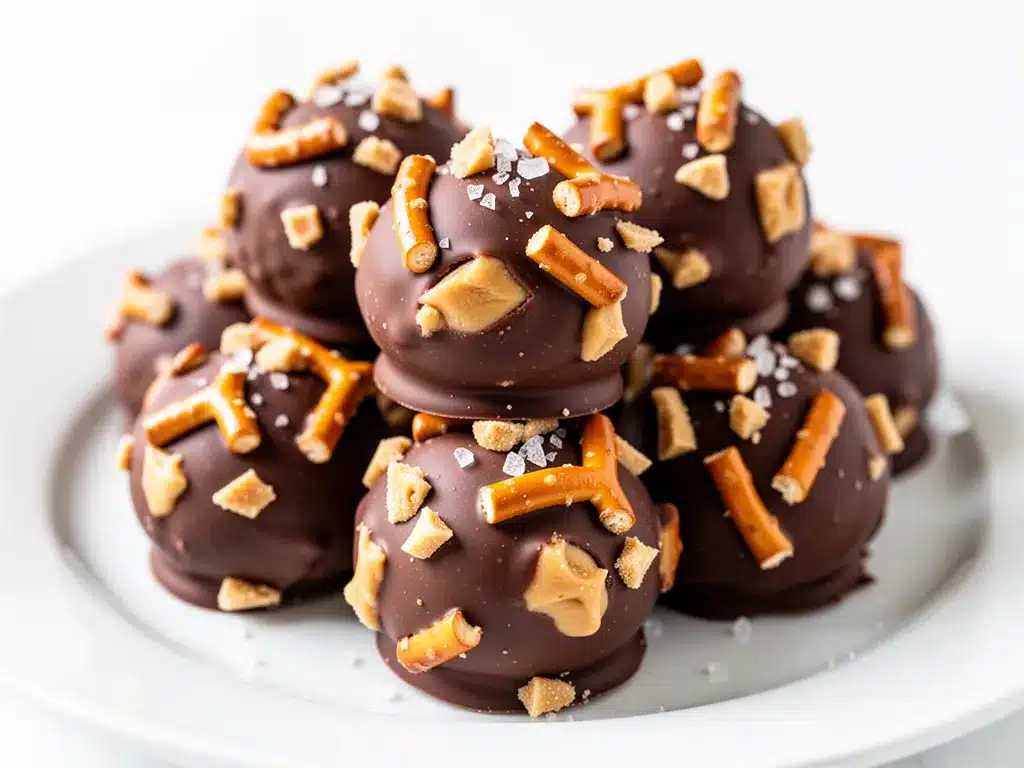
Chocolate chips (1½ cups / 270g) — I use semi-sweet chocolate chips. They balance the sweetness of the pretzels and peanut butter perfectly. If you’re a dark chocolate fan, go for 60% cocoa. If you have kids who prefer sweeter treats, milk chocolate chips are fine, but you might want to reduce the powdered sugar in the mix. Ghirardelli is my go-to brand for melting because it’s smooth and doesn’t seize up easily.
Butter (2 tablespoons / 30g) — This helps the chocolate melt smoothly and adds a richness that keeps the coating from being too brittle. Salted butter is fine, but if you use it, taste the mixture first to see if you need to reduce any other salt.
Powdered sugar (2 tablespoons / 15g) — Optional, but I recommend it. It adds a little extra sweetness and helps thicken the chocolate coating slightly so it sets faster. If you’re using very sweet chocolate chips, skip this. If you’re using dark chocolate, definitely add it.
Sea salt flakes (for sprinkling) — This is the secret weapon. A tiny sprinkle of flaky sea salt on top of the chocolate before it sets elevates the flavor from “good” to “restaurant quality.” It highlights the peanut butter and makes the chocolate taste richer.
Equipment You’ll Need
You don’t need fancy gadgets for this. Here’s what I actually use:
Large mixing bowl — I use a 4-quart bowl. It needs to be big enough to toss the pretzels in the peanut butter mixture without spilling. A glass or ceramic bowl works best because it’s heavy and doesn’t slide around.
Microwave-safe bowl — For melting the chocolate. I prefer a wide, shallow bowl because it melts more evenly. A deep bowl can leave unmelted chips at the bottom.
Parchment paper-lined baking sheet — Essential for rolling. I line a standard baking sheet with parchment paper. This prevents sticking and makes cleanup a breeze. You’ll need enough room to roll about 15-20 bites at a time.
Small spoon or melon baller — To scoop the mixture. I don’t measure every single bite, but a small spoon helps keep them roughly the same size. If you want them uniform, use a small cookie scoop.
Double boiler (optional) — If you’re nervous about burning chocolate in the microwave, you can use a double boiler. I usually just microwave in 30-second bursts, stirring in between, and it works perfectly fine.
How to Make It: Step-by-Step
Alright, let’s make these! I’m walking you through exactly how I do it, including the little tricks I’ve picked up to ensure they’re perfect every time. It’s fast, so don’t get distracted.
Step 1: Prep Your Station (2 minutes)
Line a baking sheet with parchment paper. This is crucial. If you skip this, you’ll be scraping stuck pretzels off the pan later, and that’s no fun. Set the sheet aside. Have your mixing bowl and spoon ready.
Step 2: Mix the Pretzel Base (3 minutes)
Put the mini pretzel twists in your large mixing bowl. Add the creamy peanut butter. If the peanut butter is very cold and stiff, microwave it for 10-15 seconds to soften it up. Stir the peanut butter into the pretzels until every twist is coated. You want a sticky, clumpy mixture. If it’s too dry and not sticking together, add another teaspoon of peanut butter. If it’s too wet, add a few more pretzels. You’re aiming for a consistency where you can pinch a ball and it holds its shape without crumbling.
Step 3: Roll the Bites (5 minutes)
Using your hands or a small spoon, scoop up about a tablespoon of the mixture. Roll it into a ball between your palms. Place it on the parchment-lined sheet. Repeat until you’ve used all the mixture. You should get about 20-25 bites. Don’t worry if they’re not perfectly round. These are rustic and homemade. Just make sure they’re compact so they don’t fall apart later.
Step 4: Melt the Chocolate (3 minutes)
Place the chocolate chips and butter in a microwave-safe bowl. Microwave on high for 30 seconds. Remove and stir. If there are still chips, microwave for another 15-20 seconds and stir again. Keep doing this in short bursts until the chocolate is smooth and glossy. Be careful not to overheat it. If the chocolate gets too hot, it can seize up and become grainy. If it looks too thick, add a tiny splash of milk or cream, but usually, the butter is enough.
Step 5: Dip and Coat (5 minutes)
Take a pretzel ball and drop it into the melted chocolate. Use a fork to turn it over and coat it completely. Lift it out, letting the excess chocolate drip back into the bowl. Tap the fork gently against the side of the bowl to remove excess chocolate. Place the coated bite back on the parchment paper. Repeat with the remaining balls. Work quickly so the chocolate doesn’t set too fast on the fork.
Step 6: Add Salt and Chill (15 minutes)
While the chocolate is still wet, sprinkle a tiny pinch of flaky sea salt on each bite. This step is optional but highly recommended. Then, pop the tray into the refrigerator for about 15 minutes, or until the chocolate is completely set. If you’re in a rush, you can put them in the freezer for 5-7 minutes, but the fridge is safer to avoid condensation.
Step 7: Serve and Enjoy
Once the chocolate is hard, these are ready to eat. Store them in an airtight container in the fridge. They’re best eaten cold, as the contrast between the crunchy pretzel and the firm chocolate is perfect. Enjoy!
Expert Tips & Tricks
Here’s everything I’ve learned from making these dozens of times. These tips will save you from my mistakes and ensure your bites are perfect.
- Keep Your Hands Dry — If your hands are sweaty, the peanut butter mixture will stick to you. Keep a towel nearby or dust your hands with a little powdered sugar if it’s really sticky. This makes rolling much easier.
- Don’t Overmix the Chocolate — Once the chocolate is melted, stop stirring. Over-stirring can introduce air bubbles, which makes the coating look dull. You want a mirror-like shine.
- Use Room Temperature Ingredients — If your peanut butter is straight out of the fridge, it’s harder to mix. Let it sit out for 10 minutes before starting. Same with the butter for the chocolate.
- Chill the Fork — If you’re having trouble with the chocolate sticking to the fork, dip the fork in warm water and dry it off before dipping each bite. The thin layer of water helps the chocolate release.
- Double Dip for Extra Crunch — If you love chocolate, do a double dip. Let the first layer set, then dip again. It makes them extra indulgent. I do this when I’m treating myself.
Variations & Substitutions
Once you’ve nailed the basic version, here’s how you can mix it up. I’ve tried all of these, and they’re all delicious.
Almond Butter Version — Swap peanut butter for almond butter. It’s slightly sweeter and has a different flavor profile. Great for people who are allergic to peanuts. I use the same amount.
White Chocolate — Use white chocolate chips instead of semi-sweet. This makes them sweeter and visually striking (white and brown). Add a few drops of peppermint extract for a holiday twist.
Mini M&M’s — After dipping in chocolate, roll the bites in mini M&M’s before the chocolate sets. This adds color and extra crunch. My kids go crazy for these.
Gluten-Free — Use gluten-free mini pretzels. Most brands work well, but check the texture. Some are softer and might make the bites less crunchy. I’ve used Simple Mills and they work great.
Nut-Free — Use sunflower seed butter or soy nut butter instead of peanut butter. The texture is slightly different, but it’s a great option for school-safe treats.
Serving & Storage
How to Serve: I usually serve these straight from the fridge. They’re best cold. I put them in a nice bowl on the coffee table for movie nights, or in little bags for lunchboxes. They pair well with a cold glass of milk or a cup of coffee.
Storage: Store in an airtight container in the refrigerator for up to 2 weeks. They actually taste better after a day or two as the flavors meld together. If you leave them out at room temperature for more than an hour, the chocolate might start to soften, especially in a warm kitchen.
Freezing: Yes, you can freeze them! Place them in a single layer on a baking sheet and freeze until solid, then transfer to a freezer bag. They’ll keep for up to 3 months. Thaw in the fridge overnight before eating. They taste just as good as fresh.
Nutrition Information
I’m not a nutritionist, but here’s the breakdown if you’re tracking. Keep in mind that these are treats, so enjoy them in moderation.
Per Bite (approx. 20 bites):
- Calories: 110
- Protein: 3g
- Carbs: 12g
- Fat: 6g
- Sugar: 8g
- Sodium: 90mg
What’s Good: They have some protein from the peanut butter and fiber from the pretzels. They’re a more satisfying treat than plain candy because of the crunch.
What to Know: They are calorie-dense due to the chocolate and peanut butter. If you’re watching your sugar, use dark chocolate and reduce the powdered sugar.
Final Thoughts
So that’s my go-to No-Bake Chocolate Peanut Butter Pretzel Bites! I’ve probably talked your ear off at this point, but when you find a recipe this good, you have to share it. These have saved me more times than I can count. They’re my answer to “what’s for dessert?” when I have no energy but still want to treat my family. My kids are happy, my husband’s happy, and I’m happy because I didn’t have to turn on the oven.
Make it yours! Try different chocolates, add sprinkles, or swap the peanut butter. The best recipes are the ones you adapt to your family’s tastes. If you make this, drop a comment and let me know what you think! I love hearing how recipes turn out in your kitchen. And if something doesn’t work, tell me that too—I’m here to help troubleshoot.
Happy cooking! And I hope your kitchen smells half as good as mine does right now. If you’re looking for more easy, no-fuss recipes, check out my Labor Day Frozen Lemonade Icebox Pie for another no-bake delight that’s perfect for summer. Or if you need a savory snack idea, try my Game Day Nashville Hot Chicken Sliders for a spicy twist on party food.
Frequently Asked Questions
Can I use crunchy peanut butter?
Yes, you can! I actually prefer crunchy peanut butter for the extra texture. Just make sure the chunks aren’t too large, or they’ll make the balls uneven. If your peanut butter is very chunky, you might want to pulse it in a food processor first to break it down slightly.
Why did my chocolate seize up?
Chocolate seizes when it gets too hot or when water gets into it. Make sure your bowl is completely dry before melting the chips. Also, microwave in short bursts (15-30 seconds) and stir often. If it looks grainy, add a teaspoon of warm water and whisk vigorously—it might save it. But prevention is better than cure.
Can I make these ahead of time?
Absolutely. These are actually better made a day ahead. The flavors have time to meld, and the chocolate sets perfectly. I often make a batch on Sunday for the week ahead. Just keep them in the fridge.
How long do these last?
In the fridge, they last up to 2 weeks. In the freezer, up to 3 months. They don’t keep well at room temperature for more than a few hours, especially in warm weather, as the chocolate will start to melt.
Can I dip them in melted candy melts instead of chocolate?
Yes! Candy melts are actually easier for beginners because they don’t require tempering and they set very hard. They also come in many colors. Just follow the package instructions for melting. The taste is slightly different (more waxy), but they’re great for decorative purposes.
What if I don’t have mini pretzels?
You can use regular pretzels, but you’ll need to crush them into small pieces first. Don’t make them too fine, or you’ll lose the crunch. Pulse them in a food processor until they’re about the size of mini twists. You’ll need about the same weight (10 ounces).
Pin This Recipe!
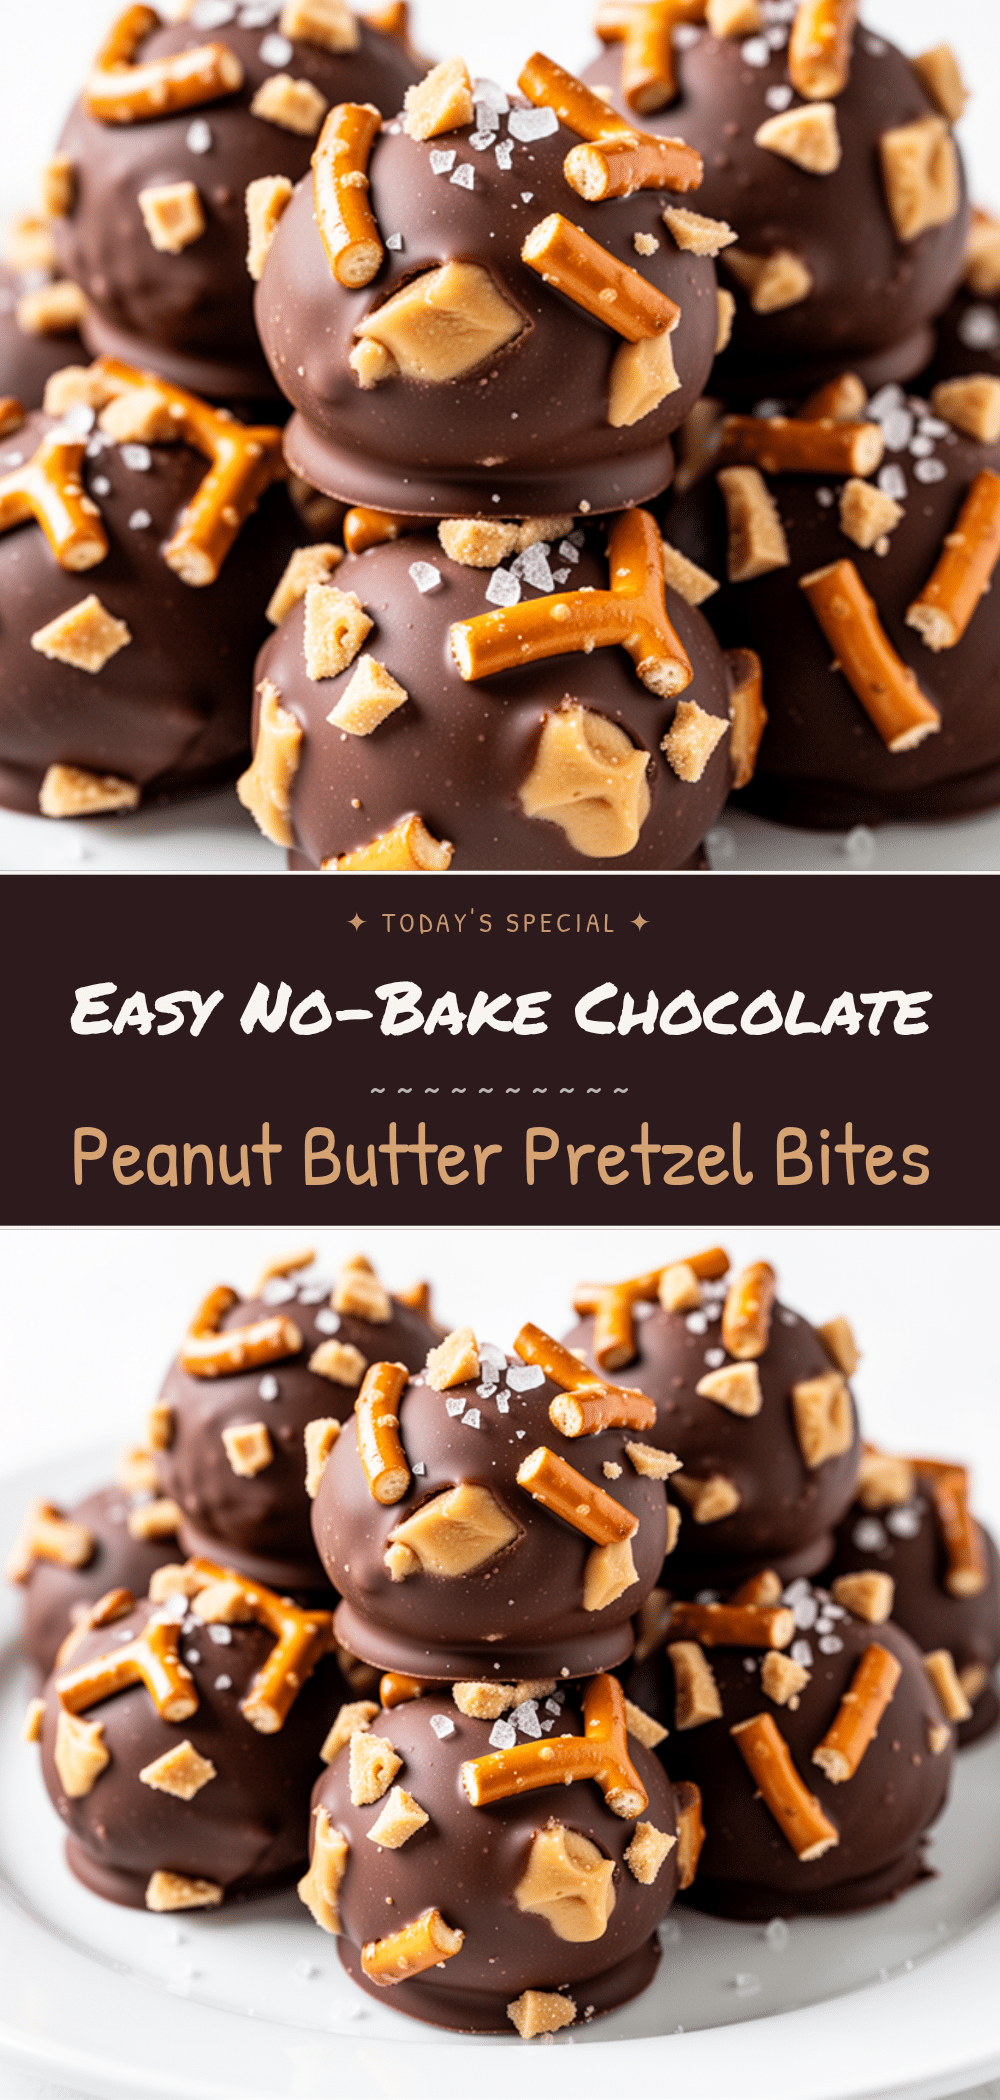

No-Bake Chocolate Peanut Butter Pretzel Bites
- Total Time: 15 minutes
- Yield: 20-25 servings 1x
Description
A quick, no-bake dessert featuring crunchy pretzels coated in a creamy peanut butter mixture and dipped in smooth chocolate. Perfect for busy weeknights and kid-approved.
Ingredients
- 10 ounces mini pretzel twists
- 1/2 cup creamy peanut butter
- 1 1/2 cups semi-sweet chocolate chips
- 2 tablespoons butter
- 2 tablespoons powdered sugar (optional)
- Sea salt flakes (for sprinkling)
Instructions
- Line a baking sheet with parchment paper.
- In a large mixing bowl, combine mini pretzel twists and peanut butter. Stir until every twist is coated and the mixture is sticky and clumpy.
- Scoop about a tablespoon of the mixture and roll into balls between your palms. Place on the parchment-lined sheet. Repeat until all mixture is used (yields 20-25 bites).
- In a microwave-safe bowl, combine chocolate chips and butter. Microwave in 30-second bursts, stirring between each, until smooth and glossy.
- Dip each pretzel ball into the melted chocolate, turning to coat completely. Lift out with a fork, letting excess drip off, and place back on the parchment paper.
- While the chocolate is still wet, sprinkle a tiny pinch of flaky sea salt on each bite.
- Refrigerate for 15 minutes or until the chocolate is completely set.
- Serve cold and store in an airtight container in the refrigerator.
Notes
Keep hands dry to prevent sticking. Do not overmix chocolate to avoid air bubbles. Use room temperature ingredients for easier mixing. Can be frozen for up to 3 months.
- Prep Time: 15 minutes
- Cook Time: 0 minutes
- Category: Dessert
- Cuisine: American
Nutrition
- Serving Size: 1 bite
- Calories: 110
- Sugar: 8
- Sodium: 90
- Fat: 6
- Saturated Fat: 3
- Carbohydrates: 12
- Fiber: 1
- Protein: 3
Keywords: no-bake, chocolate, peanut butter, pretzels, dessert, easy, kid-friendly, snack, gluten-free option


