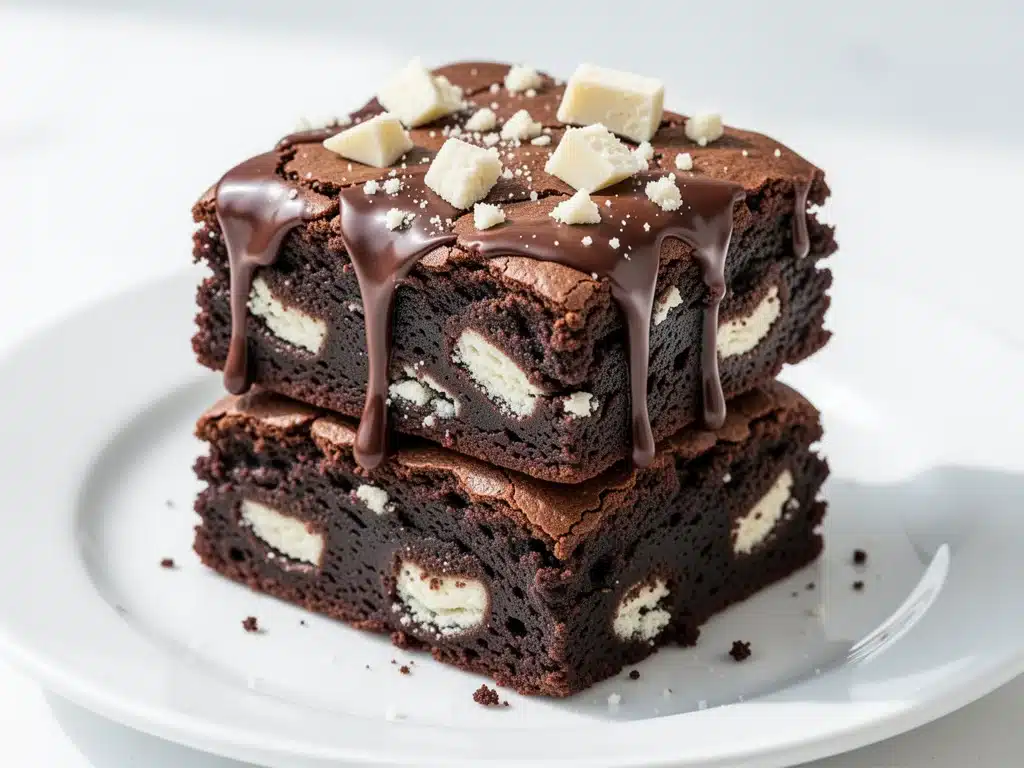
I still remember the exact moment I realized I could beat the bakery. It was a rainy Tuesday in November, the kind where you just want to stay under a blanket and eat chocolate. I had two options: drive to the local bakery for their famous “Cookies and Cream” brownies (which cost $5 for a tiny square and were usually dry by noon) or make something from scratch. I chose scratch, mostly because I was too lazy to put on pants, but also because I was convinced I could do better.
Turns out, I was right. These fudgy cookies and cream brownies are dense, chewy, and packed with enough white chocolate chunks and crushed Oreos to satisfy any serious chocolate craving. The bakery version was good, sure, but it was predictable. My version? It’s chaotic, rich, and has that perfect contrast between the deep cocoa bitterness and the sweet, creamy cookie crunch. I’ve made these for potlucks, for late-night study sessions, and just for myself on bad days. Every single time, they disappear faster than I can say “second helping.”
Here’s the thing about store-bought or bakery brownies: they’re often cakey, dry, or artificially flavored. Homemade brownies let you control the texture. You want that crackly top? I’ll show you how. You want that gooey, fudgy center that sticks to your teeth? Done. And the cookies and cream element isn’t just a gimmick; it adds a texture contrast that makes every bite interesting. If you’ve been hunting for the best homemade dessert to impress friends or just to treat yourself, stop looking. You’ve found it.
Why You’ll Love This Recipe
There are a lot of brownie recipes out there. So why this one? Because it solves the biggest problem with homemade brownies: the struggle for the perfect fudgy texture without turning into a brick. Here’s why these fudgy cookies and cream brownies have earned a permanent spot in my rotation:
- Actually Fudgy, Not Cakey — Most recipes call for too much flour. I’ve tested this ratio dozens of times to get that dense, chewy, almost bar-like texture. It’s not a soufflé; it’s a brownie. If you like your brownies with a crumbly, cake-like interior, this isn’t for you. But if you like them rich and intense, you’re going to be obsessed.
- Texture Overload — The combination of crushed Oreos folded into the batter and chunks of white chocolate creates a mouthfeel that’s addictive. It’s not just soft; it’s crunchy in places, chewy in others, and creamy everywhere. It’s the best of both worlds.
- Uses Store-Bought Oreos — I know, purists might gasp. But let’s be real: making homemade sandwich cookies is a nightmare. Using store-bought Oreos (or any chocolate sandwich cookie) gives you that consistent, reliable flavor and texture that works perfectly in this context. Plus, it saves hours.
- One-Bowl Wonder — You don’t need a mixer. You don’t need a stand mixer. You need a whisk, a bowl, and about 15 minutes of active time. This is the ultimate lazy-chef dessert. I make these when I don’t have the energy to clean up a kitchen full of equipment.
- Better Than Takeout — Seriously. I’ve compared these side-by-side with bakery versions. The freshness of the baked white chocolate and the crispness of the cookies (before they soften slightly in the brownie) make it superior. Plus, you know exactly what’s in it. No preservatives, just pure chocolate joy.
This recipe has saved me more times than I can count. It’s my go-to when I need to bring a dessert to a party and want to look like I put in effort (spoiler: you didn’t). It’s also my go-to when I need to cheer myself up. There is something deeply satisfying about pulling a pan of warm, fudgy brownies out of the oven and knowing you made it.
Ingredients You’ll Need
One of the best things about these fudgy cookies and cream brownies is how simple the ingredient list is. You probably have most of this already in your pantry. I’m not asking for exotic spices or hard-to-find chocolates. Just good, solid basics.
For the Brownie Base
Unsalted butter (1 cup / 226g) — This is your fat source and your flavor carrier. I use high-quality butter like Kerrygold or Land O’Lakes. Don’t substitute with margarine or oil if you want that rich, buttery taste. Melt it completely.
Granulated sugar (2 cups / 400g) — Yes, two full cups. This seems like a lot, but it’s necessary for that crackly top. The sugar dissolves into the butter and creates that shiny, crinkly crust. Don’t reduce the sugar, or you’ll lose the texture.
Dark brown sugar (1 cup / 200g) — This adds moisture and a hint of molasses flavor. It helps keep the brownies fudgy and chewy. Light brown sugar works too, but dark adds more depth.
Large eggs (4 large) — Room temperature eggs incorporate better into the batter. If you forget, just microwave them for 10 seconds. Don’t use cold eggs from the fridge; they can seize up the butter mixture.
Vanilla extract (2 teaspoons) — Use real vanilla, not imitation. It’s a small cost that makes a big difference in flavor. I love the depth it adds to the chocolate.
All-purpose flour (1 ½ cups / 190g) — Don’t overmeasure this! Spoon it into the cup and level it off. Too much flour = cakey brownies. Too little = gooey mess (which is also good, but maybe not for baking). I use Gold Medal or King Arthur for consistency.
Cocoa powder (½ cup / 50g) — Use unsweetened cocoa powder. Hershey’s Special Dark or regular Hershey’s works great. Dutch-process cocoa will make them darker and more intense, but regular is fine if that’s what you have.
Salt (½ teaspoon) — Essential to balance the sweetness. Don’t skip it.
For the Cookies and Cream Mix-In
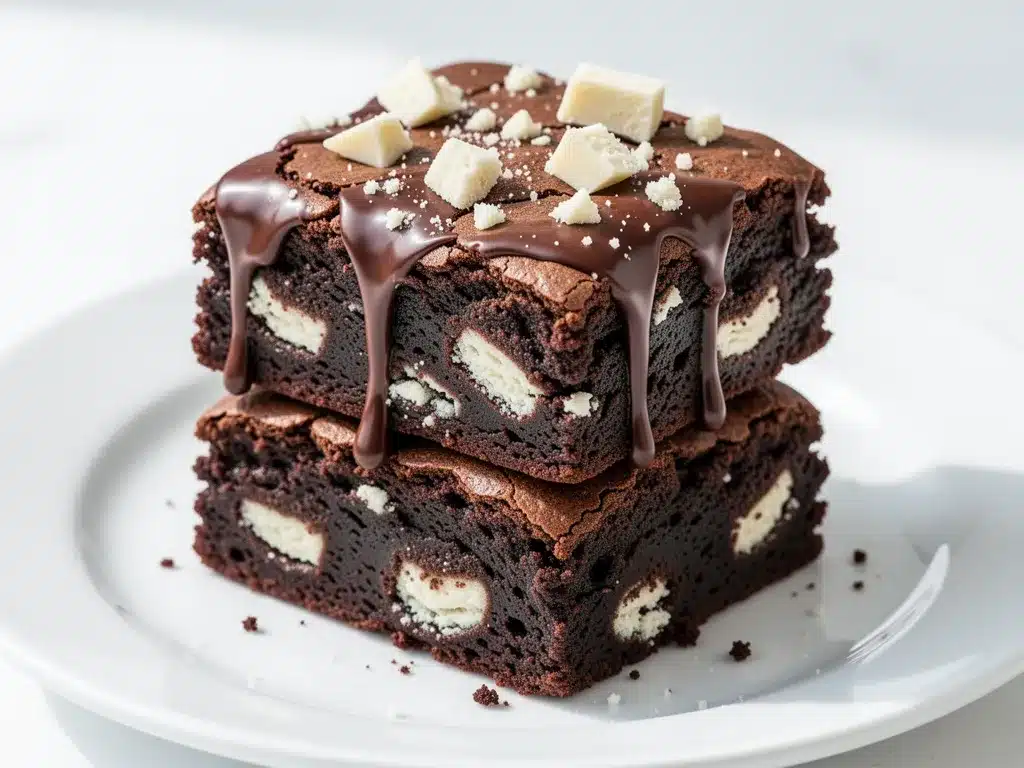
Oreo cookies (1 package / 15 cookies) — I use regular Oreos. Golden Oreos work if you want a “vanilla” version, but the chocolate cookies are classic. Crush them roughly—don’t make them into dust. You want chunks, not powder.
White chocolate chips or chunks (1 ½ cups / 270g) — High-quality white chocolate makes a huge difference. I prefer Ghirardelli white chocolate chips or Baker’s white chocolate chopped into chunks. Avoid the cheap baking chips; they have less cocoa butter and don’t melt as smoothly.
Mini Oreos (optional, 1 small package) — I like to sprinkle these on top before baking for that extra cookie crunch on the surface. It’s a nice visual touch and adds texture.
Pro Tip: If you’re using large Oreos, crush them in a zip-top bag with a rolling pin. It’s satisfying and gives you control over the chunk size. For the white chocolate, if you buy a bar and chop it yourself, the irregular shapes melt better than uniform chips.
Equipment Needed
You don’t need fancy gadgets for this. Here’s what I actually use:
9×13 inch baking pan — I use a metal pan for even browning. Glass pans take longer to bake and can result in overcooked edges. If you only have glass, reduce the oven temperature by 25°F.
Microwave-safe bowl — For melting the butter. I find this faster than using a saucepan. If you don’t have a microwave-safe bowl, use a small saucepan on low heat.
Large mixing bowl — Something big enough to hold all the ingredients without spilling. A 5-quart bowl is ideal.
Whisk — A simple balloon whisk works best. You need to beat the eggs and sugar together to create that crackly top.
Spatula — A silicone spatula is perfect for folding in the cookies and chocolate. It gets into the corners and doesn’t scratch the bowl.
Parchment paper — Line your pan with parchment, leaving an overhang on the sides. This is non-negotiable for easy removal. Trying to lift brownies out of an unlined pan is a recipe for disaster (and broken brownies).
Zip-top bags — For crushing the Oreos. It’s messy but effective.
How to Make It: Step-by-Step
Alright, let’s make these fudgy cookies and cream brownies! I’m walking you through exactly how I do it, including the little tricks I’ve picked up over the years.
Step 1: Prep Your Pan and Oven
Preheat your oven to 350°F (175°C). Line your 9×13 inch baking pan with parchment paper. I like to grease the pan lightly with butter or cooking spray before laying down the parchment, just to keep it from sliding. This ensures your brownies slide out easily once cooled.
Step 2: Melt the Butter
Melt the butter in a microwave-safe bowl. I do this in 30-second intervals, stirring in between, to prevent burning. You want it fully melted but not hot. If the butter is too hot, it’ll cook the eggs when you add them, and you’ll end up with scrambled eggs in your brownies. Let it cool for a minute.
Step 3: Mix Sugars and Butter
Add the granulated sugar and brown sugar to the melted butter. Whisk vigorously for about 2 minutes. This step is crucial for the crackly top. You’re dissolving the sugar into the butter. The mixture will look grainy at first, but keep whisking until it looks glossy and combined. It won’t be perfectly smooth, but it should be well-incorporated.
Step 4: Add Eggs and Vanilla
Add the eggs one at a time, whisking well after each addition. Then add the vanilla extract. Whisk everything together until the batter is smooth and slightly thickened. It should look like a shiny, chocolatey glue. This is where the emulsion happens, which contributes to that fudgy texture.
Step 5: Fold in Dry Ingredients
Add the flour, cocoa powder, and salt. Use your spatula to gently fold these in. Do not overmix! Once the flour is just incorporated and there are no streaks of white flour left, stop. Overmixing develops gluten, which leads to tough, cakey brownies. The batter will be thick and dense. That’s good.
Step 6: Add the Cookies and Cream
Here’s the fun part. Gently fold in the crushed Oreos and white chocolate chips. Reserve about half of the white chocolate chips and some of the cookie crumbs to sprinkle on top later. Fold just until distributed. You want pockets of cookie and chocolate throughout, not a uniform mix.
Step 7: Bake
Pour the batter into your prepared pan and spread it out evenly. Sprinkle the reserved white chocolate chips and cookie crumbs on top. Bake for 25-30 minutes. The key to fudgy brownies is underbaking slightly. Insert a toothpick into the center; it should come out with a few moist crumbs clinging to it, not completely clean. If it’s clean, they’re done, but they’ll be drier. If it’s wet batter, they’re underdone. Aim for moist crumbs.
Step 8: Cool Completely
This is the hardest part. Let the brownies cool in the pan on a wire rack for at least 30 minutes, but ideally 1-2 hours. If you cut them hot, they’ll be a mushy mess. Cooling allows the structure to set and the flavors to meld. Trust me, patience pays off.
Troubleshooting: If your brownies seem too soft after cooling, they might need a few more minutes in the oven next time. If they’re too dry, reduce the baking time by 2-3 minutes. Every oven is different, so keep an eye on them.
Expert Tips & Tricks
Here’s everything I’ve learned from making these dozens of times. These tips will save you from my mistakes.
The Crackly Top Secret
The key to that shiny, crinkly top is the sugar-to-butter ratio and the whisking. You must whisk the sugar and melted butter together for at least 2 minutes. This creates a supersaturated solution that crystallizes on the surface as it cools, forming the crust. Don’t skip this step.
Don’t Overbake
Fudgy brownies are done when the edges are set and the center is still slightly soft. They continue to cook in the pan as they cool. If you wait until the toothpick comes out clean, you’ll have cakey brownies. I usually pull them out at 25 minutes and check.
Room Temperature Eggs
Cold eggs can cause the melted butter to solidify into little clumps, leading to an uneven batter. If you forgot to take them out, just drop them in a bowl of warm water for 5 minutes. It’s a small step that ensures a smooth batter.
Quality Chocolate Matters
Since white chocolate is a major component, use good quality chips. Cheap chips often contain vegetable oil instead of cocoa butter, which means they don’t melt as smoothly and can leave a waxy coating on your tongue. Ghirardelli or Guittard are my go-tos.
Cooling is Non-Negotiable
I know you want to eat them now. I know. But if you cut them hot, they’ll fall apart. The structure needs time to set. If you’re impatient, at least wait 30 minutes. But 2 hours is best.
Variations & Substitutions
Once you’ve nailed the basic version, here’s how you can mix it up. I’ve tried all of these.
Dark Chocolate Chip Version
Skip the white chocolate and use semi-sweet chocolate chips instead. It’s less sweet and more intense. Great for coffee pairings.
Red Velvet Cookies and Cream
Add 1 tablespoon of red food coloring to the batter. It looks stunning and tastes like red velvet. Use vanilla Oreos for extra contrast.
Mint Cookies and Cream
Add ½ teaspoon of peppermint extract to the batter and use mint chocolate chips. It’s like a dessert version of an After Eight.
Gluten-Free
Use a 1:1 gluten-free flour blend. Most brands work well in brownies. Check the Oreos—some brands are certified gluten-free, but standard Oreos contain wheat. You can use gluten-free sandwich cookies if needed.
Dairy-Free
Use dairy-free butter (like Miyoko’s) and dairy-free white chocolate chips. There are many good options now. The texture might be slightly different, but it’s still delicious.
Protein-Packed
Replace ¼ cup of flour with protein powder (chocolate or vanilla). Add an extra egg white for moisture. It’s not as fudgy, but it’s a healthier option.
Serving & Storage
How to Serve:
I usually serve these warm, with a scoop of vanilla ice cream on top. The hot brownie and cold ice cream create a perfect contrast. They’re also great at room temperature for potlucks. If you’re serving them for a party, cut them into small squares (2×2 inches) because they’re rich and people will eat more than they think.
Storage:
Room Temperature: Store in an airtight container for up to 3 days. They stay fresh and fudgy. If your kitchen is very hot, they might get soft, so refrigerate.
Refrigerator: Store in an airtight container for up to 1 week. They’ll firm up in the fridge, so let them sit at room temperature for 10 minutes before eating.
Freezer: Yes, you can freeze these! Wrap individual brownies in plastic wrap and then place them in a freezer bag. They’ll last for up to 3 months. Thaw at room temperature or microwave for 15 seconds.
Reheating:
Microwave a brownie for 10-15 seconds to warm it up. It brings back that fresh-baked texture. Don’t overdo it, or it’ll get greasy.
Nutrition Information
I’m not a nutritionist, but here’s the breakdown if you’re tracking. Keep in mind that these are rich, dense brownies, so portion control is key.
Per Serving (1 of 16 brownies):
- Calories: 320
- Fat: 18g
- Saturated Fat: 10g
- Cholesterol: 55mg
- Sodium: 180mg
- Carbohydrates: 38g
- Fiber: 2g
- Sugar: 28g
- Protein: 4g
These are definitely a treat. If you want to lighten them up, try the half-and-half version or reduce the sugar slightly (though it affects texture). But honestly? They’re best enjoyed as an indulgence. Pair them with a strong coffee or a glass of milk to balance the sweetness.
Final Thoughts
So that’s my go-to fudgy cookies and cream brownies! I’ve probably talked your ear off at this point, but when you make a recipe this often, you have a lot to say about it. These brownies have saved weeknight desserts more times than I can count. They’re my answer to “what’s for dessert” when I’m tired, don’t want to order takeout, and still want something that tastes really good. My kids are happy, my husband’s happy, and I’m happy because I’m not stressed about cooking.
Make it yours! Try different cookie varieties, swap in your favorite chocolate chips, or add a sprinkle of sea salt on top for a gourmet touch. The best recipes are the ones you adapt to your family’s tastes.
If you make this, drop a comment and let me know what you think! I love hearing how recipes turn out in your kitchen. And if something doesn’t work, tell me that too—I’m here to help troubleshoot. Happy baking! And I hope your kitchen smells half as good as mine does right now.
Frequently Asked Questions
Can I use golden Oreos instead of regular Oreos?
Absolutely! Golden Oreos will give you a “vanilla” cookies and cream version. It’s less chocolatey but still delicious. I’ve made this with golden Oreos and it’s a great change of pace. Just keep in mind the color of the brownie will be lighter.
Why did my brownies turn out cakey instead of fudgy?
This usually happens for two reasons: too much flour or overbaking. Make sure you’re spooning and leveling your flour, not scooping it directly from the bag (which packs it down). Also, check your brownies a few minutes before the recommended bake time. They should be slightly underdone when you take them out.
Can I double this recipe?
Yes, but you’ll need a larger pan. A 9×13 pan is perfect for this batch size. If you double it, use a 9×13 or even a 9×16 pan. The baking time will increase by about 5-10 minutes. Keep an eye on them.
Do I have to crush the Oreos myself?
You can use pre-crushed Oreos if you find them at the store, but crushing them yourself gives you control over the chunk size. I like big chunks. If you crush them too fine, they’ll dissolve into the batter and you won’t get the cookie texture. Aim for pea-sized pieces.
Can I make these ahead for a party?
Yes! In fact, they taste even better the next day. Make them 1-2 days ahead, store in an airtight container at room temperature. They’ll be fully set and the flavors will have melded. Just bring them to room temperature before serving.
What if I don’t have white chocolate chips?
You can use white chocolate chunks chopped from a bar, or even white chocolate chips from another brand. If you don’t have any white chocolate, you can skip it and just make chocolate chunk brownies, but the “cookies and cream” aspect relies on the white chocolate for contrast.
Can I freeze the batter?
I don’t recommend freezing the batter with the cookies and chocolate chips in it, as the texture might change. It’s better to bake the brownies and then freeze them. If you want to prep ahead, you can mix the batter (without the mix-ins) and refrigerate it for up to 24 hours, then fold in the cookies and chocolate before baking.
Pin This Recipe!
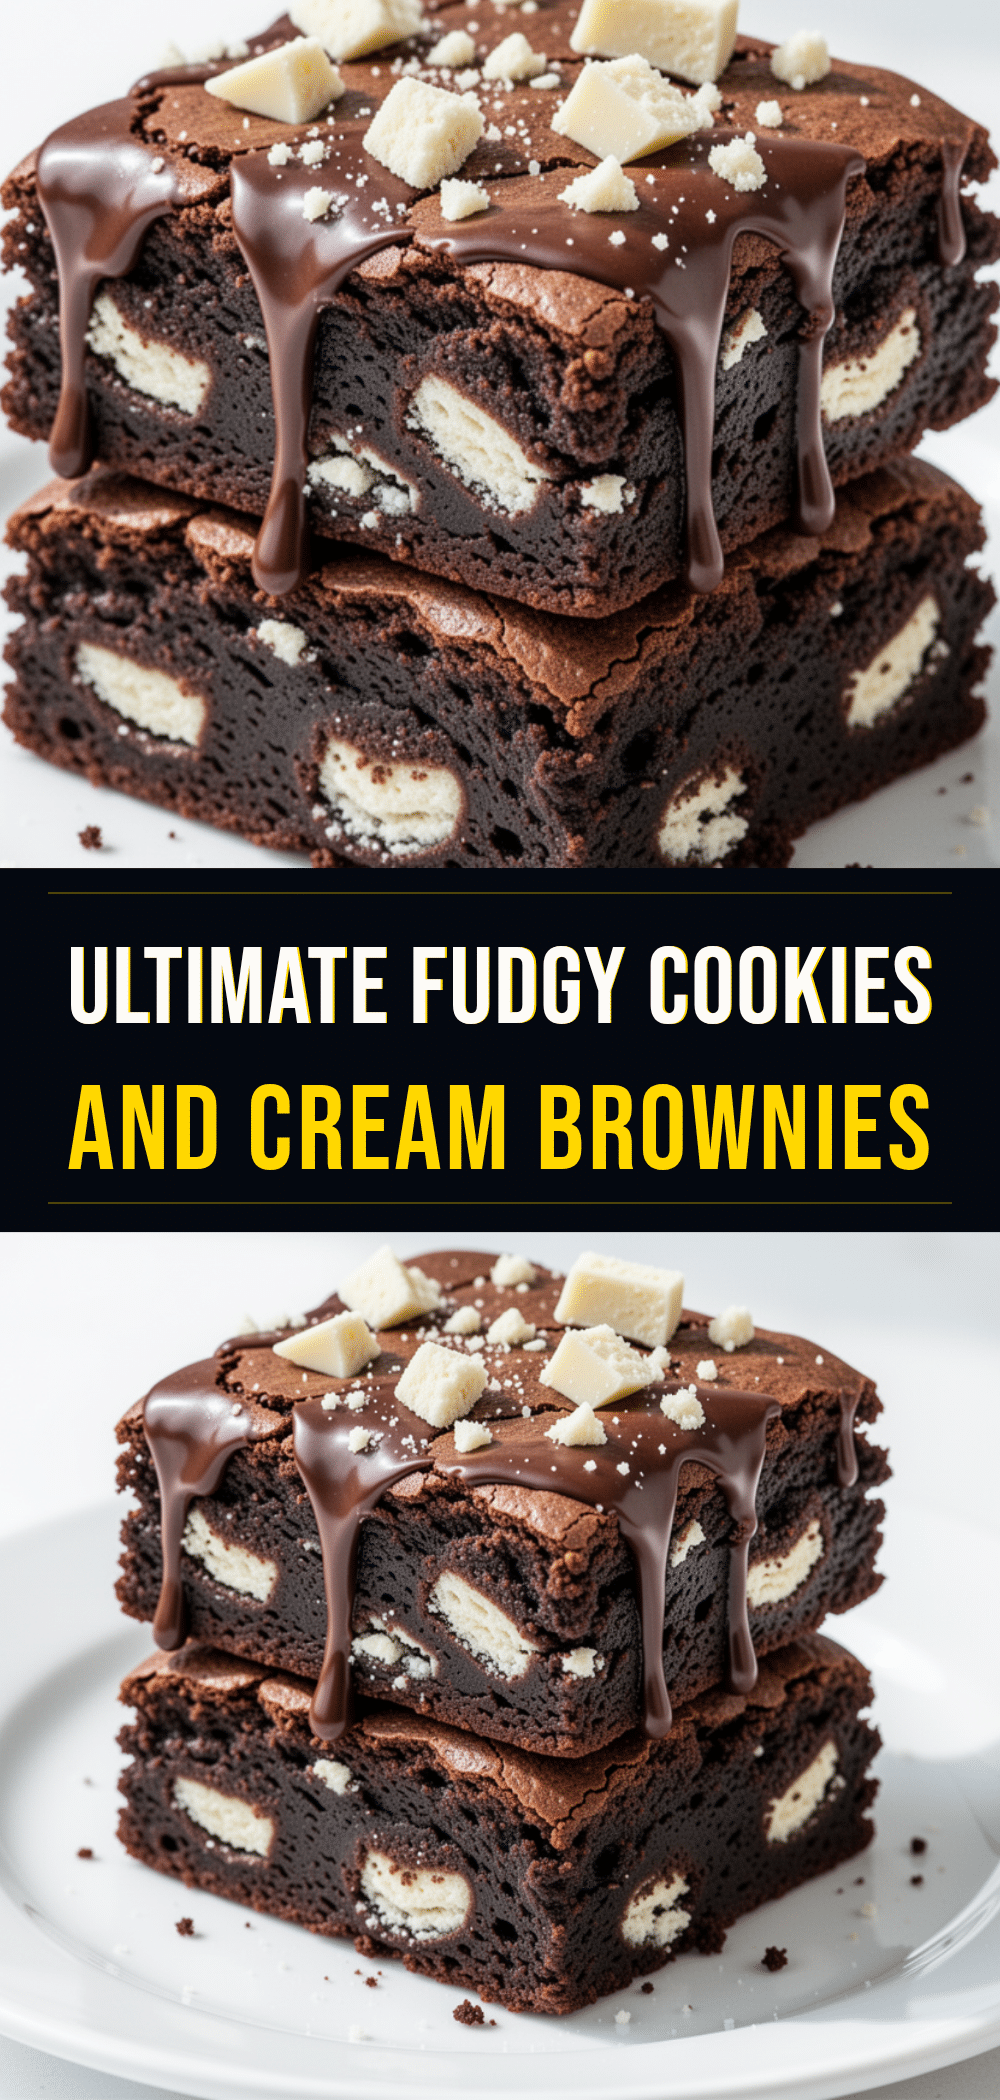
Fudgy Cookies and Cream Brownies
- Total Time: 45 minutes
- Yield: 16 servings 1x
Description
Dense, chewy, and fudgy homemade brownies packed with crushed Oreos and white chocolate chunks. This one-bowl recipe delivers a crackly top and rich texture that rivals bakery versions.
Ingredients
- 1 cup (226g) unsalted butter, melted
- 2 cups (400g) granulated sugar
- 1 cup (200g) dark brown sugar
- 4 large eggs, room temperature
- 2 teaspoons vanilla extract
- 1 ½ cups (190g) all-purpose flour
- ½ cup (50g) unsweetened cocoa powder
- ½ teaspoon salt
- 1 package (15 cookies) Oreo cookies, roughly crushed
- 1 ½ cups (270g) white chocolate chips or chunks
- 1 small package mini Oreos (optional, for topping)
Instructions
- Preheat oven to 350°F (175°C). Line a 9×13 inch baking pan with parchment paper, leaving an overhang on the sides.
- Melt the butter in a microwave-safe bowl in 30-second intervals, stirring between intervals. Let it cool for a minute so it is melted but not hot.
- Add granulated sugar and brown sugar to the melted butter. Whisk vigorously for about 2 minutes until the mixture looks glossy and combined.
- Add eggs one at a time, whisking well after each addition. Add vanilla extract and whisk until the batter is smooth and slightly thickened.
- Add flour, cocoa powder, and salt. Gently fold in with a spatula until just incorporated and no streaks of flour remain. Do not overmix.
- Gently fold in the crushed Oreos and white chocolate chips. Reserve some of each to sprinkle on top later.
- Pour batter into the prepared pan and spread evenly. Sprinkle reserved white chocolate chips and cookie crumbs on top.
- Bake for 25-30 minutes. The brownies are done when a toothpick inserted into the center comes out with moist crumbs clinging to it, not wet batter.
- Let brownies cool in the pan on a wire rack for at least 30 minutes, ideally 1-2 hours, before cutting.
Notes
For the crackly top, whisk the sugar and melted butter vigorously for at least 2 minutes. Do not overbake; the center should still be slightly soft as they continue to cook while cooling. Room temperature eggs help prevent the butter from seizing. For gluten-free, use a 1:1 gluten-free flour blend and ensure Oreos are certified gluten-free.
- Prep Time: 15 minutes
- Cook Time: 30 minutes
- Category: Dessert
- Cuisine: American
Nutrition
- Serving Size: 1 of 16 brownies
- Calories: 320
- Sugar: 28
- Sodium: 180
- Fat: 18
- Saturated Fat: 10
- Carbohydrates: 38
- Fiber: 2
- Protein: 4
Keywords: brownies, cookies and cream, fudgy brownies, homemade dessert, oreo brownies, white chocolate brownies, easy baking


