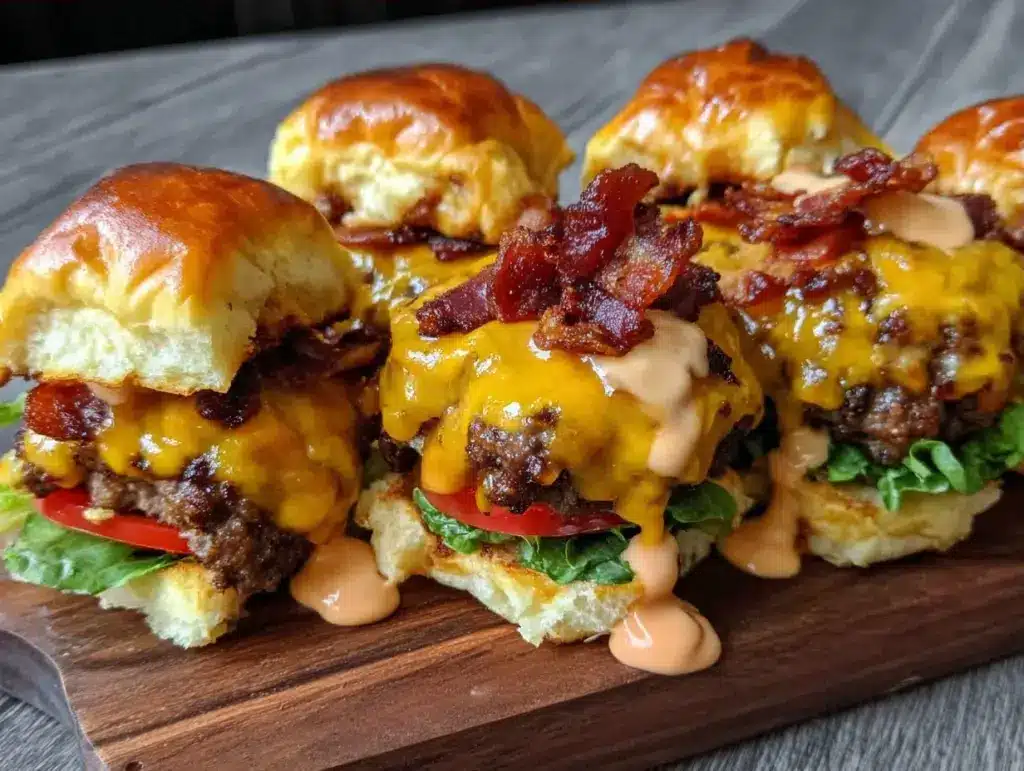
Last November, I found myself standing in the aisle of a mid-sized grocery store at 4:30 PM on a Sunday, holding a package of ground beef that cost more than my hourly wage. I was supposed to be prepping for a small tailgate with three friends before we headed to the stadium. The plan was simple: buy ingredients, make a big batch of something impressive, and save money compared to stadium prices. But as I stared at that beef, I realized my budget had already been stretched thin by last week’s rent increase.
I had $15. That was it. No more spending until payday on Wednesday. I looked around the snack aisle, feeling the familiar pinch of anxiety. If I bought pre-made sliders, I’d be looking at $40 minimum. If I tried to make gourmet burgers, I’d be broke before kickoff. I needed something that tasted like a full meal, felt indulgent, but didn’t require a credit card swipe.
So I did what I always do when the wallet is tight: I raided my pantry and made compromises. I swapped the fancy brioche buns for cheap dinner rolls. I used a block of cheddar I had hiding in the back of the fridge instead of buying premium aged cheese. I skipped the fancy gourmet bacon and bought the thick-cut kind on sale. The result? Budget-Friendly Football Tailgate Bacon Cheeseburger Sliders. They were juicy, cheesy, salty, and cost me less than $2 per serving. My friends didn’t care that they were on dinner rolls instead of brioche. They only cared that they were warm, delicious, and stopped the hunger pangs before the first quarter.
I’ve made these Budget-Friendly Football Tailgate Bacon Cheeseburger Sliders at least six times since that Sunday. Some weeks I’m saving for a new phone, other weeks I’m just trying to get by. This recipe is my anchor. It’s reliable, it’s cheap, and it tastes like victory. If you’re cooking for one and watching every dollar, or if you just want a quick dinner that feels like a cheat meal, this is your recipe. Let’s talk about how to make Budget-Friendly Football Tailgate Bacon Cheeseburger Sliders without breaking the bank.
Why You’ll Love This Recipe
This isn’t just about saving money, though that’s a huge bonus. It’s about the fact that this dish actually works for your specific situation. Whether you’re eating alone on the couch or feeding a few friends on a budget, these sliders hit the spot.
- Cost Per Serving is Under $2.50 — I’ve tracked this. Using store-brand ground beef, cheap cheese, and dinner rolls, I consistently get 12 sliders for under $30. That’s $2.50 per slider. You can’t get that at a stadium concession stand for even the smallest item.
- Uses One Pan and One Tray — Cleanup is minimal. I bake them on a sheet pan and use a small skillet for the meat. If you’re cooking for one, washing a dozen dishes is a nightmare. This keeps it to two items.
- Flexible Ingredient List — Don’t like pickles? Skip them. Out of bacon? Use ham or just extra cheese. I’ve made these with leftover rotisserie chicken when beef was too expensive, and they were still good. It’s a forgiving recipe.
- Ready in 30 Minutes — From thawed meat to hot slider, it takes about 25-30 minutes. That’s faster than ordering takeout and waiting for delivery. I make these after work when I’m tired and don’t want to cook, but I still want something hot.
- Freezes Well for Leftovers — If I make a double batch (which I do when beef is on sale), I freeze half. These reheat beautifully in the toaster oven. No soggy texture. Just warm, gooey cheese.
This is my go-to when dinner needs to just work. It’s practical, it’s filling, and it respects your wallet. Plus, the smell of baking cheese and beef fills the apartment and makes you feel like you’re hosting a party, even if it’s just you and your dog.
Key Ingredients
Here’s the thing about budget cooking: you don’t need fancy ingredients. You need smart ones. Every item in this Budget-Friendly Football Tailgate Bacon Cheeseburger Sliders recipe is chosen for flavor and cost-effectiveness.
Ground Beef (1 lb / 450g)
I use 80/20 ground beef. Yes, it’s fatty. That’s the point. Lean beef dries out quickly, especially in sliders which cook fast. The fat keeps them juicy. If beef is over $5/lb, I switch to a mix of ground turkey and a tablespoon of olive oil to add moisture back in. But beef is usually cheaper per pound at my store.
Sliders or Dinner Rolls (12 count / 12 pieces)
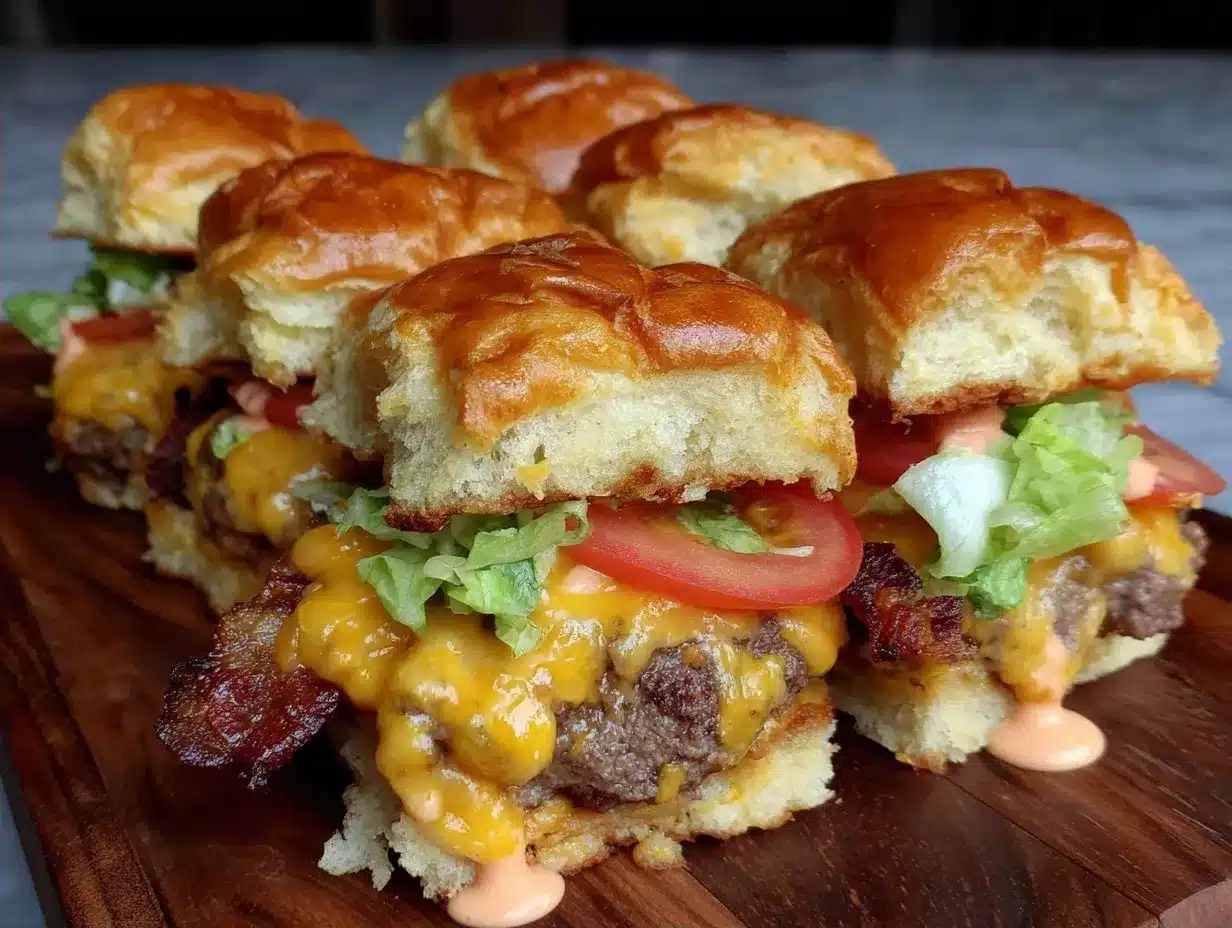
Don’t buy brioche. It’s expensive and often stale. Look for “Hawaiian Sweet Rolls” or plain white dinner rolls. They are soft, cheap, and hold up well to the sauce. I usually buy the 12-count pack on sale. If you can’t find 12-packs, just buy two 6-packs or a dozen loose rolls.
Cheddar Cheese Slices (12 slices / 12 pieces)
Use the cheap yellow cheddar slices. The ones in the bag or the single-layer packs. Do not buy block cheese and shred it yourself for this. It takes too much time and the cheap slices melt faster and more evenly. The flavor is sharp enough for what we’re doing.
Bacon (6-8 strips / 150g)
I buy the thick-cut bacon when it’s on sale. If it’s not on sale, I use regular bacon and just add an extra strip. You want that salty, smoky crunch. If you’re trying to cut costs even further, you can skip the bacon and add a dash of liquid smoke to the meat mixture, but the texture is missing. I rarely skip it.
Slider Bun Sauce (3 tbsp / 45ml)
This is the secret. You can make this from scratch with mayo, ketchup, and relish, or you can buy a small bottle of “Slider Sauce” or “Thousand Island” at the store. I usually just mix 2 tbsp mayo and 1 tbsp ketchup with a pinch of sugar. It mimics the burger shop sauce for pennies.
Diced Pickles (1/4 cup / 30g)
A jar of dill pickle chips is cheap and lasts forever. You only need a quarter cup for this recipe. The acidity cuts through the fat of the beef and cheese. If you hate pickles, use chopped red onion, but the pickles are traditional for a reason.
Yellow Onion (1 small / 150g)
Finely diced. You want the onion to disappear into the meat, providing sweetness without chunks. A small yellow onion is usually under $0.50. If you have a large one, freeze the rest for soup later.
Tools Needed
You don’t need fancy equipment. Here’s what I use.
9×13 Inch Baking Dish — I use a cheap glass Pyrex dish. It holds all 12 sliders in a single layer. If you don’t have one, a large rimmed baking sheet works too, but you’ll need to fold the buns slightly to make them fit. The dish helps them steam slightly and stay soft.
Skillet — A standard 10-inch non-stick skillet. I use this to brown the beef. It doesn’t need to be cast iron. Non-stick makes cleanup easier, which matters when you’re lazy.
Mixing Spoon — Just a wooden spoon or silicone spatula. Nothing special.
Aluminum Foil — You need this to cover the sliders while they bake. It traps the steam and melts the cheese without burning the tops of the buns.
How to Make Budget-Friendly Football Tailgate Bacon Cheeseburger Sliders
Let’s get cooking. This process is straightforward. I usually start the meat while the oven preheats.
Step 1: Prep the Buns (2 minutes)
Take your 12 rolls and slice them horizontally. You want to separate the tops from the bottoms, creating 12 individual buns with a top and bottom half. Keep them in the package or lay them out on your baking dish, cut-side up. Do not separate them completely yet. You’ll reassemble them later.
Step 2: Cook the Beef (8 minutes)
Heat your skillet over medium-high heat. Add the ground beef and the diced onion. Break the beef up with your spoon as it cooks. You want small crumbles, not big chunks. Cook until the beef is no longer pink and the onions are soft. This takes about 6-8 minutes. Drain the excess fat if there’s a lot of it, but leave a little for flavor. Season with 1/2 teaspoon salt and 1/2 teaspoon black pepper. Remove from heat.
Step 3: Prepare the Toppings (3 minutes)
While the beef cooks, chop your bacon into small pieces if you’re using thick-cut. If you’re using regular bacon, you can fry it separately until crispy and then crumble it. I usually just fry it in the same skillet after the beef, using the beef fat to cook it. It adds flavor. Set the bacon aside. Mix your slider sauce ingredients in a small bowl.
Step 4: Assemble the Sliders (5 minutes)
This is the fun part. Take the bottom halves of the buns in your baking dish. Spread a thin layer of the beef mixture on each bun. Top with a slice of cheddar cheese. Then, add a few pieces of bacon and a pinch of diced pickles on top of the cheese. Drizzle a little of the slider sauce over each one. Place the top halves of the buns on the cheese. You should now have 12 closed sliders.
Step 5: The Sauce and Bake (15 minutes)
Melt 2 tablespoons of butter in the microwave. Brush the tops of all 12 sliders with the melted butter. This gives them that golden, bakery-style look. Cover the baking dish tightly with aluminum foil. Place in the oven at 350°F (175°C) for 10 minutes. Remove the foil and bake for another 5 minutes, or until the cheese is fully melted and the buns are golden brown. Watch them closely in the last 2 minutes so the tops don’t burn.
Total time: About 30 minutes. You’ll have 12 hot, cheesy sliders ready to eat.
Expert Tips
Here’s everything I learned from making this too many times.
The Meat Ratio Matters
I used to put too much beef on the buns, making them soggy. The key is a thin layer. You want the bun to be the star, with the beef as a flavorful accent. If you overload it, the bottom bun disintegrates. I aim for about 2 tablespoons of beef per slider. It’s enough flavor, but not too much moisture.
Don’t Skip the Butter Brush
It sounds simple, but brushing the tops with butter before baking makes a huge difference in texture. It creates a slight crust that contrasts with the soft interior. Without it, the buns just get soft and steamy, which can be mushy. With it, they get a little crispy on top.
Freezing Strategy
If you’re making these for meal prep, assemble them fully but do not bake. Wrap the entire dish tightly in plastic wrap and then foil. Freeze for up to 3 months. When you’re ready to eat, let it thaw in the fridge overnight, then bake as directed, adding 5-10 minutes to the baking time since it starts cold.
Bacon Prep Shortcut
If you’re in a rush, use pre-cooked bacon bits. They’re not as good as fresh bacon, but they save time and you don’t have to cook extra meat. For a budget version, this is a valid trade-off. The flavor difference is minor in the grand scheme of a cheesy slider.
Recipe Variations
Once you’ve nailed the basic version, here’s how to mix it up without spending more money.
The “No Beef” Version
Swap the ground beef for 12 slices of ham. It’s often cheaper than beef. Layer the ham, cheese, and pickles. It’s a ham and cheese slider, which is still delicious and much cheaper.
The “Spicy” Version
Add a slice of pepper jack cheese instead of cheddar. Or, mix a teaspoon of hot sauce into the beef. If you have leftover game day Nashville hot chicken sliders ingredients, you can adapt the seasoning, but for budget, just use hot sauce.
The “Veggie” Version
Use a can of black beans (rinsed and drained) mixed with the onion and spices instead of beef. It’s cheaper, higher in fiber, and holds together well. Top with cheese and bake. It’s a hearty vegetarian option.
The “Loaded” Version
Add a layer of caramelized onions. This takes extra time, but if you have time, it adds sweetness. Or, add a slice of avocado if you’re feeling fancy, though that increases the cost significantly.
Serving & Storage
Serving
I serve these hot, right out of the oven. They go well with a simple side of potato chips or a bag of pretzels. If you have a salad left from another meal, that works too. For drinks, I usually pair them with a cheap soda or a homemade lemonade. If you want a dessert to follow, these game day loaded brownie skillet bites are a great way to use up remaining chocolate without buying more ingredients.
Storage
Store leftovers in an airtight container in the fridge for up to 3 days. The buns will get a bit soft, but they’re still good. Reheat in a toaster oven or air fryer at 350°F for 5 minutes to crisp them up. Do not microwave them unless you want a soggy mess. They freeze well for up to 3 months, but the texture of the bun changes slightly after freezing. I usually eat them within a week.
Nutrition Information
I’m not a nutritionist, but here’s the breakdown based on my calculations.
Per slider (1 of 12):
| Nutrient | Amount |
|---|---|
| Calories | 220 |
| Protein | 12g |
| Carbs | 18g |
| Fat | 11g |
| Sodium | 450mg |
My Take: This is comfort food. It’s salty, cheesy, and carb-heavy. It’s not diet food. But it’s better than takeout and I know exactly what’s in it. For the price, it’s a great value. If you’re watching calories, stick to 2-3 sliders and add a side of vegetables.
Final Thoughts
These Budget-Friendly Football Tailgate Bacon Cheeseburger Sliders are more than just a recipe. They’re a solution. They solve the problem of hunger, the problem of cost, and the problem of cleanup. I love that I can make them for myself on a Tuesday night or for a group on a Sunday afternoon. They are versatile, cheap, and delicious.
If you make this, drop a comment! I love hearing how it turns out in your kitchen. Do you add extra pickles? Do you skip the bacon? I want to know your tweaks. And if you need more ideas for cheap, easy meals, check out my game day bacon cheeseburger meatball subs for another hearty option.
Happy cooking!
FAQs
Can I make these ahead of time?
Yes. Assemble them completely, cover tightly with foil, and refrigerate for up to 24 hours. Bake them straight from the fridge, adding 5 minutes to the cooking time. Do not freeze them assembled unless you plan to bake them from frozen, which requires thawing first.
Can I use turkey instead of beef?
Absolutely. Ground turkey is often cheaper. Just be sure to add a tablespoon of olive oil or butter to the skillet, as turkey is leaner and dries out faster. The flavor will be milder, so maybe add a little garlic powder to the meat.
Why are my sliders soggy?
This usually happens if you use too much beef or sauce. Make sure to drain the beef well. Also, ensure you are brushing the tops with butter, which helps create a barrier. If the bottom bun is getting soggy, try toasting the bottom halves lightly before adding the meat.
Can I make these in a slow cooker?
Not really. Slow cookers are for stews and braises. Sliders need dry heat to melt the cheese and toast the bun. The oven is the best tool for this. If you don’t have an oven, a toaster oven works perfectly.
What if I don’t have slider sauce?
Make your own! Mix 2 parts mayo, 1 part ketchup, and a dash of relish or pickle juice. It’s almost as good as the real thing and costs pennies. You can also use Thousand Island dressing if you have it.
How do I reheat leftovers?
Air fryer or toaster oven is best. 350°F for 5 minutes. This crisps the bun and melts the cheese. Microwave only if you are in a huge rush, but expect a soft texture.
Pin This Recipe!
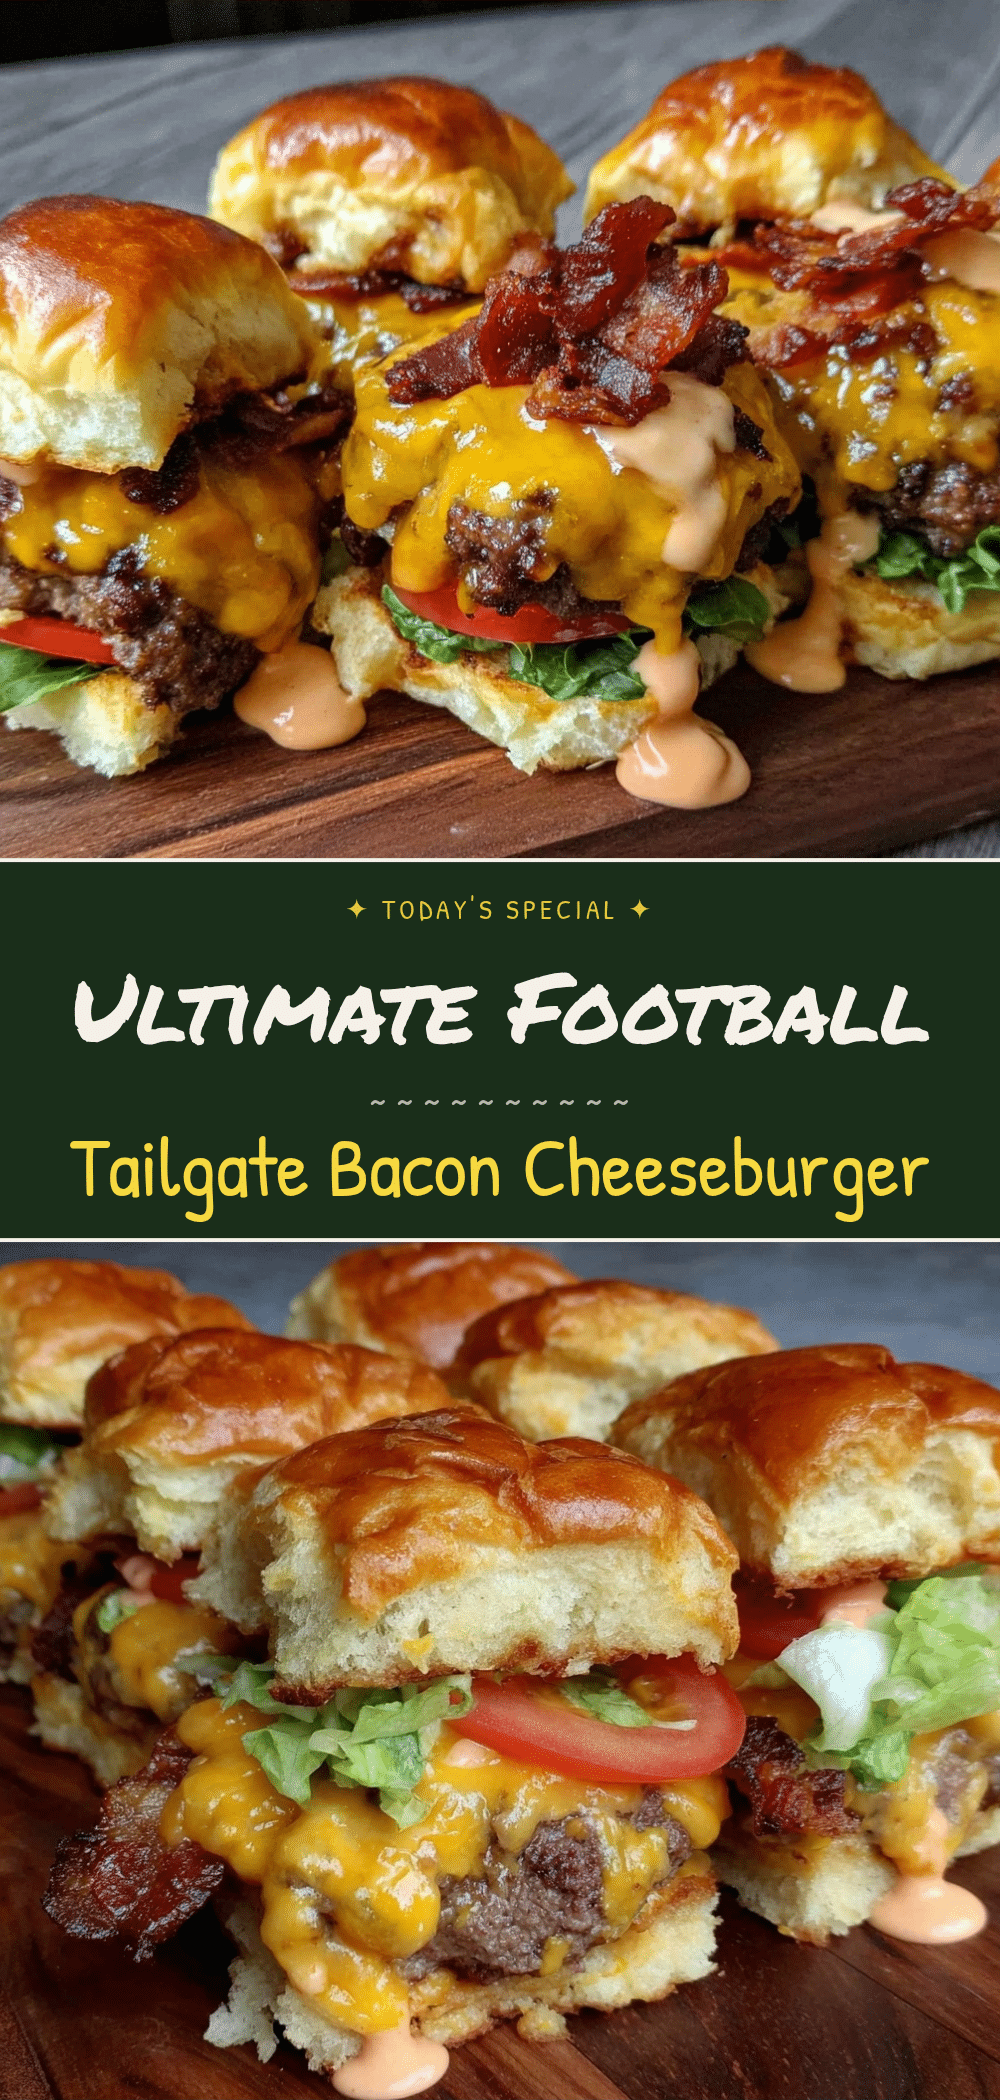
Budget-Friendly Football Tailgate Bacon Cheeseburger Sliders
- Total Time: 30 minutes
- Yield: 12 servings 1x
Description
A cost-effective, one-pan recipe for juicy bacon cheeseburger sliders that costs under $2.50 per serving. Perfect for tailgating, quick dinners, or feeding a crowd on a budget.
Ingredients
- 1 lb (450g) 80/20 ground beef
- 1 small yellow onion, finely diced (150g)
- 12 slider buns or Hawaiian sweet dinner rolls
- 12 slices cheddar cheese
- 6–8 strips thick-cut bacon (150g)
- 3 tbsp slider sauce (or mix of 2 tbsp mayo and 1 tbsp ketchup)
- 1/4 cup diced pickles (30g)
- 2 tbsp butter, melted
- 1/2 teaspoon salt
- 1/2 teaspoon black pepper
Instructions
- Preheat oven to 350°F (175°C).
- Slice the 12 rolls horizontally to create top and bottom halves, keeping them connected or arranged in a 9×13 inch baking dish.
- Heat a skillet over medium-high heat. Add ground beef and diced onion. Break beef into small crumbles and cook until no longer pink and onions are soft (6-8 minutes).
- Drain excess fat if necessary, leaving a little for flavor. Season with salt and pepper. Remove from heat.
- In the same skillet or a separate pan, cook bacon until crispy. Chop into small pieces if using thick-cut bacon. Set aside.
- Spread a thin layer of the beef mixture on the bottom halves of the buns.
- Top each with a slice of cheddar cheese, a few pieces of bacon, and a pinch of diced pickles.
- Drizzle slider sauce over each slider.
- Place the top halves of the buns on the cheese to close the sliders.
- Brush the tops of all sliders with melted butter.
- Cover the baking dish tightly with aluminum foil.
- Bake covered for 10 minutes.
- Remove foil and bake for another 5 minutes, or until cheese is melted and buns are golden brown.
- Serve hot.
Notes
For a vegetarian version, substitute ground beef with rinsed black beans. To freeze, assemble sliders without baking, wrap tightly in plastic and foil, and freeze for up to 3 months. Reheat from frozen by adding 5-10 minutes to baking time. If using ground turkey, add a tablespoon of olive oil to prevent drying out.
- Prep Time: 10 minutes
- Cook Time: 20 minutes
- Category: Appetizer
- Cuisine: American
Nutrition
- Serving Size: 1 slider
- Calories: 220
- Sugar: 4
- Sodium: 450
- Fat: 11
- Saturated Fat: 5
- Carbohydrates: 18
- Fiber: 1
- Protein: 12
Keywords: budget recipes, tailgate food, slider recipe, bacon cheeseburger sliders, cheap dinner, game day food, one pan meal, ground beef recipes


