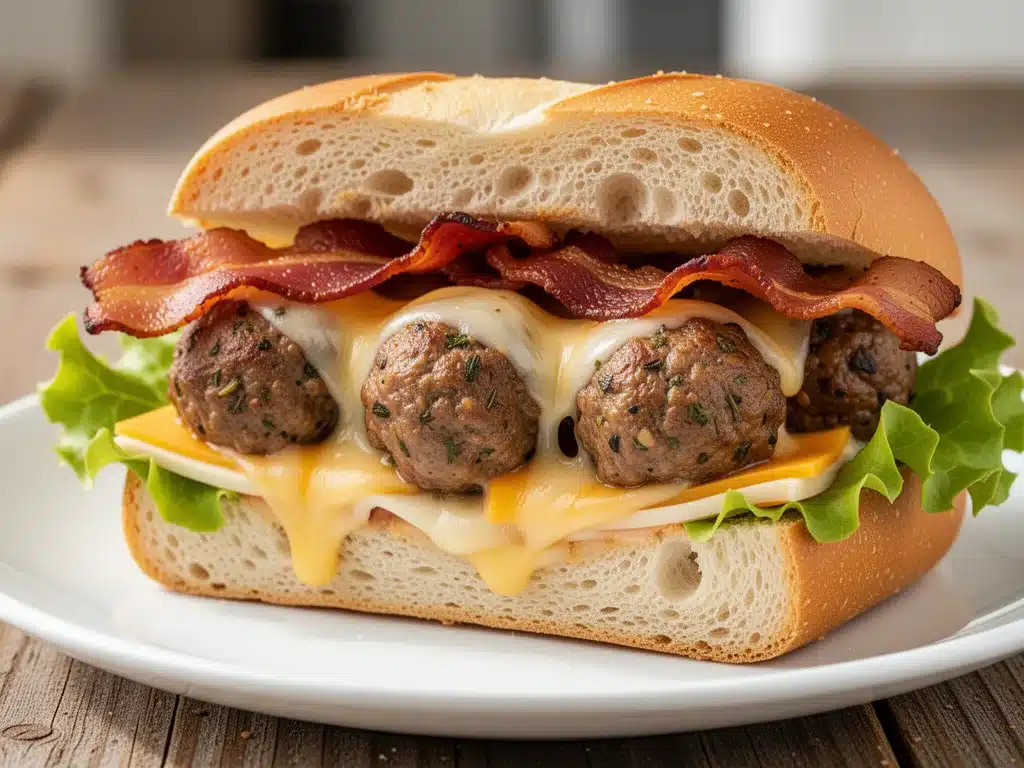
Let me tell you about the Sunday that changed my life. Or at least, changed how I survive football season. It was the big game—the one where the stakes feel incredibly high even though I’m just watching from my couch in sweatpants. I had promised my brother-in-law I’d bring food. He’s the guy who complains about everything, but he also has a serious weakness for anything involving cheese and meat. I made a pot of chili that day. Just regular chili. And let’s be real? It was fine. But it wasn’t the kind of food that makes people stop talking about the game to eat. It was background noise food.
Fast forward to last year. I was panic-cooking on Saturday night, staring into my fridge, trying to figure out what I could throw together that felt special but wouldn’t require me to stand in the kitchen all afternoon. I had ground beef, some stale baguettes, a whole package of bacon I’d bought on sale, and a mountain of American cheese. I thought, “What if I combined the two things everyone loves most at a party: burgers and subs?”
I threw together what I thought would be a mediocre meatball mixture. I rolled them up, fried them in bacon grease (obviously), stuffed them into rolls, and loaded them with cheese. The smell when they came out of the oven stopped my husband mid-sentence. He didn’t even care that the game was on. He just kept saying, “What is this? This is illegal.” By halftime, half the tray was gone. By the end of the game, my brother-in-law was asking for the recipe. And the one who complains about everything? He asked me to make them again next week.
That was the birth of my Game Day Bacon Cheeseburger Meatball Subs. I’ve made them for Super Bowl parties, backyard BBQs, and even just because it’s Tuesday. They are hands-down the best party recipe I’ve ever created. They’re juicy, they’re cheesy, they have that smoky bacon hit, and they’re so easy to eat while standing around. No one ever leaves hungry. And trust me, when I say they’re easy, I mean it. If you can boil water and assemble a sandwich, you can make these. Let’s get into why these subs are about to become your new game day MVP.
Why You’ll Love This Recipe
There are a lot of game day snacks out there. Wings, dip, nachos… it’s a crowded market. But these bacon cheeseburger meatball subs? They’re in a league of their own. I’ve made these for at least twenty different gatherings now, and they consistently get the most compliments. Here’s why they’re worth the thirty minutes it takes to prep them.
They’re the Ultimate Comfort Food Mashup — Think about it. You get the savory, seasoned kick of a juicy burger meatball. You get the smoky crunch of crispy bacon bits mixed right in. And you get the gooey, melted pull of cheese on soft bread. It’s like the best parts of a diner order and a football tailgate had a baby. My kids, who usually turn their noses up at “fancy” food, go crazy for these. It’s basically a burger in sub form.
Zero Stress, Maximum Yield — I love recipes that scale up. These subs are incredibly forgiving. I can make a batch of twelve for a small family dinner or thirty for a crowd of twenty, and the method doesn’t change. You’re mostly just assembling and baking. You’re not flipping burgers on a hot grill in the summer heat, and you’re not stirring a giant pot of soup that might burn. You put them in the oven, walk away, and come back to perfection. It’s the lowest effort, highest reward ratio of any party food I know.
They Taste Better the Next Day (If You Have Any Left) — I know, I know, game day food is usually best fresh. But these subs? The flavors actually meld together overnight. The bacon infuses the meatball, the cheese soaks into the bread a little bit. If you’re meal prepping or making them ahead for a party, they hold up beautifully. I’ve been known to make a double batch on Sunday and eat them for lunch all week. They reheat in the microwave in about a minute and still taste amazing.
Perfect Finger Food — This is huge for parties. You don’t need plates. You don’t need forks. You just grab a sub and eat. No messy drips all over your shirt (mostly). No complicated eating mechanics. It’s clean, it’s fast, and it’s filling. People can graze on them while they talk, watch the game, or play games. It keeps everyone fed and happy without cluttering up the coffee table with empty plates.
Ingredients You’ll Need
Here’s the best part: you probably have most of this already in your fridge and pantry. I’m not asking you to go to three different stores for obscure ingredients. This is simple, accessible food. That said, I am particular about a few things, and I’ll tell you exactly why they matter. Don’t skip the good stuff here.
Ground Beef (1 pound / 450g) — This is your base. I prefer 80/20 lean-to-fat ratio. Why? Because lean beef makes dry meatballs. You want that fat to keep them juicy and flavorful. If you can’t find 80/20, ask the butcher to grind it for you, or mix 90/10 beef with a little bit of olive oil. But really, the fat is where the flavor is.
Bacon (8-10 strips, cooked and crumbled / about 200g) — This is non-negotiable. I don’t just put bacon on top; I mix it *into* the meatball mixture. This distributes that smoky, salty flavor throughout every bite. Use thick-cut bacon if you can. It holds its texture better and doesn’t turn to dust when you crumble it. I usually cook the bacon in the oven while I’m prepping the meat so I have crispy bits ready to go.
Breadcrumbs (1 cup / 100g) — These act as a binder and help absorb the juices. I use panko breadcrumbs for a lighter, airier texture, but regular dried breadcrumbs work fine too. If you’re gluten-free, use gluten-free panko or crushed gluten-free crackers. Don’t skip this; it keeps the meatballs from becoming dense meat bricks.
Onion and Garlic (1 small yellow onion, finely diced / 3 cloves garlic, minced) — Aromatics are key. I like to sauté the onion and garlic briefly before adding them to the meat. Raw onion in a meatball can be too sharp and crunchy. Cooking it down sweetens it and blends it seamlessly into the beef. It’s a small step that makes a big difference in flavor.
Egg (1 large) — The binder. It holds everything together so your meatballs don’t fall apart in the sub. One egg is enough for a pound of beef. Don’t overmix the meat when adding the egg, or you’ll end up with tough, rubbery meatballs.
Worcestershire Sauce (1 teaspoon) — This is the secret umami bomb. It adds a deep, savory complexity that salt alone can’t achieve. Just a teaspoon goes a long way. If you don’t have it, soy sauce works as a substitute, but Worcestershire is traditional for a reason.
Sub Rolls (6-8 rolls / about 12 inches long) — You need rolls that can hold up to the weight of the meat and cheese without getting soggy or falling apart. Hoagie rolls or Italian rolls are perfect. Look for ones that are sturdy on the outside but soft on the inside. Avoid soft white sandwich rolls; they’ll disintegrate. I like to buy fresh bakery rolls when I can, but frozen ones that you thaw work too.
American Cheese Slices (6-8 slices) — I know, some people scoff at American cheese. But for game day subs, it’s king. It melts perfectly, creating that smooth, gooey blanket over the meat. Cheddar can be too sharp or oily when melted. Provolone is a good alternative if you want a sharper flavor, but American cheese gives you that classic diner vibe. Use the real slices, not the processed singles if you can help it.
Burger Sauce or Ketchup/Mustard — For the assembly, you want that tangy burger flavor. I mix mayo, ketchup, a little pickle relish, and a dash of vinegar. Or just buy a bottle of “burger sauce.” Spread it on the inside of the rolls before adding the meat. It cuts through the richness of the cheese and bacon.
Optional: Pickles — Sliced dill pickles add a nice acidic crunch that balances the heavy, savory flavors. I always add them. If your guests are pickle-phobic, leave them out, but I recommend giving them a try.
Equipment Needed
You don’t need fancy equipment for this. Here’s what I actually use. Keep it simple.
Baking Sheet — I use a large rimmed baking sheet. You need enough room to lay out the subs so they aren’t crowded. Crowding leads to steaming instead of melting. If you have a small oven, you might need two sheets.
Mixing Bowl — A medium-sized bowl for mixing the meatball ingredients. I like a wide bowl so I can mix with my hands without making a mess.
Skillet — For cooking the bacon and sautéing the onions. Cast iron is great here because it holds heat well, but any heavy-bottomed pan works.
Oven — Obviously, you need an oven. Preheat it to 375°F (190°C). Make sure it’s actually at that temperature; oven thermometers are cheap and helpful if your oven runs hot or cold.
Sharp Knife and Cutting Board — For slicing the bacon, onions, and rolls. A serrated bread knife is perfect for slicing the sub rolls without crushing them.
Parchment Paper — Line your baking sheet with parchment. It makes cleanup instant. You don’t want cheese stuck to your pan.
How to Make It: Step-by-Step
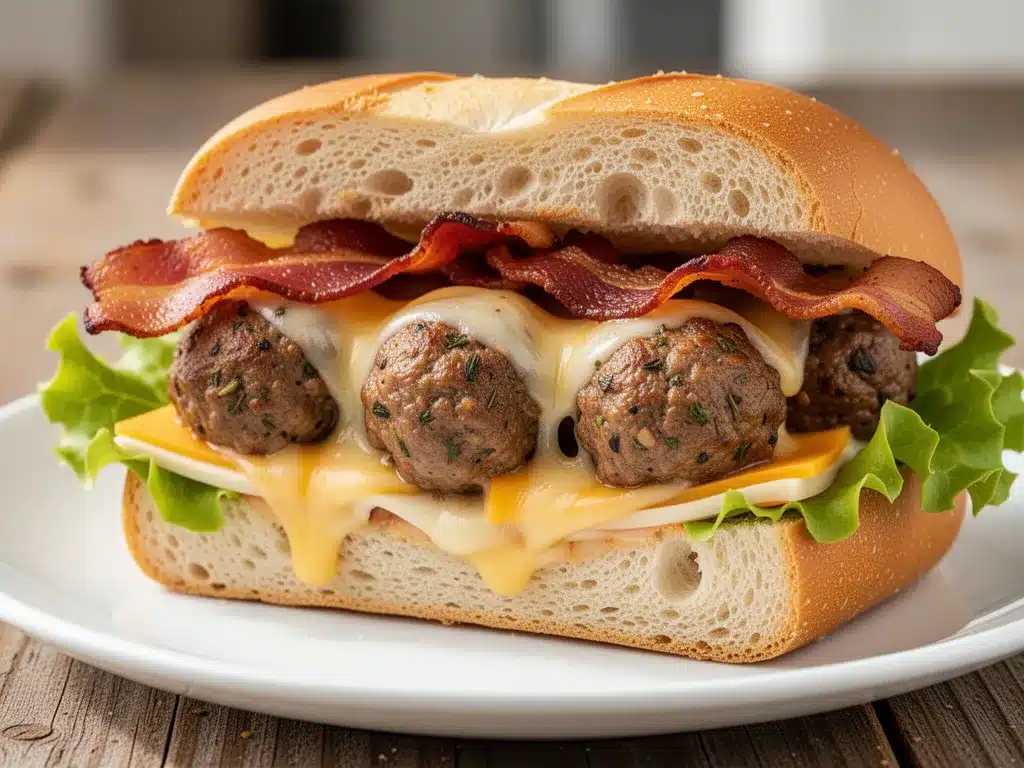
Alright, let’s make this! I’m walking you through exactly how I do it, including the little tricks I’ve picked up over the years. This process is straightforward, but timing matters.
Step 1: Prep the Bacon and Aromatics (10 minutes)
Start by cooking your bacon. I like to bake it in the oven at 400°F for about 15-20 minutes until crispy. It’s easier than frying and less messy. While the bacon is cooking, dice your onion and mince your garlic. Once the bacon is done, transfer it to a paper towel-lined plate to drain. Leave the grease in the pan if you’re sautéing onions, or wipe the pan out and use a little oil. Sauté the diced onion in the bacon grease (or oil) over medium heat for 5 minutes until soft and translucent. Add the garlic in the last minute. Let this cool slightly.
Step 2: Make the Meatball Mixture (5 minutes)
In your mixing bowl, combine the ground beef, cooled onion-garlic mixture, crumbled bacon, breadcrumbs, egg, Worcestershire sauce, salt, and black pepper. Use your hands to mix gently. Do not overmix! Overmixing develops the proteins and makes the meatballs tough. You want them tender. Mix just until everything is combined. If the mixture feels too wet, add a little more breadcrumb. If it’s too dry, add a splash of milk.
Step 3: Roll the Meatballs (5 minutes)
Divide the mixture into 12-16 equal portions. Roll them into balls about 1.5 inches in diameter. They don’t need to be perfect spheres; rustic is fine. Place them on a plate while you prep the rolls.
Step 4: Prep the Rolls (2 minutes)
Slice your sub rolls in half lengthwise. Be careful not to cut all the way through if you want them to stay connected like a hinge, or cut them completely in half if you prefer open-faced subs. I like them hinged so the filling stays in. Place the rolls cut-side up on your parchment-lined baking sheet.
Step 5: Assemble the Subs (5 minutes)
Spread a generous layer of burger sauce or ketchup/mustard mix on the bottom half of each roll. Place 2-3 meatballs in each roll. Top each meatball with a slice of American cheese. If you’re using pickles, add a few slices now. The cheese should cover the meatballs.
Step 6: Bake Until Melted (8-10 minutes)
Place the baking sheet in the preheated oven. Bake for 8-10 minutes, or until the cheese is completely melted and bubbly, and the meatballs are heated through. You don’t need to cook the meatballs all the way through before baking because they’re small and will finish cooking in the oven. Just make sure the internal temperature reaches 165°F (74°C).
Step 7: Serve Immediately
Take them out of the oven. They will be hot, cheesy, and delicious. Serve them right away while the cheese is still gooey. You can top them with fresh parsley if you want a pop of color, but it’s not necessary. Dig in.
Expert Tips & Tricks
Here’s everything I’ve learned from making these dozens of times. These tips will save you from my mistakes.
Don’t Skip the Sautéed Onions
I know it’s an extra step, but raw onion in a meatball can be harsh. Sautéing them first mellows the flavor and adds sweetness. It’s the difference between a good meatball and a great one.
Cool the Bacon Before Mixing
If you add hot bacon to the meat, it will start cooking the beef prematurely. Let the bacon cool and crumble it into small pieces. Small pieces distribute better than big chunks.
Use Your Hands
It feels messy, but mixing meatballs by hand ensures even distribution of ingredients. Just wash your hands well before and after. Use gloves if you prefer, but bare hands give you better control.
Don’t Overcrowd the Pan
If you’re making a large batch, use two baking sheets. Crowding the subs will cause them to steam each other, and the cheese won’t melt evenly. Give them space.
The Cheese Pull is Real
For the best melt, use low-moisture mozzarella if you want stretch, or American cheese for smoothness. I often use a mix: American on the bottom for melt, and mozzarella on top for the pull. It’s the best of both worlds.
Variations & Substitutions
Once you’ve nailed the basic version, here’s how you can mix it up. I’ve tried all of these.
Spicy Jalapeño Version
Add diced jalapeños to the meatball mixture and use pepper jack cheese instead of American. It adds a nice kick that pairs well with the bacon.
Mushroom & Swiss
Sauté sliced mushrooms with the onions and use Swiss cheese. This gives it a more sophisticated, steakhouse vibe. Great for adult parties.
BBQ Bacon Version
Swap the burger sauce for BBQ sauce. Use cheddar cheese. It’s smoky, sweet, and tangy. A crowd favorite for those who love BBQ flavors.
Vegetarian Option
Use plant-based ground beef or crumbled tempeh. Use vegan bacon bits and vegan cheese. It’s not exactly the same, but it works if you’re catering to vegetarians.
Gluten-Free
Use gluten-free breadcrumbs and gluten-free sub rolls. Everything else is naturally gluten-free. Just check your bacon and sauces for hidden gluten.
Serving & Storage
How to Serve
I serve these straight from the baking sheet on a platter. They look rustic and inviting. Add a side of pickles or a simple green salad to balance the heaviness. They pair well with cold beer or soda.
Storage
Store leftovers in an airtight container in the fridge for up to 3 days. The meatballs will firm up a bit, but they’re still good.
Reheating
Reheat in the oven at 350°F for 10 minutes to keep the bread from getting too soggy. Microwave works in a pinch, but the bread might get chewy. Add a splash of water to the microwave-safe dish if you microwave them.
Freezing
You can freeze the unbaked subs. Assemble them, wrap them tightly in plastic wrap and foil, and freeze for up to 2 months. Thaw in the fridge overnight before baking.
Nutrition Information
I’m not a nutritionist, but here’s the breakdown if you’re tracking. Keep in mind, this is a rich, indulgent dish.
Per Sub (approximate):
- Calories: 650
- Protein: 35g
- Carbs: 45g
- Fat: 35g
- Sodium: 900mg
It’s high in protein and fat, which makes it filling. The sodium is high due to the bacon and cheese, so balance it with lighter sides if you’re watching salt. But let’s be real, you’re eating this for the flavor, not the diet points.
Final Thoughts
So that’s my go-to Game Day Bacon Cheeseburger Meatball Subs! I’ve probably talked your ear off at this point, but when you make a recipe this often, you have a lot to say about it. These subs have saved me more times than I can count. They’re my answer to “what do I bring to the party?” when I’m tired, don’t want takeout, and still want something that tastes really good. My family is happy, my friends are happy, and I’m happy because I’m not stressed about cooking.
Make it yours! Try different cheeses, add different veggies, adjust the spice level. The best recipes are the ones you adapt to your tastes. If you make these, drop a comment and let me know what you think! I love hearing how recipes turn out in your kitchen. And if something doesn’t work, tell me that too—I’m here to help troubleshoot.
Happy cooking! And I hope your kitchen smells half as good as mine does right now.
Frequently Asked Questions
Can I make the meatballs ahead of time?
Yes! You can roll the meatballs and store them in the fridge for up to 24 hours before assembling. This actually helps the flavors meld. Just remember to take them out of the fridge 15 minutes before baking so they cook evenly.
What kind of bread is best?
Hoagie rolls or Italian rolls are ideal because they’re sturdy. You want something that won’t fall apart when you bite into it. Avoid soft white bread; it’ll get too soggy. If you can’t find sub rolls, French baguettes cut in half work too.
Can I use ground turkey instead of beef?
You can, but the meatballs will be leaner and less flavorful. Turkey needs more moisture. I recommend adding a little extra onion and maybe a tablespoon of olive oil to the mixture to keep it from drying out. It’s a lighter option, but not as juicy as beef.
How do I keep the subs from getting soggy?
The key is to not overload them with sauce. A thin layer of burger sauce is enough. Also, make sure your bacon is fully drained of grease before adding it to the meat. And don’t bake them covered; you want the cheese to melt and the bread to stay slightly crisp.
Can I freeze the baked subs?
I don’t recommend freezing the fully baked subs with the cheese. The cheese can become grainy when reheated. It’s better to freeze the unbaked subs, as mentioned above. Thaw and bake when ready to eat.
Pin This Recipe!
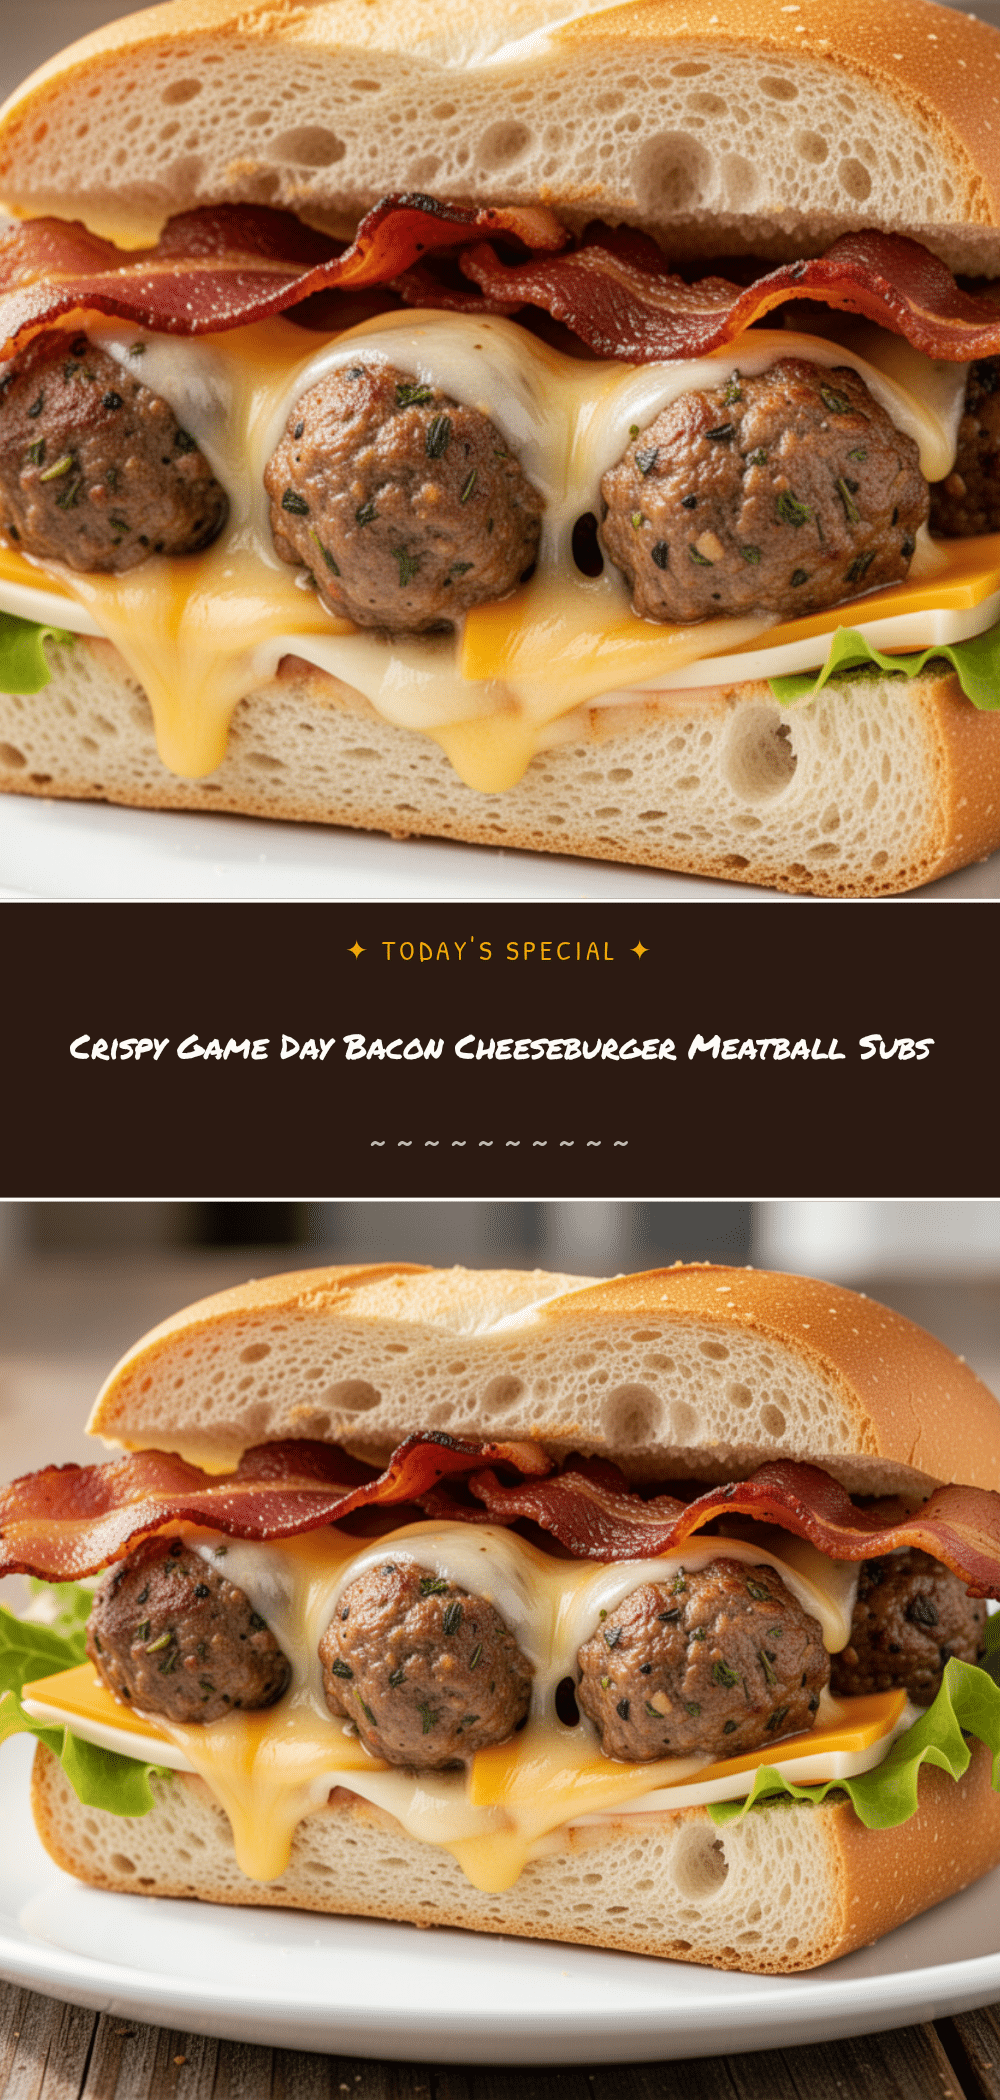
Game Day Bacon Cheeseburger Meatball Subs
- Total Time: 55 minutes
- Yield: 6-8 servings 1x
Description
Juicy, cheesy, and smoky meatball subs loaded with bacon and American cheese, perfect for easy game day entertaining or meal prep.
Ingredients
- 1 pound ground beef (80/20 lean-to-fat ratio)
- 8–10 strips bacon, cooked and crumbled (about 200g)
- 1 cup panko breadcrumbs (or regular dried breadcrumbs)
- 1 small yellow onion, finely diced
- 3 cloves garlic, minced
- 1 large egg
- 1 teaspoon Worcestershire sauce
- Salt and black pepper to taste
- 6–8 sub rolls (hoagie or Italian rolls, approx. 12 inches long)
- 6–8 slices American cheese
- Burger sauce (mayo, ketchup, pickle relish, vinegar) or ketchup/mustard mix
- Sliced dill pickles (optional)
Instructions
- Preheat oven to 375°F (190°C). Line a large rimmed baking sheet with parchment paper.
- Cook bacon in the oven at 400°F for 15-20 minutes until crispy. Transfer to a paper towel-lined plate to drain and cool. Crumble into small pieces.
- In a skillet, sauté the diced onion in bacon grease (or oil) over medium heat for 5 minutes until soft. Add garlic in the last minute and cook for 1 minute. Let cool slightly.
- In a medium mixing bowl, combine ground beef, cooled onion-garlic mixture, crumbled bacon, breadcrumbs, egg, Worcestershire sauce, salt, and pepper. Mix gently with hands just until combined; do not overmix.
- Divide the meat mixture into 12-16 equal portions and roll into 1.5-inch balls.
- Slice sub rolls in half lengthwise (hinged or fully separated). Place cut-side up on the prepared baking sheet.
- Spread burger sauce on the bottom half of each roll. Place 2-3 meatballs in each roll.
- Top each meatball with a slice of American cheese and add pickles if using.
- Bake for 8-10 minutes until cheese is melted and bubbly and meatballs reach an internal temperature of 165°F (74°C).
- Serve immediately while hot and cheesy.
Notes
Do not overmix the meat to avoid tough meatballs. Ensure bacon is cooled before mixing to prevent premature cooking of the beef. For best results, use sturdy sub rolls like hoagie or Italian rolls to prevent sogginess. Leftovers can be stored in the fridge for up to 3 days or frozen unbaked for up to 2 months.
- Prep Time: 30 minutes
- Cook Time: 25 minutes
- Category: Appetizer
- Cuisine: American
Nutrition
- Serving Size: 1 sub
- Calories: 650
- Sugar: 6
- Sodium: 900
- Fat: 35
- Saturated Fat: 12
- Carbohydrates: 45
- Fiber: 2
- Protein: 35
Keywords: game day food, party recipe, bacon cheeseburger, meatball subs, easy appetizer, football snacks, comfort food


