There is a specific kind of chaos that only happens during Easter at my house. It’s the same chaos that has existed for thirty years, passed down from my mother, who got it from her mother, who probably got it from someone who stood over a hot stove in Sicily. It’s the smell of frying oil mixing with the scent of blooming jasmine in the garden, the sound of clinking silverware, and the overwhelming question of “what’s for dessert?”
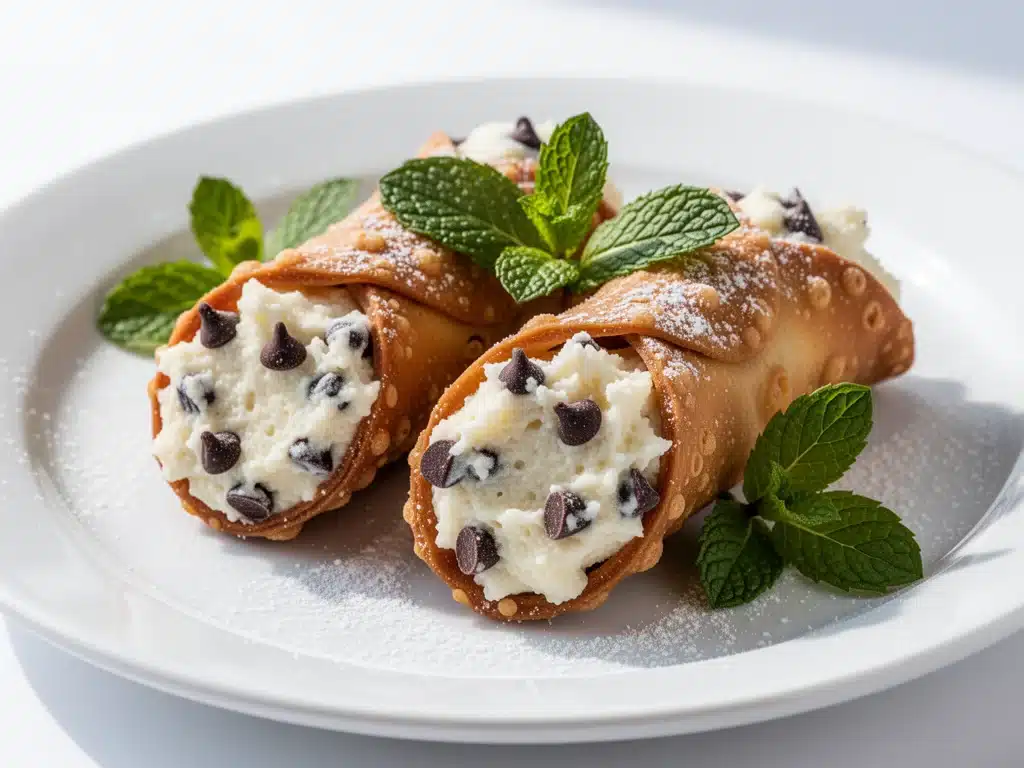
For us, the answer has never been ambiguous. It’s always cannoli. Not the sad, pre-made tubes you find in the freezer aisle that taste like cardboard and regret. I’m talking about the real deal: crisp, golden shells filled to the brim with sweet, creamy ricotta, studded with chocolate chips or candied fruit, and dipped in crushed pistachios. It’s the centerpiece of our celebration. It’s the reason my uncle always shows up an hour late—he knows he’ll have to wait for the cannoli to be assembled.
I’ve made this classic cannoli with ricotta filling for Easter desserts for more decades than I care to count. And yes, I’ve made mistakes. I’ve had shells that turned into crackers. I’ve had fillings that wept and separated. I’ve had shells that went soggy before they hit the table. But after years of tweaking, testing, and refining, I’ve nailed it. This recipe isn’t just about following instructions; it’s about understanding the rhythm of Italian pastry making. It’s about patience. It’s about respecting the ingredients.
If you’ve ever been intimidated by making cannoli from scratch, let me tell you something: you can do this. It’s easier than making pie dough, and the payoff is absolutely worth it. I promise you, once you bite into that first crisp shell and taste that fresh, tangy-sweet ricotta filling, you’ll never look at store-bought cannoli the same way again. This has become my most requested recipe, and honestly, it’s the star of the show. While my fluffy ricotta lemon pancakes might start the morning right, these cannoli are what bring everyone together in the afternoon.
Why You’ll Love This Recipe
There are a million desserts you could make for Easter. You could do a lemon drizzle cake. You could do a chocolate tart. But you come back to cannoli because they are uncompromisingly delicious. Here’s why this recipe has earned a permanent spot in my holiday rotation.
The Texture Contrast — This is the holy grail of pastry. The shell needs to shatter when you bite it, not crunch like a rock, and the filling needs to be as smooth as silk. Getting this balance right is what separates the good cannoli from the great ones. I’ve spent years perfecting this ratio, and it’s finally foolproof.
Make-Ahead Magic — Let’s be real. Easter day is busy. You’re cooking ham, roasting vegetables, setting the table, and trying to look like you haven’t been in the kitchen since 6 AM. The beauty of this classic cannoli with ricotta filling recipe is that 90% of the work happens the day before. You can fry the shells, make the filling, and prep your garnishes. On Easter morning, you just have 10 minutes of assembly left. This is a lifesaver for stressed hosts.
Authentic Flavor — No vanilla extract here. No artificial flavors. Just high-quality ricotta, fresh zest, and a touch of Marsala wine (or rum, if you prefer). The flavor is bright, tangy, and deeply satisfying. It’s not cloyingly sweet like some American-style desserts. It’s sophisticated but comforting.
Crowd-Pleaser — I’ve served these to picky eaters, food snobs, and everyone in between. Even my cousin who claims he “doesn’t really like sweets” will have two of these. They are universally loved. Plus, they look impressive on a platter, which is exactly what you want when you’re trying to impress your in-laws.
This recipe is my go-to when I want to make a statement without losing my mind. It’s reliable, it’s delicious, and it brings a piece of my heritage to the table every single time.
Ingredients You’ll Need
Before we dive into the process, let’s talk about what goes into these babies. I’m particular about a few things here. Quality matters, especially when the ingredient list is this short. You can’t hide behind heavy spices or complex techniques. The ingredients have to shine.
For the Shells
00 Flour (3 cups / 375g) — This is the gold standard for Italian pastry. It has a lower protein content than all-purpose flour, which means less gluten development and a tender, crispy shell. I swear by Caputo Flour. If you can’t find 00 flour, you can use all-purpose, but the texture won’t be quite as delicate. Don’t skip this step.
Cold Unsalted Butter (2 tablespoons / 30g) — Cut into small cubes. Cold butter is crucial. It creates steam pockets in the dough, which helps the shell puff up and get crispy. If the butter is warm, it’ll melt into the flour too early, and you’ll get tough shells.
Granulated Sugar (2 tablespoons / 25g) — Just a touch. It adds browning and a hint of sweetness to the shell, balancing the tangy filling. Don’t add more, or the shells will burn in the oil.
Egg Yolk (1 large) — Just the yolk. It adds richness and helps bind the dough. I use large eggs from local farms when I can. The color makes a difference in the final look.
Marsala Wine (2-3 tablespoons / 30-45ml) — This is the secret ingredient. Marsala adds a deep, complex flavor that vanilla just can’t replicate. It also helps with the dough’s elasticity. If you don’t drink alcohol, you can use a splash of rum extract mixed with water, but Marsala is traditional and worth seeking out. It keeps well in the pantry.
Cocoa Powder (1 tablespoon / 5g) — Optional, but I love the subtle chocolate hint it adds to the shell. Unsweetened cocoa powder works best. Sift it with the flour to avoid lumps.
Salt (½ teaspoon) — To balance the sweetness.
Vinegar (1 teaspoon) — Apple cider vinegar or white wine vinegar. It helps tenderize the dough and aids in browning.
Vegetable Oil or Lard (for frying) — I use vegetable oil for its neutral flavor, but traditionalists use lard. Lard gives an incredibly crisp texture. If you’re using lard, make sure it’s rendered and clear. You’ll need about 2-3 inches of oil in your pot.
For the Filling
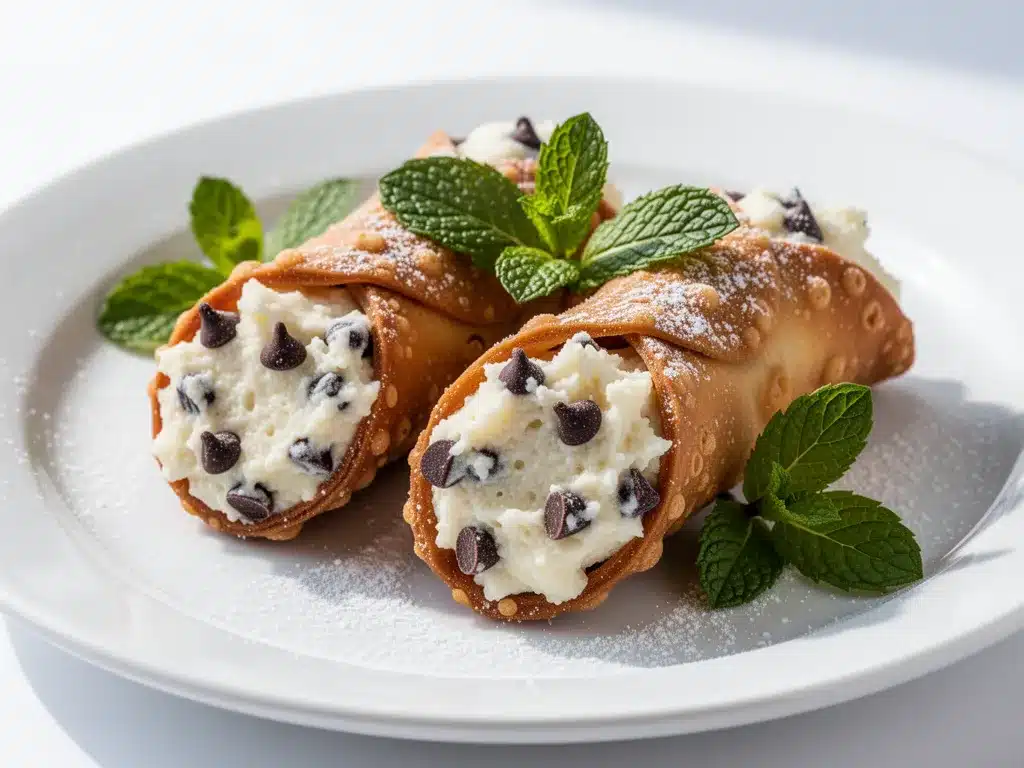
Fresh Ricotta Cheese (2 pounds / 900g) — This is non-negotiable. Do not use tub ricotta. You need the fresh, moist ricotta from the cheese counter, preferably sheep’s milk ricotta if you can find it. It’s tangier and creamier. If you must use cow’s milk ricotta, drain it well.
Powdered Sugar (1 cup / 120g) — Adjust to taste. I like it sweet, but you can reduce this if you prefer a less sugary filling. Sift it to avoid lumps in the smooth cheese.
Vanilla Bean Paste (1 teaspoon) — Or the seeds from one vanilla bean. It adds a beautiful speckled look and intense flavor. Extract works, but paste is better.
Zest of 1 Lemon — Freshly grated. Don’t skip the zest. It cuts through the richness of the cheese and adds brightness.
Zest of 1 Orange — Optional, but I love the combo. It adds a floral note.
Dark Chocolate Chips (½ cup / 85g) — Mini chips are easier to distribute evenly. Use high-quality chocolate. Ghirardelli or Lindt work well. You can also use chopped chocolate bars for a more rustic look.
Candied Citrus Peel (½ cup / 75g) — Chopped finely. This is traditional in many Italian recipes. It adds a chewy, sweet contrast. If you can’t find it, you can omit it, but it’s a nice touch.
Pistachios (½ cup / 60g) — Unsalted, chopped. For dipping the ends of the cannoli. I buy them raw and chop them myself. Roasted pistachios work too, but raw gives a fresher flavor.
Equipment Needed
You don’t need a fancy kitchen to make these. Here’s what I actually use. Keep it simple.
Large Mixing Bowl — For mixing the dough. A sturdy bowl that won’t tip over when you’re kneading.
Rolling Pin — A wooden one is classic, but any straight rolling pin works. You need to roll the dough very thin.
Cannoli Molds — These are metal tubes, usually 1-inch or 1.5-inch diameter. You can find them online or in kitchen supply stores. I have a set of three. If you don’t have molds, you can fry the shells flat and roll them while warm, but molds make it so much easier. Don’t buy the cheap plastic ones; they warp in the oil.
Deep Frying Thermometer — Crucial for getting the oil temperature right. 350°F (175°C) is the sweet spot. If it’s too hot, the shells burn. Too cool, and they soak up oil like sponges.
Large Heavy-Bottomed Pot — A Dutch oven or a deep saucepan. You need enough depth to keep the oil from splattering and to allow the shells to float freely.
Cooling Rack — For draining the fried shells. Line it with paper towels if you want to absorb excess oil, but a wire rack is better for airflow.
Piping Bag — Or a zip-top bag with the corner cut off. For filling the shells. A star tip gives a pretty look, but a round tip works fine too.
Shallow Bowls — For holding your chocolate chips, candied fruit, and chopped pistachios for dipping.
How to Make It: Step-by-Step
Alright, let’s make this! I’m walking you through exactly how I do it. There are a few tricky moments, but I’ll point them out so you don’t stumble.
Step 1: Make the Dough (10 minutes + 1 hour rest)
In your large bowl, whisk together the 00 flour, sugar, cocoa powder (if using), and salt. Add the cold butter cubes and rub them into the flour with your fingertips until the mixture looks like coarse crumbs. This is the most important step for tender shells.
Make a well in the center. Add the egg yolk, Marsala wine, and vinegar. Mix with a fork until a shaggy dough forms. Turn it out onto a lightly floured surface and knead for about 5-7 minutes until smooth and elastic. The dough should be soft but not sticky. If it’s too dry, add a teaspoon of water. If it’s too sticky, add a sprinkle of flour.
Wrap the dough tightly in plastic wrap and let it rest at room temperature for at least 1 hour. This relaxes the gluten and makes it easier to roll. Don’t skip this! I’ve tried rushing it, and the dough snaps back like a rubber band. Patience pays off.
Step 2: Roll and Cut the Dough (15 minutes)
After resting, divide the dough into two equal balls. On a lightly floured surface, roll one ball out until it’s paper-thin. I mean paper-thin. You should be able to see your hand through it. If it’s too thick, the shells will be chewy, not crisp.
Using a round cutter or a glass, cut out circles about 4 inches in diameter. If you don’t have a cutter, you can use a knife to cut squares. Re-roll the scraps, but be careful not to overwork the dough.
Step 3: Wrap the Dough Around Molds
Take a circle of dough and wrap it diagonally around a cannoli mold. Press the edges gently to seal. Don’t stretch the dough; just lay it over the tube. If there are tears, patch them with a tiny bit of dough. The shells will expand in the oil, so small tears are okay.
Repeat with all the dough circles. You’ll get about 12-14 shells depending on your mold size. Place them on a floured tray and let them rest for 30 minutes while you heat the oil. This helps them hold their shape.
Step 4: Fry the Shells (20 minutes)
Heat the oil in your pot to 350°F (175°C). Use your thermometer! This is critical.
Working in batches (don’t overcrowd the pot), slide the molded shells into the oil. They’ll puff up and turn golden brown in about 1-2 minutes. Turn them once to ensure even browning. They should be a deep golden color, not pale.
Remove with a slotted spoon and let them drain on a cooling rack for 1 minute. While they’re still warm and pliable, carefully slide them off the molds. Let them cool completely on the rack. They will crisp up as they cool. If they’re soft when warm, don’t worry—they’ll harden.
Repeat with the remaining shells. You should have a pile of crisp, golden tubes. If any break, don’t despair. You can use the broken pieces for garnish or just eat them as snacks (I do this all the time).
Step 5: Make the Filling (15 minutes)
While the shells cool, make the filling. Drain the ricotta if it’s very wet. Place it in a large bowl and add the powdered sugar, vanilla bean paste, lemon zest, and orange zest. Mix until smooth and creamy. There should be no lumps.
Stir in the chocolate chips and candied citrus peel. Taste it. It should be sweet but with a bright, tangy finish. If it needs more sweetness, add a little more powdered sugar. If it’s too sweet, add a squeeze of lemon juice.
Transfer the filling to a piping bag fitted with a star tip. If you don’t have a piping bag, use a zip-top bag and cut a small corner off. Refrigerate until ready to fill.
Step 6: Assemble the Cannoli (10 minutes)
This is the fun part. Take a cooled cannoli shell and fill it with the ricotta mixture. Use the piping bag to squeeze the filling in from one end, or use a spoon to fill it from the top. Don’t overfill, or it’ll burst when you dip it.
Immediately dip one end of the filled cannoli into the chopped pistachios, pressing gently so they stick. You can also dip the other end in chocolate chips or candied fruit if you like. Place them on a serving platter.
Serve immediately. The shells need to be crisp, and the filling needs to be cool. If you make them too far in advance, the shells will get soggy. I usually fill them about 30 minutes before serving.
Expert Tips & Tricks
Here’s everything I’ve learned from making this dozens of times. These tips will save you from my mistakes.
Keep the Dough Cold
If your dough gets warm while you’re rolling it, it’ll stick and tear. Keep it covered with a damp towel until you’re ready to roll. If it’s too warm to handle, pop it in the fridge for 10 minutes.
Drain the Ricotta Well
Watery ricotta makes a runny filling. Place your ricotta in a cheesecloth-lined strainer over a bowl and let it drain in the fridge for a few hours, or even overnight. This concentrates the flavor and improves the texture.
Don’t Skip the Resting Time
I know you’re eager to fry. But resting the dough relaxes the gluten. If you skip it, the shells will shrink and curl in the oil. Give it the full hour.
Fry in Batches
Overcrowding the pot drops the oil temperature, leading to greasy shells. Fry only 2-3 shells at a time. It’s faster than you think.
Store Shells Properly
If you make the shells ahead, store them in an airtight container at room temperature for up to 2 days. Do not refrigerate, or they’ll absorb moisture and go soft.
Fill Just Before Serving
This is the golden rule. Cannoli are best when the shell is crisp. If you fill them too early, the moisture from the ricotta will soften the shell. Fill them 30 minutes before guests arrive.
Use a Star Tip
A star tip creates ridges in the filling, which looks professional and holds the shape better. It also makes the cannoli easier to hold without squeezing the filling out.
Variations & Substitutions
Once you’ve nailed the basic version, here’s how you can mix it up. I’ve tried all of these.
Chocolate-Shelled Cannoli
Add 2 tablespoons of cocoa powder to the dough for a richer, chocolate flavor. Or dip the entire shell in melted chocolate after frying.
Orange Blossom Water
Swap the Marsala wine for a teaspoon of orange blossom water and water. It gives a floral, Middle Eastern twist.
Pistachio Cream Filling
Blend ½ cup of chopped pistachios into the ricotta filling for a nutty, green-hued center.
Mini Cannoli
Use smaller molds (½ inch) for bite-sized appetizers. Perfect for parties and easier to eat.
Gluten-Free Shells
Use a 1:1 gluten-free flour blend. The texture might be slightly different, but it works. Add a teaspoon of xanthan gum if your blend doesn’t have it.
Dairy-Free Option
Use coconut cream instead of ricotta. Add lemon zest and vanilla to mimic the tangy flavor. It’s not traditional, but it’s creamy and delicious.
Vegan Option
Use aquafaba (chickpea water) to bind the dough, and make the filling with cashew cream or vegan ricotta. It’s a bit more complex, but doable.
Serving & Storage
How to Serve:
I usually serve these on a large platter with a dusting of powdered sugar. They look beautiful against a white plate. I pair them with espresso or sweet dessert wine like Moscato.
Side Dishes:
Serve with fresh berries or a light fruit salad to balance the richness. A simple arugula salad with lemon vinaigrette can also cut through the sweetness.
Storage:
Shells can be stored in an airtight container at room temperature for up to 2 days. Filling should be stored in the fridge for up to 2 days. Fill cannoli just before serving. Do not refrigerate filled cannoli, as the shells will soften.
Freezing:
You can freeze the unfilled shells in a single layer, then transfer to an airtight container. They’ll keep for up to 3 months. Thaw at room temperature before filling. Do not freeze the filling, as the texture will change.
Nutrition Information
I’m not a nutritionist, but here’s the breakdown if you’re tracking. Keep in mind, this is a rich dessert, so moderation is key.
Per Cannoli (based on 12 servings):
| Nutrient | Amount |
|---|---|
| Calories | 320 |
| Protein | 8g |
| Carbs | 35g |
| Fiber | 1g |
| Sugar | 20g |
| Fat | 18g |
| Saturated Fat | 8g |
| Cholesterol | 45mg |
| Sodium | 150mg |
What’s Good:
– Good source of protein from the ricotta
– Calcium from the cheese
– Real ingredients, no artificial additives
What to Know:
– High in calories and fat due to frying and dairy
– Contains gluten and dairy
– Moderate sugar content
My Take:
This is a special occasion dessert. It’s rich and indulgent. Enjoy it as a treat, not every day. Pair it with black coffee to help digest it.
Final Thoughts
So that’s my classic cannoli with ricotta filling recipe. I’ve probably talked your ear off, but when you make a recipe this often, you have a lot to say about it. This has been the centerpiece of my family’s Easter for years. It’s more than just dessert; it’s a tradition. It’s a way to connect with my heritage and share joy with the people I love.
I hope you try this recipe. I hope it becomes part of your family’s traditions too. Make it yours! Experiment with different fillings, try different nuts, or add a splash of your favorite liqueur. The best recipes are the ones you adapt to your taste.
If you make this, drop a comment and let me know how it turned out! I love hearing from you. And if something doesn’t work, tell me that too—I’m here to help troubleshoot. Happy cooking, and I hope your Easter table is full of love and great food.
Frequently Asked Questions
Can I make the shells ahead of time?
Yes! You can fry the shells up to 2 days in advance. Store them in an airtight container at room temperature. Do not refrigerate, or they’ll go soft. Fill them just before serving for the best texture.
Why are my cannoli shells soggy?
This usually happens if you fill them too far in advance. The moisture from the ricotta softens the shell. Also, check your oil temperature. If it’s too low, the shells absorb oil and become greasy. If it’s too high, they burn on the outside but stay soft inside. Aim for 350°F.
Can I use store-bought cannoli shells?
You can, but homemade shells are infinitely better. They’re fresher, crispier, and you control the ingredients. If you’re short on time, you can buy high-quality shells, but I’d recommend trying the homemade version at least once.
What kind of ricotta should I use?
Use fresh, whole-milk ricotta. Sheep’s milk ricotta is traditional and has a tangier flavor, but cow’s milk ricotta works well too. Avoid low-fat or tub ricotta, as they are too dry or watery.
Can I freeze the ricotta filling?
No, I don’t recommend freezing the filling. The texture will change, and it may become grainy or watery when thawed. Make the filling fresh, or store it in the fridge for up to 2 days.
How do I keep the pistachios from falling off?
Press the dipped end of the cannoli gently into the chopped pistachios. Make sure the filling is fresh and slightly moist to help the nuts stick. You can also use a little melted chocolate to act as glue if needed.
Can I make these without a frying thermometer?
You can, but it’s risky. To test the oil without a thermometer, drop a small piece of dough into the oil. If it sizzles and rises to the top immediately, the oil is ready. If it sinks, it’s too cool. If it burns instantly, it’s too hot.
Pin This Recipe!
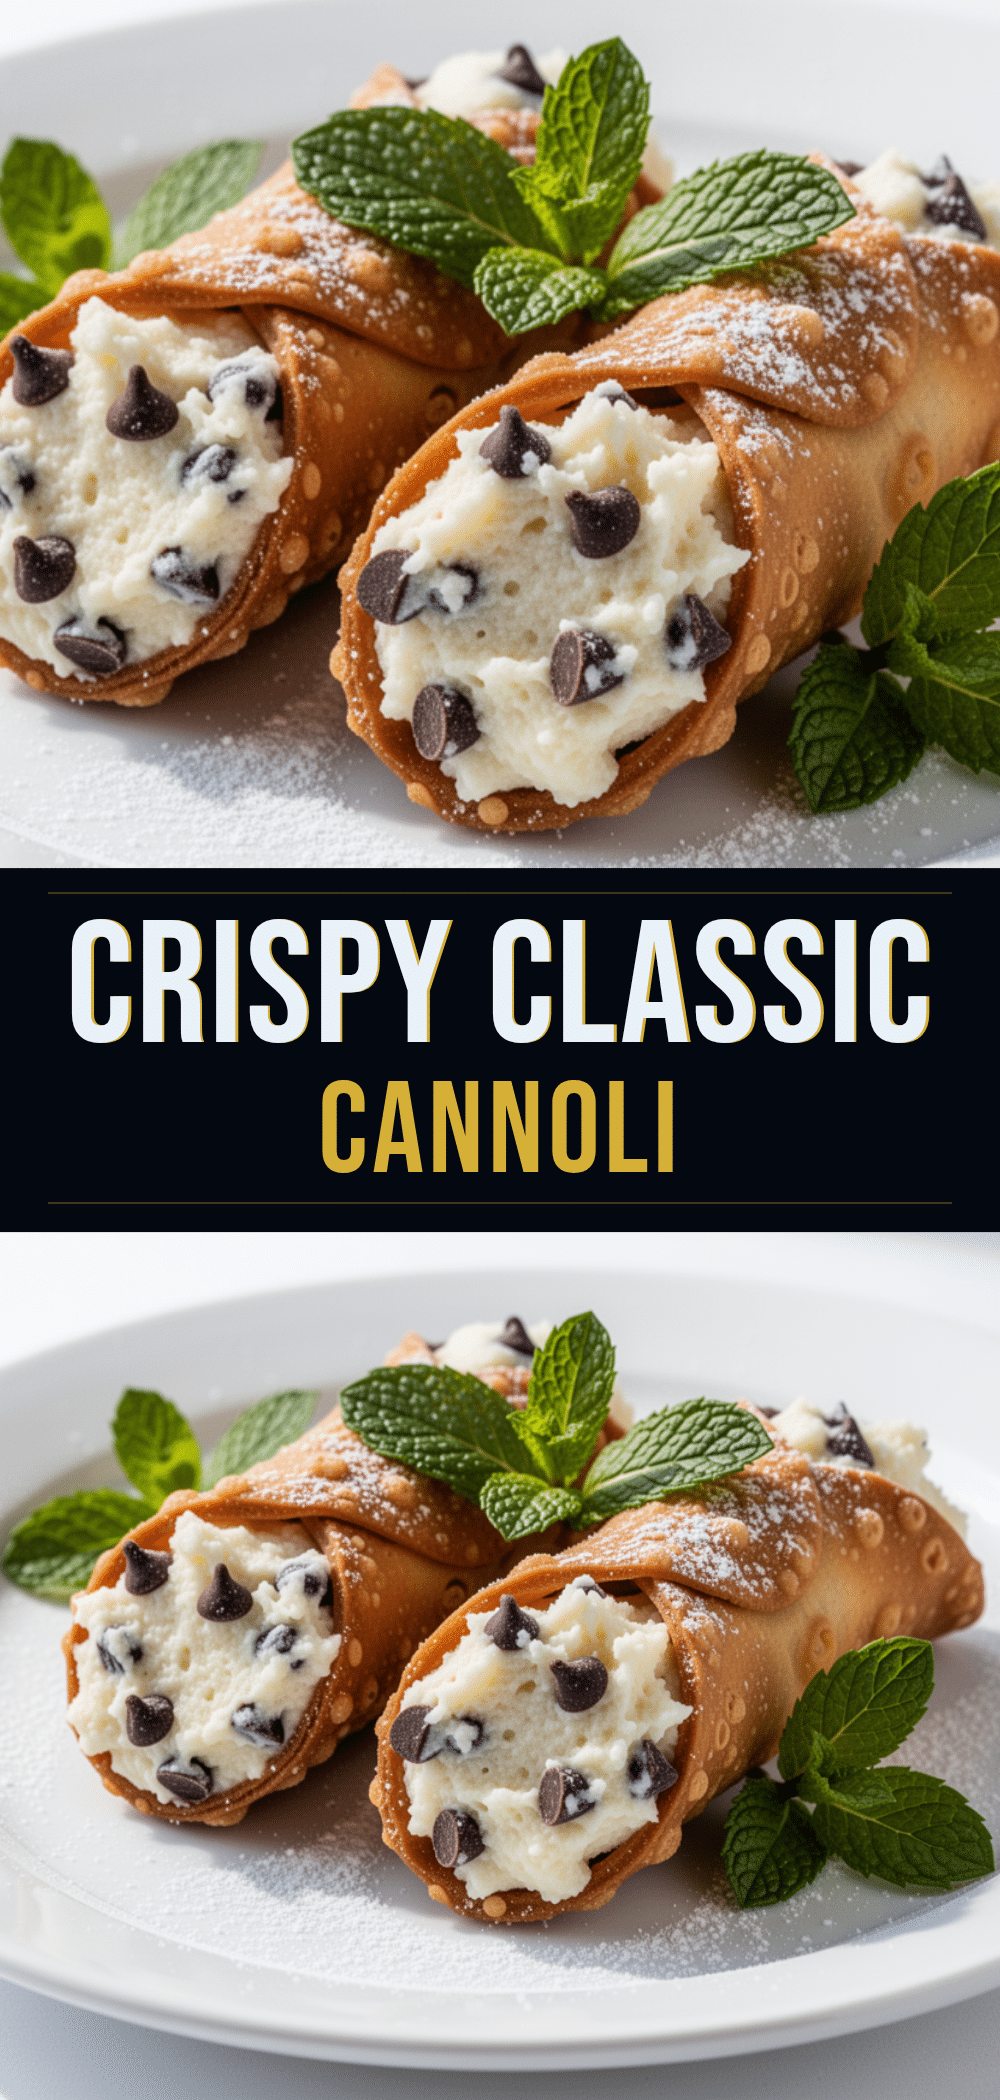

Classic Cannoli: Easy Ricotta Recipe
- Total Time: 1 hour 45 minutes
- Yield: 12 servings 1x
Description
Authentic homemade cannoli with crisp, golden fried shells and a sweet, creamy ricotta filling studded with chocolate chips and candied fruit. A traditional Italian dessert perfect for Easter and special occasions.
Ingredients
- 3 cups (375g) 00 Flour
- 2 tablespoons (30g) Cold Unsalted Butter, cubed
- 2 tablespoons (25g) Granulated Sugar
- 1 large Egg Yolk
- 2–3 tablespoons (30-45ml) Marsala Wine
- 1 tablespoon (5g) Unsweetened Cocoa Powder (optional)
- 1/2 teaspoon Salt
- 1 teaspoon Vinegar (Apple cider or white wine)
- Vegetable Oil or Lard (for frying)
- 2 pounds (900g) Fresh Ricotta Cheese
- 1 cup (120g) Powdered Sugar
- 1 teaspoon Vanilla Bean Paste
- Zest of 1 Lemon
- Zest of 1 Orange (optional)
- 1/2 cup (85g) Dark Chocolate Chips
- 1/2 cup (75g) Candied Citrus Peel, chopped
- 1/2 cup (60g) Unsalted Pistachios, chopped
Instructions
- Whisk together flour, sugar, cocoa powder (if using), and salt. Rub in cold butter until mixture resembles coarse crumbs.
- Add egg yolk, Marsala wine, and vinegar. Mix until a shaggy dough forms.
- Knead dough on a floured surface for 5-7 minutes until smooth and elastic. Wrap in plastic and rest at room temperature for at least 1 hour.
- Divide dough into two balls. Roll one ball out paper-thin on a floured surface.
- Cut out 4-inch circles. Wrap each circle diagonally around cannoli molds, pressing edges to seal.
- Let wrapped molds rest for 30 minutes while heating oil to 350°F (175°C).
- Fry shells in batches for 1-2 minutes until golden brown. Turn once for even browning.
- Remove with a slotted spoon, drain for 1 minute, then carefully slide off molds while warm. Cool completely on a rack.
- Drain ricotta if wet. Mix ricotta with powdered sugar, vanilla bean paste, and citrus zests until smooth.
- Stir in chocolate chips and candied citrus peel. Refrigerate filling until ready to use.
- Pipe filling into cooled shells using a piping bag with a star tip.
- Immediately dip one end of the filled cannoli into chopped pistachios.
- Serve immediately to ensure shells remain crisp.
Notes
Do not fill cannoli too far in advance as the moisture from the ricotta will soften the shells. Store unfilled shells in an airtight container at room temperature for up to 2 days. Do not refrigerate filled cannoli. Ensure oil is at 350°F for crisp shells.
- Prep Time: 45 minutes
- Cook Time: 20 minutes
- Category: Dessert
- Cuisine: Italian
Nutrition
- Serving Size: 1 cannoli
- Calories: 320
- Sugar: 20
- Sodium: 150
- Fat: 18
- Saturated Fat: 8
- Carbohydrates: 35
- Fiber: 1
- Protein: 8
Keywords: cannoli, ricotta, Italian dessert, Easter recipe, homemade cannoli, fried pastry, pistachio, chocolate chip


