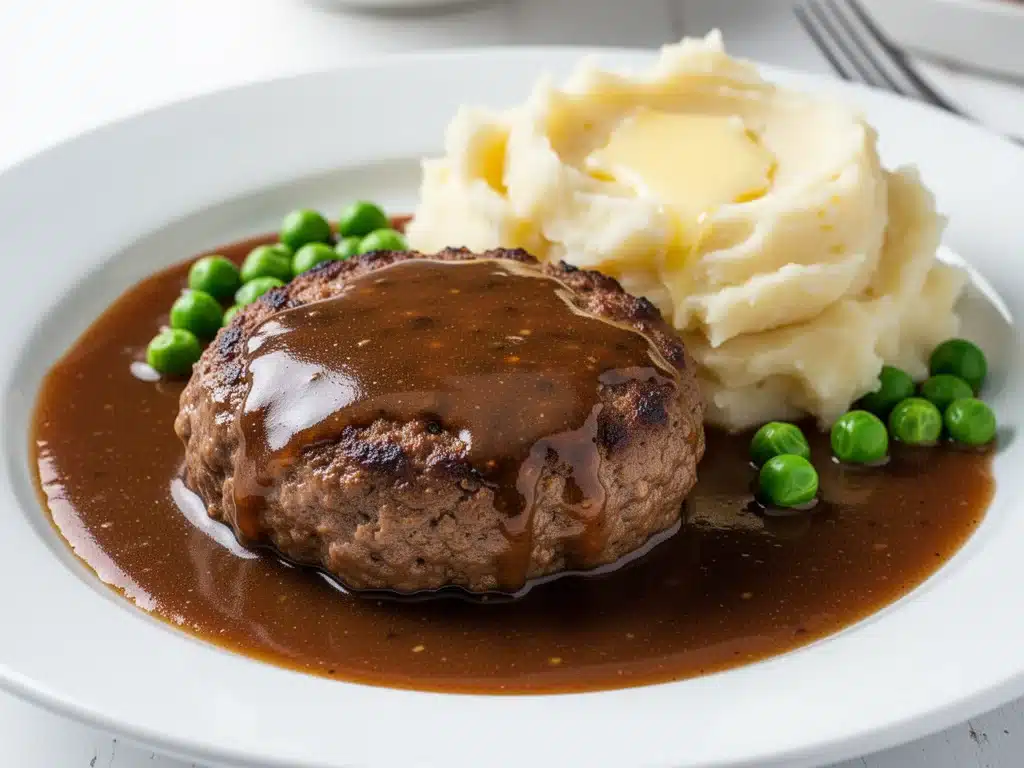
I still remember the first time I made Salisbury steak. I was twenty-two, living in a drafty apartment with a stove that only had two burners that worked, and I had exactly $12 in my bank account. I wanted something that felt like a “real” dinner—something that didn’t involve eating cereal over the sink or buying the saddest-looking frozen pizza at the gas station. So, I dug out my mom’s old recipe card, the one stained with grease and coffee, and I tried to recreate it.
It didn’t go well. The meat was tough, the gravy tasted like burnt flour, and my roommate looked at me with pity. But I wasn’t going to let a bad first attempt win. I tweaked the recipe. I swapped out the bland breadcrumbs for something better. I figured out the secret to a gravy that actually clung to the meat instead of sitting in a watery pool at the bottom of the plate.
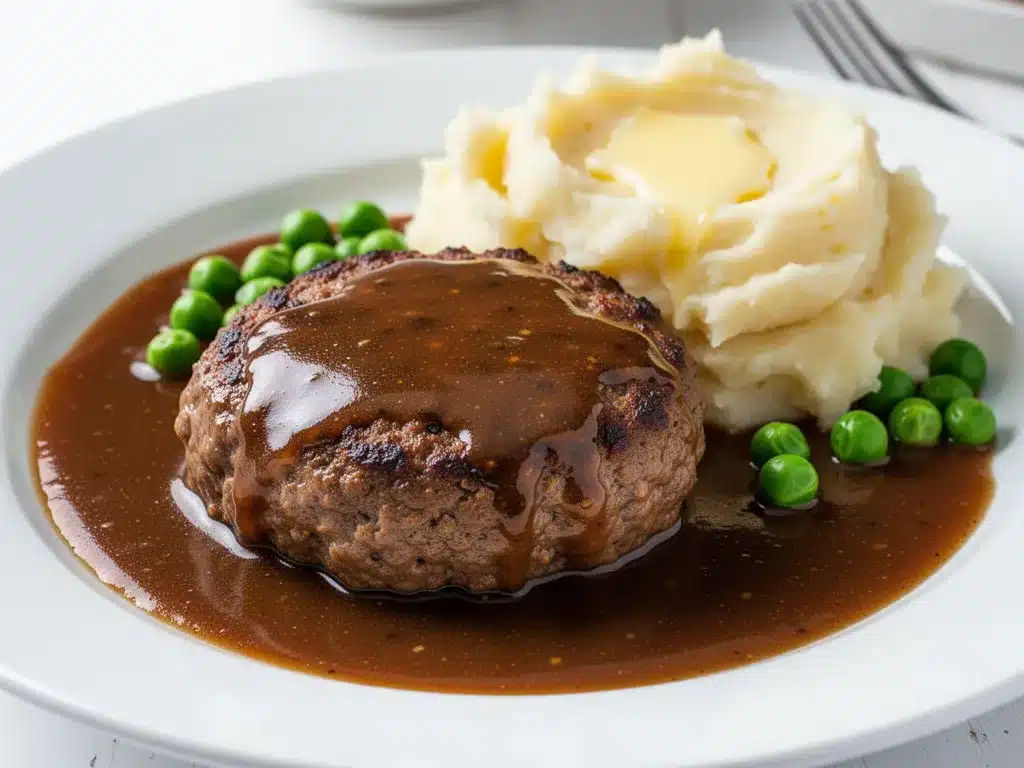
Fast forward fifteen years, and this Classic Homestyle Salisbury Steak is the anchor of our family dinner rotation. It’s the dish I make when it’s raining, when the kids are stressed about school, or when I just need to know that everything is going to be okay. It’s comfort food in its purest form: tender, savory, smothered in rich brown gravy, and served over mashed potatoes or egg noodles.
People always ask me why they can’t make Salisbury steak at home that tastes like the ones from the diner in the 1970s. The answer is usually simple: they’re using too much filler and not enough flavor. I’ve tested this recipe dozens of times—sometimes failing, sometimes succeeding wildly—to get it just right. And I’m going to walk you through exactly how to make a Classic Homestyle Salisbury Steak with Gravy that your whole family will crave, even if they think they’ve had their fill of ground beef dinners.
Why You’ll Love This Recipe
There are about ten reasons I keep making this, but here are the big ones that keep me coming back to the stove.
It Tastes Like a Diner, Not a Freezer — Most frozen Salisbury steaks taste like they’ve been sitting in a plastic tray since the Clinton administration. This version uses fresh ground beef, real onions, and a homemade gravy that’s silky, not gelatinous. You can taste the difference in the first bite.
Stupid Simple — Seriously, if you can mix a bowl of meat and brown it in a pan, you can make this. There’s no fancy butchery, no marinating overnight, no complex techniques. It’s one-pan cooking (mostly), which means less cleanup. I’ve walked my teenage son through it over FaceTime, and he nailed it.
Lightning Fast — 35 minutes from start to finish. I make this on weeknights when I get home at 6:30 PM and the kids are already hungry. It’s faster than ordering takeout, and it’s way healthier.
Crowd-Pleaser — I’ve served this to my picky-eater nephew (who usually only eats chicken nuggets) and my food-snob sister-in-law. Both asked for seconds. The key is the gravy. Once they taste that rich, savory sauce, the skepticism disappears.
Budget-Smart — Ground beef is relatively cheap, and you probably have the spices in your pantry. Feeds 4-6 people for under $20. That’s less than what I spend on one appetizer at a nice restaurant.
This is my go-to when I need dinner to just work. No complicated techniques, no weird ingredients, just reliable, delicious food that makes everyone happy.
Ingredients You’ll Need
Here’s the best part: you probably have most of this already. I’m particular about a few things here, and I’ll tell you exactly why. Don’t skip the details, or you won’t get that authentic diner taste.
For the Patties
Ground Beef (2 pounds / 900g) — This is the star. Use 80/20 fat ratio. Lean beef will make dry, tough patties. You want that juicy richness. If you can find grass-fed 80/20, even better, but standard supermarket beef works fine.
Eggs (2 large) — These act as the binder. They hold the patty together so it doesn’t fall apart in the pan. Room temperature eggs mix in easier, but cold ones work if you’re in a rush.
Breadcrumbs (½ cup / 40g) — I use panko for a lighter texture, but regular dry breadcrumbs work too. They absorb the juices and keep the meat tender. Don’t use fresh bread crumbs unless you’re making meatloaf.
Milk (¼ cup / 60ml) — Soaking the breadcrumbs in milk first (panade method) keeps the meat super juicy. It’s a pro move that makes a huge difference.
Onion (1 small, finely diced / about 100g) — Yellow onion is best. You want it finely minced so it disappears into the meat, adding sweetness and depth without big chunks.
Garlic (2 cloves, minced / about 1 tablespoon) — Fresh only. No jarred garlic for the meat mixture. It has a weird metallic aftertaste that ruins the savory profile.
Dijon Mustard (1 tablespoon) — This is the secret weapon. It adds a tangy depth that cuts through the richness of the beef. You won’t taste “mustard,” but the flavor will be deeper. Trust me.
Worcestershire Sauce (1 teaspoon) — Adds umami. It’s that savory, salty, tangy note that makes you want another bite. A few dashes go a long way.
Spices (1 teaspoon salt, ½ teaspoon black pepper, ½ teaspoon paprika) — Keep it simple. Paprika adds a subtle smokiness. If you like heat, add a pinch of cayenne.
For the Gravy
Butter (2 tablespoons) — For sautéing the onions and making the roux. Salted or unsalted? Salted is easier since you control the final salt in the meat mixture.
Flour (3 tablespoons) — All-purpose. This thickens the gravy. Whisk it into the butter to make a roux.
Beef Broth (2 cups / 480ml) — Low-sodium is crucial. You don’t want the gravy to be overly salty since the meat mixture already has salt. Use a good quality broth; if you can’t find good broth, use bouillon paste diluted with water.
Onion (1 medium, sliced / about 150g) — We’re cooking these in the pan with the patties. Sweet, caramelized onions in the gravy are non-negotiable.
Soy Sauce (1 teaspoon) — Another umami booster. It deepens the color and flavor of the gravy. Don’t worry, it won’t taste Asian.
Heavy Cream (2 tablespoons) — Optional, but I recommend it. It makes the gravy silky and rich, stopping it from tasting too “thin.”
Equipment Needed
You don’t need fancy equipment for this. Here’s what I actually use.
Large Skillet or Cast Iron Pan — I use a 12-inch cast iron skillet. It holds heat well and browns the meat beautifully. Stainless steel works too, but non-stick won’t give you that nice crust.
Mixing Bowl — Medium-sized. For mixing the meat. Don’t overmix! That’s a common mistake.
Whisk — Essential for the gravy. You need to whisk constantly to avoid lumps.
Measuring Cups and Spoons — Standard stuff. Dollar store versions work fine.
Spatula — For flipping the patties and scraping the browned bits (fond) from the bottom of the pan. Those browned bits are liquid gold for flavor.
Plate — To rest the cooked patties while you make the gravy.
How to Make It: Step-by-Step
Alright, let’s make this! I’m walking you through exactly how I do it, including the little tricks I’ve picked up over the years.
Step 1: Prep the Meat Mixture (5 minutes)
In a medium bowl, combine the ground beef, finely diced onion, minced garlic, breadcrumbs, milk, egg, Dijon mustard, Worcestershire sauce, salt, pepper, and paprika. Mix gently with your hands or a fork. Do not overmix. Overworking the meat makes the patties tough and dense. Stop as soon as everything is combined. It should look shaggy and moist.
Step 2: Form the Patties (5 minutes)
Divide the meat into 4-6 equal portions. Form them into oval patties, about ½-inch thick. They should be slightly wider than they are tall. Press a small indent in the center of each patty with your thumb. This prevents them from puffing up into balls while cooking. Place them on a plate.
Step 3: Brown the Patties (8-10 minutes)
Heat the butter in your large skillet over medium-high heat. Once the butter is foaming, add the patties. Don’t crowd the pan! Cook in batches if necessary. Sear for 3-4 minutes on one side until a deep brown crust forms. Flip and cook for another 3-4 minutes. They don’t need to be cooked all the way through yet; they’ll finish in the gravy. Remove patties to a plate and set aside. Leave the fat and browned bits in the pan.
Step 4: Cook the Onions (5 minutes)
Reduce heat to medium. Add the sliced onions to the same skillet. Cook for 5 minutes, stirring occasionally, until they start to soften and turn translucent. Scrape up any browned bits from the bottom of the pan with your spatula. These bits are full of flavor.
Step 5: Make the Roux (2 minutes)
Sprinkle the flour over the onions and fat in the pan. Stir constantly for 1-2 minutes to cook out the raw flour taste. The mixture should look like wet sand and turn slightly golden.
Step 6: Build the Gravy (5-7 minutes)
Slowly pour in the beef broth while whisking constantly. This is crucial to avoid lumps. Whisk in the soy sauce and heavy cream. Bring to a simmer. Let it cook for 3-4 minutes, stirring frequently, until the gravy thickens enough to coat the back of a spoon.
Step 7: Simmer the Patties (5 minutes)
Nestle the cooked patties back into the gravy. Spoon some gravy over the top of each patty. Cover the skillet and let it simmer on low for 5 minutes. This finishes cooking the meat through and lets the flavors meld. The internal temperature should reach 160°F (71°C).
Step 8: Serve
Serve immediately, ladling plenty of gravy and onions over the top. Pair with mashed potatoes, egg noodles, or rice to soak up every drop.
Expert Tips & Tricks
Here’s everything I’ve learned from making this dozens of times. These tips will save you from my mistakes.
Don’t Overmix the Meat
This is the #1 mistake people make. Overmixing develops the proteins, making the meat tough and rubbery. Mix until just combined. If it’s a little messy, that’s okay.
Save the Fond
Those brown bits stuck to the bottom of the pan after browning the meat? That’s called fond. It’s pure flavor. Don’t clean the pan between browning and making gravy. Use it.
Low and Slow for Gravy
Once you add the broth, don’t boil the gravy violently. Simmer gently. High heat can make the gravy grainy or separate. Gentle heat keeps it smooth.
Use Cold Broth
If you add cold broth to a hot roux, it thickens faster and smoother. It’s a small trick, but it helps prevent lumps.
Make-Ahead Strategy
This dish actually tastes better the next day. The flavors have time to meld. Make it ahead, store in the fridge, and reheat gently on the stove with a splash of water if the gravy is too thick.
Variations & Substitutions
Once you’ve nailed the basic version, here’s how you can mix it up. I’ve tried all of these.
Gluten-Free
Use gluten-free breadcrumbs and gluten-free beef broth. The rest of the recipe is naturally gluten-free. I use Bob’s Red Mill gluten-free flour for the roux, and it works perfectly.
Dairy-Free
Skip the butter and use olive oil. Replace the heavy cream with full-fat coconut milk or a dairy-free creamer. The flavor will be slightly different but still delicious.
Mushroom Lover’s
Add 8oz sliced mushrooms to the pan with the onions. Cook until golden brown. Mushrooms and beef are a classic pairing. It adds earthiness and makes it feel fancier.
Spicy Kick
Add ½ teaspoon cayenne pepper to the meat mixture and a dash of hot sauce to the gravy. If you like heat, this version is for you.
Using Leftover Beef
If you have leftover roast beef, chop it up and use it instead of ground beef. Skip the breadcrumbs and egg. Just brown the chunks and make the gravy. It’s a great way to use leftovers.
Serving & Storage
How to Serve:
I usually serve this straight from the skillet at the dinner table—it looks rustic and stays warm. But here are other ways I’ve enjoyed it:
Side Dishes:
- Mashed potatoes (obviously, for the gravy)
- Egg noodles with butter
- Steamed green beans or broccoli
- Crusty bread for dipping
Storage Instructions:
Refrigerator: Store in an airtight container for up to 3 days. The gravy will thicken in the fridge—totally normal.
Reheating: Best method: Add to a skillet with a splash of water or broth over low heat. Stir until heated through and creamy again. Microwave works too, but add a splash of liquid first or it will dry out.
Freezing: Yes, you can freeze this! Freeze the patties and gravy separately. Thaw in the fridge overnight and reheat gently. The texture might be slightly different, but it’s still tasty.
Nutrition Information
I’m not a nutritionist, but here’s the breakdown if you’re tracking.
Per Serving (based on 4 servings):
- Calories: 450
- Protein: 35g
- Carbs: 12g
- Fiber: 1g
- Sugar: 3g
- Fat: 28g
- Saturated Fat: 12g
- Cholesterol: 140mg
- Sodium: 650mg
What’s Good:
- High in protein from the beef
- Low in carbs (if you skip the potatoes)
- Real food ingredients
What to Know:
- Higher in calories and fat from the beef and gravy
- Contains dairy and gluten
- Can be made lighter by using lean beef and less butter
Look, this is comfort food. It’s not a diet recipe. But it’s way better than takeout, costs less, and I know exactly what’s in it. When I want to make it lighter, I use the leaner beef version and load up on vegetables. But usually? I just eat a reasonable portion and enjoy it.
Final Thoughts
So that’s my go-to Classic Homestyle Salisbury Steak with Gravy! I’ve probably talked your ear off at this point, but when you make a recipe this often, you have a lot to say about it.
This has saved weeknight dinners more times than I can count. It’s my answer to “what’s for dinner” when I’m tired, don’t want takeout, and still want something that tastes really good. My kids are happy, my husband’s happy, and I’m happy because I’m not stressed about cooking.
Make it yours! Try different add-ins, swap in your favorite vegetables, adjust the spices. The best recipes are the ones you adapt to your family’s tastes.
If you make this, drop a comment and let me know what you think! I love hearing how recipes turn out in your kitchen. And if something doesn’t work, tell me that too—I’m here to help troubleshoot.
Happy cooking! And I hope your kitchen smells half as good as mine does right now.
Frequently Asked Questions
Can I use ground turkey instead of beef?
You can, but the flavor will be different. Turkey is leaner, so you’ll need to add a bit more moisture (maybe an extra egg or some broth) to keep it from drying out. I prefer beef for that classic taste, but turkey works if you’re watching your red meat intake.
Why did my patties fall apart?
Usually, this means you overmixed the meat or didn’t cook them long enough before flipping. Make sure you have a good sear on the first side before flipping. Also, check your binder ratio—if you used too much meat and not enough egg/breadcrumbs, they might not hold together.
Can I make the gravy ahead of time?
Yes! Make the gravy, let it cool, and store it in the fridge. Reheat it gently and add the cooked patties back in to warm through. It’s a great time-saver for busy weeknights.
Why is my gravy too thick?
Just add more broth or water, a little at a time, while stirring. It’s easy to fix. If it’s too thin, let it simmer longer to reduce, or add a tiny bit more flour mixed with water.
Can I freeze the patties before cooking?
Yes! Form the patties, place them on a baking sheet, and freeze until solid. Then transfer to a freezer bag. You can cook them from frozen, but you’ll need to add a few minutes to the cooking time.
What’s the best side dish for this?
Mashed potatoes are the classic choice because they soak up the gravy. Egg noodles are a close second. If you want something lighter, steamed green beans or roasted carrots work well to balance the richness.
Pin This Recipe!
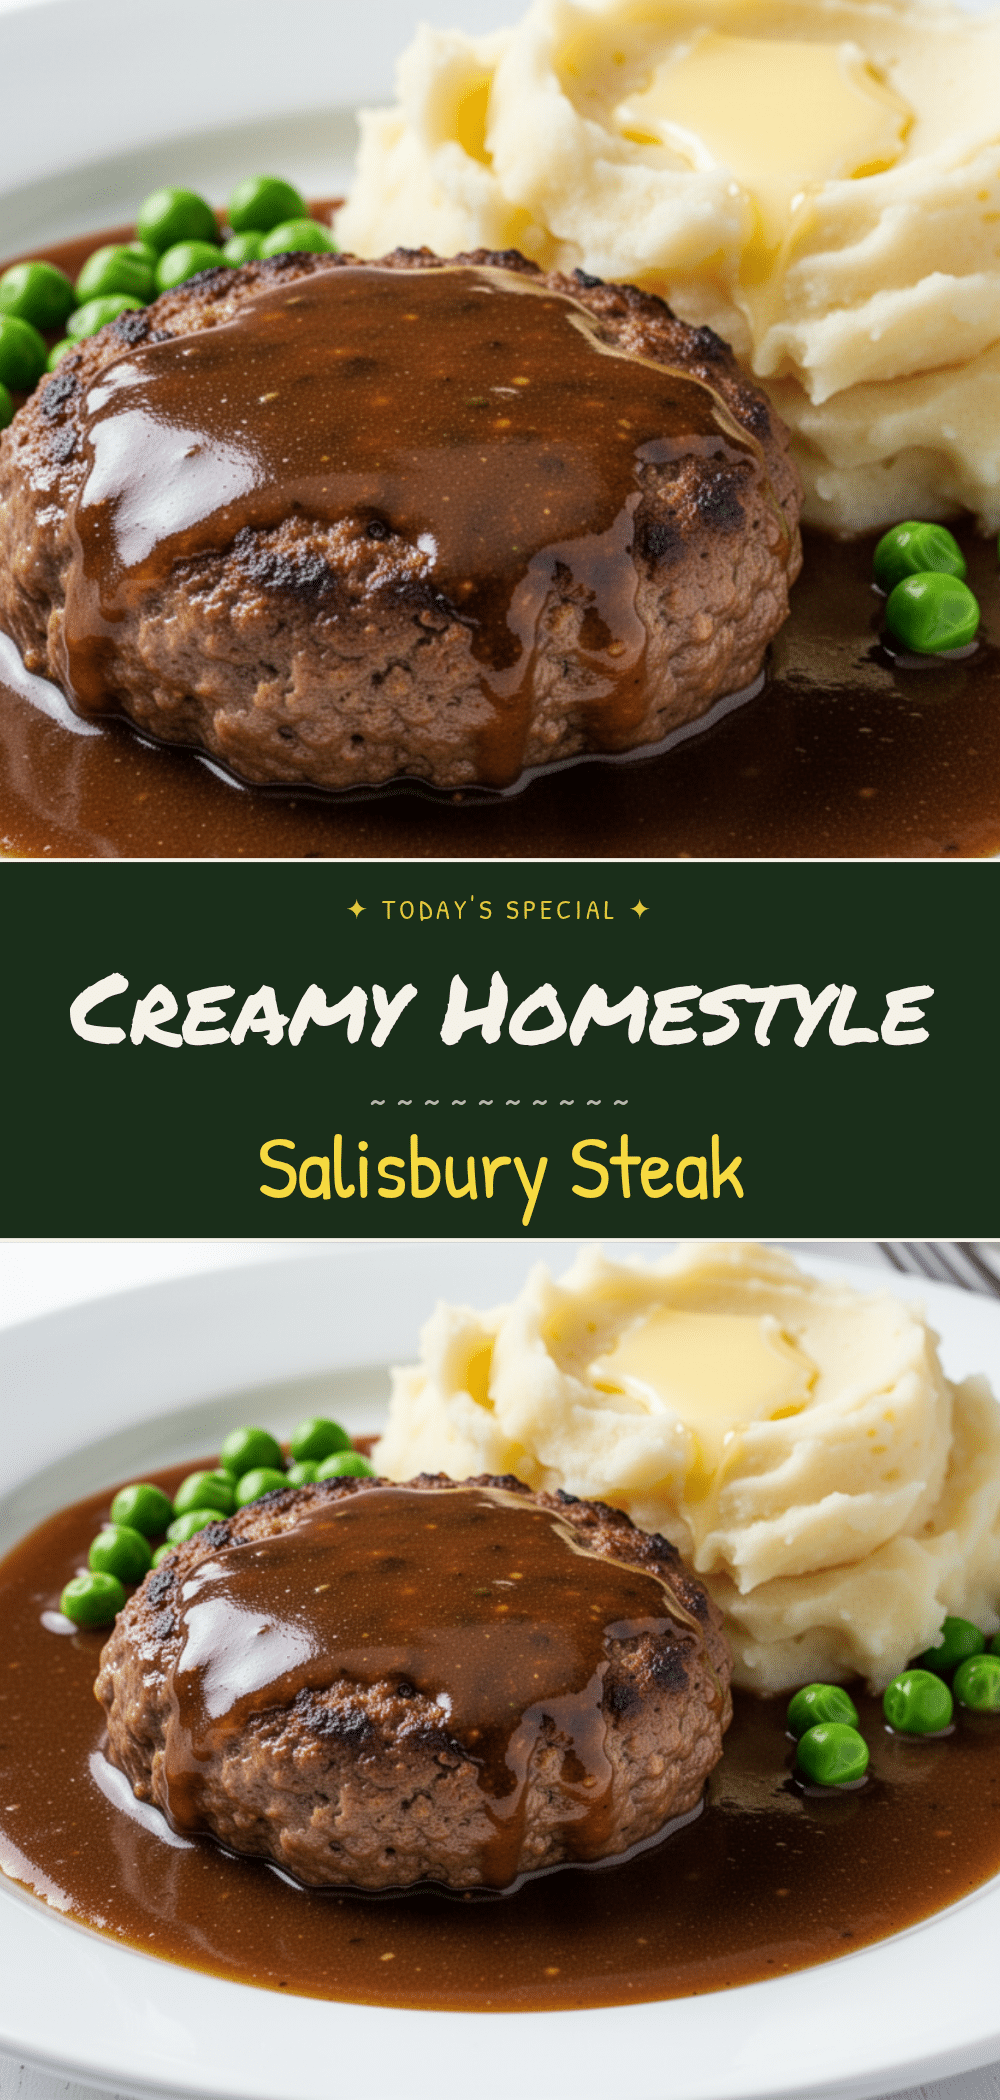
Classic Homestyle Salisbury Steak with Gravy
- Total Time: 35 minutes
- Yield: 4 servings 1x
Description
A tender, savory ground beef patty smothered in a rich, homemade brown gravy. This easy weeknight dinner is a crowd-pleaser that tastes like a classic diner meal but is faster and healthier than takeout.
Ingredients
- 2 pounds ground beef (80/20 fat ratio)
- 2 large eggs
- ½ cup panko breadcrumbs
- ¼ cup milk
- 1 small yellow onion, finely diced
- 2 cloves garlic, minced
- 1 tablespoon Dijon mustard
- 1 teaspoon Worcestershire sauce
- 1 teaspoon salt
- ½ teaspoon black pepper
- ½ teaspoon paprika
- 2 tablespoons butter
- 3 tablespoons all-purpose flour
- 2 cups low-sodium beef broth
- 1 medium onion, sliced
- 1 teaspoon soy sauce
- 2 tablespoons heavy cream (optional)
Instructions
- In a medium bowl, combine ground beef, diced onion, garlic, breadcrumbs, milk, egg, Dijon mustard, Worcestershire sauce, salt, pepper, and paprika. Mix gently until just combined; do not overmix.
- Divide the meat mixture into 4-6 equal portions and form into oval patties about ½-inch thick. Press a small indent in the center of each patty with your thumb.
- Heat butter in a large skillet or cast iron pan over medium-high heat. Add patties and sear for 3-4 minutes per side until a deep brown crust forms. Remove patties to a plate, leaving fat and browned bits (fond) in the pan.
- Reduce heat to medium. Add sliced onions to the pan and cook for 5 minutes until softened. Scrape up browned bits from the bottom of the pan.
- Sprinkle flour over the onions and fat. Stir constantly for 1-2 minutes to create a roux.
- Slowly pour in beef broth while whisking constantly to prevent lumps. Add soy sauce and heavy cream. Simmer for 3-4 minutes until the gravy thickens.
- Nestle the cooked patties back into the gravy. Spoon gravy over the top, cover the skillet, and simmer on low for 5 minutes until the internal temperature reaches 160°F.
- Serve immediately with mashed potatoes, egg noodles, or rice.
Notes
Do not overmix the meat to avoid tough patties. Save the fond (browned bits) in the pan for maximum flavor in the gravy. For a gluten-free version, use gluten-free breadcrumbs and flour. For dairy-free, substitute butter with olive oil and heavy cream with coconut milk.
- Prep Time: 10 minutes
- Cook Time: 25 minutes
- Category: Main Course
- Cuisine: American
Nutrition
- Serving Size: 1 patty with gravy
- Calories: 450
- Sugar: 3
- Sodium: 650
- Fat: 28
- Saturated Fat: 12
- Carbohydrates: 12
- Fiber: 1
- Protein: 35
Keywords: salisbury steak, ground beef recipe, easy dinner, comfort food, gravy, weeknight meals, family dinner


