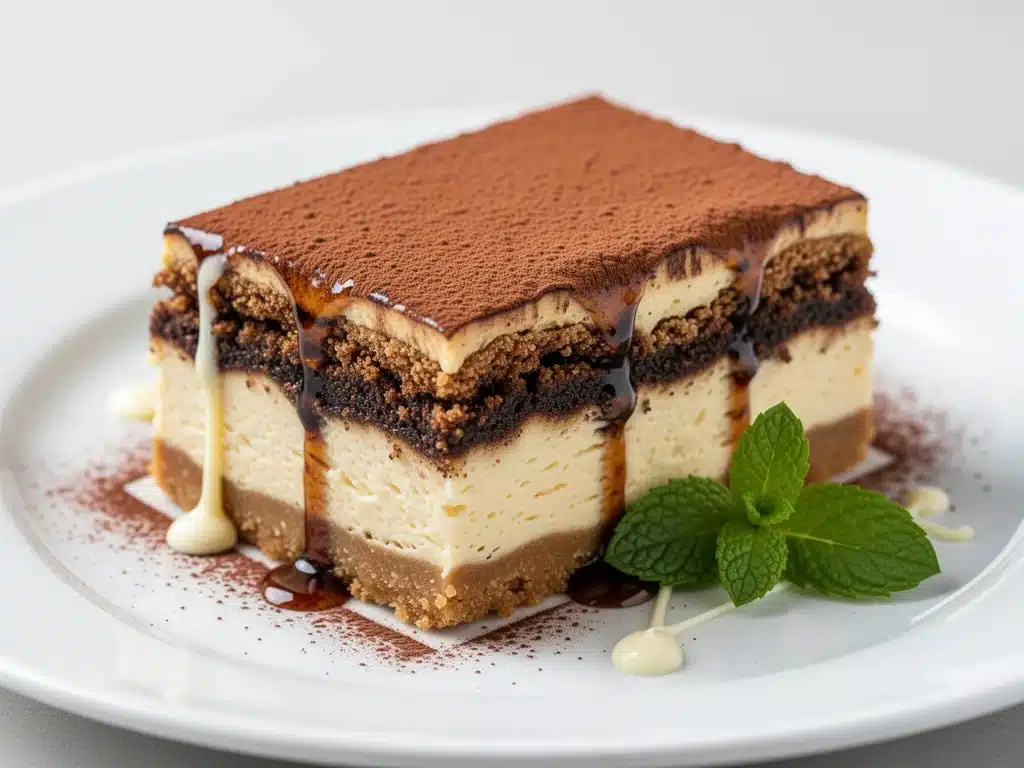
I still remember the exact moment I knew I had to write this recipe down. It was a rainy Sunday in late November, the kind of day where the gray sky seems to seep right into your bones. My husband had just come home from a long week of work, looking like he needed a hug and a holiday. I didn’t want to make something heavy that would leave us both feeling sluggish, but I also didn’t want just another bowl of cereal. I wanted something that felt special, like a trip to Rome, but fast enough that we could eat it before the movie started.
I had half a package of cream cheese, a jar of mascarpone that was slowly turning in the fridge, and a box of ladyfingers that I’d bought on a whim two days prior. I threw them together with some espresso, a little sugar, and a generous dusting of cocoa. The result? It wasn’t just dessert. It was a hug on a plate. Creamy, tangy, coffee-kissed, and impossibly light. We ate it straight from the springform pan with spoons, laughing at how messy it was.
That night, I realized I had accidentally invented my new favorite thing to make. It’s a fusion that shouldn’t work—the dense, rich structure of a cheesecake meeting the airy, soaked elegance of tiramisu—but it does. And the best part? You don’t need to bake it. This Classic Italian Tiramisu Cheesecake is no-bake, meaning you can have it ready in about 20 minutes of active time (plus chilling). It’s better than takeout, better than fancy restaurant desserts, and honestly, it’s the only dessert I make anymore when I want to impress guests without spending hours in the kitchen.
I’ve tested this version about a dozen times since that rainy Sunday. I’ve tweaked the ratio of mascarpone to cream cheese, I’ve tried different coffees, and I’ve even experimented with adding a bit of amaretto (which is divine, by the way). This recipe is the winner. It’s creamy, it’s bold, and it’s surprisingly easy. If you’ve ever been intimidated by cheesecake because of the water bath or the cracking, or by tiramisu because of the raw egg risk, this is your safe harbor. It’s the best dessert for when you want something indulgent but manageable.
Why You’ll Love This Tiramisu Cheesecake Fusion
There are a lot of reasons I keep coming back to this recipe, but here are the ones that actually matter when you’re standing in your kitchen at 7 PM on a Tuesday.
No-Bake Simplicity — Seriously, if you can mix ingredients in a bowl, you can make this. No oven, no water bath, no stress about cracking tops. I’ve made this in July when my kitchen is already hot enough, and I’ve made it in January. It just needs the fridge. That’s it.
Flavor Explosion — This isn’t just a cheesecake with coffee sprinkled on top. The layers interact. The tangy cream cheese cuts through the sweetness of the mascarpone, and the strong espresso soaks into the ladyfingers, creating these little pockets of intense coffee flavor. It’s complex but balanced. Every bite has something new to offer.
Make-Ahead Magic — This is the ultimate party saver. You can make it the night before (or even two days before). It actually tastes better the next day because the flavors have had time to meld. I’ve served this at dinner parties where guests thought I’d spent hours at a patisserie. They were shocked to hear it took 20 minutes to assemble.
Texture Perfection — You get the firm, sliceable structure of cheesecake with the soft, melt-in-your-mouth quality of tiramisu. It’s not too dense, and it’s not too airy. It’s that perfect “cloud-like” texture that makes people close their eyes when they take the first bite.
Budget-Friendly Luxury — You don’t need expensive specialty ingredients. Mascarpone and cream cheese are widely available. Ladyfingers are cheap. And compared to buying a single slice of dessert at a high-end Italian restaurant, this costs a fraction of the price and tastes significantly better.
This is my go-to dessert when I need to feel like a hero in my own kitchen. It’s reliable, delicious, and always gets compliments.
Ingredients You’ll Need
Here’s the thing about this recipe: it looks like a lot of ingredients, but they’re all pantry staples or easy fridge finds. I’m particular about three things here, and I’ll tell you exactly why.
For the Creamy Filling
Mascarpone cheese (16 oz / 450g) — This is the star of the tiramisu part. It’s richer and milder than cream cheese. Make sure it’s cold when you start. If it’s too warm, it can get oily when you whip it. I buy the tubs, not the blocks, because they’re easier to work with.
Heavy cream (1 cup / 240ml) — Full-fat is non-negotiable. You need this to whip up stiff peaks for that light, airy texture. Don’t even think about using half-and-half here; it won’t hold its structure. Take it out of the fridge 10 minutes before you start whipping.
Cream cheese (8 oz / 225g) — Full-fat brick style, softened to room temperature. This gives the cheesecake its structure and tangy bite. If you use the spreadable kind in a tub, it has too much air and water, and your cake will be soupy.
Granulated sugar (½ cup / 100g) — Adjust to taste. If your espresso is very strong and bitter, you might want a touch more. If you prefer less sweet, stick to ½ cup. It balances the tang perfectly.
Vanilla extract (1 teaspoon) — Pure vanilla, not imitation. It adds a warm background note that ties the coffee and cheese together.
For the Soaking Liquid
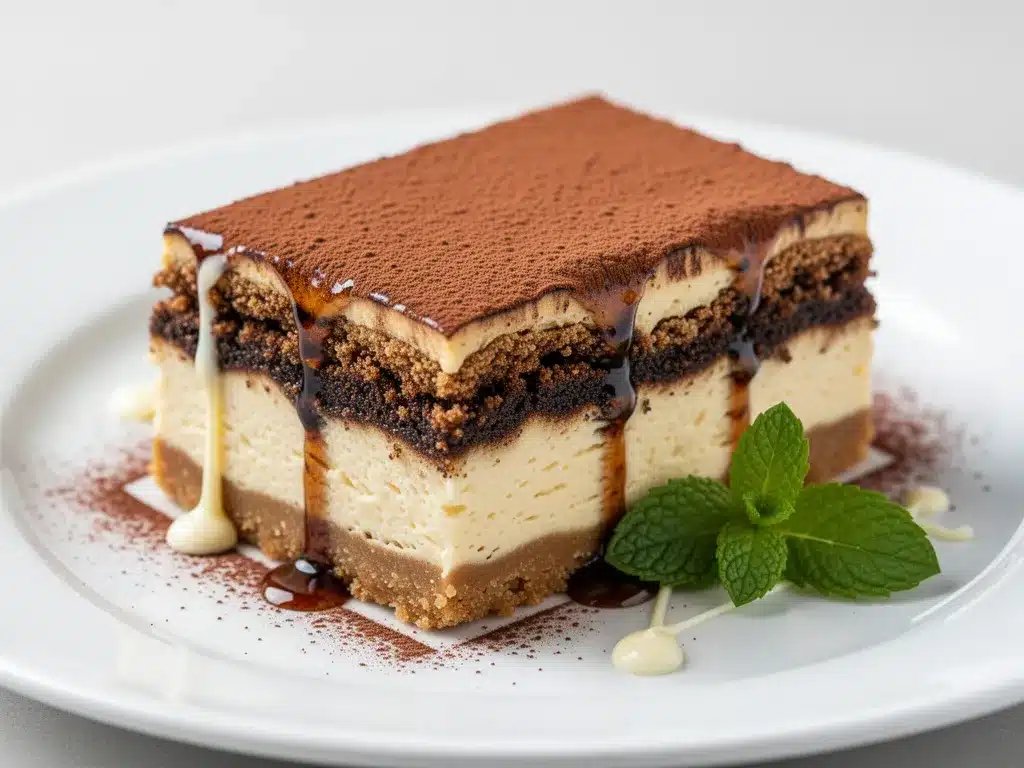
Strong brewed espresso (1 cup / 240ml) — This is crucial. Use real espresso if you have an machine. If not, use very strong instant coffee dissolved in hot water, or a dark roast French press. It needs to be bold. Watered-down coffee will make the ladyfingers soggy and flavorless.
Instant coffee powder (1 tablespoon) — Optional, but I recommend it. It intensifies the coffee flavor without adding more liquid. It’s a little trick I learned from a pastry chef friend.
Amaretto or Kahlúa (2 tablespoons) — Optional, but highly recommended for adults. It adds a beautiful depth. If you’re making this for kids, just skip it or use a splash of vanilla.
For the Layers
Ladyfingers (1 box / about 24-30 pieces) — Use the traditional Italian savoiardi. They’re dry and crisp, which is perfect for soaking. Avoid the sponge cake-style ladyfingers; they’ll disintegrate.
Unsweetened cocoa powder (for dusting) — Good quality cocoa makes a huge difference. I use Hershey’s Special Dark for a slightly bitter, rich finish that contrasts with the sweet filling.
Equipment Needed
You don’t need fancy gear for this. Here’s what I actually use.
9-inch Springform Pan — This is essential for clean removal. Line the bottom with parchment paper for easy cleanup. I’ve tried using a regular pie dish, but getting the slices out cleanly is a nightmare.
Electric Hand Mixer or Stand Mixer — You need to whip the cream and cream cheese properly. Doing this by hand is possible but takes serious arm strength. I use my hand mixer, and it takes about 5 minutes.
Large Mixing Bowl — Make sure it’s big enough to hold all the ingredients without splattering.
Shallow Dish — For dipping the ladyfingers. A pie plate works well.
Spatula — A flexible silicone spatula is best for folding the whipped cream into the cheese mixture without deflating it.
Zester or Grater — Optional, but a little lemon zest on top adds a nice brightness.
How to Make It: Step-by-Step
Alright, let’s make this! It’s easier than it looks. I’m walking you through exactly how I do it.
Step 1: Prep Your Pan and Coffee
Line the bottom of your 9-inch springform pan with parchment paper. Set it aside. Brew your espresso and let it cool completely. If you put warm espresso on the ladyfingers, they’ll turn to mush instantly. Cold coffee is your friend here. Stir in the instant coffee powder and amaretto (if using) into the cooled espresso.
Step 2: Whip the Heavy Cream
In a large, cold bowl, whip the heavy cream on high speed until stiff peaks form. This means when you lift the beaters, the cream stands up straight. Be careful not to over-whip it into butter, though. Set it aside in the fridge.
Step 3: Beat the Cream Cheese
In a separate large bowl, beat the softened cream cheese and sugar on medium-high speed until smooth and creamy. This should take about 2-3 minutes. Scrape down the sides of the bowl. Make sure there are no lumps of cream cheese left.
Step 4: Add Mascarpone and Vanilla
Add the cold mascarpone cheese and vanilla extract to the cream cheese mixture. Beat on medium speed until just combined. Don’t overmix here, or the mascarpone can separate. It should be smooth and creamy.
Step 5: Fold in the Cream
Gently fold the whipped heavy cream into the cheese mixture using your spatula. Do this in two additions. Fold gently—don’t stir vigorously. You want to keep as much air in the mixture as possible. It should look fluffy and light.
Step 6: Assemble the Layers
Quickly dip each ladyfinger into the espresso mixture. I mean *quickly*—just a second or two on each side. You want them moist but not soggy. Place a layer of dipped ladyfingers at the bottom of the springform pan. Spread half of the cream cheese mixture over the ladyfingers. Repeat with another layer of dipped ladyfingers and the remaining cream cheese mixture. Smooth the top with your spatula.
Step 7: Chill and Dust
Refrigerate for at least 4 hours, but ideally overnight. This is when the magic happens—the flavors meld, and the ladyfingers soften to a cake-like texture. Just before serving, dust the top generously with unsweetened cocoa powder. Use a sieve for an even, professional-looking finish.
Total Time: 20 minutes active, plus 4+ hours chilling.
Expert Tips & Tricks
Here’s everything I’ve learned from making this dozens of times. These tips will save you from my mistakes.
Cold Ingredients Matter — Keep your mascarpone and cream cheese cold until the moment you beat them. If the mascarpone gets too warm, it can become grainy. If your cream isn’t cold, it won’t whip. I keep my mixing bowl in the fridge for 15 minutes before starting.
Don’t Oversoak the Ladyfingers — This is the most common mistake. Ladyfingers are like sponges. Dip them in and out—fast! If they sit in the coffee, they’ll disintegrate. You want them moist, not dripping.
Use Good Cocoa — The cocoa is the only thing on top, so it needs to taste good. I prefer a dark cocoa for a bitter contrast to the sweet filling. Sift it to avoid clumps.
Chill Your Knife — For clean slices, dip your knife in hot water and wipe it dry before each cut. This prevents the creamy filling from sticking to the blade. It’s a small trick that makes a huge difference in presentation.
Make it Ahead — This dessert actually improves with time. Make it the night before. The ladyfingers will soften perfectly, and the flavors will deepen. It’s the ultimate make-ahead dessert.
Variations & Substitutions
Once you’ve nailed the basic version, here’s how you can mix it up. I’ve tried all of these.
Chocolate Lover’s — Add ½ cup of chocolate chips to the cream cheese mixture before folding in the whipped cream. Or, use chocolate-covered ladyfingers.
Strawberry Tiramisu — Skip the coffee. Dip the ladyfingers in simple syrup mixed with a little strawberry liqueur. Add a layer of sliced fresh strawberries between the cream layers. It’s light and fruity.
Mocha Twist — Mix 2 tablespoons of melted chocolate into the espresso. It’s like a mocha cheesecake.
Gluten-Free — Use gluten-free ladyfingers. They’re widely available now and work just as well. Just be careful not to oversoak them, as GF versions can sometimes be more fragile.
Dairy-Free — Use coconut cream instead of heavy cream, and a vegan cream cheese alternative. It won’t be exactly the same, but it’s still delicious. I use Kite Hill cream cheese for this.
Serving & Storage
I usually serve this straight from the springform pan. It looks rustic and elegant. But here are other ways I’ve enjoyed it:
Side Dishes — This stands alone as a dessert. But if you want to add something, a few fresh berries on the side cut the richness perfectly. A dollop of whipped cream is nice if you want extra indulgence.
Wine Pairing — A glass of sweet Moscato or a bold Cabernet Sauvignon works well. The coffee notes pair nicely with red wine.
Storage — Store in the refrigerator, covered, for up to 5 days. It gets firmer as it chills, which is normal. Do not freeze this, as the texture of the cream cheese and mascarpone can become grainy when thawed.
Reheating — Do not reheat. Serve chilled. If it’s too cold from the fridge, let it sit on the counter for 10 minutes before serving.
Nutrition Information
I’m not a nutritionist, but here’s the breakdown if you’re tracking.
Per Serving (based on 12 slices):
- Calories: 380
- Protein: 6g
- Carbs: 35g
- Fiber: 1g
- Sugar: 22g
- Fat: 24g
- Saturated Fat: 14g
- Cholesterol: 70mg
- Sodium: 180mg
Look, this is dessert. It’s rich, it’s creamy, and it’s meant to be enjoyed. It’s not a diet food, but it’s way better than store-bought cakes because you control the sugar and quality. When I want to make it lighter, I use less sugar and add a layer of berries. But usually? I just enjoy a small slice and savor it.
Final Thoughts
So that’s my Classic Italian Tiramisu Cheesecake! I’ve probably talked your ear off at this point, but when you make a recipe this often, you have a lot to say about it. This has saved my dessert game more times than I can count. It’s my answer to “what’s for dessert?” when I want something special but don’t want to spend hours baking. My family loves it, my friends request it, and I love making it because it’s so forgiving.
Make it yours! Try different liqueurs, add different fruits, or just enjoy it classic. The best recipes are the ones you adapt to your tastes. If you make this, drop a comment and let me know what you think! I love hearing how recipes turn out in your kitchen. And if something doesn’t work, tell me that too—I’m here to help troubleshoot.
Happy baking… wait, no, happy chilling! And I hope your kitchen smells half as good as mine does right now.
Frequently Asked Questions
Can I use instant espresso instead of brewed?
Yes! In fact, I often use instant espresso powder dissolved in hot water. It’s convenient and has a strong, consistent flavor. Just let it cool completely before using. If you use instant coffee granules, dissolve 1 tablespoon in 1 cup of hot water.
Why did my cheesecake collapse?
Since this is a no-bake recipe, it shouldn’t collapse like a baked cheesecake. If it’s too soft, it might be because you didn’t whip the cream enough, or the mascarpone was too warm. Make sure your cream is whipped to stiff peaks and your mascarpone is cold. Also, ensure you’ve chilled it long enough—at least 4 hours.
Can I make this in a different pan?
You can use a 9-inch round cake pan, but removing the slices will be harder. A springform pan is best for clean edges. If you use a regular pan, line it well with parchment paper so you can lift the whole cake out.
Is it safe to eat raw mascarpone?
Yes, mascarpone is a fresh cheese and is safe to eat without cooking. However, if you’re pregnant or immunocompromised, you might want to avoid raw eggs (though this recipe doesn’t use raw eggs, so you’re good!). Just ensure your dairy products are fresh and from a reliable source.
Can I use a different cookie?
You can use savoiardi cookies (the traditional ladyfingers) or even sponge cake cut into strips. Ladyfingers are best because they’re dry and absorb the coffee well without turning to mush. Avoid soft cookies like Oreos; they won’t have the right texture.
How long does it last?
It lasts up to 5 days in the refrigerator. The flavor actually gets better after the first day as the coffee and cheese meld together. Just keep it covered to prevent it from absorbing fridge odors.
Can I freeze this?
I don’t recommend freezing this dessert. The texture of the cream cheese and mascarpone can become grainy and separated when thawed. It’s best enjoyed fresh from the fridge.
Pin This Recipe!
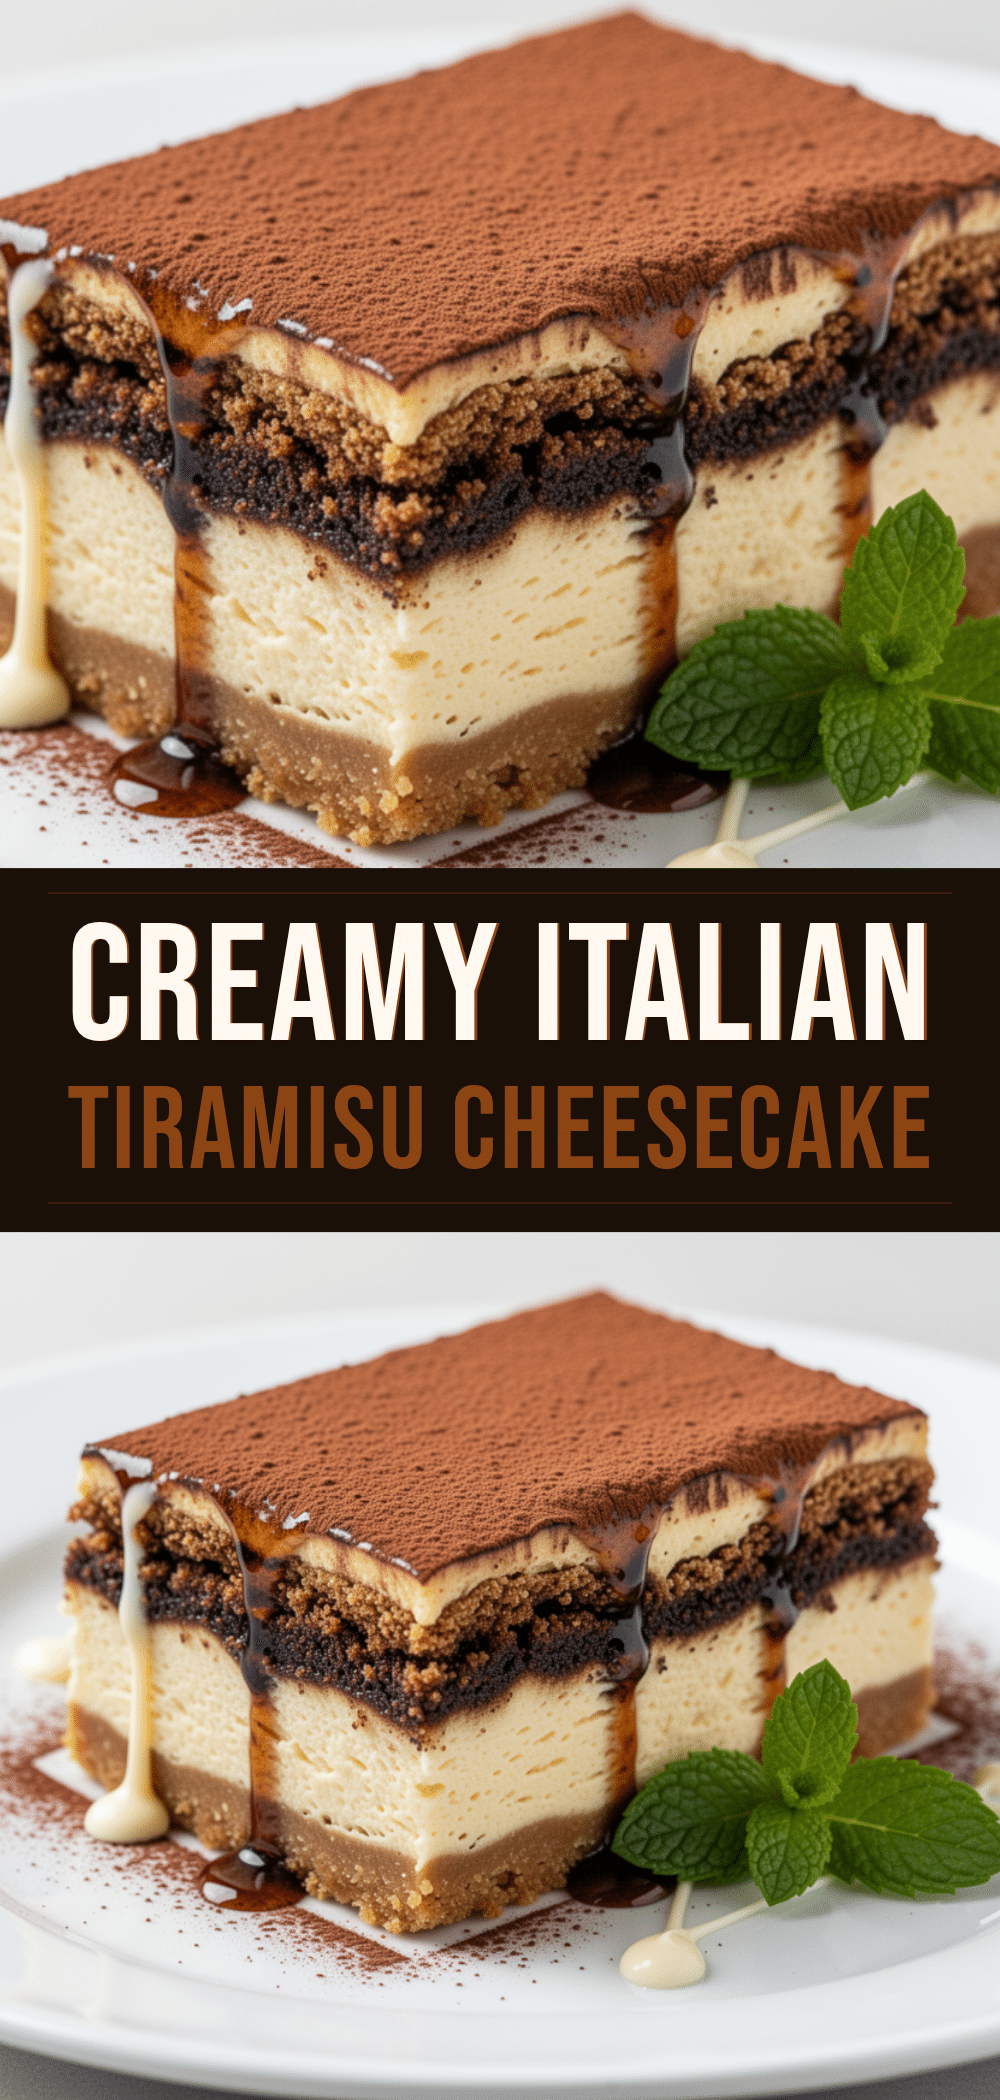
Classic Italian Tiramisu Cheesecake: 20-Min Best Dessert
- Total Time: 4 hours 20 minutes
- Yield: 12 servings 1x
Description
A no-bake fusion of creamy cheesecake and airy tiramisu, featuring mascarpone, espresso-soaked ladyfingers, and a rich cocoa dusting. It is easy to make, requires no oven, and tastes better the next day.
Ingredients
- 16 oz (450g) Mascarpone cheese, cold
- 1 cup (240ml) Heavy cream, cold
- 8 oz (225g) Cream cheese, full-fat brick style, softened
- ½ cup (100g) Granulated sugar
- 1 teaspoon Vanilla extract
- 1 cup (240ml) Strong brewed espresso, cooled
- 1 tablespoon Instant coffee powder
- 2 tablespoons Amaretto or Kahlúa (optional)
- 1 box (24-30 pieces) Ladyfingers
- Unsweetened cocoa powder, for dusting
Instructions
- Line the bottom of a 9-inch springform pan with parchment paper.
- Brew espresso and let it cool completely. Stir in instant coffee powder and amaretto (if using).
- In a large, cold bowl, whip heavy cream on high speed until stiff peaks form. Set aside in the fridge.
- In a separate large bowl, beat softened cream cheese and sugar on medium-high speed until smooth (2-3 minutes).
- Add cold mascarpone and vanilla extract to the cream cheese mixture. Beat on medium speed until just combined.
- Gently fold the whipped heavy cream into the cheese mixture in two additions using a spatula until fluffy.
- Quickly dip each ladyfinger into the espresso mixture (1-2 seconds per side) and place a layer at the bottom of the pan.
- Spread half of the cream cheese mixture over the ladyfingers.
- Repeat with another layer of dipped ladyfingers and the remaining cream cheese mixture. Smooth the top.
- Refrigerate for at least 4 hours, ideally overnight.
- Just before serving, dust the top generously with unsweetened cocoa powder.
Notes
Keep mascarpone and cream cheese cold until mixing to prevent graininess. Do not oversoak ladyfingers or they will disintegrate. Chill knife in hot water for clean slices. Do not freeze as texture may become grainy.
- Prep Time: 20 minutes
- Cook Time: 0 minutes
- Category: Dessert
- Cuisine: Italian
Nutrition
- Serving Size: 1 slice
- Calories: 380
- Sugar: 22
- Sodium: 180
- Fat: 24
- Saturated Fat: 14
- Carbohydrates: 35
- Fiber: 1
- Protein: 6
Keywords: tiramisu cheesecake, no-bake dessert, italian dessert, mascarpone, espresso, easy dessert, make-ahead dessert


