
Last Tuesday, I was staring at a pile of raw chicken breasts and feeling that familiar mid-afternoon slump. My six-year-old, Leo, was hovering nearby, bored out of his mind, asking if we could make something “fun.” Usually, I say no. Cooking with kids is messy, time-consuming, and often results in more flour on the floor than in the bowl. But that day, I needed dinner *and* I needed to keep him occupied without buying a video game. So I pulled out the ingredients for these Crispy Oven-Baked Parmesan Chicken Tenders. What followed wasn’t just dinner prep; it was a twenty-minute bonding session where Leo got to be the “crust captain.”
By the time they came out of the oven, golden and smelling like heaven, Leo was practically vibrating with pride. He ate three. Three! A kid who usually picks at his food like he’s inspecting it for bugs. That’s the magic of this recipe. It’s not just about the crispy, cheesy coating (though that helps). It’s about the process. It’s about letting them handle the food, sprinkle the cheese, and feel like they contributed to the meal. These aren’t just chicken tenders; they’re a confidence builder for little cooks and a stress-reliever for tired parents.
I’ve made this Crispy Oven-Baked Parmesan Chicken Tenders recipe at least a dozen times since that Tuesday. I’ve tweaked the breadcrumb mix, played with the cheese ratios, and even tried different seasonings. But the core remains the same: simple ingredients, easy steps, and a result that tastes better than any fast-food version. If you’re looking for a way to get your kids in the kitchen without the chaos, this is it. Let’s get cooking.
Why You’ll Love This Kid-Friendly Chicken Recipe
Let’s be real. Getting kids to eat dinner is often a battle. But when they help make it, the odds shift dramatically. Here’s why this Crispy Oven-Baked Parmesan Chicken Tenders recipe has earned a permanent spot in our weekly rotation:
- It Turns Cooking Into Play — The breading station is basically a sensory playground. Kids love dipping, coating, and sprinkling. It’s tactile, messy in a good way, and gives them ownership over the food.
- Healthier Than Fried — We bake instead of fry. You get that satisfying crunch without the heavy oil bath. It’s lighter, easier to digest, and feels like a treat without the guilt.
- Zero Fancy Equipment Needed — You don’t need an air fryer or a deep fryer. Just a baking sheet and a couple of shallow bowls. If you can set a table, you can make this.
- Customizable for Picky Eaters — Not everyone likes parmesan? No problem. Swap it for plain breadcrumbs or add different herbs. This recipe bends to your family’s preferences.
- Ready in 30 Minutes — From prep to plate, it’s quick. Perfect for those days when you need dinner on the table before the soccer practice starts.
- Leftovers Are Better Than Fresh — Cold chicken tenders are actually delicious. I’ve packed them in lunches for Leo, and he prefers them slightly cooled over piping hot. Versatility at its finest.
This is my go-to when I need dinner to just work, but I also want to spend time with my kids. It’s simple, safe, and seriously delicious.
Key Ingredients for Perfect Crunch
You don’t need a grocery store run for this. Most of these items are probably in your pantry or fridge right now. Here’s exactly what you need, with my honest tips on why each matters.
Chicken Breasts (1.5 lbs / 680g)
Buy boneless, skinless chicken breasts. Look for ones that are relatively uniform in size so they cook evenly. If they’re huge, you’ll need to slice them into strips. Pro tip: If you can find organic or free-range, it makes a difference in flavor, but regular works fine too.
Parmesan Cheese, Grated (1 cup / 100g)
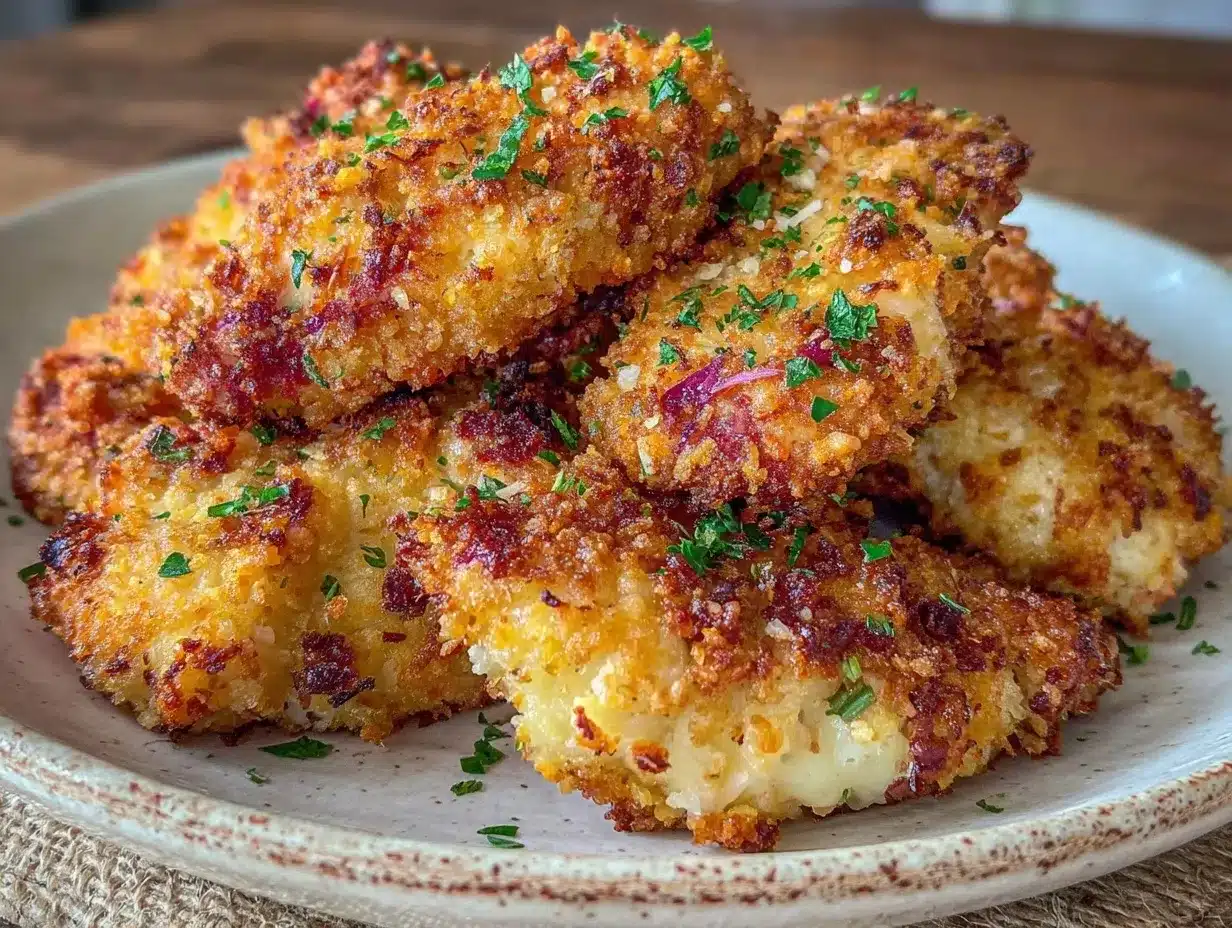
Yes, you need a whole cup. And no, do not use the green canister stuff from the pasta aisle. It’s dusty and lacks flavor. Buy a wedge of Parmigiano-Reggiano or a good block of Parmesan and grate it yourself. The texture is finer, and it melts into the crust beautifully. If you’re in a pinch, pre-grated in a bag is okay, but the quality drops.
Panko Breadcrumbs (1.5 cups / 120g)
This is the secret to the crunch. Regular breadcrumbs are fine, but Panko is lighter, airier, and creates that shatteringly crisp exterior. It’s Japanese-style breadcrumbs, and you can find them in the Asian aisle of most supermarkets. If you can’t find Panko, regular breadcrumbs will work, but the texture won’t be as dramatic.
Eggs (2 large)
These act as the glue. Whisk them with a splash of milk or water to make an egg wash. Tip: Don’t skip the liquid. A thick egg wash makes clumpy breading. A thin wash ensures an even coat.
All-Purpose Flour (0.5 cup / 60g)
Just a light dusting. This helps the egg wash stick to the chicken. If you’re using gluten-free flour, you can swap this for a 1:1 gluten-free blend.
Italian Seasoning (1 tbsp)
Add some herby goodness. If you don’t have Italian seasoning, mix dried oregano, basil, and thyme. It adds depth without heat.
Garlic Powder (1 tsp)
Not fresh garlic. Fresh garlic burns in the oven and tastes bitter. Garlic powder distributes evenly and adds that savory background note.
Salt and Black Pepper (to taste)
Season the chicken before you dredge it. I use about 1 tsp of salt and 0.5 tsp of pepper for the chicken itself, plus a pinch in the breadcrumb mix.
Cooking Spray or Olive Oil
You need something on the baking sheet to help the crust brown. I use non-stick cooking spray for ease, but a light brush of olive oil works too.
Tools You’ll Need
You don’t need fancy equipment. Here’s what I use, and what you can substitute.
Large Rimmed Baking Sheet — I use a standard half-sheet pan. Line it with parchment paper for easy cleanup. If you don’t have parchment, grease the pan well.
Three Shallow Bowls — You need a breading station. One for flour, one for egg wash, one for breadcrumbs. Wide, shallow bowls are best because they make dipping easier for little hands.
Cheese Grater — A microplane or box grater. Freshly grated cheese is non-negotiable for texture.
Pastry Brush or Spray Can — For oiling the tops. A brush gives more control, but spray is faster.
Cutting Board and Knife — For slicing the chicken. Keep this step for the adult; it’s not safe for kids.
How to Make Crispy Oven-Baked Parmesan Chicken Tenders
Let’s walk through this step-by-step. I’ve timed each part so you know what to expect.
Step 1: Prep the Chicken (5 minutes)
Preheat your oven to 400°F (200°C). Line your baking sheet with parchment paper. Take your chicken breasts and pat them dry with paper towels. Moisture is the enemy of crispiness. Slice the breasts into strips about 1 inch thick and 3-4 inches long. Aim for uniform size so they cook evenly. If some are thicker, pound them gently with a rolling pin or meat mallet to even them out.
Step 2: Set Up the Breading Station (5 minutes)
Get your three bowls ready. In the first bowl, mix the flour with half the Italian seasoning and half the garlic powder. In the second bowl, whisk the eggs with a splash of milk until smooth. In the third bowl, mix the Panko, Parmesan, remaining Italian seasoning, garlic powder, salt, and pepper. Toss it all together with a fork until well combined. This is where your kids can help. Let them stir the crumbs and smell the herbs.
Step 3: Dredge the Chicken (5 minutes)
This is the assembly line. Take a chicken strip and dredge it in the flour, shaking off any excess. Dip it into the egg wash, letting the excess drip off. Finally, press it firmly into the breadcrumb mixture. Make sure every side is coated. Press down gently so the crumbs adhere. Place the coated tender on the prepared baking sheet. Leave a little space between each piece so they crisp up evenly.
Common mistake: Don’t skip the flour step. If you go straight to egg, the breadcrumbs slide off. The flour creates a dry base for the egg to stick to.
Step 4: Bake Until Golden (15-20 minutes)
Lightly spray the tops of the chicken tenders with cooking spray or brush with olive oil. This helps them brown in the oven. Place them in the preheated oven. Bake for 15 minutes, then flip them over. Spray the other side and bake for another 5-10 minutes, or until the chicken is cooked through (internal temp of 165°F / 74°C) and the crust is golden brown.
Sensory cue: You’ll know they’re done when the crust sounds slightly crisp when tapped and the chicken is no longer pink in the center.
Step 5: Rest and Serve (5 minutes)
Remove from the oven and let them rest for 2-3 minutes. This allows the juices to redistribute. Serve immediately with your favorite dipping sauces.
Total Time: 30 minutes (5 prep, 5 station, 5 dredge, 20 bake, 5 rest).
Expert Tips from a Mom Who’s Tried It All
Here’s everything I learned from making this too many times. I’m sharing my mistakes so you don’t have to make them.
Don’t Overcrowd the Pan
I learned this the hard way. The first time, I piled them on the pan. The result? Steamed chicken, not baked. The steam makes the coating soggy. Give each tender space. If you have a small oven, do two batches. It’s worth it.
Use a Wire Rack
If you have a wire cooling rack that fits on your baking sheet, use it. Placing the chicken on a rack allows air to circulate underneath, ensuring the bottom gets crispy too. If you don’t have one, flip halfway through as instructed.
Season the Breadcrumbs, Not Just the Chicken
Many recipes only season the chicken. But the crust is where the flavor lives. Be generous with salt, pepper, and herbs in the Panko mix. It makes a huge difference.
Freezing for Later
These freeze beautifully. After breading, place them on a baking sheet and freeze for an hour. Once solid, transfer to a freezer bag. They’ll keep for 3 months. You can bake them frozen, just add 5-10 minutes to the cook time.
Recipe Variations to Mix It Up
Once you’ve nailed the basic version, here’s how to mix it up. I love keeping this recipe fresh by changing the flavor profile.
Spicy Parmesan
Add 1 tsp of cayenne pepper or red pepper flakes to the breadcrumb mix. My kids love a little kick, and it balances the rich cheese.
Herb Garden
Skip the Italian seasoning and use fresh chopped parsley, chives, and dill. It’s brighter and fresher. Great with a yogurt dip.
Gluten-Free Option
Swap the flour and Panko for gluten-free alternatives. Look for GF Panko or crush GF crackers for a similar crunch. The technique remains the same.
Chicken Tenders with a Twist
For a different protein, try these with smoked queso dip for a game-day vibe, or pair them with grilled peach salad for a summer twist.
Serving & Storage
Serving Suggestions: I serve these with marinara sauce, honey mustard, or ranch. For a healthier side, pair with steamed broccoli, roasted carrots, or a simple green salad. Leo loves them with blackened cajun shrimp if we’re doing a seafood night, but these tenders are the star here.
Storage: Store leftovers in an airtight container in the fridge for up to 3 days. Reheat in the oven at 350°F for 10 minutes to restore crispiness. The microwave will make them soggy, so avoid that if you can.
Freezing: As mentioned, freeze uncooked tenders for up to 3 months. Cooked tenders can be frozen but lose some texture. I usually freeze the raw batch for quick lunches.
Nutrition Information
I’m not a nutritionist, but here’s the breakdown per serving (approx. 4 tenders):
| Nutrient | Amount |
|---|---|
| Calories | 320 |
| Protein | 28g |
| Carbs | 18g |
| Fiber | 1g |
| Fat | 14g |
| Sodium | 450mg |
My Take: This is a comfort food with cheese and breadcrumbs. It’s not diet food. But it’s better than takeout, and I know exactly what’s in it. The protein content is high, which keeps my kids full. Moderation is key, but I don’t stress over this one.
Final Thoughts
Making Crispy Oven-Baked Parmesan Chicken Tenders isn’t just about feeding your family. It’s about creating moments. It’s about watching your child’s eyes light up when they see their handiwork come out of the oven. It’s about the messy kitchen and the laughter. I hope this recipe brings that same joy to your home. Feel free to tweak the spices, change the cheese, or add your own family secrets. The best recipes are the ones you make your own.
If you make this, drop a comment! I love hearing how it turns out in your kitchen. And if you need more kid-friendly ideas, check out our brownie footballs for a fun dessert. Happy cooking!
FAQs
Can I use chicken tenderloins instead of breasts?
Absolutely. Tenderloins are actually easier because they’re already the right size. You might not even need to slice them. Just pat them dry and proceed with the breading.
Why are my chicken tenders soggy?
Usually, this happens because the pan was overcrowded or the chicken wasn’t patted dry. Moisture is the enemy. Also, make sure you’re baking at 400°F. Lower temps can steam the coating.
Can I make these in an air fryer?
Yes! Cook at 375°F for 10-12 minutes, flipping halfway. They come out incredibly crispy. Just don’t overcrowd the basket.
What dipping sauces go best with these?
Classic options are ranch, honey mustard, and marinara. For a twist, try a garlic aioli or a spicy sriracha mayo. Leo loves dipping them in smoked queso if we’re feeling adventurous.
How do I store leftovers?
Keep them in an airtight container in the fridge for 3 days. Reheat in the oven or toaster oven to keep them crisp.
Can I freeze cooked chicken tenders?
You can, but the texture suffers. It’s better to freeze the raw, breaded tenders and cook them from frozen when needed.
Pin This Recipe!
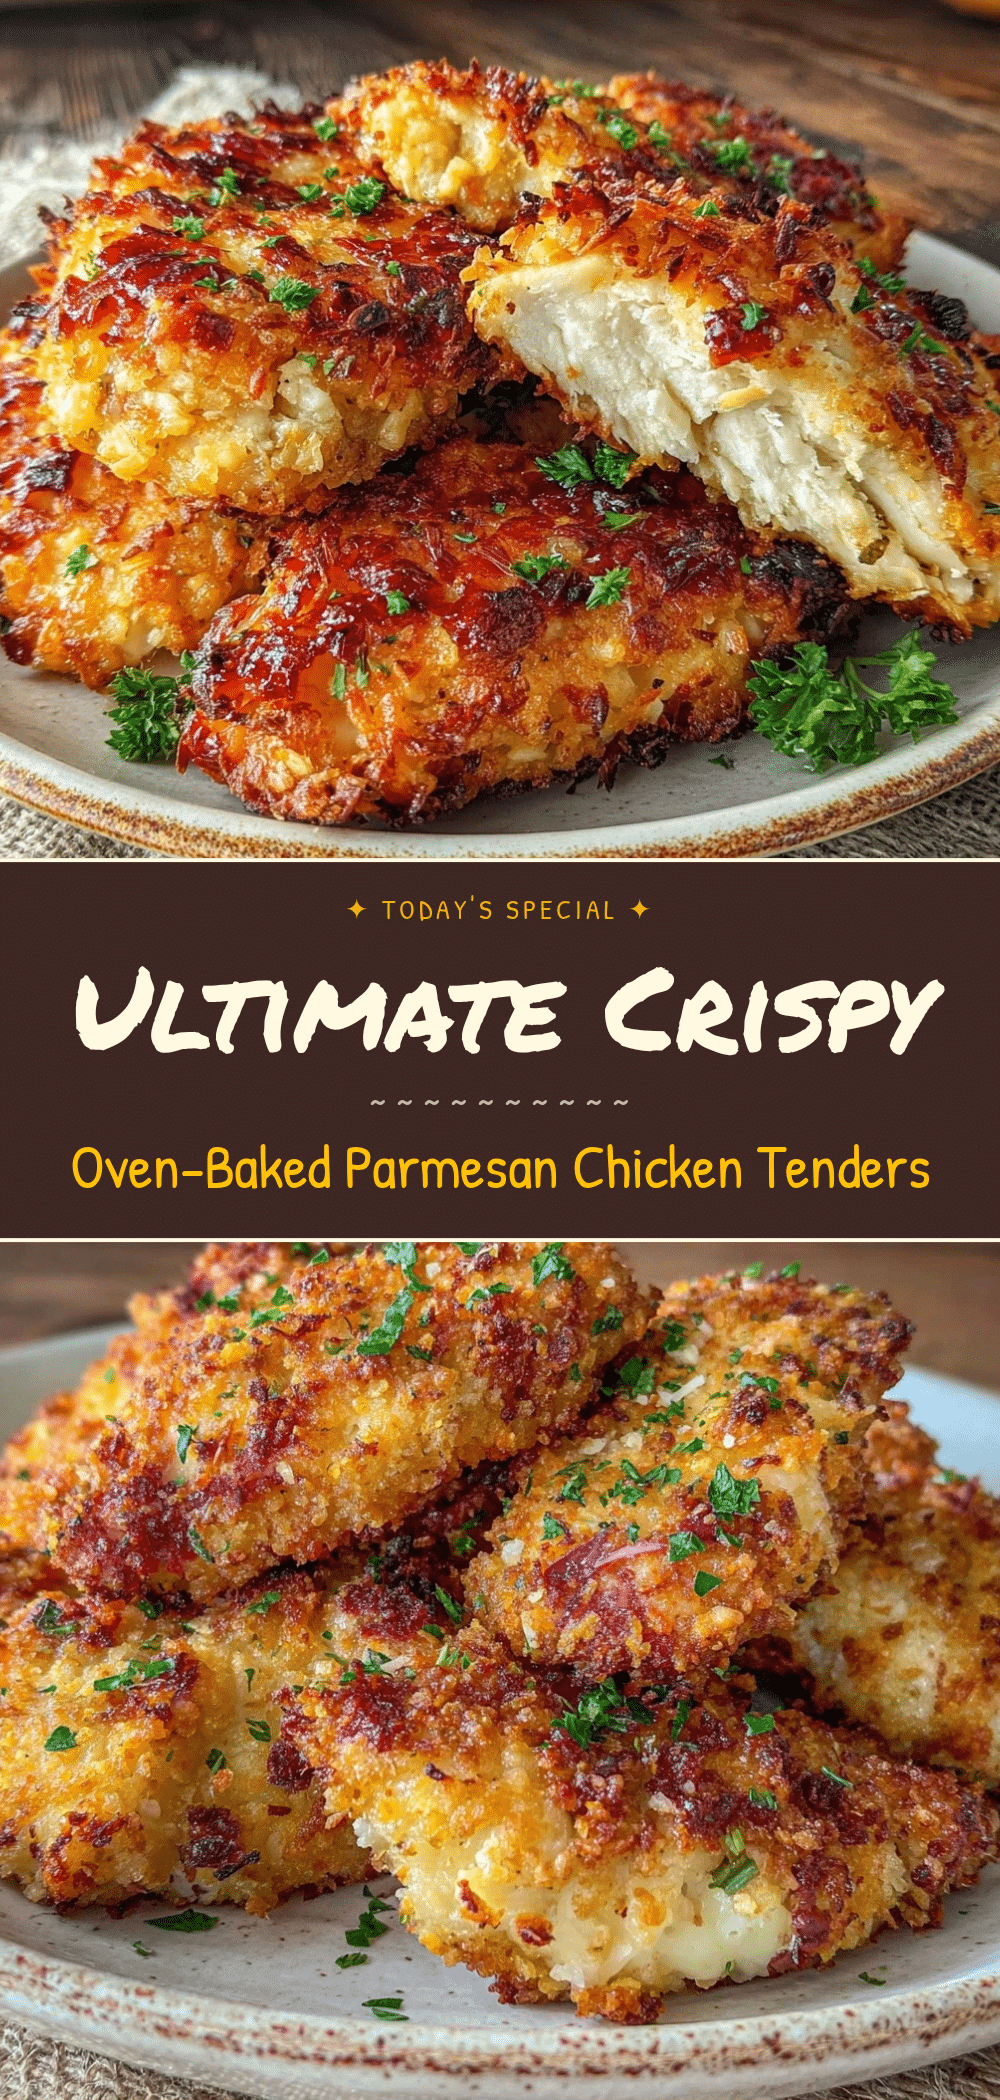

Crispy Oven-Baked Parmesan Chicken Tenders
- Total Time: 35 minutes
- Yield: 4 servings 1x
Description
A kid-friendly, oven-baked chicken tender recipe that offers a healthier alternative to frying. These tenders feature a crunchy parmesan and panko crust, making them perfect for family dinners and involving children in the cooking process.
Ingredients
- 1.5 lbs boneless, skinless chicken breasts
- 1 cup grated Parmesan cheese
- 1.5 cups Panko breadcrumbs
- 2 large eggs
- 0.5 cup all-purpose flour
- 1 tbsp Italian seasoning
- 1 tsp garlic powder
- Salt and black pepper to taste
- Cooking spray or olive oil
Instructions
- Preheat oven to 400°F (200°C) and line a large rimmed baking sheet with parchment paper.
- Pat chicken breasts dry and slice into strips about 1 inch thick and 3-4 inches long. Pound thicker pieces to ensure even cooking.
- Set up a breading station with three shallow bowls: Bowl 1 contains flour mixed with half the Italian seasoning and garlic powder. Bowl 2 contains whisked eggs with a splash of milk. Bowl 3 contains Panko, Parmesan, remaining Italian seasoning, garlic powder, salt, and pepper.
- Dredge each chicken strip in the flour mixture, shaking off excess. Dip into the egg wash, letting excess drip off. Press firmly into the breadcrumb mixture to coat evenly.
- Place coated tenders on the baking sheet, leaving space between each piece.
- Lightly spray tops with cooking spray or brush with olive oil.
- Bake for 15 minutes, then flip tenders. Spray the other side and bake for another 5-10 minutes until internal temperature reaches 165°F (74°C) and crust is golden brown.
- Remove from oven and let rest for 2-3 minutes before serving.
Notes
Do not overcrowd the pan to ensure crispiness. For extra crunch, use a wire rack on the baking sheet. These can be frozen raw for up to 3 months. Reheat leftovers in the oven at 350°F to maintain texture.
- Prep Time: 15 minutes
- Cook Time: 20 minutes
- Category: Main Course
- Cuisine: American
Nutrition
- Serving Size: Approximately 4 tend
- Calories: 320
- Sodium: 450
- Fat: 14
- Carbohydrates: 18
- Fiber: 1
- Protein: 28
Keywords: chicken tenders, oven-baked, kid-friendly dinner, parmesan chicken, panko crust, healthy chicken recipe, family dinner, easy dinner


