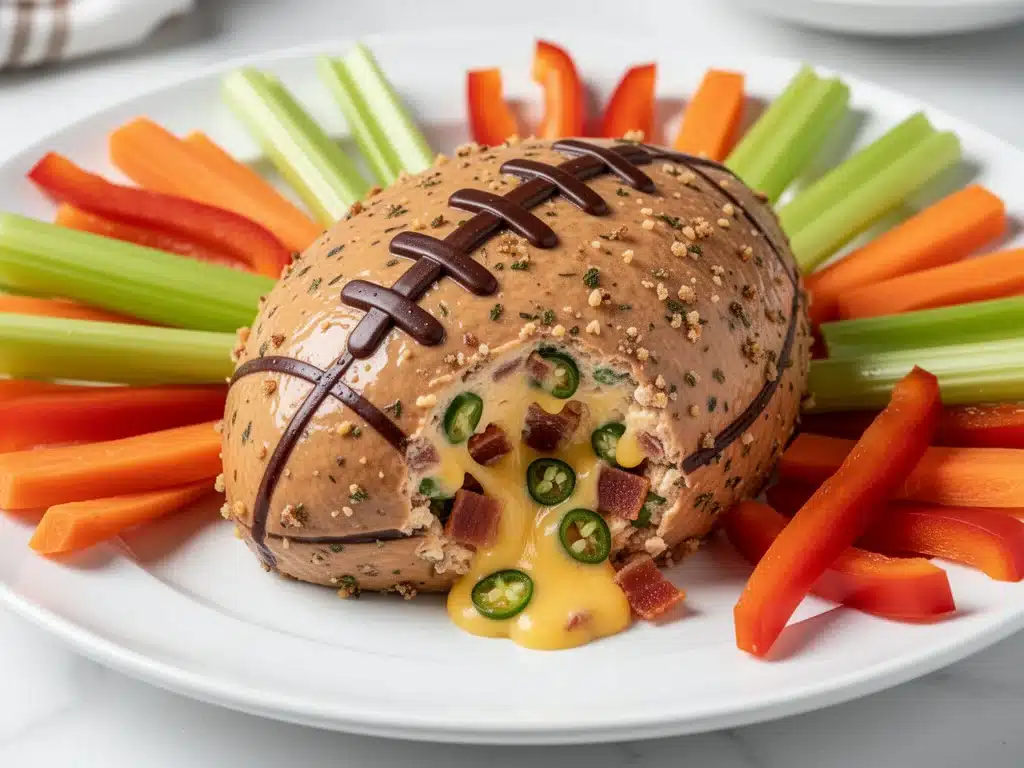
Let me tell you about the year I tried to be too clever. It was the big Super Bowl party, and I decided to make three different types of cheese balls. One was wrapped in bacon, one in crushed pretzels, and the third in crushed potato chips. I spent hours in the kitchen, sweating over a cheese grater, feeling pretty proud of myself. Then my friend Mike walked in, looked at the spread, and said, “Is that a football?”
I hadn’t even shaped it yet. I was just rolling balls in a bowl.
That was the moment I realized people don’t just want tasty snacks for game day. They want the experience. They want the little details that make them feel like they’re at the stadium, even if they’re sitting on your couch in sweatpants. Since that fateful afternoon, I’ve been obsessed with the concept of the Game Day Loaded Football Cheese Ball. It’s not just a cheese ball; it’s a centerpiece. It’s the thing that gets people talking before they even take a bite. And the best part? It’s actually incredibly easy to make.
I’ve tested this recipe at least a dozen times now, tweaking the mix-ins and the coating until I hit the perfect balance of creamy, salty, and crunchy. This isn’t just a snack; it’s a conversation starter. Whether you’re hosting a watch party for the big game or just need a reliable appetizer for a casual get-together, this loaded football cheese ball will impress everyone. It’s savory, it’s fun, and it disappears faster than a touchdown.
If you’re worried about looking like a pro in the kitchen, don’t be. This recipe relies on simple ingredients you probably already have, plus a few tricks to make it look professional without the stress. I’ve paired this with five easy party snacks that complement it perfectly, so your table looks like a feast even if you’re just serving dips and crackers.
Why You’ll Love This Game Day Loaded Football Cheese Ball
There are about ten reasons I keep coming back to this recipe, but here are the big ones that will win you over too.
It Looks Way Harder Than It Is
This is the #1 benefit. When you pull this out of the fridge, guests assume you spent all day in the kitchen. They see the green grass, the white yard lines, the laces—it’s impressive. But the reality? It takes about 20 minutes of active prep time. You’re basically mixing cheese and shaping dough. The “football” look comes from simple techniques that I’ll walk you through. It’s the ultimate low-effort, high-impact appetizer.
Loaded With Flavor
Most cheese balls are just cream cheese and cheddar. Boring. This one is loaded. I’m talking crispy bacon bits, sharp cheddar, a kick of jalapeño, and a hint of garlic. It’s savory, spicy, and rich all at once. The mix-ins are folded directly into the cheese base, so every single bite has that burst of flavor. It’s not just a spread; it’s a flavor bomb.
Perfect for Make-Ahead
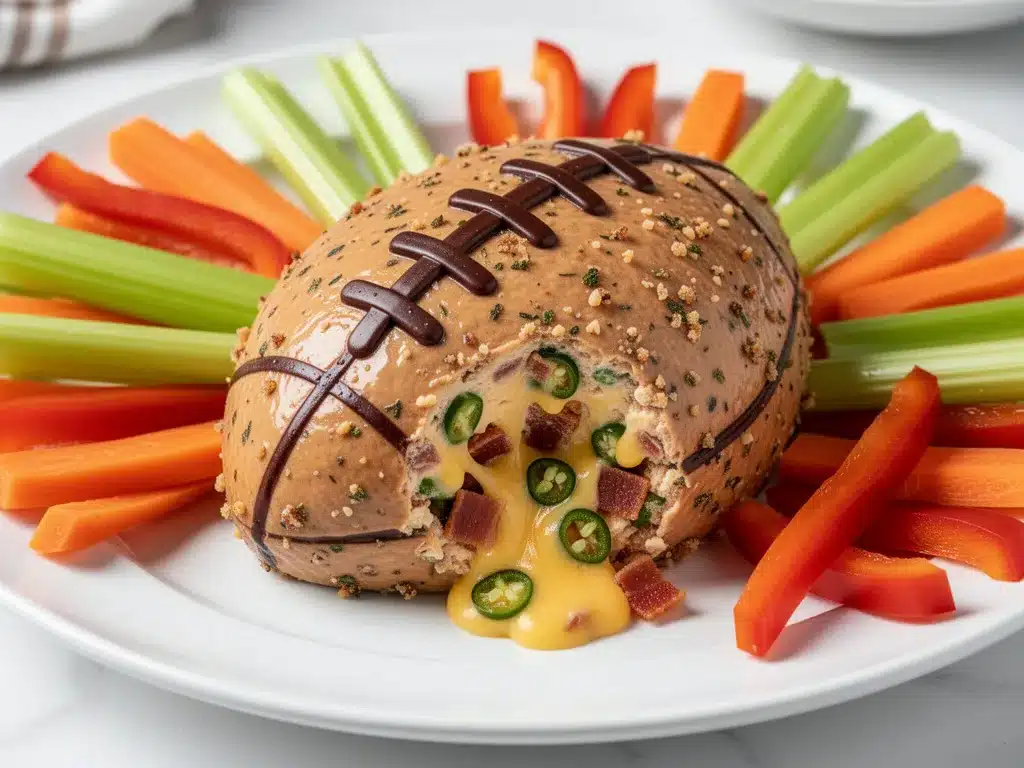
Game day is chaotic. You don’t want to be fiddling with food when the commercials are on. This cheese ball is best made the night before. It needs to chill to firm up, which actually improves the flavor as the ingredients meld together. You can make it 24 hours in advance, wrap it up, and just shape it when you get home. It’s the ultimate stress-free party snack.
Customizable to Any Palate
Not a fan of jalapeños? Leave them out. Love more bacon? Double it. This recipe is a framework, not a rulebook. I’ve made this with smoked gouda for a smokier taste, and with dill pickles for a tangier kick. It adapts to whatever your crowd loves. It’s versatile enough for picky eaters and adventurous foodies alike.
It Pairs Perfectly With Other Snacks
This isn’t meant to stand alone. It’s the star of a snack table that includes other easy party snacks. Think crispy potato skins, cheesy nachos, and spicy wings. The Game Day Loaded Football Cheese Ball cuts through the heaviness of those other foods with its creamy texture and sharp flavor. It balances the table perfectly.
So basically, this is your ticket to looking like a hosting hero without the burnout. It’s reliable, delicious, and visually stunning. Once you make it once, you’ll be making it every season.
Ingredients You’ll Need for the Football Cheese Ball
Here’s the best part: you probably have most of this already. I’m particular about a few things, but for the most part, this is pantry-friendly and fridge-staple stuff. Let’s break it down.
For the Cheese Base
Softened Cream Cheese (8 ounces / 225g) — This is your binder. It needs to be softened to room temperature. If it’s cold, you’ll get lumps, and you don’t want lumps in a smooth cheese ball. I leave it on the counter for an hour before starting. Do not microwave it unless you’re in a huge rush, and even then, be very careful not to melt it.
Sharp Cheddar Cheese (1 cup / 100g, grated) — Grate your own cheese. Pre-shredded cheese has anti-caking agents that prevent it from melting smoothly into the cream cheese. Sharp cheddar gives the best flavor punch. Mild cheddar is too bland for this. If you can’t find sharp, mix half sharp and half medium.
Crispy Bacon Bits (1 cup / 100g) — You can use real bacon (cooked until crisp, crumbled) or store-bought bacon bits. I prefer real bacon because it has that smoky, salty crunch. If you’re using store-bought, check the sugar content—some are quite sweet, which might clash with the savory jalapeños.
Diced Jalapeños (½ cup / 75g, drained) — Fresh jalapeños add a nice heat. Remove the seeds if you want less spice. If you’re sensitive to heat, you can use roasted red peppers instead, but you’ll lose that green game-day vibe. Drain them well! Excess moisture will make your cheese ball runny.
Green Onions (3 stalks, finely chopped) — These add a fresh, oniony bite without being overpowering. White parts and green parts both work. Finely chop them so they distribute evenly throughout the cheese.
Garlic Powder (1 teaspoon) — Don’t skip this. Fresh garlic can be too pungent when raw in a cold cheese mix. Garlic powder gives a smooth, savory depth. I use my favorite brand because consistency matters.
Onion Powder (½ teaspoon) — Complements the garlic. It’s a subtle flavor booster that ties everything together.
Salt and Black Pepper (to taste) — The bacon and cheese are already salty, so taste before adding extra salt. Freshly cracked black pepper adds a nice warmth.
For the “Grass” Coating
Crushed Ritz Crackers (1 cup / 100g) — This is the secret to the green grass look. You’ll mix these with food coloring. Ritz crackers are buttery and neutral, so they don’t compete with the cheese flavor. You can use other buttery crackers, but Ritz is the gold standard for this.
Green Food Coloring (2-3 drops) — Liquid gel food coloring works best. It mixes evenly into the crumbs. Avoid powder coloring if you can; it can be clumpy. You want a vibrant, grassy green. A little goes a long way.
Butter (1 tablespoon, melted) — This helps the crumbs stick to the cheese ball. It acts like glue.
For the Details (Laces and Yard Lines)
White Cream Cheese (2 tablespoons) — Just plain cream cheese, no mix-ins. You’ll use this to pipe the laces and yard lines.
White Chocolate or Candy Melts (Optional) — Some people use white chocolate for the laces because it’s sturdier. I prefer just using extra cream cheese for simplicity. It’s softer, but easier to work with if you’re not confident with piping.
Substitutions and Tips
No Jalapeños? Use diced pickles or roasted red peppers. It changes the flavor profile but keeps the texture.
Bacon-Free? Use crispy prosciutto or just add extra smoked paprika to the cheese mix for that smoky flavor.
Gluten-Free? Use gluten-free crackers for the coating. Make sure your bacon is certified gluten-free if cross-contamination is a concern.
Equipment Needed
You don’t need fancy equipment for this. Here’s what I actually use.
Mixing Bowl — A medium-sized bowl is perfect. Large enough to mix comfortably but small enough to keep everything contained.
Electric Mixer or Stand Mixer — Hand mixer is fine. I use it for about a minute to get the cream cheese smooth. You can do it by hand with a wooden spoon, but it takes more arm strength.
Parchment Paper or Plastic Wrap — You’ll need this to shape the cheese ball. Parchment is easier to handle for the football shape.
Food Processor or Ziplock Bag — To crush the crackers. A food processor gives you even crumbs. If you don’t have one, put crackers in a bag and smash them with a rolling pin.
Silicone Spatula — For scraping the bowl and mixing the ingredients. Non-stick is best.
Piping Bag or Ziplock Bag (for laces) — If you’re using cream cheese for laces, cut the corner off a small ziplock bag. It’s easier than buying a piping bag.
Small Brush — Optional, for brushing melted butter on the cheese ball before rolling it in crumbs.
How to Make It: Step-by-Step
Alright, let’s make this! I’m walking you through exactly how I do it, including the little tricks I’ve picked up over the years.
Step 1: Prep the Crumbs (5 minutes)
First, crush your Ritz crackers. If using a food processor, pulse until they are fine crumbs. Don’t turn them into powder; you want some texture. If using a bag, smash them until they’re small pieces. Pour them into a shallow bowl. Add 2-3 drops of green food coloring and mix well. You want the crumbs to be a uniform, vibrant green. Set aside.
Step 2: Mix the Cheese Base (5 minutes)
In your mixing bowl, combine the softened cream cheese, grated sharp cheddar, bacon bits, diced jalapeños (drained!), chopped green onions, garlic powder, onion powder, salt, and pepper. Mix on low speed or by hand until everything is well combined and smooth. The mixture should be thick and creamy. If it feels too dry, add a teaspoon more cream cheese. If too wet, add a bit more cheddar.
Step 3: Shape the Football (10 minutes)
Place a large sheet of parchment paper on your counter. Spoon the cheese mixture onto the center. Using your hands (lightly dampen them with water to prevent sticking), shape the mixture into an oblong football shape. It should be about 8-9 inches long and 4-5 inches wide. Try to make it symmetrical. Once shaped, roll it gently in the parchment paper to smooth out any cracks or bumps. Wrap it tightly in plastic wrap or more parchment paper. Refrigerate for at least 2 hours, or overnight. This step is crucial for firming up the shape.
Step 4: Coat the “Grass” (5 minutes)
Take the chilled cheese ball out of the fridge. Unwrap it. Melt the 1 tablespoon of butter and brush it lightly over the entire surface of the football. This helps the crumbs stick. Working quickly, roll the football in the green crumb mixture. Press the crumbs gently into the surface to ensure they adhere. You want full coverage, but don’t worry if it’s not perfect; rustic looks great.
Step 5: Add the Details (10 minutes)
Now for the fun part. Mix the 2 tablespoons of plain cream cheese. Transfer it to a small ziplock bag and snip off a tiny corner. Pipe the laces down the center of the football. Make a series of parallel lines, then connect them with short perpendicular lines to create the classic lace pattern. If you’re using white chocolate or candy melts, melt them according to package instructions and pipe the laces similarly. For yard lines, you can pipe short dashes every inch down the sides, or just leave them off for a cleaner look. I usually do three yard lines on each side.
Step 6: Chill and Serve
Place the finished football back in the fridge for at least 30 minutes to let the laces set and the crumbs firm up. This makes it easier to slice without the details smudging. Serve with your favorite crackers, pretzels, or veggie sticks.
Total Time: About 30 minutes active, plus 2+ hours chilling.
Expert Tips & Tricks
Here’s everything I’ve learned from making this dozens of times. These tips will save you from my mistakes.
Drain Your Jalapeños
This is the most common mistake. Wet jalapeños make the cheese ball runny and cause the crumbs to slide off. Place your diced jalapeños in a paper towel and press them dry. It takes 30 seconds but makes a huge difference.
Keep It Cold
Work quickly. If the cheese ball gets too warm, it will become soft and difficult to shape. If you’re struggling, pop it back in the fridge for 15 minutes before shaping. Cold cheese is easier to handle.
Don’t Overmix
Once you add the mix-ins, mix just until combined. Overmixing can make the texture gummy. You want distinct bits of bacon and jalapeño in every bite.
Use Gel Food Coloring
Liquid food coloring can add too much moisture to the crumbs, making them clumpy. Gel coloring is more concentrated and doesn’t affect the texture. If you only have liquid, use just one drop.
Make Ahead is Best
I know it’s tempting to eat it immediately, but the flavors meld and improve overnight. The cream cheese softens slightly, and the spices distribute more evenly. Plan to make it the day before.
Storage Tips
Store leftovers in an airtight container in the fridge for up to 5 days. The crumbs may soften over time, but the flavor remains great. Bring to room temperature for 30 minutes before serving for the best texture.
Variations & Substitutions
Once you’ve nailed the basic version, here’s how you can mix it up. I’ve tried all of these.
Spicy Jalapeño & Cheddar
This is the classic version I described. Use fresh jalapeños and sharp cheddar. Add a dash of cumin for a southwestern twist.
Smoked Gouda & Apple
Swap the cheddar for smoked gouda. Add diced Granny Smith apples instead of jalapeños for a sweet and savory crunch. Use cinnamon sugar for the coating instead of green crumbs for a fall theme.
BLT Cheese Ball
Use extra bacon, add diced tomatoes (drained very well), and lettuce (finely chopped). Use herb crackers for the coating. It’s like a BLT in ball form.
Buffalo Chicken
Add shredded cooked chicken and buffalo sauce to the cream cheese. Use blue cheese crumbles in the mix. Coat with crushed blue cheese flavored chips or celery salt.
Veggie Loaded
Skip the bacon. Add finely diced bell peppers, carrots, and celery. Use a herb blend in the coating. Great for a lighter option.
Dietary Modifications
Gluten-Free: Use gluten-free crackers for the coating. Ensure your bacon and cheese are gluten-free.
Dairy-Free: Use dairy-free cream cheese and cheese alternatives. Note that the texture will be different. Coconut oil can help bind it.
Lower-Fat: Use low-fat cream cheese and reduced-fat cheddar. The texture will be less creamy, so add a bit more onion powder for flavor.
Serving & Storage
How to serve this bad boy?
How to Serve: I usually serve this straight from the board with a variety of dippers. Crackers are classic, but try pretzel rods, cucumber slices, bell pepper strips, or even pork rinds for a low-carb option. Place it in the center of the table as a centerpiece.
Side Dishes: Pair with crispy potato skins, cheesy nachos, or spicy wings. The creamy cheese ball balances the heat and crunch of these other snacks.
Toppings Bar: When I have guests, I put out extra bacon bits, jalapeño slices, and green onions. Everyone can customize their bite.
Storage Instructions:
Refrigerator: Store in an airtight container for up to 5 days. The crumbs may soften, but the flavor is still great. Bring to room temperature for 30 minutes before serving.
Freezing: You can freeze the cheese ball before coating it. Wrap tightly in plastic and foil. Freeze for up to 2 months. Thaw in the fridge overnight, then coat and serve. The coating won’t freeze well, so always coat fresh.
Pro Tip: If the cheese ball gets too soft while serving, pop it back in the fridge for 15 minutes to firm up.
Nutrition Information
I’m not a nutritionist, but here’s the breakdown if you’re tracking. This is a rich, calorie-dense snack, so portion control is key.
Per Serving (based on 12 servings, 1 oz portion):
- Calories: 180
- Protein: 6g
- Carbs: 8g
- Fiber: 0g
- Sugar: 1g
- Fat: 14g
- Saturated Fat: 8g
- Cholesterol: 35mg
- Sodium: 320mg
What’s Good: High in protein from the cheese and bacon. Good source of calcium.
What to Know: Higher in calories and saturated fat due to cream cheese and bacon. Moderate sodium. Use low-sodium bacon to reduce salt.
My Take: Look, this is game day food. It’s indulgent. It’s not a diet recipe. But it’s way better than store-bought snacks, and you control the ingredients. When I want to make it lighter, I use the low-fat version and load up on veggie dippers. But usually? I just enjoy a small portion and savor it.
Final Thoughts
So that’s my go-to Game Day Loaded Football Cheese Ball! I’ve probably talked your ear off at this point, but when you make a recipe this often, you have a lot to say about it.
This has saved game day dinners more times than I can count. It’s my answer to “what’s for snacks” when I’m tired, don’t want takeout, and still want something that looks impressive. My friends are happy, my family’s happy, and I’m happy because I’m not stressed about cooking.
Make it yours! Try different add-ins, swap in your favorite vegetables, adjust the spice level. The best recipes are the ones you adapt to your family’s tastes. And don’t forget to pair it with those five easy party snacks I mentioned—crispy potato skins, cheesy nachos, and spicy wings work great.
If you make this, drop a comment and let me know what you think! I love hearing how recipes turn out in your kitchen. And if something doesn’t work, tell me that too—I’m here to help troubleshoot.
Happy cooking! And I hope your kitchen smells half as good as mine does right now.
Frequently Asked Questions
Can I make this ahead of time?
Yes! In fact, it’s best made the night before. The cheese ball needs to chill for at least 2 hours to firm up. You can make the base up to 2 days in advance. Just shape it, wrap it, and refrigerate. Coat it with crumbs and add laces the day of the party.
Why is my cheese ball too soft?
Usually, this means the cream cheese wasn’t cold enough when you started, or you added too many wet ingredients (like undrained jalapeños). Make sure your cream cheese is softened but not warm. Drain your jalapeños well. If it’s too soft, chill it for 30 minutes before shaping.
Can I use store-bought bacon bits?
You can, but real bacon tastes better. Store-bought bits are often sweeter and less crunchy. If you use them, look for a variety with no added sugar. Real bacon adds a smoky depth that store-bought bits lack.
How long does this last in the fridge?
Stored in an airtight container, it will last up to 5 days. The flavor may intensify, and the crumbs may soften. Bring to room temperature for 30 minutes before serving for the best texture.
Can I freeze this?
You can freeze the cheese ball base before coating it. Wrap tightly in plastic and foil. Freeze for up to 2 months. Thaw in the fridge overnight. Do not freeze the coated ball, as the crumbs will become soggy.
What can I use instead of Ritz crackers?
You can use any buttery cracker. Goldfish crackers, saltines, or even crushed pretzels (for a different flavor) work. Just make sure they are fine enough to create a smooth coating.
Can I make this without jalapeños?
Yes! Use roasted red peppers, diced pickles, or omit the spice entirely. Add more green onions or chives for flavor. The cheese ball will still be delicious, just less spicy.
Pin This Recipe!
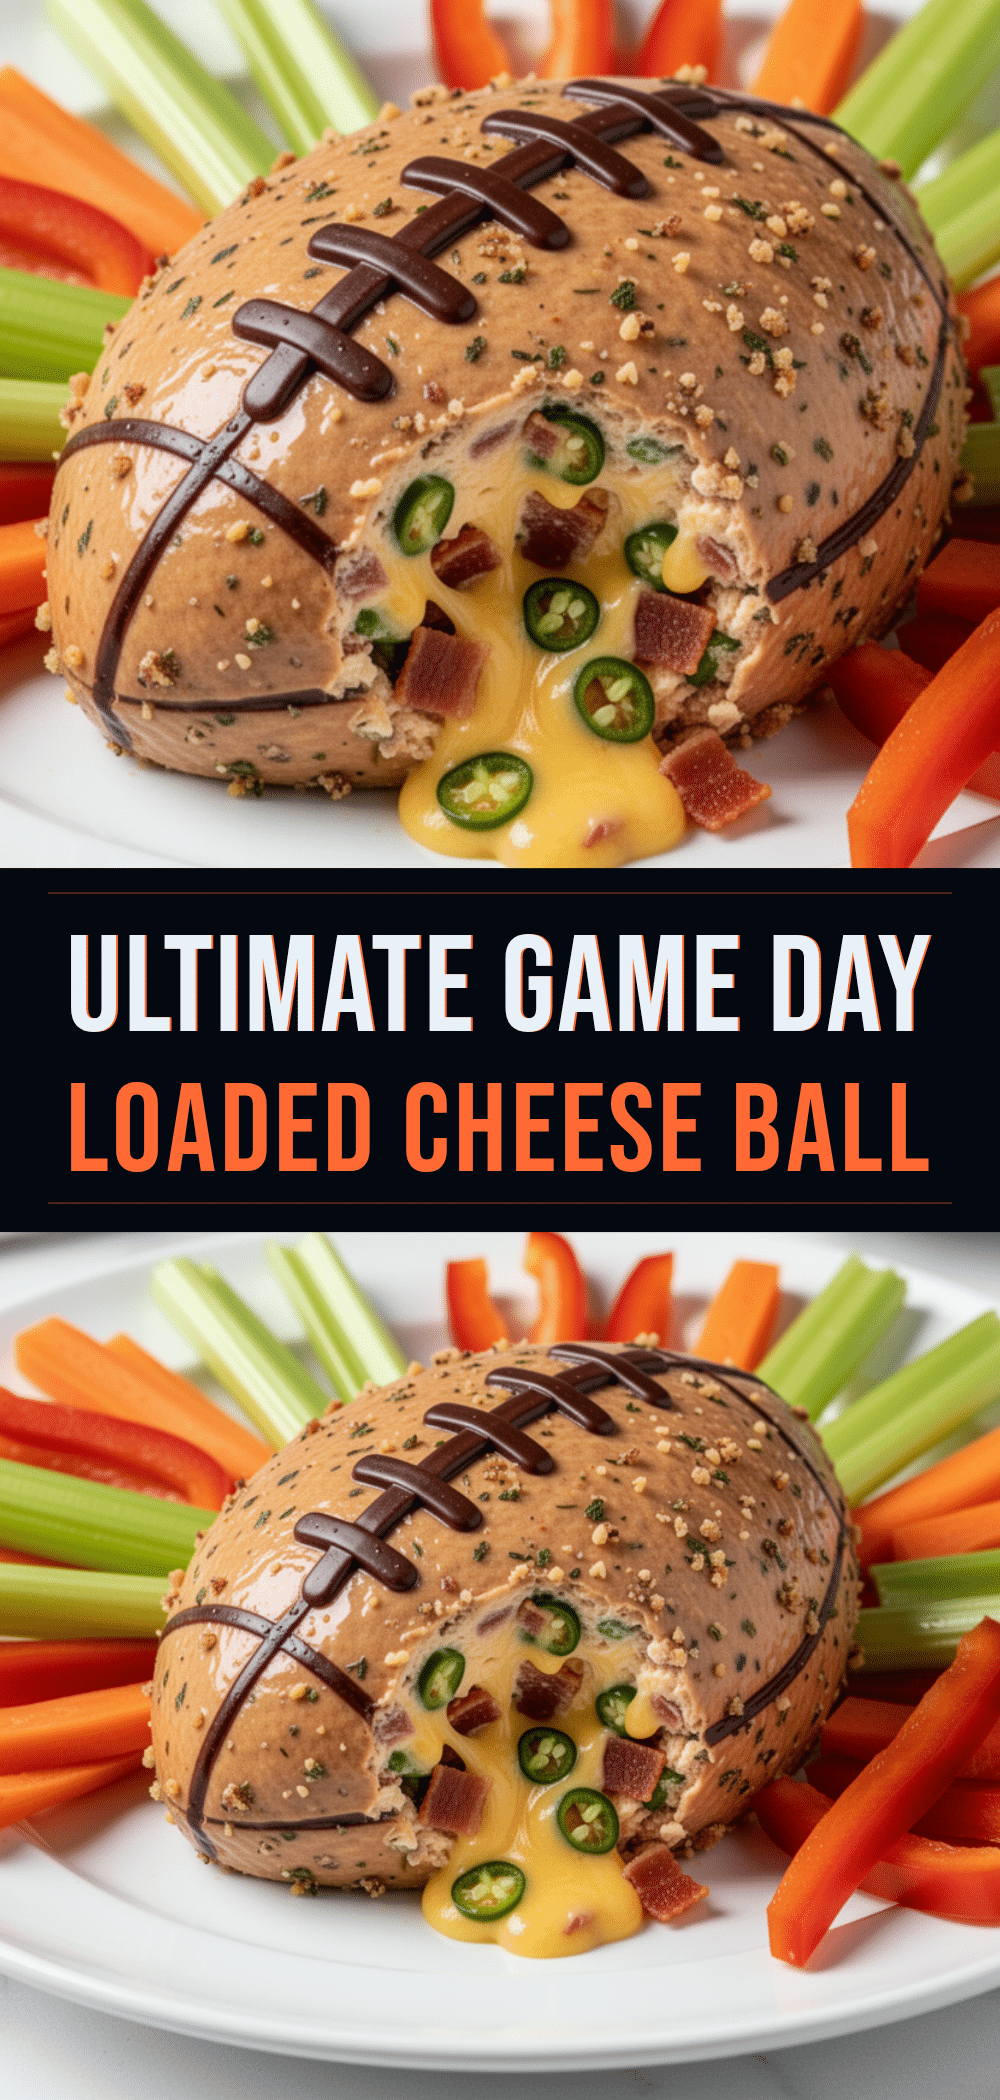
Game Day Loaded Football Cheese Ball
- Total Time: 2 hours 30 minutes
- Yield: 12 servings 1x
Description
An impressive yet easy-to-make appetizer shaped like a football, featuring a creamy base of cream cheese, sharp cheddar, bacon, and jalapeños, coated in green-crushed crackers to resemble grass.
Ingredients
- 8 ounces softened cream cheese
- 1 cup grated sharp cheddar cheese
- 1 cup crispy bacon bits (cooked and crumbled)
- 1/2 cup diced jalapeños, drained
- 3 stalks green onions, finely chopped
- 1 teaspoon garlic powder
- 1/2 teaspoon onion powder
- Salt and black pepper to taste
- 1 cup crushed Ritz crackers
- 2–3 drops green food coloring (gel)
- 1 tablespoon melted butter
- 2 tablespoons plain cream cheese (for laces)
Instructions
- Crush Ritz crackers into fine crumbs and mix with green food coloring in a shallow bowl.
- In a mixing bowl, combine softened cream cheese, cheddar, bacon, jalapeños, green onions, garlic powder, onion powder, salt, and pepper. Mix until smooth.
- Shape the mixture into an oblong football (8-9 inches long) on parchment paper. Wrap tightly and refrigerate for at least 2 hours or overnight.
- Remove cheese ball from fridge and brush lightly with melted butter.
- Roll the chilled football in the green crumb mixture, pressing gently to adhere.
- Pipe laces and yard lines onto the football using plain cream cheese in a piping bag or ziplock bag with the corner snipped.
- Refrigerate for at least 30 minutes to set the details before serving.
Notes
Drain jalapeños thoroughly to prevent a runny texture. Use gel food coloring for better results. The cheese ball is best made the night before to allow flavors to meld and to firm up. Store in an airtight container for up to 5 days.
- Prep Time: 30 minutes
- Cook Time: 0 minutes
- Category: Appetizer
- Cuisine: American
Nutrition
- Serving Size: 1 oz portion
- Calories: 180
- Sugar: 1
- Sodium: 320
- Fat: 14
- Saturated Fat: 8
- Carbohydrates: 8
- Protein: 6
Keywords: game day snacks, football cheese ball, party appetizer, bacon cheese ball, jalapeño cheese ball, easy party food, super bowl snacks


