I have a confession to make. I used to think cheesecake was too much work. Like, actual work. You know the kind—water baths, springform pans that leak, worrying about cracks, spending an hour cleaning up batter splatter. I’d rather just buy a slice from the bakery. Or honestly, just eat a cookie.
Then I made the Basque Burnt Cheesecake for the first time. And not just any Basque cheesecake, but the Labor Day frozen lemonade icebox pie vibe of dessert—simple, no-fuss, but somehow impressive enough to make people stop and stare.
This was three years ago, right before a summer dinner party. I was stressed, the grill was already smoking outside, and I needed a dessert that wouldn’t require me to monitor it like a hawk. So I threw together what I thought would be a mediocre, rustic cheesecake. I cranked the oven to 425°F (220°C), which felt dangerously high for dairy, and just let it go.
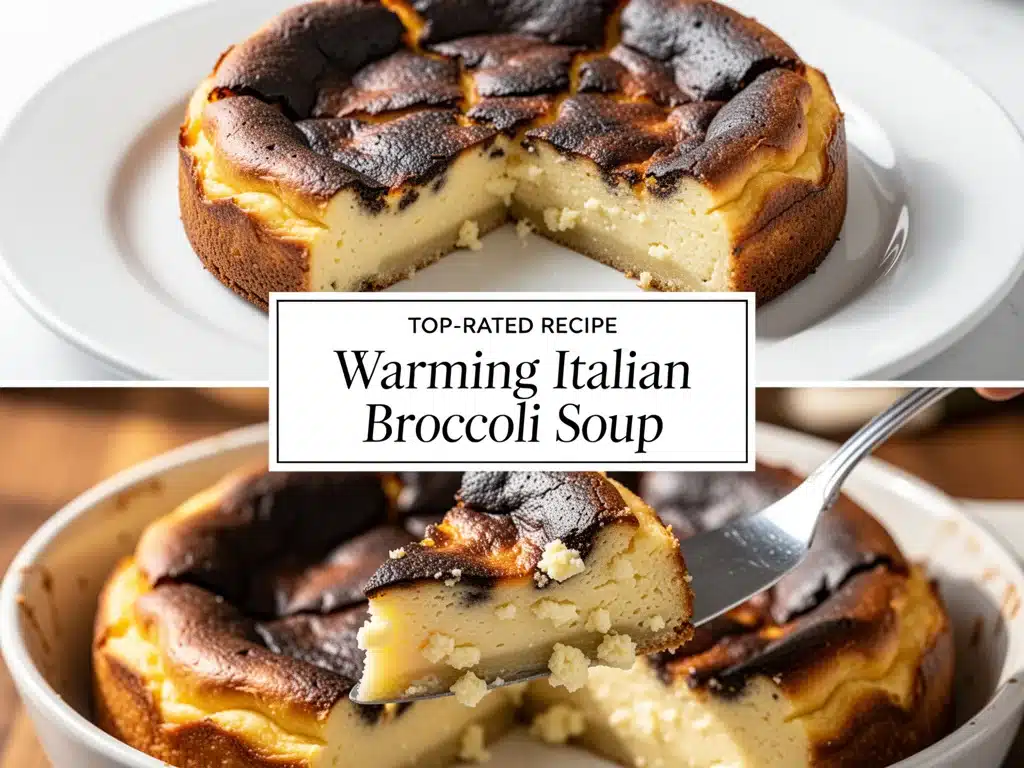
When I pulled it out, it looked like a disaster. The top was dark, almost black. The center was wobbling like Jell-O. I wanted to order pizza instead. But my friends kept eating it. They loved the contrast—the bitter, caramelized crust against the creamy, custardy center. It tasted like something from a high-end restaurant in San Sebastian, but I made it in my home kitchen in 10 minutes of prep time.
That was the moment I fell in love. This Restaurant-Style Basque Burnt Cheesecake you’ll make on repeat isn’t just a dessert; it’s a hack. It’s the cheesecake that forgives your mistakes. It’s the one you make when you want to feel like a pastry chef but only have 15 minutes of free time. And trust me, once you try it, you’ll be making it every weekend.
Why You’ll Love This Recipe
There are about ten reasons I keep coming back to this Basque Burnt Cheesecake, but here are the big ones that keep it in my regular rotation.
It’s Forgiving — Seriously, if you can mix cream cheese and sugar, you can make this. No water bath. No worrying about cracks. In fact, you *want* it to look a little messy. The “burnt” top is the whole point. I’ve made this while half-asleep on the couch, and it still turns out perfect.
Texture Magic — This isn’t the dense, brick-like cheesecake from the grocery store. It’s creamy, rich, and has a custard-like center that melts in your mouth. The outside is slightly crisp and bitter, while the inside is smooth and sweet. It’s the best of both worlds.
Minimal Cleanup — You line the pan with parchment paper, mix everything in one bowl, and bake. That’s it. No greasing, no intricate crusts, no sticky edges. Just throw the parchment in the trash and you’re done. This is huge for me, especially after a big meal.
Make-Ahead Friendly — This cheesecake actually gets better the next day. The flavors meld, the texture firms up, and it’s even easier to slice. I usually make it the night before a dinner party so I’m not stressing on the day of.
Crowd-Pleaser — I’ve served this to my cheese-loving aunt and my dessert-hating brother. Everyone asks for the recipe. It’s elegant enough for holidays but casual enough for a Tuesday night treat.
This is my go-to when I want to impress without trying too hard. No complicated techniques, no weird ingredients, just reliable, delicious food that makes everyone happy.
Ingredients You’ll Need
Here’s the best part: you probably have most of this already. This fluffy ricotta lemon pancakes vibe of simplicity extends to desserts too. You don’t need fancy gadgets or hard-to-find items.
Cream Cheese (32 oz / 900g) — This is the star. Use full-fat, block-style cream cheese. The brick kind from the dairy section, not the whipped kind in the tub. Whipped has air in it and will change the texture. Let it come to room temperature for 30 minutes before you start. This is non-negotiable for a smooth batter.
Granulated Sugar (1 cup / 200g) — White sugar gives that nice caramelization on top. Brown sugar works too, but it’ll be darker and chewier. I stick with white for that classic Basque look.
Large Eggs (5 large) — Room temperature eggs blend better. If your eggs are cold, run them under warm water for a few minutes. They help set the custard and add richness.
Sour Cream (1 cup / 240g) — This is the secret weapon. It adds tang and keeps the center creamy. Some recipes use heavy cream, but I find sour cream gives that perfect balance of richness and brightness. Full-fat only.
All-Purpose Flour (2 tablespoons / 16g) — Just a little bit. It stabilizes the cheesecake so it doesn’t collapse. Don’t skip it, but don’t add more, or it’ll get cakey.
Vanilla Extract (1 teaspoon) — Pure vanilla, not imitation. It enhances the dairy flavor without overpowering it. If you don’t have vanilla, you can skip it, but it adds a nice depth.
Parchment Paper — You’ll need a large sheet to line your springform pan. This is crucial for getting the cheesecake out easily and creating those rustic, burnt edges.
Optional Add-ins:
Berries (1 cup) — Fresh or frozen raspberries or blueberries. I like to press them into the top before baking for a pretty presentation.
Lemon Zest (1 teaspoon) — Adds a fresh note that cuts through the richness. Great if you want a lighter taste.
Shopping Tips:
Cream Cheese: I buy the 8-oz blocks and get four. Never buy the tub.
Sour Cream: Check the expiration date. If it’s been sitting in the back of the fridge for weeks, it might be too thin.
Eggs: Large eggs are standard in US recipes. If you’re using extra-large, you might need one less.
Equipment Needed
You don’t need fancy equipment for this. Here’s what I actually use.
9-Inch Springform Pan — This is the traditional pan for cheesecakes. The springform allows you to release the sides easily. I use a high-quality one to prevent leaks. If you don’t have one, you can use a 9-inch round cake pan, but you’ll need to line it well and invert the cheesecake to serve.
Large Mixing Bowl — Something big enough to hold all the ingredients. I prefer a glass or stainless steel bowl because it’s easy to scrape down the sides.
Electric Mixer — A hand mixer or stand mixer makes this easier, but you can do it by hand with a whisk. If you mix by hand, take your time to avoid lumps. I use a hand mixer on low speed to avoid incorporating too much air.
Parchment Paper — You’ll need a large sheet. I usually cut two strips and crumple them up before pressing them into the pan. This creates those signature burnt edges.
Whisk or Spatula — For scraping the bowl and folding in ingredients. A silicone spatula is great because it gets into the corners.
Oven — Obviously. Preheat it to 425°F (220°C). Make sure your oven is calibrated correctly. If your oven runs hot, you might need to check it a few minutes early.
Cooling Rack — For cooling the cheesecake after baking. Don’t skip this step. Sudden temperature changes can cause cracking.
Knife — A thin-bladed knife for slicing. Run it under hot water and wipe dry between cuts for clean slices.
How to Make It: Step-by-Step
Alright, let’s make this! I’m walking you through exactly how I do it, including the little tricks I’ve picked up over the years.
Step 1: Prep Your Pan (5 minutes)
Preheat your oven to 425°F (220°C). This high heat is key to getting that burnt top. Line your 9-inch springform pan with parchment paper. Cut two strips of parchment paper, each about 10 inches wide and 15 inches long. Crumple them up into a ball, then press them into the pan. They should fit snugly, with excess hanging over the edges. This crumpled look is what gives the cheesecake its rustic, burnt edges. Don’t worry if it looks messy—it’s supposed to.
Step 2: Mix the Cream Cheese (3 minutes)
In a large bowl, add the room-temperature cream cheese. Using an electric mixer on low speed, beat the cream cheese until it’s smooth and creamy. Scrape down the sides of the bowl with a spatula. You want no lumps. If you’re mixing by hand, this will take a bit longer, but it’s worth it for a smooth texture. The goal is a silky, uniform base.
Step 3: Add the Sugar (2 minutes)
Pour in the granulated sugar. Mix on low speed until the sugar is incorporated and the mixture looks slightly fluffy. Scrape down the bowl again. Don’t overmix here; you just want the sugar dissolved. The mixture should be pale and smooth.
Step 4: Incorporate the Eggs (3 minutes)
Add the eggs one at a time, mixing on low speed after each addition. Wait until each egg is just combined before adding the next. Overmixing at this stage can incorporate too much air, which might cause the cheesecake to rise and then fall. You want a dense, rich batter. Scrape the bowl again.
Step 5: Add Sour Cream and Flour (2 minutes)
Pour in the sour cream and add the flour. Mix on low speed until just combined. The batter should be thick and pourable. If it looks too thick, you can add a splash of milk, but it’s usually not necessary. Taste a tiny bit (raw eggs are fine in small amounts, but don’t eat the whole thing). It should taste sweet and creamy.
Step 6: Bake (45-55 minutes)
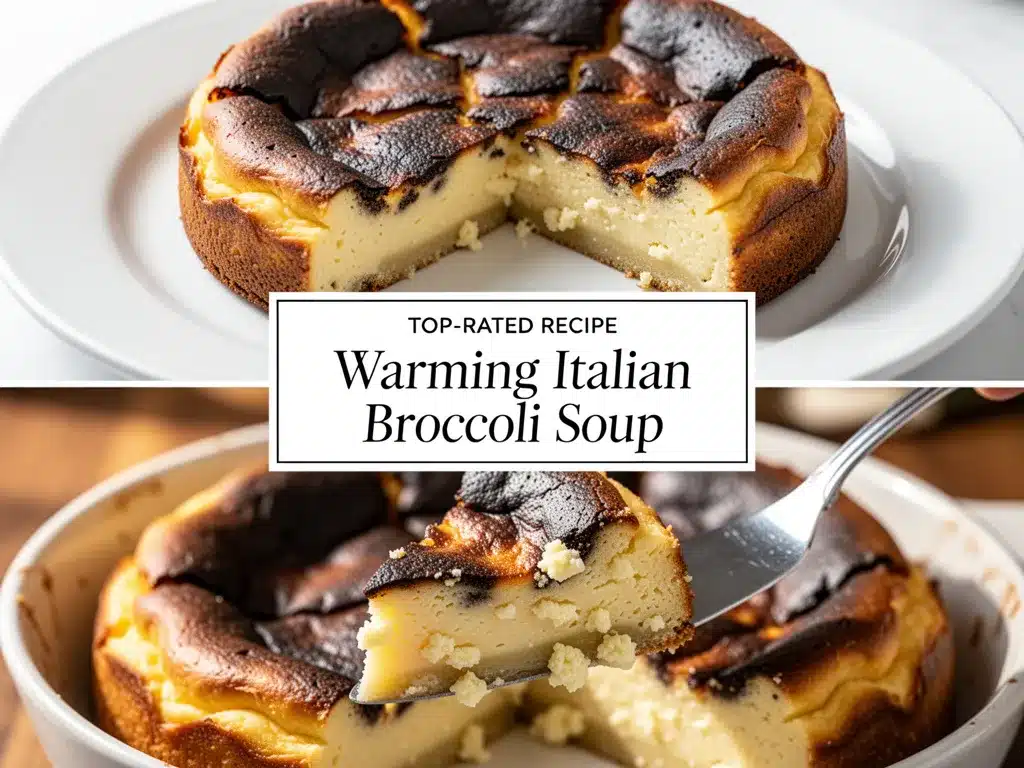
Pour the batter into the prepared pan. Smooth the top with a spatula. Place the pan in the center of the oven. Bake at 425°F (220°C) for 45-55 minutes. The cheesecake is done when the edges are deeply browned (almost black) and the center is still jiggly, like Jell-O. It should not be set in the middle. This is the hallmark of a good Basque cheesecake. If it’s firm, you’ve overbaked it.
Step 7: Cool and Chill (4 hours minimum)
Remove the cheesecake from the oven and let it cool in the pan on a wire rack for 10 minutes. It will deflate slightly—this is normal. Then, leave it in the pan at room temperature for another hour. After that, remove the sides of the springform pan (if you didn’t line the bottom well, you might want to leave it in) and transfer the whole pan to the fridge. Chill for at least 4 hours, preferably overnight. This step is crucial for the texture to set properly.
Total Time: About 1 hour 15 minutes active, plus 4+ hours chilling.
Expert Tips & Tricks
Here’s everything I’ve learned from making this dozens of times. These tips will save you from my mistakes.
Room Temperature is Key
Cold cream cheese leads to lumps. Take it out of the fridge at least 30 minutes before you start. If you forget, you can microwave it in 10-second bursts, but be careful not to melt it. Just soften it.
Don’t Overmix
Once you add the eggs, mix on low speed and only until combined. Overmixing adds air, which can cause the cheesecake to rise too much and then crack or collapse. You want a dense, creamy texture, not a fluffy cake.
The Jiggle Test
The center should jiggle like Jell-O when you take it out of the oven. It will continue to cook as it cools. If it’s firm, it’s overbaked. Trust the jiggle. It’s better to underbake than overbake.
Parchment Paper is Your Friend
Don’t skip the crumpled parchment. It creates those signature burnt edges and makes removal easy. If you don’t line it well, the cheesecake might stick, and you’ll lose that rustic look.
Chill Overnight
I know it’s tempting to eat it right away, but chilling overnight makes a huge difference. The flavors meld, the texture firms up, and it’s much easier to slice. Plan ahead.
Common Mistakes (and how to avoid them):
Mistake: Cheesecake is too dense
Fix: You might have overmixed the cream cheese. Beat it until smooth, but don’t whip air into it. Also, ensure your eggs are room temperature.
Mistake: Cheesecake is too runny
Fix: You might have underbaked it. Leave it in the oven for a few more minutes. Remember, it should still jiggle, but not be liquid.
Mistake: Cheesecake cracked
Fix: This shouldn’t happen with Basque cheesecake, but if it does, it’s likely due to overmixing or too-high oven temperature. Check your oven calibration.
Pro Tricks I’ve Learned:
For Extra Flavor
Add a teaspoon of vanilla bean paste instead of extract. It gives tiny black specks and a richer flavor.
For Better Presentation
Dust with powdered sugar or fresh berries before serving. It adds a pop of color and sweetness.
For Slicing
Run your knife under hot water and wipe dry between cuts. This ensures clean, beautiful slices.
Variations & Substitutions
Once you’ve nailed the basic version, here’s how you can mix it up. I’ve tried all of these.
Berry Swirl
Add 1 cup of fresh or frozen berries (raspberries, blueberries, or blackberries) to the batter. Gently fold them in, or swirl them on top before baking. The berries add a tart contrast to the rich cheesecake.
Chocolate Chip
Fold in ½ cup of chocolate chips. This is a great option if you have kids or chocolate lovers. It adds pockets of gooey chocolate.
Lemon Zest
Add the zest of one lemon to the batter. This adds a bright, citrusy flavor that cuts through the richness. Great for spring and summer.
Coconut
Replace the sour cream with coconut cream and add ½ cup of shredded coconut. This gives a tropical twist. Use full-fat coconut milk for the cream.
Gluten-Free
This recipe is naturally gluten-free (except for the small amount of flour). Use gluten-free flour if you want to be safe, or just omit it. The texture will be slightly different, but still delicious.
Dairy-Free
Use vegan cream cheese and coconut cream. This is a bit trickier, but there are good vegan brands available. The texture might be slightly less creamy, but it’s still a great option.
Lower-Sugar
Reduce the sugar to ¾ cup. It will still be sweet, but less so. You can also use a sugar substitute, but the browning might be different.
Serving & Storage
How to Serve:
I usually serve this straight from the fridge, sliced into wedges. It’s elegant and simple. But here are other ways I’ve enjoyed it:
Side Dishes:
Fresh berries (raspberries, strawberries, blueberries)
Whipped cream (if you want to go all out)
A drizzle of caramel or chocolate sauce
Fresh mint leaves for garnish
Wine Pairing:
Not a wine expert, but my wine-snob friend says a crisp Sauvignon Blanc or a sweet Riesling works great with this. The sweetness balances the tartness of the berries.
Storage Instructions:
Refrigerator:
Store in an airtight container or covered with plastic wrap for up to 5 days. It actually gets better after a day or two.
Freezing:
You can freeze this cheesecake! Wrap it tightly in plastic wrap and then in aluminum foil. It will last for up to 3 months. Thaw it in the fridge overnight before serving. The texture might be slightly softer, but it’s still delicious.
Reheating:
Don’t reheat this cheesecake. It’s best served cold. If you want it slightly softer, let it sit at room temperature for 15-20 minutes before serving.
Pro tip: If leftovers are drying out, cover them tightly with plastic wrap. This keeps them moist and fresh.
Nutrition Information
I’m not a nutritionist, but here’s the breakdown if you’re tracking.
Per Serving (based on 12 servings):
| Nutrient | Amount |
|---|---|
| Calories | 380 |
| Protein | 6g |
| Carbs | 28g |
| Fiber | 0g |
| Sugar | 26g |
| Fat | 28g |
| Saturated Fat | 17g |
| Cholesterol | 110mg |
| Sodium | 250mg |
| Calcium | 120mg |
What’s Good:
– Rich in calcium from the cream cheese and sour cream
– High in protein for a dessert
– Can be made gluten-free easily
What to Know:
– Higher in calories and fat from the dairy
– Contains dairy and eggs
– Moderate sugar content (reduce sugar for a lower-sugar version)
My Take:
Look, this is a rich, creamy dessert. It’s not a diet recipe. But it’s way better than store-bought cheesecake, costs less, and I know exactly what’s in it. When I want to make it lighter, I use the lemon zest version and serve it with fresh berries. But usually? I just eat a reasonable portion and enjoy it.
Final Thoughts
So that’s my go-to Restaurant-Style Basque Burnt Cheesecake! I’ve probably talked your ear off at this point, but when you make a recipe this often, you have a lot to say about it.
This has saved dessert nights more times than I can count. It’s my answer to “what’s for dessert” when I’m tired, don’t want to bake a complicated cake, and still want something that tastes really good. My kids are happy, my friends are impressed, and I’m happy because I’m not stressed about cooking.
Make it yours! Try different add-ins, swap in your favorite berries, adjust the sugar. The best recipes are the ones you adapt to your family’s tastes. If you make this, drop a comment and let me know what you think! I love hearing how recipes turn out in your kitchen. And if something doesn’t work, tell me that too—I’m here to help troubleshoot.
Happy baking! And I hope your kitchen smells half as good as mine does right now.
Frequently Asked Questions
Can I use a different pan?
You can use a 9-inch round cake pan, but you’ll need to line it well with parchment paper and grease it. You’ll also need to invert the cheesecake to serve it, which can be tricky. A springform pan is best for easy removal.
Why did my cheesecake crack?
Basque cheesecake is supposed to have a cracked, rustic top. If you mean it cracked badly, it might be due to overmixing or too-high oven temperature. Make sure you’re not incorporating too much air into the batter.
Can I make this ahead for a dinner party?
Absolutely! This cheesecake is even better the next day. Make it 1-2 days ahead and store it in the fridge. It will be firm and easy to slice. This is one of the best things about this recipe.
Why did my cheesecake turn out runny?
If it’s still runny after chilling overnight, you might have underbaked it. Leave it in the oven for a few more minutes next time. Remember, it should jiggle like Jell-O when it comes out, but it will set as it cools.
Can I use low-fat cream cheese?
You can, but the texture will be different. Low-fat cream cheese has more water and less fat, which can make the cheesecake less creamy and more prone to cracking. Full-fat is best for this recipe.
How do I store leftovers?
Store in an airtight container in the fridge for up to 5 days. You can also freeze it for up to 3 months. Wrap it tightly in plastic wrap and then in aluminum foil.
Can I add fruit to the batter?
Yes! Fresh or frozen berries work great. Just gently fold them in or swirl them on top. Be careful not to overmix, or the fruit might bleed into the batter.
Pin This Recipe!

Restaurant-Style Basque Burnt Cheesecake
- Total Time: 4 hours 65 minutes
- Yield: 12 servings 1x
Description
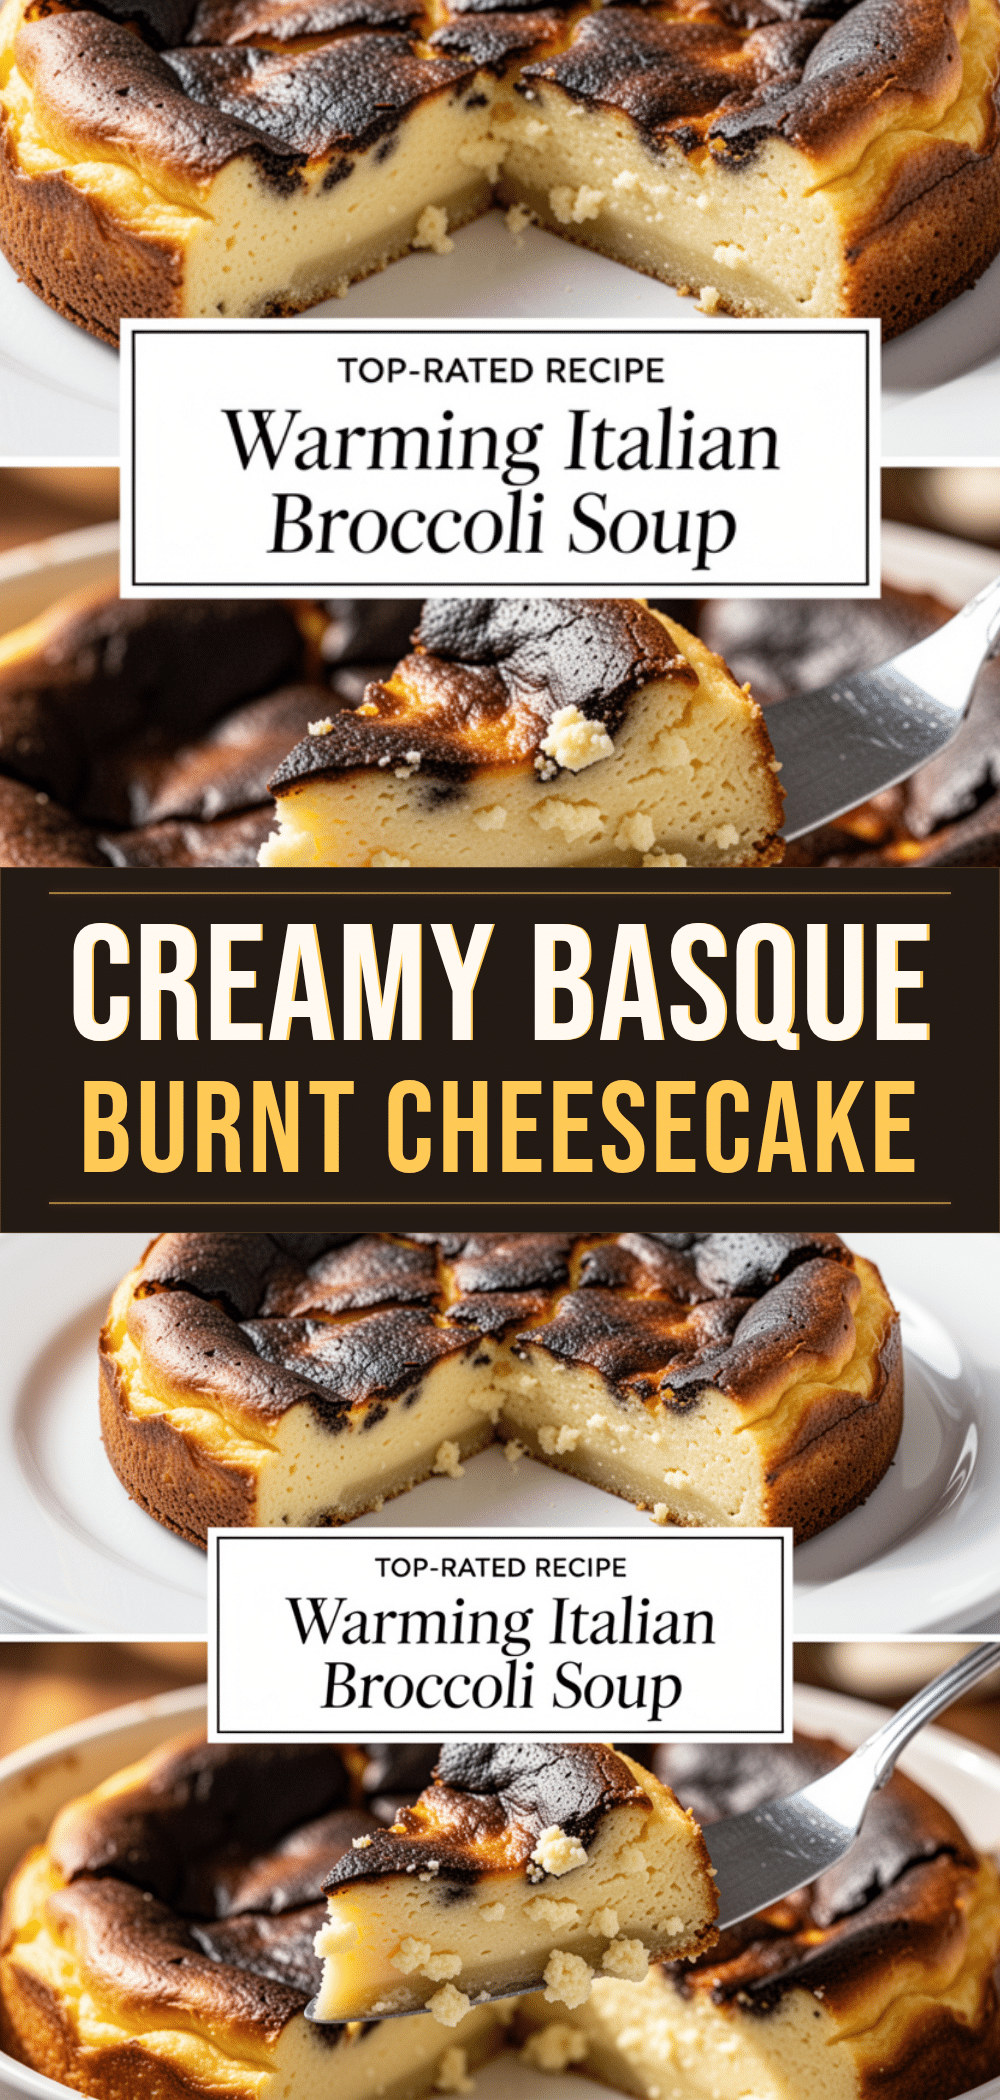
A simple, no-fuss Basque Burnt Cheesecake that features a dark, caramelized crust and a creamy, custardy center. It requires no water bath and is forgiving to make, resulting in a restaurant-quality dessert.
Ingredients
- 32 oz (900g) full-fat block-style cream cheese, room temperature
- 1 cup (200g) granulated sugar
- 5 large eggs, room temperature
- 1 cup (240g) full-fat sour cream
- 2 tablespoons (16g) all-purpose flour
- 1 teaspoon pure vanilla extract
- Parchment paper (for lining the pan)
- Optional: 1 cup fresh or frozen berries
- Optional: 1 teaspoon lemon zest
Instructions
- Preheat oven to 425°F (220°C).
- Line a 9-inch springform pan with crumpled parchment paper strips, ensuring excess hangs over the edges for rustic burnt sides.
- In a large bowl, beat the room-temperature cream cheese on low speed until smooth and creamy, scraping down the sides as needed.
- Add the granulated sugar and mix on low speed until incorporated and the mixture is slightly fluffy.
- Add eggs one at a time, mixing on low speed just until combined after each addition to avoid incorporating too much air.
- Pour in the sour cream and add the flour, mixing on low speed until just combined. The batter should be thick and pourable.
- Pour the batter into the prepared pan and smooth the top.
- Bake at 425°F (220°C) for 45-55 minutes. The edges should be deeply browned (almost black) and the center should still jiggle like Jell-O.
- Remove from the oven and let cool in the pan on a wire rack for 10 minutes.
- Leave the cheesecake in the pan at room temperature for another hour.
- Remove the sides of the springform pan and transfer to the refrigerator.
- Chill for at least 4 hours, preferably overnight, before slicing and serving.
Notes
Ensure cream cheese and eggs are at room temperature for a smooth batter. Do not overmix after adding eggs to prevent cracking or collapsing. The center should jiggle when removed from the oven; it will set as it cools. Chilling overnight significantly improves texture and flavor.
- Prep Time: 15 minutes
- Cook Time: 50 minutes
- Category: Dessert
- Cuisine: Spanish
Nutrition
- Serving Size: 1 slice
- Calories: 380
- Sugar: 26
- Sodium: 250
- Fat: 28
- Saturated Fat: 17
- Carbohydrates: 28
- Protein: 6
Keywords: Basque Burnt Cheesecake, easy cheesecake, no water bath, rustic cheesecake, creamy cheesecake, dessert recipe


