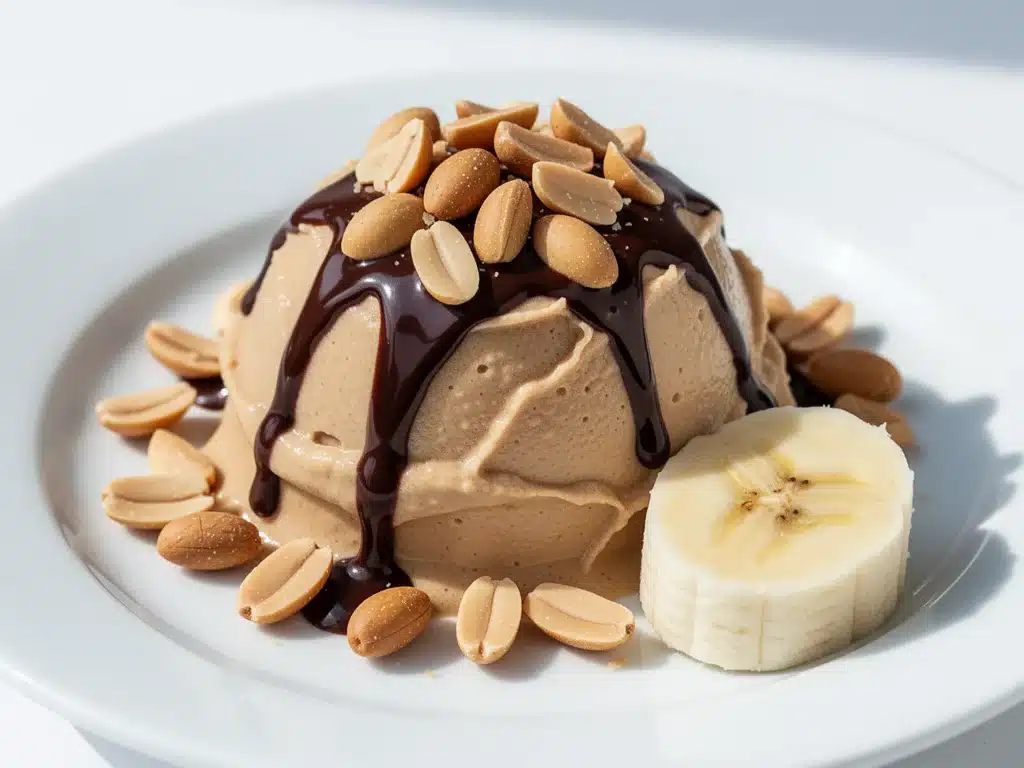
It was a Tuesday in July, the kind where the heat hits you the second you step outside and your AC unit is wheezing louder than you are. I had just come from the grocery store, exhausted, and all I wanted was something cold, sweet, and comforting without the guilt of a heavy dairy dessert. I opened the freezer, hoping for something salvageable, and found three bananas that had gone from “yellow with spots” to “completely black.” They were overripe. Perfectly, squishily, undeniably overripe.
Usually, I’d toss them into the compost bin or save them for banana bread. But that day, I was too tired to bake. So, I threw them in the blender with a scoop of peanut butter, a splash of almond milk, and a dash of maple syrup. I hit blend. I waited. And then, magic happened. It wasn’t a smoothie. It wasn’t a soup. It was thick, cold, and creamy—exactly like soft-serve ice cream.
I ate it straight from the blender pitcher, standing in my kitchen in my pajamas, feeling like I’d just discovered gold. This vegan peanut butter banana nice cream wasn’t just a quick fix; it was a revelation. It was rich, it was sweet, it was dairy-free, and it tasted like dessert, not a health food compromise.
I’ve made this vegan peanut butter banana nice cream probably fifty times since that humid Tuesday. Sometimes I eat it with chocolate chips. Sometimes I swirl in some caramel. Sometimes I just eat it plain because that peanut butter-banana combo is hypnotic. It has become my go-to remedy for hot days, late-night cravings, and even post-workout recovery (yes, really). If you’re looking for a healthy dessert that actually tastes indulgent, you need to try this. It’s simple, it’s healthy, and it’s going to change how you think about frozen treats forever.
Why You’ll Love This 5-Ingredient Dessert
Let’s be real for a second. Most “healthy” desserts taste like cardboard or require a dozen ingredients you don’t have in your pantry. This vegan peanut butter banana nice cream breaks that mold completely. Here’s why it’s earned a permanent spot in my freezer rotation:
- Stupid Simple Ingredients — You only need five things. Bananas, peanut butter, milk, sweetener, and salt. That’s it. No weird gums, no stabilizers, no trip to a specialty store. If you can read a grocery list, you can make this.
- Ready in Minutes — There’s no churning, no ice cream maker needed, and no waiting hours for it to freeze. You blend, you eat. It’s the fastest dessert hack in my book. I make this when I want something sweet at 9 PM and don’t want to wait around.
- Actually Creamy — I know what you’re thinking. “Banana ice cream? Isn’t that just frozen banana chunks?” No. Not when you add the right ratio of peanut butter and fat. It gets that velvety, soft-serve texture that satisfies the craving without leaving you feeling heavy.
- Protein-Packed — Unlike a bowl of sorbet or a scoop of light ice cream, this has real protein and healthy fats from the peanut butter. It keeps you full. I’ve had this as a post-dinner treat and it stopped my sugar cravings dead in their tracks.
- Infinitely Customizable — The base is just the foundation. Once you master this vegan peanut butter banana nice cream, you can add anything. Nutella? Yes. Espresso? Absolutely. Berries? Go for it. It’s your blank canvas.
This recipe is my answer to “what’s for dessert?” when I want something special but don’t want to turn my kitchen into a flour bomb. It’s reliable, it’s delicious, and it’s genuinely good for you. Or at least, guilt-free enough that I don’t feel bad eating it.
Ingredients You’ll Need
Here’s the best part: you probably have almost all of this already. I’m not being dramatic. This vegan peanut butter banana nice cream relies on pantry staples and freezer basics. Here’s exactly what you need and why each ingredient matters.
The Base
Ripe Bananas (3 large, frozen / about 450g) — This is the star. They must be frozen. And they must be ripe. I mean *ripe*. Brown skins, black spots, squishy to the touch. The riper they are, the sweeter the ice cream will be without needing extra sugar. If they’re yellow, they’ll taste like frozen bananas, not ice cream. Slice them in half before freezing for easier blending.
Peanut Butter (2 tablespoons / 32g) — This is the secret to the creamy texture. The fat in the peanut butter prevents the ice crystals from forming, giving it that soft-serve mouthfeel. Use natural, creamy peanut butter. Avoid the ones with added oil that separates, unless you stir it really well. Natural peanut butter gives the best flavor.
The Liquid & Sweetener
Plant Milk (2-3 tablespoons / 30-45ml) — You need a little liquid to help the blender get going. Almond milk is my go-to because it’s light and doesn’t overpower the banana. Oat milk works too, but it’s thicker. Use unsweetened milk so you control the sugar. Don’t add too much, or you’ll get a smoothie, not ice cream.
Maple Syrup (1 tablespoon / 20ml) — Optional, but recommended if your bananas aren’t super ripe. Maple syrup adds a deeper, caramel-like sweetness that pairs perfectly with peanut butter. Agave or date syrup works too, but maple is my favorite. Skip it if your bananas are very sweet.
The Flavor Boosters
Salt (1 pinch / a small pinch) — This is non-negotiable. Salt enhances the sweetness and brings out the peanut butter flavor. Without it, the ice cream tastes flat. Just a tiny pinch is enough.
Vanilla Extract (1 teaspoon / 5ml) — Adds warmth and complexity. It makes it taste more like “dessert” and less like “snack.” Use real vanilla extract, not imitation. A little goes a long way.
Optional Add-Ins — Chocolate chips (dark vegan ones), crushed peanuts, cacao nibs, or a swirl of nutella. I keep these in the freezer specifically for this recipe.
Equipment Needed
You don’t need fancy gadgets for this. Here’s what I actually use:
High-Speed Blender — A Vitamix or Ninja works best because they crush frozen fruit easily. But a standard blender works too, you just might need to stop and scrape down the sides more often. If you have a blender with a tamper, use it!
Freezer-Safe Container — An airtight container or a ziplock bag. I use glass containers because they don’t stain, but plastic works fine. Make sure it has a tight lid so ice crystals don’t get in.
Baking Sheet & Parchment Paper — For freezing the banana slices. This is crucial. If you freeze whole bananas, they’re impossible to break apart later. Slicing them first saves your blender blades (and your sanity).
Spatula — To scrape down the sides of the blender and to serve the nice cream. A silicone spatula is best because it’s flexible and gets every bit out.
How to Make It: Step-by-Step
Alright, let’s make this! I’m walking you through exactly how I do it, including the little tricks I’ve picked up over the years. This vegan peanut butter banana nice cream is foolproof if you follow these steps.
Step 1: Prep and Freeze the Bananas (Plan Ahead)
This is the only part that requires planning. Peel your ripe bananas and slice them into 1-inch rounds. Place them in a single layer on a baking sheet lined with parchment paper. Put them in the freezer for at least 2 hours, or ideally overnight. They need to be rock hard. If they’re soft, your blender will struggle, and you’ll end up with banana smoothie instead of nice cream. Trust me on this. I’ve learned this the hard way.
Step 2: Blend the Base (2-3 Minutes)
Take the frozen banana slices out of the freezer. Put them in your blender. Add the peanut butter, plant milk, maple syrup (if using), salt, and vanilla. Start the blender on low speed. This is key. Don’t just hit high immediately. You want to break up the frozen chunks first. As the blender runs, the mixture will look crumbly at first. Keep going. Scrape down the sides if needed. After about 2 minutes, it will suddenly clump together and start moving in a ball. That’s when you know it’s ready. It should look thick and creamy, like soft-serve.
Step 3: Add Mix-Ins (Optional)
If you want to add chocolate chips, crushed nuts, or other mix-ins, do it now. Pulse the blender a few times to distribute them evenly. Don’t over-blend, or you’ll turn your mix-ins into dust. Just a few pulses to incorporate them.
Step 4: Serve or Freeze
Eat immediately for soft-serve consistency. If you want it firmer, transfer it to a freezer-safe container and freeze for 30-60 minutes. It will harden, but it should still be scoopable. If it gets too hard, let it sit on the counter for 5-10 minutes before scooping.
Total Time: About 5 minutes active (plus freezing time for the bananas)
That’s it. Five minutes. No churning, no waiting for the machine to do the work. Just you, your blender, and some delicious ice cream.
Expert Tips & Tricks
Here’s everything I’ve learned from making this dozens of times. These tips will save you from my mistakes.
Use the Ripest Bananas Possible — I can’t stress this enough. The riper the banana, the sweeter the ice cream. If your bananas are green or yellow, you’ll need to add more sweetener, and the flavor won’t be as rich. Look for bananas with black skins. They’re perfect for this.
Don’t Skimp on the Peanut Butter — The fat is what makes it creamy. If you use non-fat peanut butter or skip it entirely, the texture will be icy and granular. You need that fat to create that smooth mouthfeel. Natural peanut butter is best because it has no added sugar or hydrogenated oils.
Add Liquid Slowly — Start with 2 tablespoons of plant milk. If the blender is struggling, add more, one tablespoon at a time. Too much liquid and you’ll get a smoothie. You want the mixture to be thick and creamy, not runny.
Scrape Down the Sides — Frozen bananas are tough. Your blender will work hard. Stop and scrape down the sides every minute to ensure everything blends evenly. If you leave chunks, they’ll be icy bits in your ice cream.
Use a High-Speed Blender — If you have a Vitamix or Ninja, you’re golden. If you have a standard blender, you might need to add a bit more milk and blend for longer. It’s possible, just requires more patience.
Store Properly — If you’re not eating it immediately, store it in an airtight container. Press a piece of parchment paper directly onto the surface of the ice cream before sealing the lid. This prevents ice crystals from forming on top. It keeps well in the freezer for up to 2 weeks.
Variations & Substitutions
Once you’ve nailed the basic version, here’s how you can mix it up. I’ve tried all of these, and they’re all winners.
Chocolate Peanut Butter Nice Cream — Add 1 tablespoon of cocoa powder or cacao nibs to the blender. It tastes like a Reese’s cup. My kids love this version.
Cookie Dough Nice Cream — Add 2 tablespoons of vegan chocolate chips and 1 tablespoon of oat flour. Pulse to combine. It tastes like raw cookie dough, but healthy. Don’t eat the raw flour if you’re worried, but oat flour is generally safe. I use it because it adds a nice texture.
Strawberry Peanut Butter Nice Cream — Swap half the bananas for frozen strawberries. The tartness of the strawberries balances the sweetness of the peanut butter perfectly. It’s a classic combo for a reason.
Coffee Peanut Butter Nice Cream — Add 1 teaspoon of instant espresso powder. It gives it a mocha flavor. Great for afternoon pick-me-ups. The coffee flavor is subtle but noticeable.
Almond Butter Nice Cream — Swap peanut butter for almond butter. It’s slightly more expensive, but the flavor is more delicate and nutty. I use this when I want something less overpowering.
Coconut Nice Cream — Swap plant milk for coconut milk (canned, full-fat). Add a tablespoon of coconut oil. It tastes like a tropical vacation. Very rich and decadent.
Serving & Storage
How to Serve: I usually serve this straight from the blender for that soft-serve texture. But here are other ways I’ve enjoyed it:
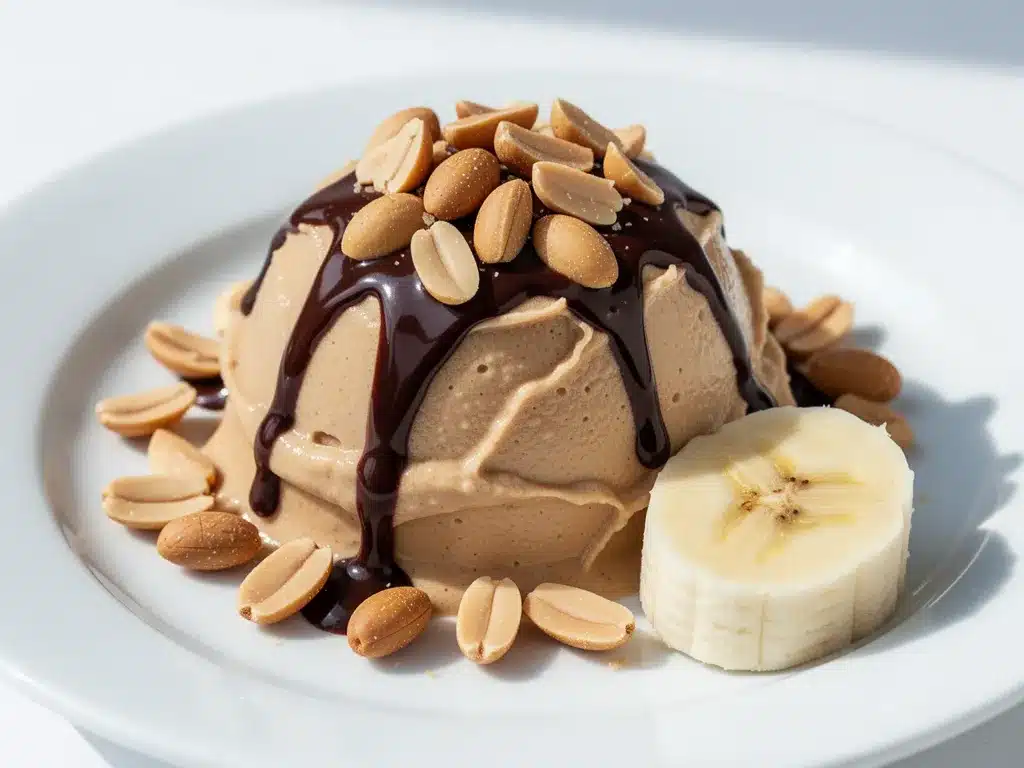
Toppings: Drizzle with melted chocolate, sprinkle with crushed peanuts, add a dollop of whipped coconut cream, or top with fresh fruit. When I have guests, I set out a toppings bar. Everyone customizes their bowl.
Side Dishes: This is a dessert, so it doesn’t really need sides. But if you want something savory to balance it, try some roasted nuts or a light salad. I usually just eat it with a spoon and enjoy it.
Storage Instructions:
Refrigerator: This doesn’t store well in the fridge. It will melt quickly. Store in the freezer.
Freezer: Store in an airtight container for up to 2 weeks. The texture might get a bit icy over time, but it’s still delicious. Let it sit on the counter for 5-10 minutes before scooping if it’s too hard.
Meal Prep: I prep the bananas on Sundays. I peel, slice, and freeze them in batches. Then, during the week, I just blend them when I want dessert. It takes the effort out of making it.
Nutrition Information
I’m not a nutritionist, but here’s the breakdown if you’re tracking. This is per serving (based on 2 servings).
| Nutrient | Amount |
|---|---|
| Calories | 280 |
| Protein | 8g |
| Carbs | 35g |
| Fiber | 5g |
| Sugar | 22g |
| Fat | 12g |
| Saturated Fat | 2g |
| Sodium | 5mg |
What’s Good: High in fiber and potassium from the bananas. Good source of healthy fats from the peanut butter. Vegan and gluten-free. No refined sugar if you use maple syrup.
What to Know: Higher in sugar naturally from the bananas. If you’re watching sugar intake, use less ripe bananas and skip the maple syrup. It’s still sweet, just less so.
My Take: Look, this is dessert. It’s not a salad. But it’s way better than store-bought ice cream, and I know exactly what’s in it. When I want to make it lighter, I use less peanut butter and more bananas. But usually? I just enjoy it and move on.
Final Thoughts
So that’s my go-to vegan peanut butter banana nice cream! I’ve probably talked your ear off at this point, but when you make a recipe this often, you have a lot to say about it. This has saved me on hot days, late-night cravings, and even when I’m too tired to cook. It’s my answer to “what’s for dessert?” when I want something sweet but don’t want to make a mess.
My kids are happy, my husband’s happy, and I’m happy because I’m not stressed about cooking. Make it yours! Try different add-ins, swap in your favorite nut butter, adjust the sweetness to your taste. The best recipes are the ones you adapt to your family’s tastes.
If you make this, drop a comment and let me know what you think! I love hearing how recipes turn out in your kitchen. And if something doesn’t work, tell me that too—I’m here to help troubleshoot. Happy cooking! And I hope your kitchen smells half as good as mine does right now.
Frequently Asked Questions
Can I use fresh bananas?
You can, but the texture will be different. Fresh bananas will make a smoothie, not ice cream. You need frozen bananas to get that thick, creamy consistency. If you’re in a hurry, you can freeze sliced bananas for 30 minutes in the freezer, but overnight is best.
Why is my nice cream too runny?
Usually, this means you added too much liquid. Start with less plant milk and add more only if needed. Also, make sure your bananas are frozen solid. If they’re soft, the ice cream will be runnier. Blend longer to incorporate the fat from the peanut butter.
Can I make this without a blender?
It’s very difficult. You need to crush the frozen bananas into a fine, creamy consistency. A food processor works, but it might take longer. A hand blender won’t work well because it can’t handle the frozen chunks. A high-speed blender is best.
How long does this last in the freezer?
It lasts up to 2 weeks in an airtight container. After that, it might get icy or develop freezer burn. It’s best eaten fresh for the best texture.
Can I use almond butter instead of peanut butter?
Yes, absolutely. Almond butter works just as well and has a slightly more delicate flavor. Cashew butter also works great. Just make sure it’s creamy, not chunky, unless you like chunks.
Is this recipe gluten-free?
Yes, this recipe is naturally gluten-free. Just make sure your peanut butter and other ingredients are certified gluten-free if you have celiac disease or a severe allergy.
Can I add protein powder?
You can, but it will change the texture. Protein powder absorbs liquid, so you might need to add more plant milk. Start with a scoop and see how it blends. Whey protein might make it grainy, so plant-based protein powder is better.
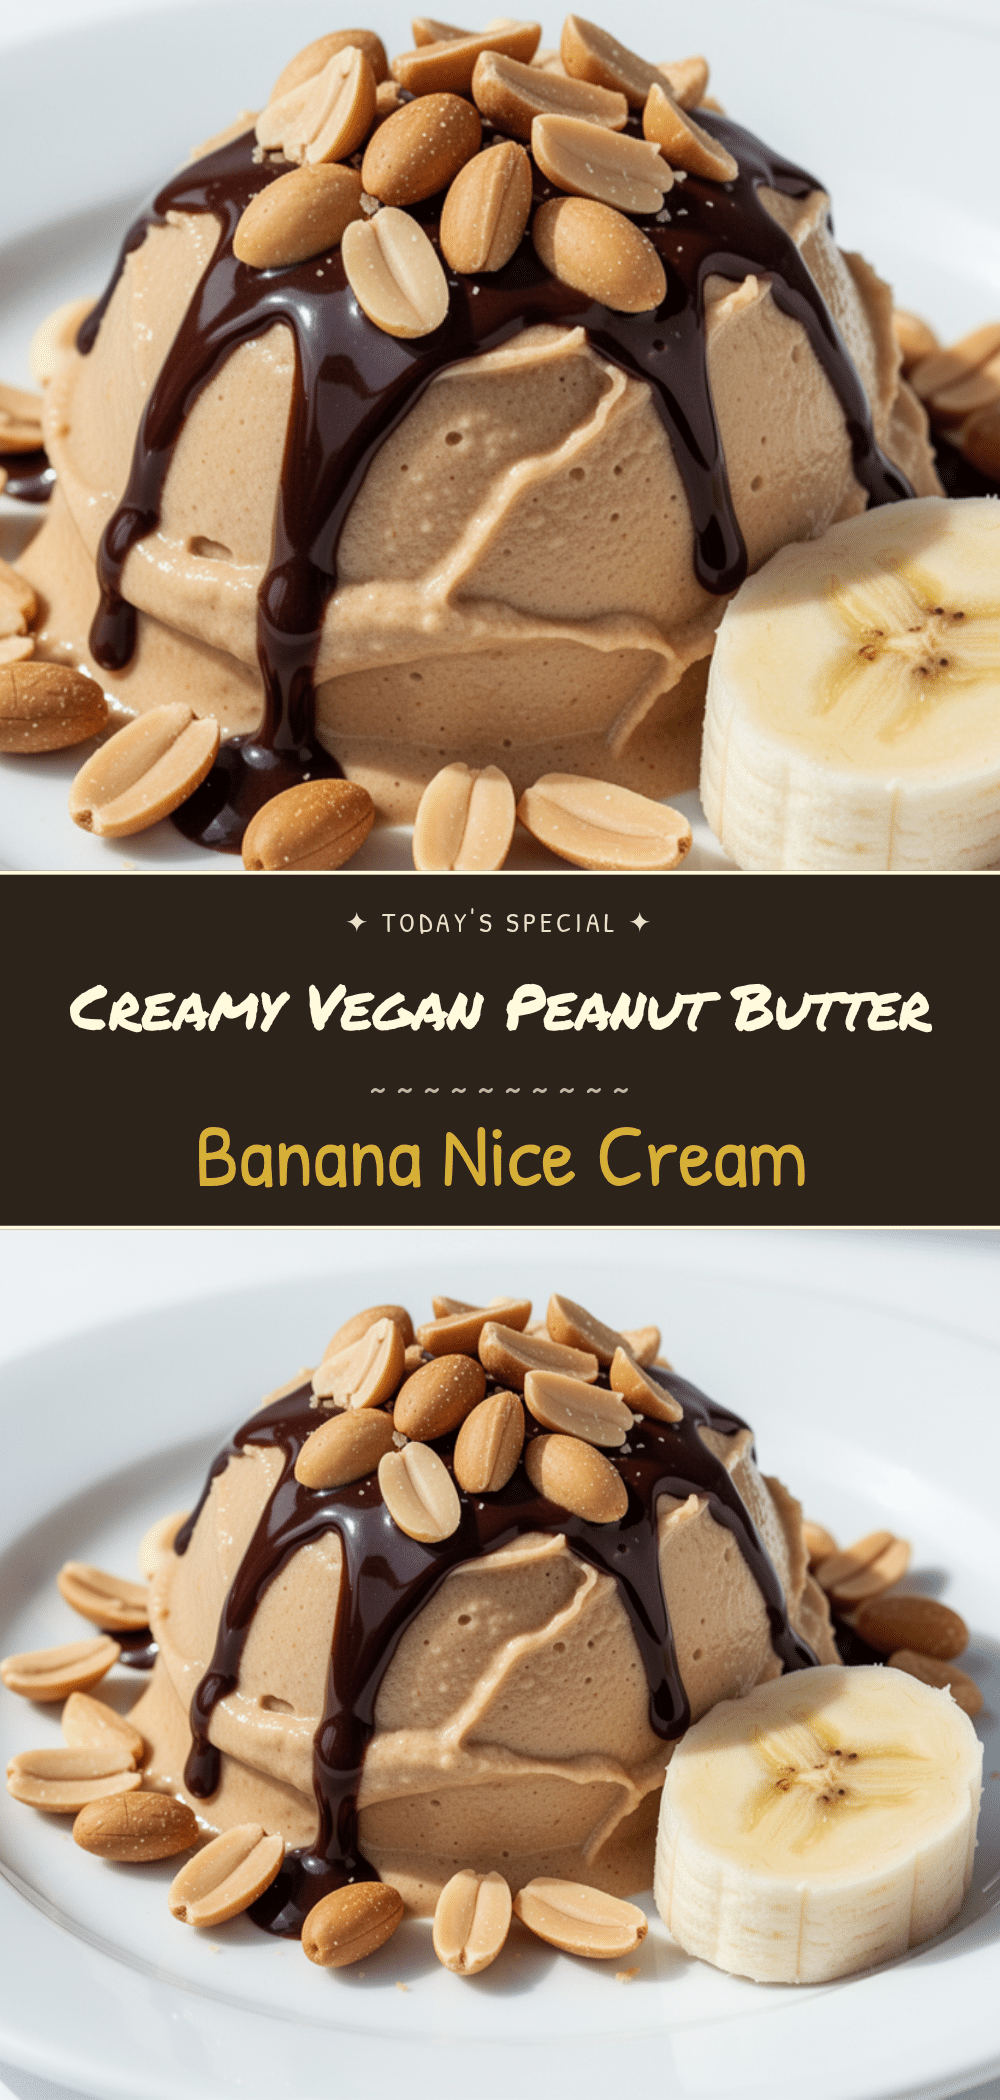
Pin This Recipe!
Vegan Peanut Butter Banana Nice Cream
- Total Time: 5 minutes
- Yield: 2 servings 1x
Description
A thick, creamy, and dairy-free frozen dessert made with just five simple ingredients. This vegan nice cream requires no ice cream maker and comes together in minutes for a guilt-free treat.
Ingredients
- 3 large ripe bananas (frozen, sliced into 1-inch rounds)
- 2 tablespoons creamy peanut butter
- 2–3 tablespoons unsweetened plant milk (e.g., almond or oat milk)
- 1 tablespoon maple syrup (optional, depending on banana ripeness)
- 1 pinch salt
- 1 teaspoon vanilla extract
Instructions
- Peel ripe bananas and slice them into 1-inch rounds. Place in a single layer on a parchment-lined baking sheet and freeze for at least 2 hours or overnight until rock hard.
- Place the frozen banana slices into a high-speed blender.
- Add the peanut butter, plant milk, maple syrup (if using), salt, and vanilla extract.
- Blend on low speed initially to break up the frozen chunks. Scrape down the sides as needed.
- Continue blending for about 2 minutes until the mixture clumps together and becomes thick and creamy, resembling soft-serve ice cream.
- If adding mix-ins like chocolate chips or nuts, pulse briefly to incorporate.
- Serve immediately for a soft-serve texture, or transfer to a freezer-safe container and freeze for 30-60 minutes for a firmer consistency.
Notes
Ensure bananas are very ripe (black skins) for natural sweetness. Do not add too much liquid or the mixture will become a smoothie. If storing, press parchment paper directly onto the surface of the ice cream to prevent ice crystals. Can be stored in the freezer for up to 2 weeks.
- Prep Time: 5 minutes
- Cook Time: 0 minutes
- Category: Dessert
- Cuisine: American
Nutrition
- Serving Size: 1 bowl
- Calories: 280
- Sugar: 22
- Sodium: 5
- Fat: 12
- Saturated Fat: 2
- Carbohydrates: 35
- Fiber: 5
- Protein: 8
Keywords: vegan, gluten-free, healthy dessert, nice cream, banana ice cream, peanut butter, dairy-free, 5-ingredient recipe, no-churn ice cream


