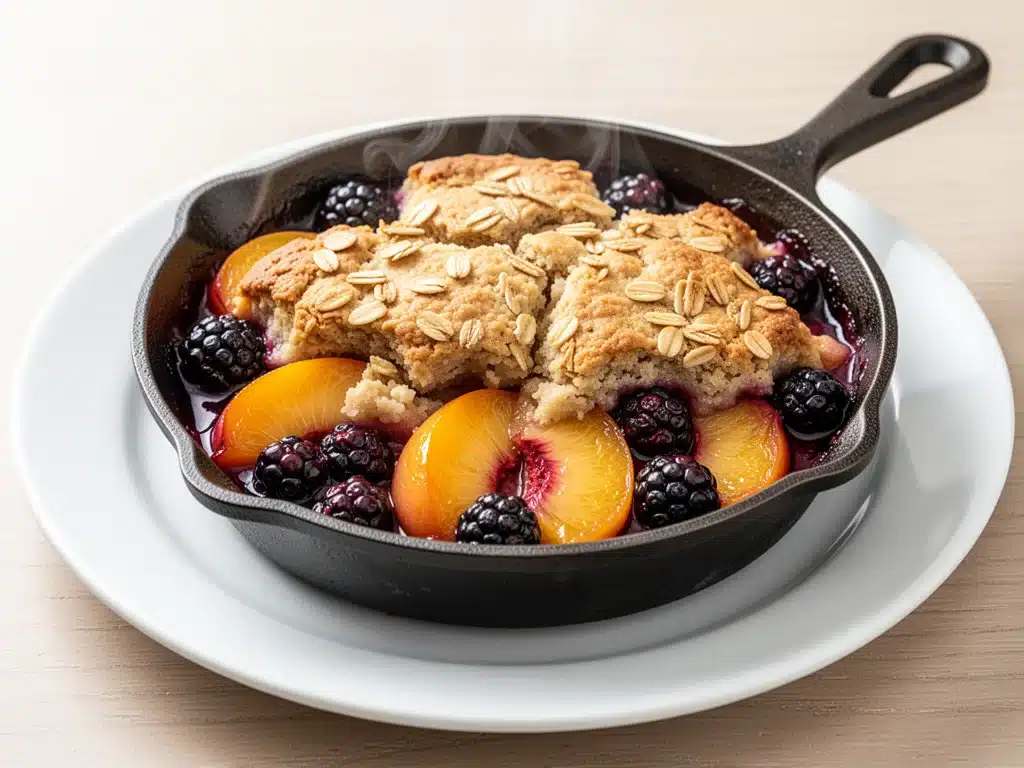
My husband has a theory that the best desserts are the ones that arrive at the table with a little bit of drama. He’s not entirely wrong. But there’s one dessert that consistently brings the house down, and it’s not because of fireworks. It’s because of that first crackle of the crust, the smell of caramelized fruit hitting the hot iron, and the sheer comfort of eating it straight from the skillet.
This cast iron skillet peach blackberry cobbler has been my secret weapon for three summers now. I first made it on a whim when a friend showed up unannounced with a bag of peaches from her backyard tree and a jar of wild blackberries she’d picked on a hike. I didn’t have time to bake individual portions or arrange a fancy lattice top. I just needed something fast, warm, and deeply satisfying. I threw everything into my oldest, well-seasoned skillet and hoped for the best.
The result? It was messy, it was sweet, and it was perfect. My friend scraped the bottom of the pan with a spoon like it was the last meal on earth. Since then, I’ve made this peach blackberry cobbler at least fifteen times. I’ve tweaked the sweetness, tested different flours, and figured out exactly how to get that crust crispy without burning the fruit underneath. It’s become my go-to when I want to impress guests without spending hours in the kitchen. It’s rustic, it’s forgiving, and it tastes like summer in a bowl.
If you’ve ever wanted a dessert that feels homemade but doesn’t require pastry school, this is it. It’s the kind of dish that makes people ask for the recipe before they’ve even finished their second bite. And the best part? You only need one skillet. No fancy molds, no complicated techniques. Just fresh fruit, a simple batter, and a hot oven. Let’s get baking.
Why You’ll Love This Recipe
There are about a dozen reasons I keep coming back to this cast iron skillet peach blackberry cobbler, but here are the ones that really matter when you’re deciding what to make for dinner tonight.
Zero Fancy Equipment Needed — Seriously, if you have a skillet and a mixing bowl, you can make this. I’m not exaggerating. You don’t need a tart pan, a springform, or a stand mixer. Just stir the batter in the bowl, pour it over the fruit, and pop it in the oven. It’s the ultimate low-effort, high-reward dessert.
One-Handed Serving — This is huge for dinner parties. You bring the whole skillet to the table. No transferring to a platter, no worrying about slicing it neatly. Everyone digs in with their own spoon. It’s communal, casual, and eliminates that awkward moment when someone takes the last slice and you’re left with nothing. With a skillet, the last bite is just as good as the first.
Uses Up Seasonal Fruit — This recipe is incredibly forgiving. If your peaches are a little tart, add an extra tablespoon of sugar. If your blackberries are on the sweeter side, reduce the sugar slightly. It doesn’t matter if you use fresh or frozen berries (though fresh is better). It’s a great way to use up those peaches that are getting soft on the counter or those berries you bought on sale and forgot about.
Crust That Actually Crisps — I’ve made cobblers in glass dishes before, and the crust gets soggy. Not here. The cast iron retains heat like a champion, ensuring the bottom and sides of the crust get golden and crisp while the fruit bubbles underneath. It’s the texture contrast that makes this recipe so addictive.
Ready in Under an Hour — From mixing to cooling, it takes about 50 minutes. That’s it. You can make this after a busy workday, after kids are in bed, or last-minute when you realize you forgot dessert. It’s fast enough for a weeknight treat but impressive enough for a holiday gathering.
This is my go-to when I need a dessert that just works. No stress, no mess, just reliable, delicious food that makes everyone happy. And honestly? It pairs perfectly with a glass of wine or a cold beer, making it ideal for those lazy summer evenings.
Ingredients You’ll Need
Here’s the best part: you probably have most of these ingredients already. This isn’t a recipe that requires a trip to three different specialty stores. It’s pantry staples and fresh fruit. I’m particular about a few things, and I’ll tell you exactly why.
For the Fruit Filling
Ripe Peaches (4 large / about 1.5 lbs) — This is the star of the show. Look for peaches that yield slightly to pressure but aren’t mushy. Freestone peaches are easiest because you can just slice them off the pit. If you’re using clingstone, you’ll need to be more careful. Yellow peaches are sweeter and work beautifully here. White peaches are more tart and floral, which is also delicious if you prefer a less sugary profile.
Fresh Blackberries (1.5 cups / 200g) — These add a nice tartness that balances the sweet peaches. If you can’t find fresh, frozen blackberries work, but don’t thaw them first. Toss them in frozen directly into the skillet. They’ll release more juice, so you might want to add an extra teaspoon of cornstarch.
Granulated Sugar (½ cup / 100g) — This sweetens the fruit and helps create that syrupy base. If your fruit is very sweet, you can reduce this to ⅓ cup. Taste your peaches first! If they’re bland, stick with the full amount.
Lemon Juice (1 tablespoon / 15ml) — Acid is your friend. It brightens the fruit flavor and prevents the peaches from browning. It also cuts through the sweetness of the crust. Don’t skip it. It’s the secret to making the fruit taste vibrant, not flat.
Cornstarch (2 tablespoons / 15g) — This thickens the fruit juices as they bake. Without it, you’ll end up with a watery mess at the bottom of the skillet. Cornstarch creates that glossy, jam-like consistency that coats the spoon. All-purpose flour works too, but you’ll need 3 tablespoons. Cornstarch is clearer and glossier.
Cinnamon (1 teaspoon / 2g) — Warm spice that ties the peaches and berries together. It’s subtle but essential. If you don’t like cinnamon, you can use nutmeg or allspice, but cinnamon is classic for a reason.
For the Batter
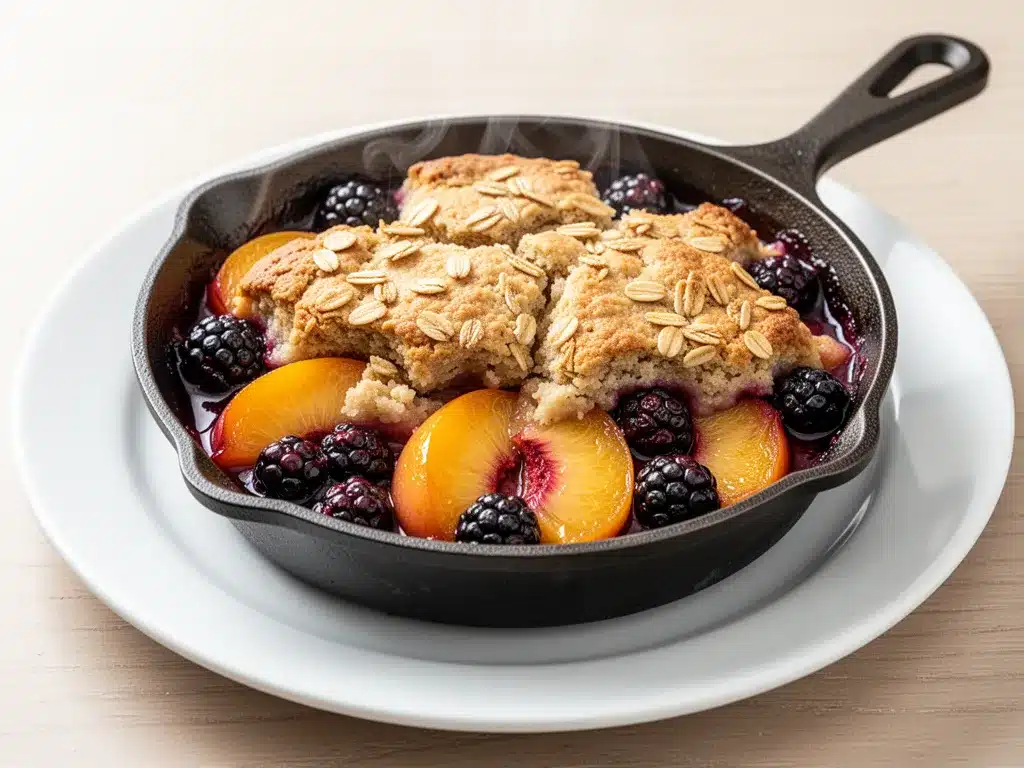
All-Purpose Flour (1 cup / 125g) — Standard flour. Cake flour will make it too tender and cake-like; bread flour will make it too chewy. All-purpose is the sweet spot for cobbler crust. Sift it if it’s been sitting in the pantry for a while to ensure no lumps.
Baking Powder (1 tablespoon / 10g) — This is what makes the crust rise and become fluffy. Check your expiration date! Old baking powder won’t lift, and you’ll end up with a dense, flat biscuit. I keep a fresh canister at all times.
Salt (½ teaspoon / 3g) — Enhances all the flavors. It’s not just for savory dishes. Salt in sweet baked goods makes the sweetness pop. Don’t omit it.
Milk (¾ cup / 180ml) — Whole milk is best for richness. Buttermilk is even better if you have it—the tang adds complexity. If you’re dairy-free, use oat milk or coconut milk, though the texture will be slightly different.
Melted Butter (½ cup / 115g) — This is the fat that tenderizes the crust. Use unsalted butter so you control the salt level. Melt it in the microwave or a small saucepan. Let it cool slightly so it doesn’t cook the flour when you mix.
Vanilla Extract (1 teaspoon / 5ml) — Adds that warm, comforting aroma. Pure vanilla is worth the extra cost. Imitation vanilla tastes chemical and can ruin the delicate fruit flavor.
For the Topping
Extra Butter (2 tablespoons / 30g) — We’ll dot the top with this before baking. It helps the crust brown and adds a rich, crispy edge.
Coarse Sugar (Optional) (1 tablespoon / 15g) — Sprinkle this on top before baking for a crunchy, sparkling finish. It’s not necessary, but it looks pretty and adds a nice textural contrast.
Equipment Needed
You don’t need fancy equipment for this. Here’s what I actually use.
10-Inch Cast Iron Skillet — This is non-negotiable for the best results. The skillet needs to be large enough to hold the fruit in a single layer with room for the crust to rise. A 10-inch is perfect. A 12-inch works if you like a thinner crust. Avoid smaller skillets; the fruit will overflow.
Mixing Bowls — One medium bowl for the fruit, one medium bowl for the batter. I use glass bowls because I can see through them to check for lumps.
Whisk — For the batter. A whisk incorporates air and ensures the baking powder is evenly distributed. A fork works in a pinch, but a whisk is faster.
Peeler or Knife — To peel the peaches. I prefer peeling for a smoother crust, but if you’re in a hurry, leave the skins on. They’ll soften, but you’ll see bits of skin in the final product.
Measuring Cups and Spoons — Precision matters in baking. Cup measures for flour and liquid, spoons for spices and leavening. Level off your flour with a knife for accurate measurements.
Spatula — To stir the fruit and scrape the bowl. A silicone spatula is best because it bends and gets every bit of batter.
Oven Mitts — Cast iron gets HOT. I mean, seriously hot. You need good, thick mitts to handle the skillet in and out of the oven. I’ve learned this the hard way with a few minor burns.
How to Make It: Step-by-Step
Alright, let’s make this! I’m walking you through exactly how I do it, including the little tricks I’ve picked up over the years.
Step 1: Prep Your Oven and Skillet (5 minutes)
Preheat your oven to 375°F (190°C). Place your cast iron skillet in the oven while it heats up. This is a pro tip: a hot skillet helps the crust start cooking immediately, preventing sogginess. While the oven heats, wash and hull your blackberries. Peel and slice your peaches into ½-inch chunks. Toss them in a large bowl with the sugar, lemon juice, cornstarch, and cinnamon. Set aside.
Step 2: Make the Batter (5 minutes)
In a separate bowl, whisk together the flour, baking powder, and salt. In another small bowl or measuring cup, combine the milk, melted butter, and vanilla. Pour the wet ingredients into the dry ingredients. Stir gently with a spoon or spatula until just combined. It’s okay if there are a few lumps. Overmixing develops gluten, which makes the crust tough. We want tender, fluffy biscuits, not bread.
Step 3: Assemble the Cobbler (2 minutes)
Carefully remove the hot skillet from the oven using your mitts. Place it on a heat-safe surface. Pour the fruit mixture into the skillet. Spread it out evenly. Now, drop spoonfuls of the batter over the fruit. Don’t try to spread it into a smooth layer. You want clumps. Those clumps create the classic cobbler texture—crispy on top, soft underneath. Dot the top with small pieces of the remaining 2 tablespoons of butter.
Step 4: Bake Until Golden (40-45 minutes)
Return the skillet to the oven. Bake for 40-45 minutes. You’ll know it’s done when the crust is deep golden brown and the fruit is bubbling vigorously around the edges. If the crust is browning too fast but the fruit isn’t bubbling, cover the skillet loosely with aluminum foil for the last 10 minutes.
Step 5: Cool and Serve (15 minutes)
Remove the skillet from the oven. Let it cool for at least 15 minutes. This is the hardest part, but it’s crucial. The fruit filling needs time to set. If you cut into it immediately, the juices will run out, and you’ll have a mess. Serve warm, ideally with a scoop of vanilla ice cream or a dollop of whipped cream.
Expert Tips & Tricks
Here’s everything I’ve learned from making this dozens of times. These tips will save you from my mistakes.
Preheat the Skillet — This is the #1 tip for a crispy crust. A hot skillet sears the bottom of the batter immediately, creating a barrier between the wet fruit and the dry crust. It’s a game-changer.
Don’t Overmix the Batter — I know it’s tempting to stir until smooth, but resist. Lumps are good. They mean the crust will be light and airy. Smooth batter = dense crust.
Use Ripe Fruit — Underripe peaches are tart and hard. They won’t break down properly. Overripe peaches are mushy and lack flavor. Aim for peak ripeness. If you can’t find ripe fruit, add a little extra sugar and lemon juice to compensate.
Let It Cool — I know you want to dig in. But cooling allows the starches to set. If you serve it piping hot, the filling will be liquid. Patience pays off.
Dot with Butter — The butter on top helps the crust brown evenly and adds richness. Don’t skip this step.
Common Mistakes
- Soggy Bottom: This happens if the skillet wasn’t hot enough or if you used too much liquid. Preheat the skillet and use cornstarch, not flour, for thickening.
- Dense Crust: Overmixing the batter. Stir gently and stop as soon as the flour is moistened.
- Burnt Top: Oven temperature too high or baking too long. Cover with foil if browning too quickly.
Variations & Substitutions
Once you’ve nailed the basic version, here’s how you can mix it up. I’ve tried all of these.
Strawberry Rhubarb Cobbler — Swap peaches and blackberries for sliced strawberries and rhubarb. Add an extra ¼ cup of sugar because rhubarb is very tart. This is a classic combination.
Blueberry Lemon Cobbler — Use fresh blueberries and add the zest of one lemon to the fruit mixture. It’s bright and refreshing.
Apple Cinnamon Cobbler — Use peeled and sliced apples (Granny Smith or Honeycrisp) instead of peaches. Add a pinch of nutmeg. This is great for fall.
Gluten-Free — Use a 1:1 gluten-free flour blend. The texture will be slightly more tender, but it works well. Check that your baking powder is certified gluten-free.
Dairy-Free — Use plant-based milk (oat or almond) and dairy-free butter. The flavor is slightly different, but still delicious. Coconut milk adds a nice tropical note.
Vegan — Combine the dairy-free milk and butter substitutes. You can also add a tablespoon of flaxseed meal to the batter for extra binding if needed.
Serving & Storage
How to Serve — I usually serve this straight from the skillet at the dinner table. It looks rustic and stays warm. Top with vanilla ice cream, whipped cream, or even a slice of sharp cheddar cheese if you’re feeling adventurous (trust me, it’s good).
Side Dishes — This is a dessert, so keep sides light. A simple green salad or roasted vegetables work well before the cobbler. For wine, a semi-sweet Riesling or a light Pinot Noir pairs beautifully with the fruit.
Storage — Store leftovers in the refrigerator, covered with plastic wrap or in an airtight container, for up to 3 days. The crust will soften in the fridge, but the flavor remains good.
Reheating — To reheat, warm individual portions in the microwave for 30-60 seconds. For a crispier crust, reheat in a 350°F oven for 10-15 minutes. Avoid reheating in the skillet on the stovetop, as the bottom will burn.
Freezing — This cobbler does not freeze well. The crust becomes soggy and the fruit texture changes. It’s best enjoyed fresh.
Nutrition Information
I’m not a nutritionist, but here’s the breakdown if you’re tracking. This is a indulgent dessert, so enjoy in moderation.
Per Serving (based on 8 servings):
- Calories: 280
- Protein: 4g
- Carbs: 45g
- Fiber: 3g
- Sugar: 28g
- Fat: 10g
- Saturated Fat: 6g
- Cholesterol: 25mg
- Sodium: 220mg
This recipe is higher in sugar and calories due to the fruit and butter. However, it provides fiber from the fruit and some protein from the flour and milk. If you want to make it lighter, reduce the sugar in the batter and use low-fat milk. But honestly? This is comfort food. It’s meant to be rich and satisfying.
Final Thoughts
So that’s my cast iron skillet peach blackberry cobbler! I’ve probably talked your ear off at this point, but when you make a recipe this often, you have a lot to say about it.
This has saved summer evenings more times than I can count. It’s my answer to “what’s for dessert” when I’m tired, don’t want to bake a complicated cake, and still want something that tastes really good. My family is happy, my guests are impressed, and I’m happy because I’m not stressed about cooking.
Make it yours! Try different fruits, adjust the sweetness, or add a splash of bourbon to the fruit mixture for an adult twist. The best recipes are the ones you adapt to your family’s tastes.
If you make this, drop a comment and let me know what you think! I love hearing how recipes turn out in your kitchen. And if something doesn’t work, tell me that too—I’m here to help troubleshoot.
Happy baking! And I hope your kitchen smells half as good as mine does right now.
Frequently Asked Questions
Can I use frozen fruit instead of fresh?
Yes, you can! If using frozen peaches, thaw them first and drain excess liquid to prevent a watery cobbler. For frozen blackberries, use them straight from the freezer. You may need to add 1-2 extra minutes to the baking time. The texture will be slightly softer, but the flavor is still great.
Why did my crust turn out soggy?
This usually happens if the skillet wasn’t preheated or if the batter was too thin. Always preheat your skillet in the oven. Also, don’t overmix the batter. If the batter is too runny, it will sink into the fruit. Add a little more flour if it’s too thin.
Can I make this ahead of time?
You can prep the fruit mixture ahead of time and store it in the fridge. Assemble and bake the cobbler just before serving for the best texture. Making it completely ahead and reheating will result in a softer crust.
What kind of peaches work best?
Freestone peaches are easiest because the flesh separates from the pit. Yellow peaches are sweeter and work well, but white peaches are also delicious if you prefer a tart profile. Avoid peaches that are too firm or too mushy.
Can I double this recipe?
Yes, but you’ll need a larger skillet, like a 12-inch or 14-inch cast iron skillet. Increase the baking time by 5-10 minutes. Keep an eye on the crust to ensure it doesn’t burn.
Is this recipe gluten-free?
The standard recipe uses all-purpose flour, so it’s not gluten-free. However, you can substitute with a 1:1 gluten-free flour blend. Make sure your baking powder is certified gluten-free.
What’s the best way to reheat leftovers?
Reheat in the oven at 350°F for 10-15 minutes to crisp up the crust. Microwave reheating works in a pinch but will make the crust soft. Avoid reheating on the stovetop.
Pin This Recipe!
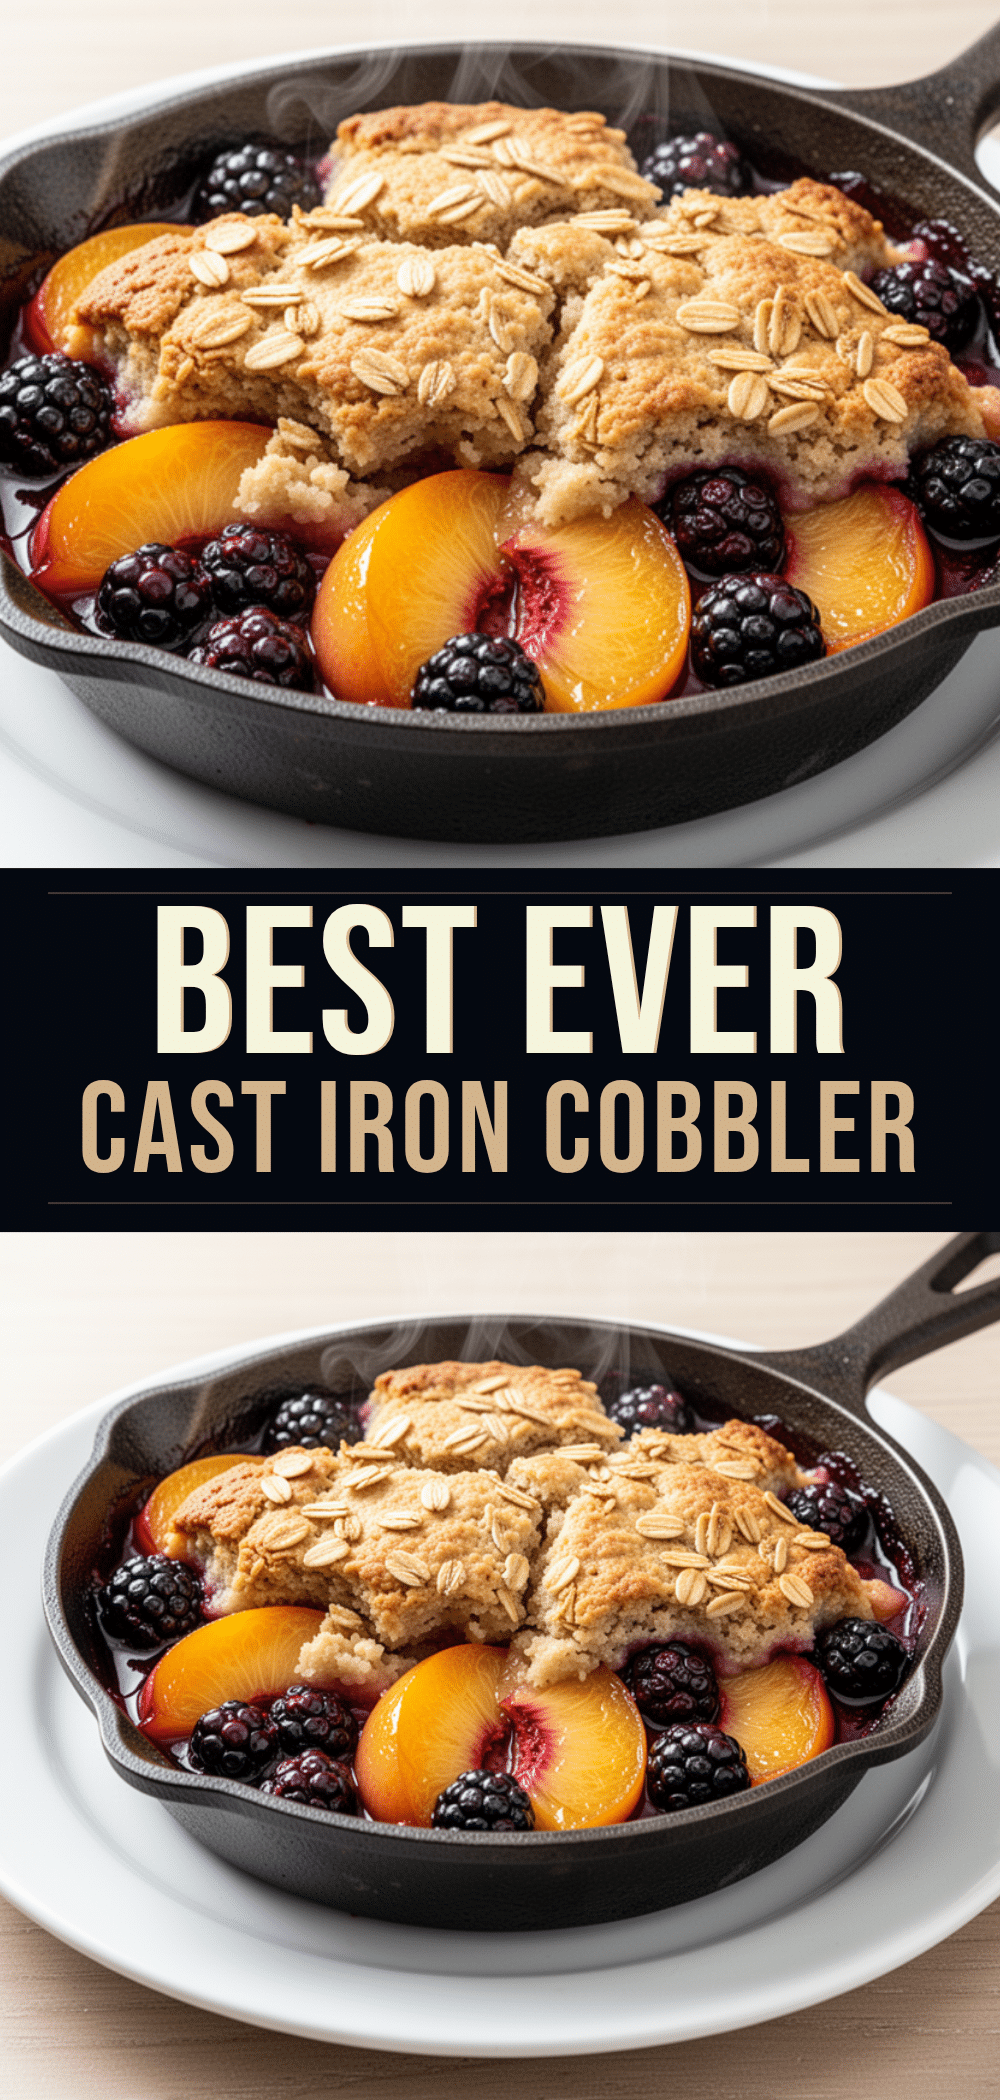
Cast Iron Skillet Peach Blackberry Cobbler
- Total Time: 60 minutes
- Yield: 8 servings 1x
Description
A rustic, one-skillet dessert featuring a crispy buttery crust over a sweet and tart filling of peaches and blackberries. This forgiving recipe is ready in under an hour and requires no fancy equipment.
Ingredients
- 4 large ripe peaches (about 1.5 lbs), peeled and sliced into ½-inch chunks
- 1.5 cups fresh blackberries (200g)
- ½ cup granulated sugar (100g)
- 1 tablespoon lemon juice (15ml)
- 2 tablespoons cornstarch (15g)
- 1 teaspoon cinnamon
- 1 cup all-purpose flour (125g)
- 1 tablespoon baking powder (10g)
- ½ teaspoon salt (3g)
- ¾ cup whole milk (180ml)
- ½ cup melted unsalted butter (115g)
- 1 teaspoon vanilla extract (5ml)
- 2 tablespoons extra butter, for dotting
- 1 tablespoon coarse sugar, optional for topping
Instructions
- Preheat oven to 375°F (190°C). Place a 10-inch cast iron skillet in the oven to preheat.
- In a large bowl, toss sliced peaches and blackberries with sugar, lemon juice, cornstarch, and cinnamon. Set aside.
- In a separate bowl, whisk together flour, baking powder, and salt.
- In a small bowl or measuring cup, combine milk, melted butter, and vanilla extract.
- Pour wet ingredients into dry ingredients and stir gently until just combined. Do not overmix; lumps are okay.
- Carefully remove the hot skillet from the oven. Pour the fruit mixture into the skillet.
- Drop spoonfuls of the batter over the fruit. Do not spread it smooth. Dot the top with 2 tablespoons of butter.
- Bake for 40-45 minutes until the crust is deep golden brown and fruit is bubbling. If browning too fast, cover loosely with foil.
- Remove from oven and let cool for at least 15 minutes to allow filling to set.
- Serve warm with ice cream or whipped cream.
Notes
Preheating the skillet is crucial for a crispy crust. Do not overmix the batter to avoid a dense texture. Let the cobbler cool for 15 minutes before serving to prevent the filling from running. This recipe can be made gluten-free by using a 1:1 gluten-free flour blend and dairy-free by using plant-based milk and butter.
- Prep Time: 15 minutes
- Cook Time: 45 minutes
- Category: Dessert
- Cuisine: American
Nutrition
- Serving Size: 1 slice
- Calories: 280
- Sugar: 28
- Sodium: 220
- Fat: 10
- Saturated Fat: 6
- Carbohydrates: 45
- Fiber: 3
- Protein: 4
Keywords: peach cobbler, blackberry cobbler, cast iron dessert, summer dessert, easy cobbler, one skillet recipe, gluten-free option, dairy-free option


