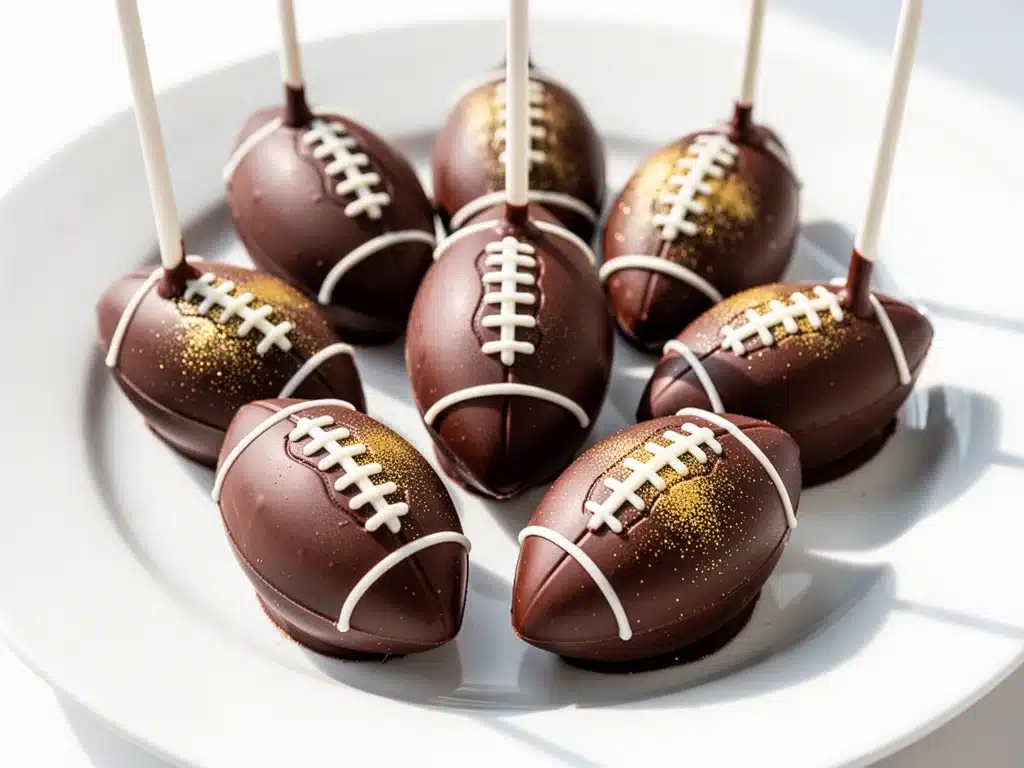
There is a specific kind of panic that sets in when you realize it’s Sunday afternoon, the game is about to start, and you have exactly zero party food. I’ve been there. More times than I’d like to admit. Last year, I showed up to my neighbor’s Super Bowl party with a bag of store-bought pretzels and a sad container of dip. The look on my husband’s face said it all. He loved me, but he also loved good snacks. So, I vowed never to be underprepared again.
That’s how I fell in love with these Chocolate Football Cake Pops. They are the ultimate game day hack. They look impressive, they taste like a dessert, but they’re actually bite-sized, mess-free, and ridiculously easy to make. I’ve made them for every playoff game since, and they’ve become the star of the snack table. People think I spent hours crafting them. In reality? I can whip up a batch in about 10 minutes of active time, plus a little chilling. And trust me, they disappear faster than the halftime show highlights.
If you’re looking for a treat that screams “I tried” without actually trying too hard, these are it. They’re chocolatey, they’re crunchy, and they’re shaped like little footballs. Perfect for cheering on your team or just cheering on your own cooking skills. Let’s get into why these have taken over my kitchen and why they’ll probably take over your next party too.
Why You’ll Love This Recipe
I don’t say this lightly, but these Chocolate Football Cake Pops have completely changed my game day hosting game. Here’s why they’re worth the ten minutes it takes to make them:
Zero Mess, Maximum Fun — You know how regular cake pops can be a nightmare? Sticky fingers, crumbs everywhere, and that annoying stick that keeps falling out? Not these. These are stick-free (unless you want them to be). They’re just little balls of cake and chocolate. You can hold one in one hand while holding a beer in the other. No sticks, no drama. Perfect for watching the big play without worrying about ruining your shirt.
10-Minute Active Time — I know what you’re thinking. “Cake pops? That sounds like hours of work.” Not these! I use a simple shortcut: store-bought cake mix (don’t judge me, it’s a game day secret) and just enough frosting to bind it. You roll them, dip them, and decorate them. It’s fast. Like, really fast. I can make a dozen while the first quarter is going on.
Looks Fancy, Tastes Familiar — They look like little edible footballs, which is just fun. But the inside? It’s soft, moist cake. Everyone loves cake. Even the people who say they don’t like “fancy” desserts will eat these. They’re sweet but not overly so, and the chocolate coating adds that nice snap.
Makes Ahead Friendly — This is the big one. You can make these a day or two before the game. In fact, they’re better if you make them ahead. The flavors meld, the chocolate sets hard, and you can just pull them out of the fridge when guests arrive. No last-minute stress. Just grab a plate and go.
Perfect for Crowds — I usually make a double batch. They’re small, so you don’t get full quickly, which means people keep grazing. I’ve had them at parties with 20 people, and they were gone in ten minutes. If you’re feeding a crowd, these are your best friend.
So basically, if you want something that looks cool, tastes great, and doesn’t require you to be a professional pastry chef, these Chocolate Football Cake Pops are the answer. They’re my go-to for a reason.
Ingredients You’ll Need
Here’s the best part: you probably have most of this already. It’s a short list, and everything is easy to find. I’m particular about three things here, but for the most part, this is pantry-friendly.
For the Cake Base
Yellow Cake Mix (1 box, 15.25 oz / 432g) — I stick with yellow for that classic, buttery flavor. Chocolate cake works too, but yellow looks better under the white chocolate. Don’t use a “from scratch” recipe here; we want convenience. Duncan Hines or Betty Crocker work fine.
Vegetable Oil (⅓ cup / 80ml) — Standard cake mix ingredient. Canola oil works too, but I usually just use what’s in the box instructions.
Eggs (2 large) — Room temperature is best. They help bind the cake crumbs.
Water (¾ cup / 180ml) — Again, follow the box. Just use what the recipe calls for.
Vanilla Frosting (1 jar, 16 oz / 450g) — This is the binder. Use a standard jar of vanilla frosting. Cream cheese frosting is too soft and might make the pops soggy. Stick with vanilla buttercream-style frosting.
For the Coating & Decoration
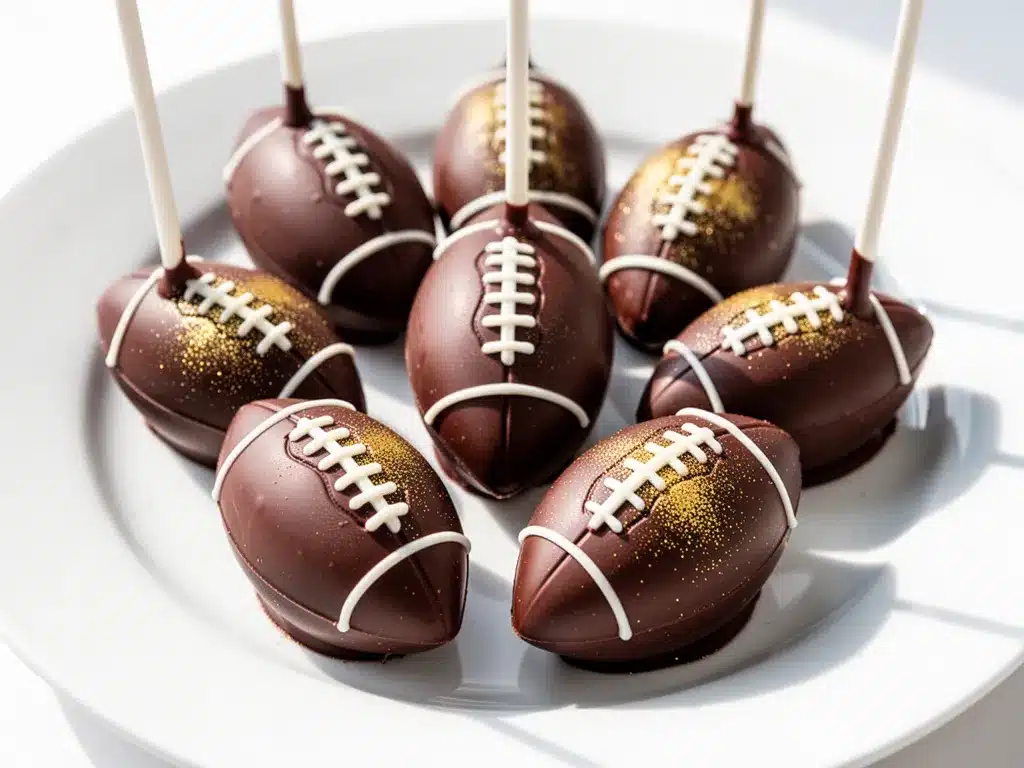
White Chocolate Chips (12 oz / 340g) — This is your “football” white leather. Use high-quality chips. Wilton or Ghirardelli work well. They melt smoothly and have a nice snap.
Dark Chocolate Chips (2 oz / 56g) — For the laces. You can use any dark chocolate, but I like a semi-sweet bar or chips for contrast.
Lard or Shortening (1 tablespoon) — This is the secret weapon. Adding a little bit of lard or shortening to the melted white chocolate makes it thinner and easier to dip. It also helps the coating shine. Don’t skip this if you want a professional look.
Black Food Coloring Gel (a few drops) — For the laces. Gel coloring is best because it’s concentrated and won’t seize the chocolate. Liquid food coloring can make the chocolate grainy.
Parchment Paper — For lining your tray. Do not skip this. Chocolate sticks to everything else.
Mini M&Ms or Chocolate Sprinkles (optional) — I sometimes add a few mini M&Ms for extra crunch and color. It’s optional, but it’s fun.
Equipment Needed
You don’t need fancy equipment for this. Here’s what I actually use:
Microwave-Safe Bowl — For melting the chocolate. I use a glass Pyrex bowl. It heats evenly and is easy to clean.
Baking Pan — A 9×13 inch pan for baking the cake. Any pan works, but 9×13 is standard.
Wire Cooling Rack — To cool the cake. Essential for getting the crumbs right.
Mixing Bowls — One large bowl for mixing the cake, one medium for crumbling.
Silicone Spatula — For stirring the chocolate. Silicone is better than metal because it doesn’t scratch the bowl and scrapes the sides well.
Piping Bag or Ziploc Bag — For drawing the laces. A Ziploc bag with the corner cut off works just as well as a piping bag. I usually use the bag because it’s easier to control.
Small Knife — To cut the corner of the bag. Or a pair of scissors.
Cookie Scoop or Tablespoon — For portioning the cake balls. Uniform size looks better, but eyeballing it is fine if you’re in a hurry.
Freezer — You’ll need space in your freezer to chill the cake balls. Make room!
How to Make It: Step-by-Step
Alright, let’s make this! I’m walking you through exactly how I do it, including the little tricks I’ve picked up over the years.
Step 1: Bake the Cake (10 minutes active)
Preheat your oven to 350°F (175°C). Grease a 9×13 inch baking pan. Mix the cake mix, oil, eggs, and water according to the box instructions. Pour the batter into the pan and bake for the time listed on the box (usually 25-30 minutes). Let it cool completely in the pan. This is crucial. If the cake is warm, it will turn to mush when you crumble it. I usually bake it the night before, but if you’re short on time, put it in the fridge to speed up cooling.
Step 2: Crumble the Cake (5 minutes)
Once the cake is completely cool, take it out of the pan and put it in a large mixing bowl. Use your hands or a fork to crumble the cake into fine crumbs. There should be no large chunks. I like to break up the cake with my hands because it’s therapeutic. You want a texture like wet sand. If there are big pieces, your cake pops will be lumpy.
Step 3: Mix with Frosting (5 minutes)
Add the jar of vanilla frosting to the crumbs. Start with half the jar and mix it in. Add more as needed. You want the mixture to hold together when you squeeze it, but not be too wet. If it’s too dry, add more frosting. If it’s too sticky, add more cake crumbs. I usually use about half to three-quarters of the jar. Mix until it looks like a thick dough.
Step 4: Roll the Balls (10 minutes)
Take small portions of the cake mixture and roll them into balls. Aim for about 1-inch diameter balls. I use a small cookie scoop for uniformity, but a tablespoon works too. Roll them between your palms until smooth. Place them on a baking sheet lined with parchment paper. Don’t let them touch each other. Once you have all the balls rolled, put the tray in the freezer for at least 30 minutes. This step is non-negotiable. Frozen cake balls are much easier to dip without falling apart.
Step 5: Melt the Chocolate (5 minutes)
While the cake balls are freezing, melt the white chocolate chips. Put them in a microwave-safe bowl with the lard or shortening. Microwave in 30-second intervals, stirring in between, until smooth. Be careful not to overheat it. If the chocolate gets too hot, it will seize up and become grainy. It should be fluid and glossy. If it’s too thick, add a tiny bit more lard.
Step 6: Dip the Pops (10 minutes)
Take the frozen cake balls out of the freezer. Use a fork or a dipping tool to lower each ball into the melted white chocolate. Roll it around to coat it completely. Lift it out and let the excess chocolate drip off. Tap the fork gently on the side of the bowl to remove excess. Place the coated ball back on the parchment paper. You can use a toothpick to help dip them, but I find it’s easier to just use the fork. Work quickly, as the cake balls will start to thaw.
Step 7: Add the Laces (5 minutes)
Melt the dark chocolate chips separately. Add a drop of black food coloring gel to make it dark black. Put the melted dark chocolate in a Ziploc bag and cut a tiny corner off the end. Pipe laces onto the white chocolate balls. Make two parallel lines down the center, with small perpendicular lines in between. It should look like a football. If you’re not confident in your piping, you can use a toothpick dipped in black chocolate to draw the lines. It’s less precise but still looks cute.
Step 8: Set and Serve
Let the cake pops sit at room temperature until the chocolate is fully set. This usually takes about 15-20 minutes. You can put them in the fridge to speed it up, but be careful of condensation. Once set, they’re ready to eat! Store them in an airtight container at room temperature for up to 3 days.
Expert Tips & Tricks
Here’s everything I’ve learned from making these dozens of times. These tips will save you from my mistakes.
Freeze Them Solid
This is the #1 tip. If your cake balls are even slightly soft, they will break apart in the chocolate. Freeze them for at least 30 minutes, but an hour is better. I usually make them the day before and leave them in the freezer overnight.
Don’t Overheat the Chocolate
Microwaves are unpredictable. I always go for 30 seconds at a time. If you see smoke or steam, it’s too hot. If the chocolate looks separated or grainy, you’ve overheated it. Start over with new chocolate. It’s frustrating, but it’s the only way to get a smooth coating.
Use Gel Coloring
Never use liquid food coloring in chocolate. It contains water, which will cause the chocolate to seize. Gel coloring is concentrated and oil-based, so it mixes in smoothly. A little goes a long way.
Add Lard or Shortening
White chocolate is thick. Adding a tablespoon of lard or shortening thins it out, making it easier to dip. It also gives the coating a nice shine. It doesn’t affect the taste at all.
Work in Batches
Don’t try to dip all the cake balls at once. They’ll thaw. Dip 5-6 at a time, then put them back in the freezer while you melt more chocolate. This keeps them cold and firm.
Common Mistakes
Mistake: Coating is too thick. Fix: Add more lard or shortening to thin the chocolate. Or, dip the ball quickly and tap off the excess.
Mistake: Cake ball falls off fork. Fix: Make sure the cake ball is frozen solid. Also, make sure the mixture isn’t too wet. Add more cake crumbs if needed.
Mistake: Laces look messy. Fix: Practice on a piece of parchment paper first. Or use a toothpick for a hand-drawn look.
Variations & Substitutions
Once you’ve nailed the basic version, here’s how you can mix it up. I’ve tried all of these.
Chocolate Footballs
Use chocolate cake mix and dark chocolate chips for the coating. Use white chocolate for the laces. It looks sleek and modern.
Team Colors
Instead of black laces, use food coloring gel to tint the dark chocolate to your team’s colors. Or tint the white chocolate coating to your team’s primary color. I made green and yellow ones for the Packers last year, and they were a hit.
Gluten-Free
Use a gluten-free cake mix. Everything else is naturally gluten-free. Just make sure your frosting and chocolate chips are certified gluten-free.
Dairy-Free
Use a dairy-free cake mix (or make a scratch cake with dairy-free ingredients) and dairy-free frosting. Use dairy-free white chocolate chips. It’s harder to find good dairy-free white chocolate, but it’s getting better.
Vegan
Use a vegan cake mix and vegan frosting. Use vegan chocolate chips. The technique is the same. They’re surprisingly good!
Flavor Variations
Use red velvet cake mix for a festive look. Use chocolate cake mix with chocolate frosting for a double chocolate version. The possibilities are endless.
Serving & Storage
How to Serve
I usually serve these on a platter with some green M&Ms or chocolate sprinkles scattered around for decoration. They look great on a tiered stand. I also put them in little paper cups for individual serving. It keeps them clean and makes them look fancy.
Side Dishes
These go well with almost anything. I serve them with chicken wings, nachos, and dip. They’re a sweet contrast to the savory snacks.
Storage Instructions
Refrigerator: Store in an airtight container for up to 4 days. They can last longer, but they might start to get soft. I usually eat them within 3 days.
Freezer: Yes, you can freeze them! Place them in a single layer on a baking sheet and freeze until solid. Then transfer to a freezer bag. They’ll last for 2-3 months. Thaw in the fridge overnight before serving. The texture might be slightly different, but they still taste great.
Reheating
You don’t need to reheat these. Eat them cold or at room temperature. If they’re too cold, let them sit out for 10 minutes.
Pro Tip
If you’re making these for a party, make them the day before. They taste better after the flavors have had time to meld. And you won’t be stressed on game day.
Nutrition Information
I’m not a nutritionist, but here’s the breakdown if you’re tracking. Keep in mind, these are sugary treats, so enjoy in moderation.
Per Pop (approximate):
- Calories: 120
- Protein: 1g
- Carbs: 18g
- Fiber: 0g
- Sugar: 14g
- Fat: 5g
- Saturated Fat: 3g
- Cholesterol: 10mg
- Sodium: 80mg
Look, this is comfort food with sugar and chocolate. It’s not a diet recipe. But it’s way better than store-bought candy, and you know exactly what’s in it. When I want to make it lighter, I use less frosting and smaller cake balls. But usually? I just eat two or three and enjoy it.
Final Thoughts
So that’s my go-to Chocolate Football Cake Pops! I’ve probably talked your ear off at this point, but when you make a recipe this often, you have a lot to say about it. These have saved game day dinners more times than I can count. They’re my answer to “what’s for dessert” when I’m tired, don’t want takeout, and still want something that looks really good. My kids are happy, my husband’s happy, and I’m happy because I’m not stressed about cooking.
Make it yours! Try different team colors, swap in your favorite frosting, or add some sprinkles. The best recipes are the ones you adapt to your family’s tastes. If you make this, drop a comment and let me know what you think! I love hearing how recipes turn out in your kitchen. And if something doesn’t work, tell me that too—I’m here to help troubleshoot.
Happy cooking! And I hope your kitchen smells half as good as mine does right now. Now, go watch the game!
Frequently Asked Questions
Can I use homemade cake instead of cake mix?
You can, but it’s more work. If you use homemade cake, make sure it’s completely cool and crumble it finely. You might need a bit more frosting to bind it, depending on the moisture content of your cake. I stick with cake mix for convenience, but homemade works if you prefer.
Why did my chocolate coating crack?
This usually happens if the cake balls weren’t frozen solid enough. The temperature difference between the cold cake and the warm chocolate can cause cracking. Make sure to freeze them for at least 30 minutes, and let the chocolate cool slightly before dipping.
Can I make these ahead of time?
Yes! In fact, it’s recommended. Make them 1-2 days ahead and store them in an airtight container at room temperature. They’ll taste better after the flavors have melded. You can also freeze them for up to 3 months.
How do I store leftover cake pops?
Store them in an airtight container at room temperature for up to 4 days. If your kitchen is hot, you might need to refrigerate them, but be careful of condensation. They can also be frozen for longer storage.
Can I use milk chocolate instead of white chocolate?
You can, but it won’t look like a football. White chocolate provides the contrast for the laces. If you use milk chocolate, you’ll need to use a lighter color for the laces, like white chocolate or yellow icing. But honestly, white chocolate looks the best for this design.
What if I don’t have a piping bag?
Use a Ziploc bag! Cut a tiny corner off the end and use it like a piping bag. It works just as well. Or use a toothpick to draw the laces by hand. It’s less precise but still looks cute.
Can I make these gluten-free?
Yes! Use a gluten-free cake mix and make sure your frosting and chocolate chips are certified gluten-free. The technique is the same. They turn out just as good as the regular version.
Pin This Recipe!
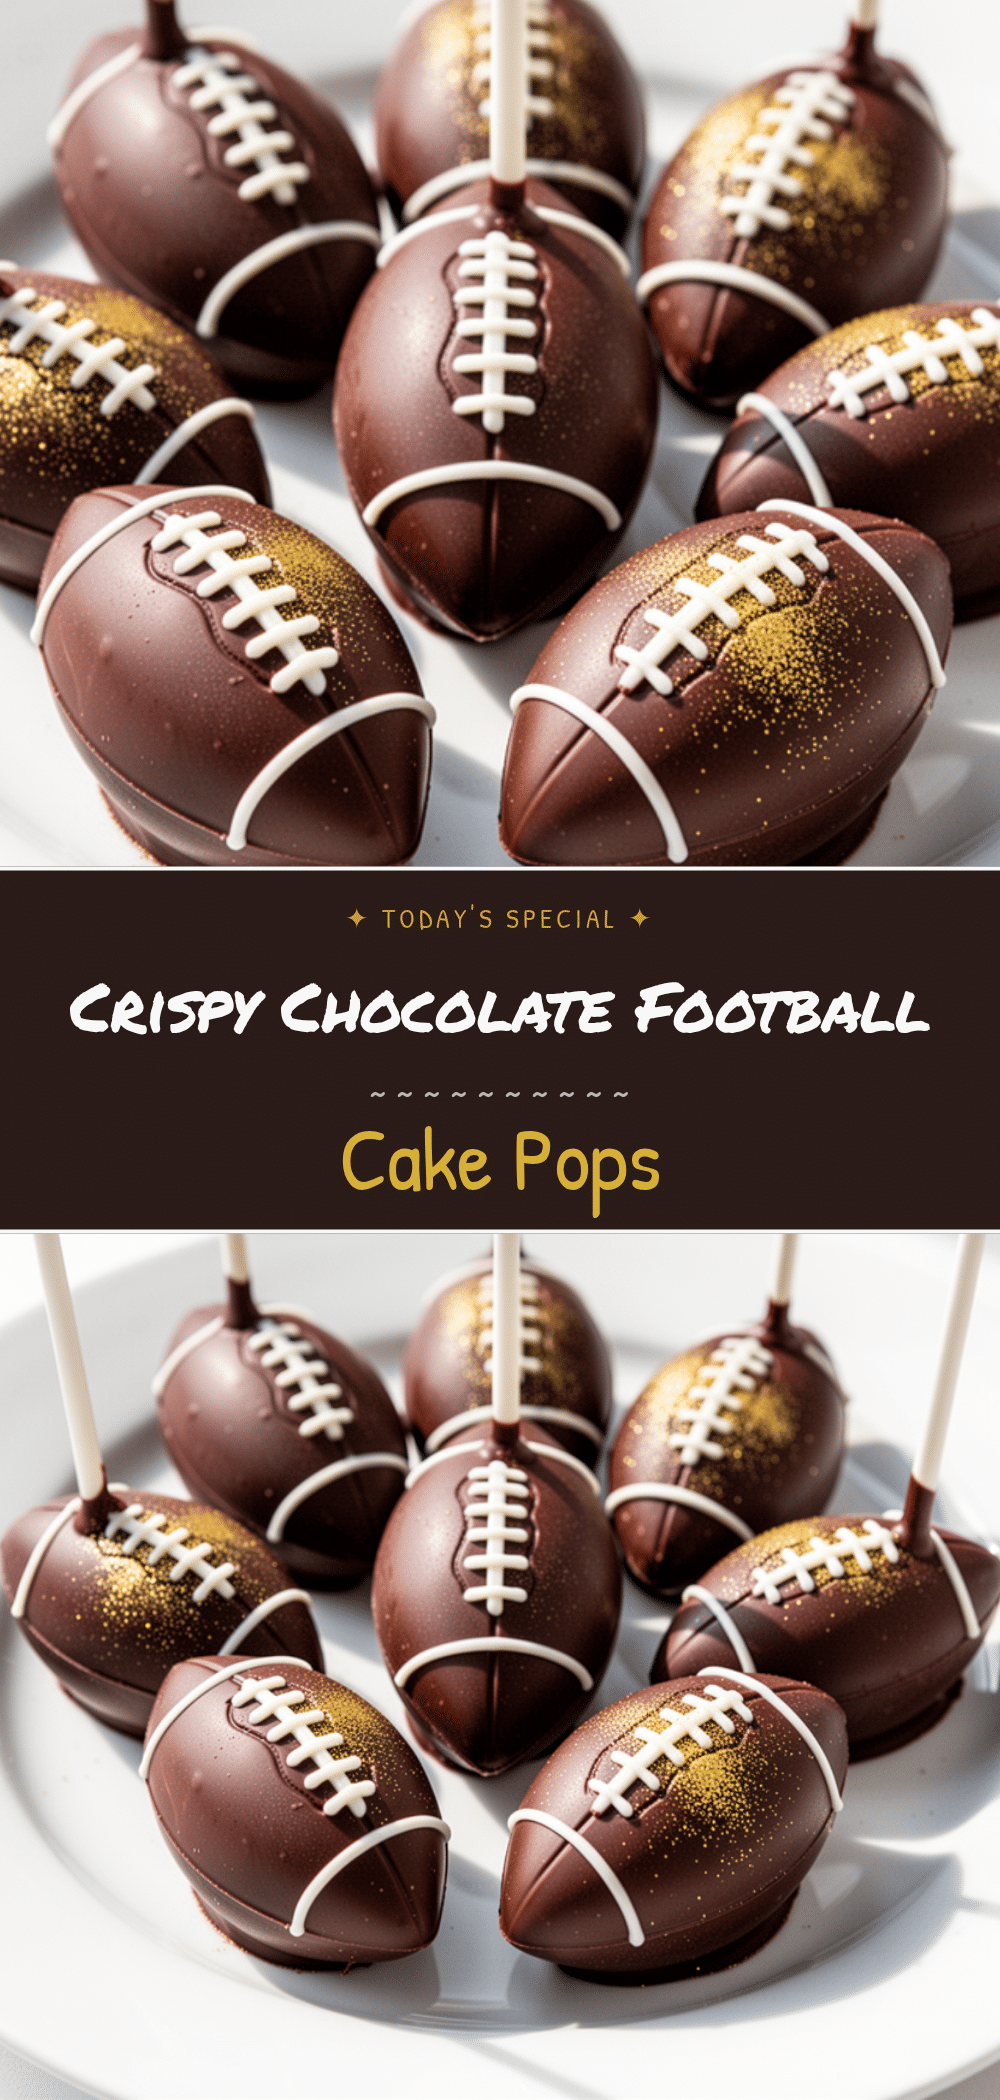
Chocolate Football Cake Pops: Easy 10-Minute Game Day Treat
- Total Time: 45 minutes
- Yield: 12 servings 1x
Description
These stick-free chocolate football cake pops are the ultimate game day hack. Made with store-bought cake mix and vanilla frosting, they are bite-sized, mess-free, and take only 10 minutes of active time to prepare.
Ingredients
- 1 box (15.25 oz / 432g) Yellow Cake Mix
- ⅓ cup (80ml) Vegetable Oil
- 2 large Eggs
- ¾ cup (180ml) Water
- 1 jar (16 oz / 450g) Vanilla Frosting
- 12 oz (340g) White Chocolate Chips
- 2 oz (56g) Dark Chocolate Chips
- 1 tablespoon Lard or Shortening
- Black Food Coloring Gel
- Parchment Paper
- Mini M&Ms or Chocolate Sprinkles (optional)
Instructions
- Preheat oven to 350°F (175°C). Grease a 9×13 inch baking pan.
- Mix cake mix, oil, eggs, and water according to box instructions. Pour into pan and bake for 25-30 minutes. Let cool completely.
- Crumble the cooled cake into fine crumbs in a large mixing bowl.
- Add vanilla frosting to the crumbs (start with half the jar) and mix until it resembles a thick dough.
- Roll the mixture into 1-inch diameter balls. Place on a parchment-lined baking sheet and freeze for at least 30 minutes.
- Melt white chocolate chips with lard/shortening in 30-second microwave intervals, stirring until smooth.
- Dip frozen cake balls into the melted white chocolate, tap off excess, and place back on parchment paper.
- Melt dark chocolate chips separately and mix in black food coloring gel.
- Pipe laces onto the white chocolate balls using a piping bag or Ziploc bag with a cut corner.
- Let the cake pops sit at room temperature for 15-20 minutes until the chocolate is fully set.
Notes
Ensure cake balls are frozen solid before dipping to prevent them from falling apart. Use gel food coloring instead of liquid to prevent the chocolate from seizing. Adding lard or shortening to the white chocolate helps it thin out for a smoother dip and a shinier finish. These can be made 1-2 days ahead and stored in an airtight container.
- Prep Time: 10 minutes
- Cook Time: 30 minutes
- Category: Dessert
- Cuisine: American
Nutrition
- Serving Size: 1 cake pop
- Calories: 120
- Sugar: 14
- Sodium: 80
- Fat: 5
- Saturated Fat: 3
- Carbohydrates: 18
- Protein: 1
Keywords: game day snacks, cake pops, football dessert, easy party food, chocolate treats, super bowl snacks, make ahead dessert


