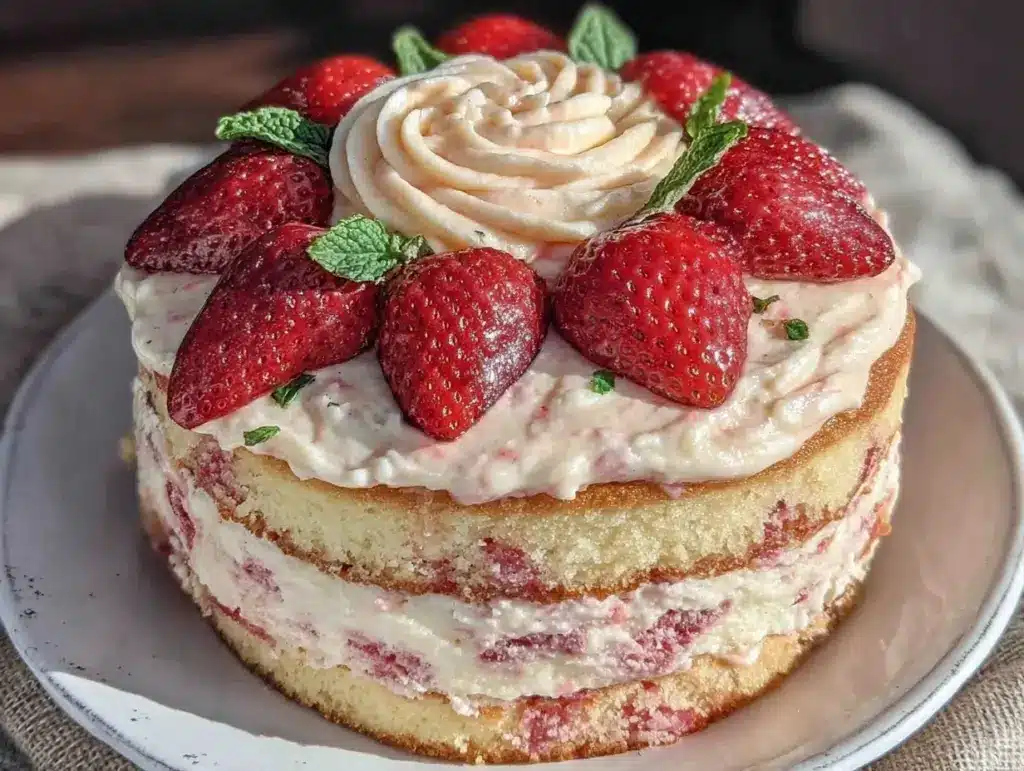
I still remember the exact shade of pink the frosting was. It wasn’t the neon, artificial pink from a box mix. It was a deep, blushing rose, stained by real strawberries that had been sitting on my counter all weekend. I was twenty-four, living in a tiny apartment with a radiator that clanked like a dying tractor, and I had just hosted my first real dinner party. I wanted to impress. I wanted something that screamed “celebration” but felt nostalgic, like a hug in dessert form.
So, I decided to make a Neapolitan Layer Cake. Not the kind you get at a carnival, but the real deal: three distinct layers, three distinct flavors, and a fresh strawberry frosting that tied it all together. I had spent weeks planning the menu. I was making game-day-loaded-football-cheese-ball-5-easy-party-snacks for savory bites and maybe some grilled skewers. But the dessert? That was the centerpiece. I thought I had it figured out. I thought I could just layer chocolate, vanilla, and strawberry batter, bake them in separate pans, and stack them up. I was wrong.
The first time I made this Neapolitan Layer Cake with Fresh Strawberry Frosting, I rushed. I didn’t let the layers cool completely before frosting. The heat from the warm cake melted the buttercream, and by the time I sliced the first piece, my beautiful tri-color tower had slumped into a delicious but messy mound. My guests didn’t care, of course. They devoured it. But I cared. I cared because I knew it could be better. I cared because I wanted to share a recipe that actually worked, not just a dream.
That first failure taught me everything. I learned about tempering. I learned about the importance of room-temperature ingredients. I learned that fresh strawberries need to be macerated to release their juices, but not so much that the frosting becomes soup. I’ve made this cake at least fifteen times since that Sunday. I’ve tweaked the vanilla bean amount. I’ve swapped cocoa brands. I’ve tested different strawberry varieties. And now? Now it’s perfect. It’s moist, it’s flavorful, and it looks stunning on a tiered stand. If you’re looking for a dessert that brings people together, this is it. This is the Neapolitan Layer Cake with Fresh Strawberry Frosting that I’m finally sharing with you.
Why You’ll Love This Recipe
Let’s be honest. Most store-bought Neapolitan cakes taste like artificial flavoring and dry sponge. This recipe is the antidote to that. It’s not just a novelty; it’s a seriously delicious dessert that balances richness with bright, fruity notes. Here is why this cake has earned a permanent spot in my rotation:
- Three Distinct Flavors, One Unified Taste — The magic here is in the balance. The chocolate layer is rich but not heavy. The vanilla layer is aromatic and floral thanks to real vanilla bean paste. The strawberry layer is bright and tangy. When you take a bite, you get all three, but they don’t clash. They harmonize.
- Real Fruit, No Powdered Magic — I refuse to use strawberry extract for the main flavor. This recipe uses fresh strawberries, pureed and reduced. The result is a natural pink hue and a complex, jammy flavor that artificial stuff just can’t mimic. It tastes like summer.
- Visually Stunning Without Being Difficult — You don’t need to be a professional pastry chef to make this look impressive. The three colors are striking against the white frosting. It’s the kind of cake that makes people stop scrolling on Instagram and actually take a photo. It feels special, even if you’re baking it on a Tuesday night.
- Perfect for Any Occasion — I’ve made this for birthday parties, bridal showers, and lazy Sunday afternoons. It pairs beautifully with a cup of coffee or a glass of dessert wine. It’s versatile enough to be the star of a holiday table or a casual backyard BBQ. If you’re hosting, this cake does the talking for you.
- Makes Great Leftovers — Unlike some delicate cakes that dry out overnight, this one actually improves after sitting in the fridge for a day. The flavors meld together, and the frosting firms up. It’s perfect for packing in a lunchbox or enjoying with breakfast the next morning.
This is my go-to when I need to impress without stressing. It’s reliable, it’s delicious, and it’s utterly rewarding to slice into.
Key Ingredients for the Perfect Neapolitan Layer Cake
Good baking is about quality ingredients. You don’t need fancy equipment, but you do need the right basics. Here’s what you’ll need for this Neapolitan Layer Cake with Fresh Strawberry Frosting, and why each one matters.
For the Cake Layers
All-Purpose Flour (450g / 3 ½ cups) — This is your structure. Don’t substitute with cake flour unless you want a very different texture. Spoon and level your flour to avoid dense cake. I use King Arthur, but any good brand works.
Granulated Sugar (500g / 2 ½ cups) — Sugar isn’t just for sweetness; it tenderizes the crumb and helps with browning. Use standard white sugar. Brown sugar will make the layers too moist and heavy for this specific recipe.
Unsalted Butter (225g / 1 cup) — Room temperature is non-negotiable. If it’s cold, it won’t cream properly with the sugar, and your cake will be dense. If it’s melted, you’ll get greasy layers. Aim for soft enough to leave an indent but not squishy.
Eggs (4 large / 200g without shells) — Large eggs provide the necessary protein and structure. I like to bring them to room temperature before cracking. Cold eggs can cause the butter mixture to curdle.
Whole Milk (360ml / 1 ½ cups) — Full-fat milk gives the best richness and moisture. Skim milk will result in a drier cake. Buttermilk works too, but you’ll need to adjust the leavening slightly.
Vanilla Bean Paste (2 tbsp) — This is better than extract because you get those tiny black specks and a deeper flavor. It makes the vanilla layer look and taste professional.
Unsweetened Cocoa Powder (60g / ¾ cup) — Use natural cocoa powder, not Dutch-processed, for the chocolate layer. It reacts better with the baking soda in this recipe. Guittard or Hershey’s are reliable.
For the Fresh Strawberry Frosting
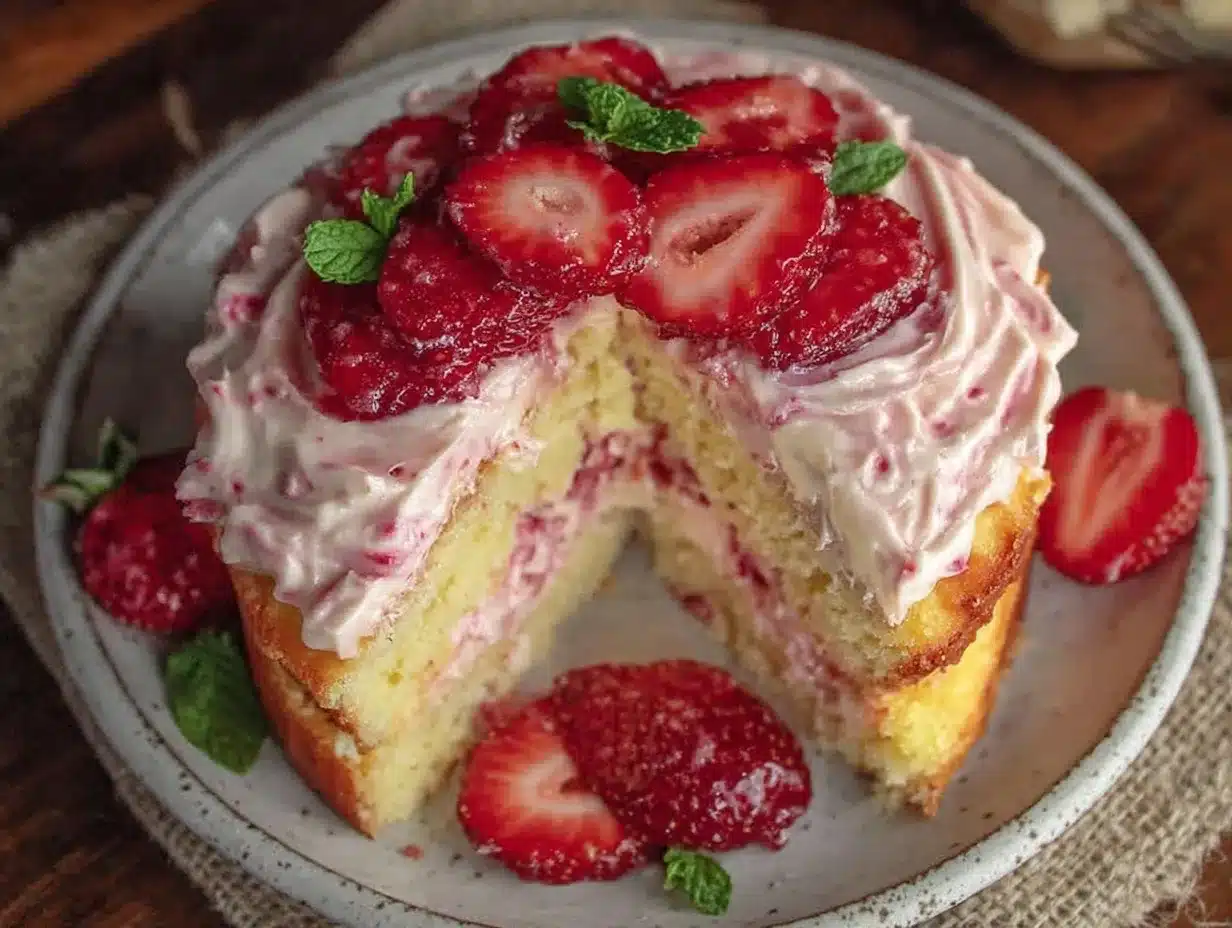
Fresh Strawberries (450g / 1 lb) — This is the star. Look for ripe, red berries. If they’re white at the tips, they’ll be tart and watery. I buy extra because I’ll eat half of them while prepping.
Heavy Cream (480ml / 2 cups) — You need high-fat cream to whip into stiff peaks. Light cream won’t hold its shape. Keep it cold until the moment you whip it.
Confectioners’ Sugar (120g / 1 cup) — Sift this to remove lumps. You don’t want gritty frosting on your smooth cake.
Unsalted Butter (115g / ½ cup) — Room temperature. This adds stability and richness to the whipped cream, making it easier to spread and less likely to deflate.
Vanilla Extract (1 tsp) — Just a touch to round out the strawberry flavor.
Storage Tips
Butter: Keep at room temperature for creaming, or freeze in portions for later. Strawberries: Wash them right before you use them. Moisture is the enemy of fresh fruit storage. Eggs: Store in the fridge, not the door, to maintain consistent temperature.
Tools Needed
You don’t need a professional kitchen to make this cake. Here’s what I use, and what you can swap if you’re working with limited space.
Three 8-inch Round Cake Pans — This is crucial. You need three identical pans to ensure even baking. I use heavy-duty aluminum pans. Springform pans are okay, but they can leak batter into the bottom, leading to uneven bottoms.
Parchment Paper — Cut circles for the bottom of the pans. This guarantees your layers release easily and stay flat. I never skip this step.
Stand Mixer or Hand Mixer — A stand mixer is ideal for creaming butter and sugar, but a hand mixer works fine if you have the arm strength. Just be prepared to mix for a few extra minutes.
Wire Cooling Rack — You need air circulation underneath the pans. Placing hot pans on a solid counter can steam the bottom of the cake, making it soggy.
Offset Spatula — This is your best friend for frosting. It lets you get into the corners and create smooth sides. A regular spatula works, but it’s harder to control.
Sifter or Fine-Mesh Sieve — For the powdered sugar and cocoa powder. Lumpy sugar is a nightmare in frosting.
Cooking Instructions
Let’s get into the nitty-gritty. This process takes about 2 hours total, including cooling and chilling. Don’t rush the cooling steps.
Step 1: Prep Your Pans (10 minutes)
Preheat your oven to 350°F (175°C). Grease the bottoms and sides of your three 8-inch cake pans with butter or non-stick spray. Line the bottoms with parchment paper. This ensures nothing sticks and your layers come out clean. Dust the pans lightly with flour, tapping out the excess. This gives the batter something to grip onto as it rises.
Step 2: Mix the Vanilla Batter (10 minutes)
In a large bowl, whisk together the flour, baking powder, and salt. In a separate bowl, cream the room-temperature butter and sugar until light and fluffy, about 3-4 minutes. This incorporates air, which makes the cake tender. Add the eggs one at a time, beating well after each addition. Mix in the vanilla bean paste. Alternately add the dry ingredients and milk, beginning and ending with the flour mixture. Do not overmix. Stop as soon as the streaks of flour disappear. The batter should be smooth and thick.
Step 3: Divide and Flavor (5 minutes)
Divide the batter equally among three bowls. Leave one bowl plain for the vanilla layer. To the second bowl, add the cocoa powder and mix until fully incorporated. To the third bowl, add 100g of finely chopped fresh strawberries (reserve the rest for the frosting). Mix gently. The strawberry chunks will add pockets of fruit flavor, but be careful not to crush them too much.
Step 4: Bake the Layers (25-30 minutes)
Pour each batter into a prepared pan. Bake in the preheated oven for 25-30 minutes. The cakes are done when a toothpick inserted into the center comes out clean or with just a few moist crumbs. The vanilla layer may bake slightly faster than the chocolate layer due to density, so check them around the 25-minute mark. Rotate the pans halfway through baking for even color.
Step 5: Cool Completely (1 hour)
Let the cakes cool in the pans for 10 minutes. Then, run a knife around the edges and invert them onto the wire rack. Peel off the parchment paper. Let them cool completely to room temperature. This is critical. If you frost warm cake, the frosting will melt and slide off. I usually bake these the night before to save time.
Step 6: Make the Fresh Strawberry Frosting (20 minutes)
While the cakes cool, make the frosting. Hull and halve 350g of strawberries. Toss them with 2 tbsp of sugar and let them macerate for 15 minutes. This draws out the juices. Blend the strawberries and their juices until smooth, then strain through a fine-mesh sieve to remove seeds. You should have about ½ cup of puree. Let this cool to room temperature.
In a chilled bowl, whip the heavy cream and softened butter until soft peaks form. Add the powdered sugar, vanilla, and the cooled strawberry puree. Whip on high speed until stiff peaks form. Be careful not to over-whip, or the cream might separate.
Step 7: Assemble the Cake (15 minutes)
Place the vanilla layer on your cake board or plate. Spread a generous layer of strawberry frosting on top. Place the chocolate layer on top, followed by more frosting. Finally, place the strawberry layer on top. Cover the entire cake with the remaining frosting. Smooth the sides and top with an offset spatula. Decorate with fresh strawberry slices or whole berries if desired.
Total Time Breakdown: Prep: 25 mins | Bake: 30 mins | Cool: 60 mins | Frosting: 20 mins | Assemble: 15 mins. Total: ~2 hours 10 minutes.
Expert Tips for Success
Here’s everything I learned from making this too many times. These tips will save you from common pitfalls.
Don’t Skip the Maceration
I used to just blend fresh strawberries and add them to the cream. The result? Watery frosting that separated overnight. By letting the strawberries sit with sugar first, you concentrate the flavor and reduce the water content. It makes a huge difference in texture and taste.
Keep Everything Cold (Except the Butter)
For the frosting, keep your bowl and beaters in the fridge for 15 minutes before whipping. Cold cream whips faster and holds its shape better. If your kitchen is hot, you might even need to chill the bowl again halfway through whipping.
Level Your Layers
After baking, your cake layers might have domed tops. Use a serrated bread knife to slice off the domes. This creates flat surfaces for stacking and ensures your cake stands straight. Save the scraps for cake pops or a trifle. I love my easy-labor-day-berry-trifle-you-really-cant-mess-this-up for using up cake scraps!
Chill Before Serving
Once assembled, refrigerate the cake for at least 2 hours before slicing. This sets the frosting and makes slicing clean and easy. It also allows the flavors to meld. The cake tastes even better the next day.
Common Problems & Solutions
Frosting is too runny: Your cream was too warm or you under-whipped it. Chill the bowl and whip for another minute. Cake is dense: You likely overmixed the batter after adding the flour. Mix until just combined. Layers are uneven: Use a kitchen scale to weigh the batter for each pan. Visual estimation is rarely accurate.
Recipe Variations
Once you’ve nailed the basic version, here’s how to mix it up. This recipe is a canvas.
Chocolate Strawberry Vanilla
Swap the cocoa powder for melted dark chocolate in the chocolate layer. This makes it richer and fudgier. I love this version for chocolate lovers.
Lemon Raspberry
Replace the strawberry puree with raspberry puree. Add lemon zest to the vanilla batter. This is a brighter, more tart combination. Perfect for spring.
Red Velvet Twist
Add red food coloring to the vanilla batter and a touch of buttermilk. This gives you a true red velvet layer. Pair it with cream cheese frosting instead of strawberry.
Dairy-Free Option
Use vegan butter and coconut cream for the frosting. The flavor will be slightly different, but the texture holds up well. Use almond milk in the batter.
Gluten-Free Modification
Substitute the all-purpose flour with a 1:1 gluten-free flour blend. Add a teaspoon of xanthan gum if your blend doesn’t include it. The texture will be slightly more tender.
Serving & Storage
Serving Suggestions
This cake is beautiful on its own, but you can add extra flair. Garnish with fresh mint leaves or edible flowers. Serve with a side of whipped cream and extra fresh berries. It pairs wonderfully with a cup of black coffee or a glass of blackberry-bourbon-lemonade-5-minute-labor-day-recipe for a sophisticated touch. For a casual gathering, it’s perfect alongside outdoor-watermelon-feta-skewers to balance the sweetness.
Storage Instructions
Room Temperature: Do not leave this cake out for more than 2 hours. The fresh cream and fruit are perishable. Refrigerator: Store in an airtight container or under a cake dome for up to 3 days. Bring to room temperature for 30 minutes before serving for the best texture. Freezer: This cake does not freeze well. The fresh strawberry frosting will separate and become watery upon thawing. Freeze the baked layers only, wrapped tightly in plastic, for up to 2 months. Thaw overnight in the fridge before frosting.
Nutrition Information
I’m not a nutritionist, but here’s the breakdown per slice (assuming 12 slices). This is indulgent food, so enjoy it mindfully.
| Nutrient | Amount per Slice |
|---|---|
| Calories | 480 kcal |
| Protein | 6g |
| Carbohydrates | 52g |
| Fiber | 2g |
| Fat | 28g |
| Sodium | 220mg |
My Take: This is a rich, creamy dessert. It’s not a health food, but it’s made with real ingredients. It’s better than anything from a bakery and you know exactly what’s in it. Pair it with a strong coffee to cut the sweetness.
Final Thoughts
Making a Neapolitan Layer Cake with Fresh Strawberry Frosting is a labor of love, but the payoff is immense. It’s a cake that brings people together, whether it’s a small family gathering or a big party. It’s nostalgic yet elevated, simple yet impressive. I hope this recipe becomes a favorite in your kitchen, just as it has in mine. Don’t be afraid to experiment with the flavors, but stick to the techniques. The result will be worth it.
If you make this, drop a comment! I love hearing how it turns out in your kitchen. Did you add extra strawberries? Did you use a different cocoa brand? Share your stories. And if you need more party ideas, check out my game-day-loaded-brownie-sundae-skillet-best-5-ingredient-recipe for a warm, gooey treat.
Happy cooking!
FAQs
Can I make this cake ahead of time?
Yes! In fact, it’s better the next day. Bake the layers a day ahead, wrap them tightly, and freeze them. Thaw overnight in the fridge. Make the frosting the day of, or the night before. Assemble the cake 2-3 hours before serving. This gives the frosting time to set.
Can I use frozen strawberries?
You can, but fresh is best. If you must use frozen, thaw them completely and drain the excess liquid. Pat them dry with paper towels before blending. Frozen strawberries have more water content, which can make the frosting runny.
Why did my cake layers sink in the middle?
This usually happens if the oven temperature is too high or if the door is opened too early. Make sure your oven is fully preheated. Also, check your leavening agents. Old baking powder won’t provide enough lift, causing the cake to collapse as it cools.
How do I store leftover cake?
Store it in the refrigerator in an airtight container or under a cake dome. It will keep for up to 3 days. Let it come to room temperature before serving for the best flavor and texture.
Can I substitute the fresh strawberry frosting with whipped cream?
Yes, you can use plain whipped sweetened cream, but the fresh strawberry frosting is superior. The strawberry puree adds flavor and color, and the butter stabilizes the cream. If you skip the strawberry, the cake will still be good, but less vibrant.
What kind of cake pans should I use?
Use three 8-inch round cake pans. If you only have 9-inch pans, the layers will be thinner and bake faster. Adjust the baking time accordingly, checking for doneness around 20 minutes. Avoid using glass pans, as they bake slower and can lead to overbaked edges.
Pin This Recipe!
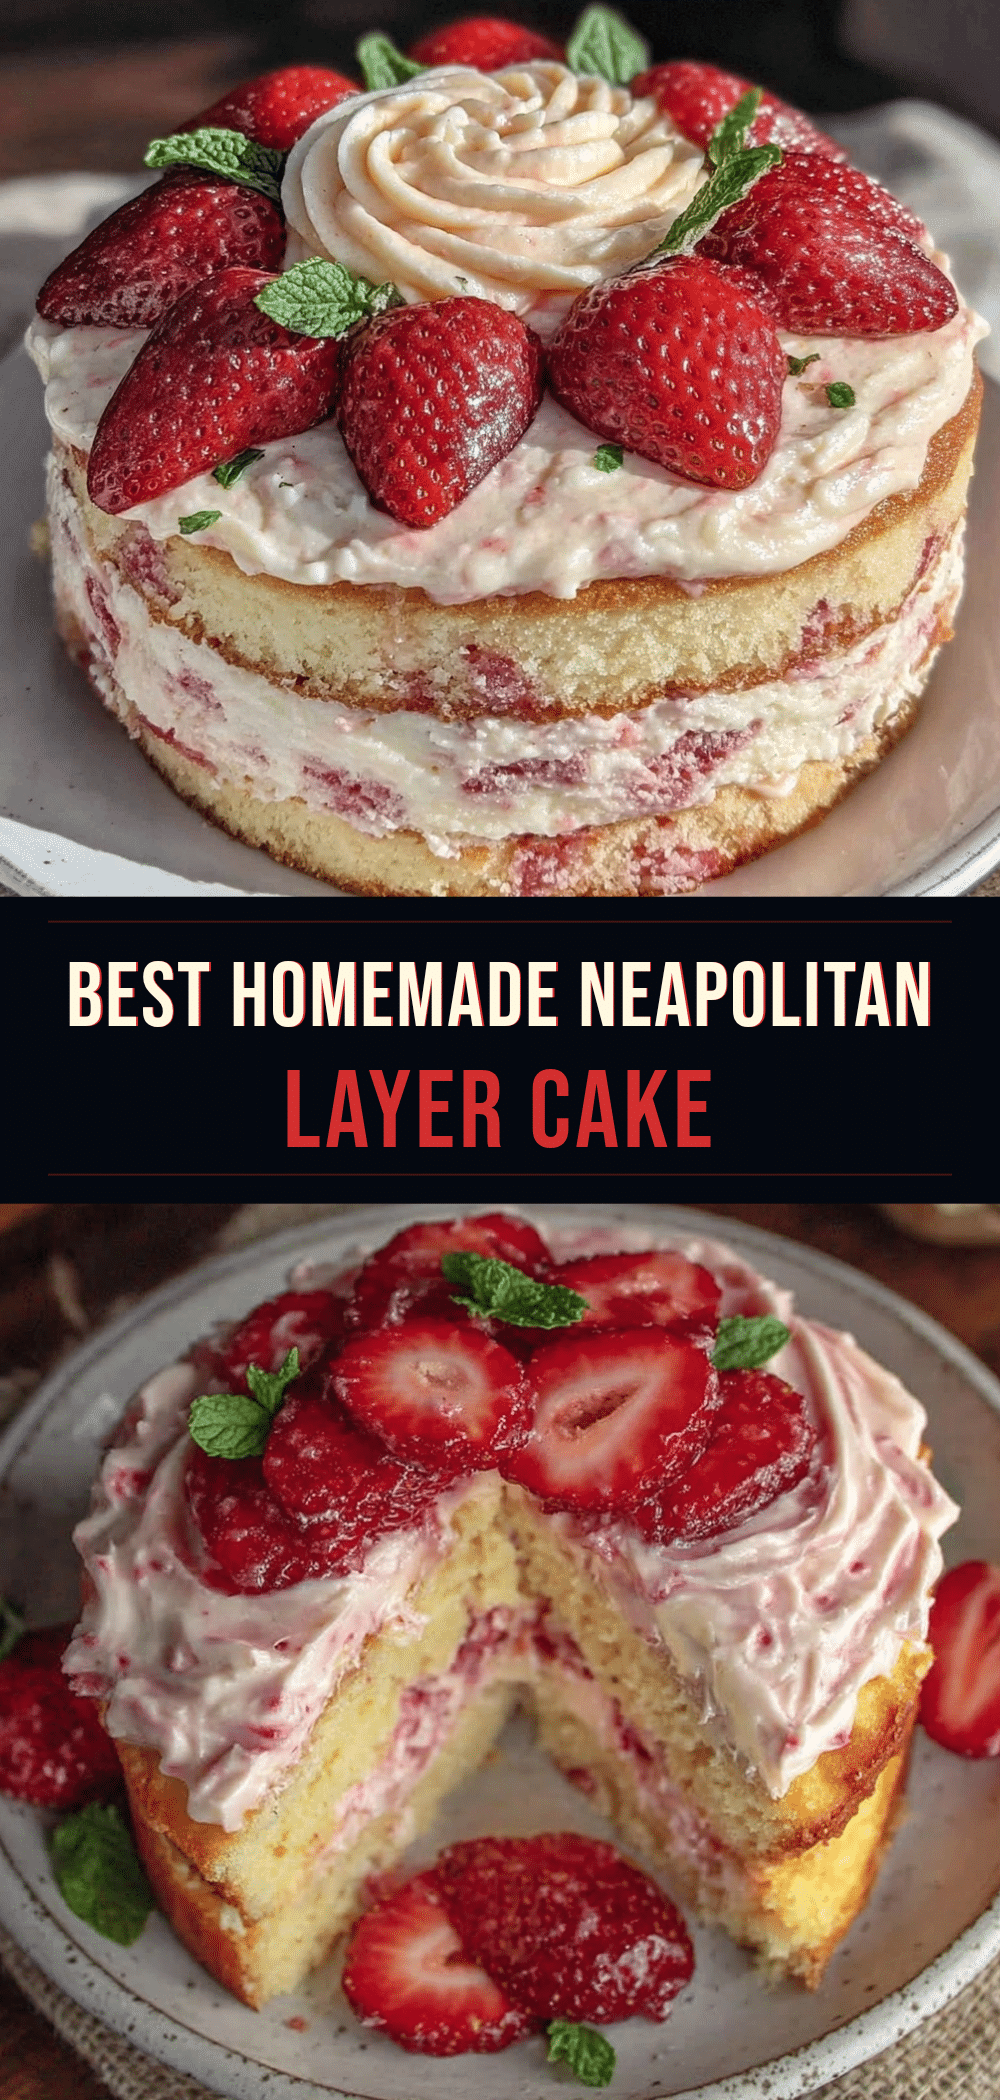
Neapolitan Layer Cake with Fresh Strawberry Frosting
- Total Time: 2 hours 10 minutes
- Yield: 12 servings 1x
Description
A nostalgic and visually stunning three-layer cake featuring distinct chocolate, vanilla, and strawberry flavors, finished with a rich, fresh strawberry buttercream frosting made from real fruit.
Ingredients
- 450g (3 ½ cups) All-Purpose Flour
- 500g (2 ½ cups) Granulated Sugar
- 225g (1 cup) Unsalted Butter, room temperature
- 4 large Eggs, room temperature
- 360ml (1 ½ cups) Whole Milk
- 2 tbsp Vanilla Bean Paste
- 60g (¾ cup) Unsweetened Cocoa Powder
- 450g (1 lb) Fresh Strawberries
- 480ml (2 cups) Heavy Cream, cold
- 120g (1 cup) Confectioners’ Sugar, sifted
- 115g (½ cup) Unsalted Butter, room temperature
- 1 tsp Vanilla Extract
- Baking Powder and Salt (for batter)
Instructions
- Preheat oven to 350°F (175°C). Grease and line the bottoms of three 8-inch round cake pans with parchment paper. Dust lightly with flour.
- Whisk together flour, baking powder, and salt in a large bowl.
- In a separate bowl, cream room-temperature butter and sugar until light and fluffy (3-4 minutes).
- Add eggs one at a time, beating well after each addition. Mix in vanilla bean paste.
- Alternately add dry ingredients and milk to the butter mixture, beginning and ending with flour. Mix until just combined.
- Divide batter equally among three bowls. Leave one plain (vanilla). Add cocoa powder to the second bowl. Add 100g finely chopped fresh strawberries to the third bowl.
- Pour batters into prepared pans. Bake for 25-30 minutes until a toothpick comes out clean. Rotate pans halfway through.
- Cool cakes in pans for 10 minutes, then invert onto a wire rack to cool completely.
- For frosting: Hull and halve 350g strawberries. Toss with 2 tbsp sugar and macerate for 15 minutes. Blend and strain to make ½ cup puree. Cool to room temperature.
- In a chilled bowl, whip heavy cream and softened butter until soft peaks form.
- Add powdered sugar, vanilla, and cooled strawberry puree. Whip on high until stiff peaks form.
- Assemble cake: Place vanilla layer on plate, frost, add chocolate layer, frost, add strawberry layer. Cover entire cake with remaining frosting and smooth sides.
- Refrigerate for at least 2 hours before slicing.
Notes
Ensure all ingredients are at room temperature except the heavy cream for frosting. Do not frost warm cake as the frosting will melt. Macerating strawberries is crucial to prevent watery frosting. The cake improves in flavor after sitting in the fridge overnight.
- Prep Time: 25 minutes
- Cook Time: 30 minutes
- Category: Dessert
- Cuisine: American
Nutrition
- Serving Size: 1 slice
- Calories: 480
- Sugar: 40
- Sodium: 220
- Fat: 28
- Saturated Fat: 17
- Carbohydrates: 52
- Fiber: 2
- Protein: 6
Keywords: Neapolitan cake, strawberry frosting, layer cake, homemade cake, strawberry dessert, vanilla cake, chocolate cake, party dessert


