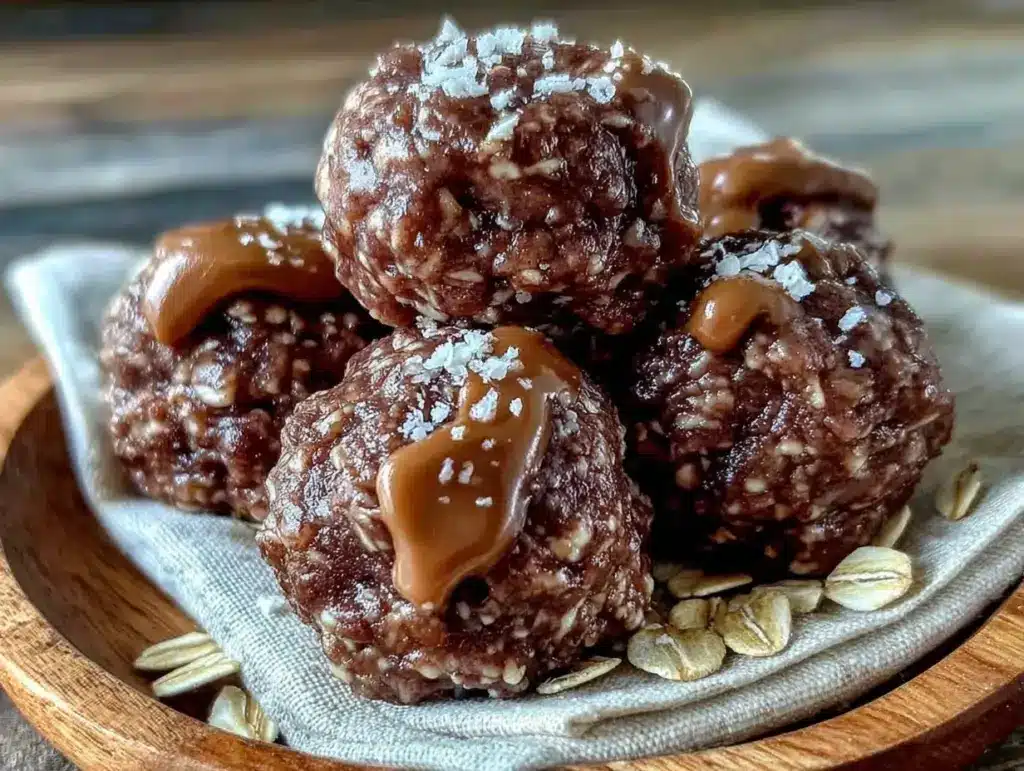
Three years ago, I stood in the fluorescent-lit aisle of a grocery store, staring at a box of “all-natural” energy bars. The ingredient list was longer than my grocery receipt. I saw sugar alcohols I couldn’t pronounce, hydrogenated oils, and enough preservatives to keep a small ship afloat. I bought them anyway because I was tired. I was rushing to work, rushing to the gym, rushing to pick up my kids. I needed fuel. I needed something quick.
I ate one on the drive to work. It tasted like chalk and regret. It stuck to the roof of my mouth. It made me feel sluggish, not energized. I threw the rest in the trash that afternoon.
That was the moment I decided to make my own. I didn’t want mystery ingredients. I didn’t want a texture like wet sand. I wanted something that tasted like a dessert but worked like fuel. I wanted something I could grab from the fridge at 6 AM without thinking twice.
That search led me to this recipe for no-bake chocolate peanut butter energy balls. It’s not complicated. It’s not fancy. But it is perfect. I’ve made these dozens of times since that bad grocery store experience. Sometimes I add chia seeds for extra fiber. Sometimes I use almond butter because I ran out of peanuts. But the core recipe remains the same: oats, peanut butter, honey, and chocolate chips.
What started as a survival tactic for busy mornings has become a staple in my kitchen. My kids love them. My husband loves them. Even my picky niece, who usually turns her nose up at anything green or healthy, asks for these. They are the ultimate meal prep hack because they require zero cooking, zero baking time, and zero cleanup beyond a single bowl.
If you’re tired of expensive, processed snacks that don’t actually keep you full, you need to try these no-bake chocolate peanut butter energy balls. They are my proof that healthy eating doesn’t have to be boring or difficult. It just has to be simple.
Why You’ll Love This No-Bake Chocolate Peanut Butter Energy Balls Recipe
Let’s be real for a second. Life is hard. Mornings are chaotic. Trying to eat well often feels like a second job. That’s why this recipe is my holy grail. It’s not just about saving time; it’s about saving your sanity. Here’s why I keep coming back to these little bites of goodness.
- Zero Baking Required — I don’t have an oven turned on at 6 AM. I don’t want to wait 20 minutes for cookies to cool. These no-bake chocolate peanut butter energy balls come together in 10 minutes. You mix, you roll, you chill. Done. It’s the fastest way to get a healthy snack ready.
- Pantry Staple Friendly — I don’t like special trips to the store for one weird ingredient. This recipe uses oats, peanut butter, honey, and chocolate chips. If you have a peanut allergy, you can swap the butter. If you’re vegan, you swap the honey. It’s flexible. I’ve made this when I was missing one ingredient, and it still worked perfectly.
- Actual Fuel, Not Just Sugar — Most energy bars are just candy bars in disguise. These have protein from the peanut butter, fiber from the oats, and healthy fats from the seeds or nut butter. They keep my blood sugar stable. I tested them by skipping breakfast before a long hike. I didn’t crash. I didn’t get the shakes. I just had steady energy.
- Meal Prep Champion — I make a batch every Sunday. I put them in a container. I grab two on my way out the door. They don’t melt in my gym bag (mostly). They don’t get squished easily if you roll them tight. They are the ultimate grab-and-go breakfast or afternoon snack. If you need ideas for other meal prep recipes that stick around, these are at the top of my list.
- Kid-Approved Taste — This is the biggest win. My kids think they are eating dessert. They don’t care that there are oats in there. They don’t care that it’s “healthy.” They just like the chocolate and peanut butter combo. It’s a sneaky way to get them to eat something nutritious without a fight.
This is my go-to when I need dinner to just work, or when I need a snack that doesn’t feel like a compromise. It’s reliable. It’s delicious. It’s easy.
Key Ingredients for No-Bake Chocolate Peanut Butter Energy Balls
Here is what you need. I’ve kept this list short on purpose. You don’t need a pharmacy to make these. But the quality of your ingredients matters. Since there are only five main components, each one has a job to do.
Old-Fashioned Rolled Oats (1 ½ cups / 135g) — Do not use instant oats. Do not use steel-cut oats. Old-fashioned oats have the right texture. They absorb the liquid but still have a bit of chew. If you use instant oats, the balls will be mushy and fall apart. If you need a gluten-free option, make sure you buy certified gluten-free oats, as cross-contamination is common.
Peanut Butter (1 cup / 250g) — I use natural creamy peanut butter. The kind with just peanuts and salt. If you use the kind with hydrogenated oils, the texture will be weirdly waxy. You want that smooth, oily consistency to help bind everything together. If you are allergic to peanuts, almond butter works beautifully too. Sunflower seed butter is another great option for nut-free households.
Honey (½ cup / 170g) — Honey is the glue. It adds sweetness and stickiness. Maple syrup works, but it’s thinner. If you use maple syrup, you might need a tiny bit more oats to get the right consistency. I prefer honey because it has a richer flavor that pairs well with chocolate.
Mini Chocolate Chips (½ cup / 85g) — Use mini chips. Regular chips are too big for these bite-sized balls. You want a chocolate burst in every bite, not a whole chip that falls out when you roll it. Dark chocolate chips are great if you want less sugar, but milk chocolate is classic for a reason.
Flaxseed Meal (2 tablespoons / 15g) — This is the secret weapon. It adds omega-3 fatty acids and fiber. It also helps bind the mixture slightly better than oats alone. You can skip it if you want, but I don’t recommend it. It’s nearly flavorless, so you won’t taste it, but your body will thank you. Ground flaxseed is better than whole flaxseeds here because it mixes in smoother.
Salt (½ teaspoon / 3g) — A pinch of salt cuts the sweetness. It makes the peanut butter taste more like peanut butter and less like sugary paste. Don’t skip this. It balances the flavor profile.
Vanilla Extract (1 teaspoon / 5ml) — Just a splash. It adds depth. It makes it taste like a cookie dough, which is what we’re going for.
Tools Needed
You don’t need fancy equipment. I’m not using a stand mixer or a food processor. Here’s what I actually use.
Large Mixing Bowl — I use a 4-quart bowl. It needs to be big enough to mix everything vigorously without spilling. A wide bowl is better than a deep one for mixing with a spoon or hands.
Silicone Spatula — This is your best friend. You need something sturdy to mix the thick peanut butter and oat mixture. A wooden spoon works, but a spatula gets into the corners and scrapes the sides better.
Baking Sheet or Tray — You need a flat surface to roll the balls on. I line mine with parchment paper. It makes cleanup instant. If you don’t have parchment, a light dusting of flour works, but parchment is easier.
Airtight Container — For storage. Glass is nice, but plastic is fine too. It needs to seal tight so the balls don’t dry out in the fridge.
Scoop (Optional) — I use a small cookie scoop (about 1 tablespoon) to portion the mixture. It makes them all the same size. If you don’t have a scoop, just use a teaspoon and your hands. It takes longer, but it works.
How to Make No-Bake Chocolate Peanut Butter Energy Balls
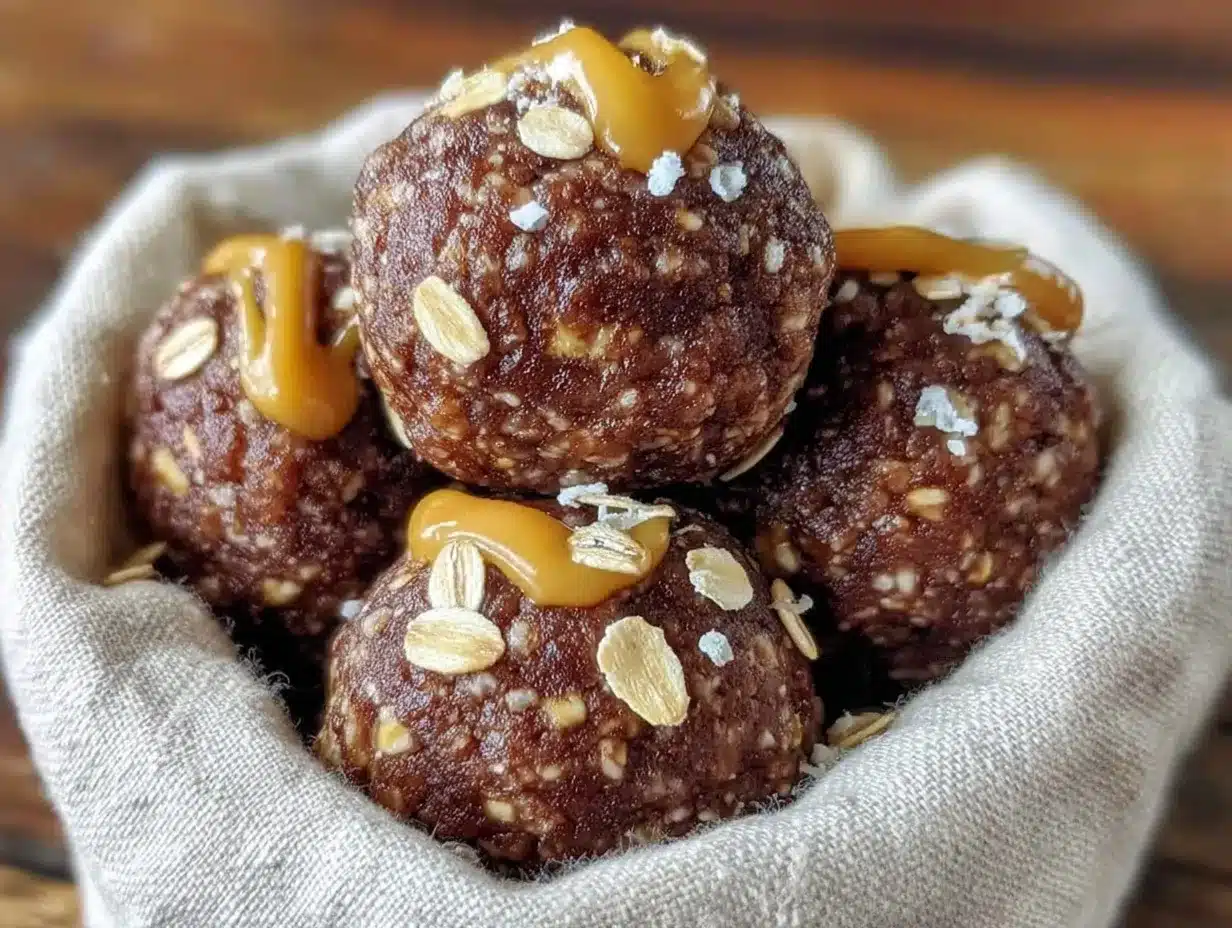
Let’s get into the kitchen. This part is easy. I promise. If you can mix a bowl and roll a ball, you can make this.
Step 1: Combine Dry Ingredients (2 minutes)
Grab your large mixing bowl. Add the old-fashioned rolled oats, flaxseed meal, and salt. Stir them together with your spatula. This distributes the salt evenly so you don’t get a salty bite. It also fluffs up the oats a little, making them easier to mix with the wet ingredients later.
Step 2: Add Wet Ingredients (2 minutes)
Now, add the peanut butter, honey, and vanilla extract. This is where you might think it will be too thick. It is. That’s okay. Use your spatula to press and fold the mixture. If it’s really stiff, you can microwave the peanut butter and honey for 15-20 seconds to soften them up. This makes mixing much easier. Mix until everything is combined and looks like a thick, chunky dough. There should be no dry patches of oats left.
Step 3: Fold in Chocolate Chips (1 minute)
Stir in the mini chocolate chips. Be gentle here. You don’t want to crush them. Just fold them in until they are evenly distributed. If you want to add extras like chia seeds, dried cranberries, or coconut flakes, add them now. This is the time to customize your no-bake chocolate peanut butter energy balls.
Step 4: Chill the Mixture (15 minutes)
This is the step people skip, and I don’t recommend it. Cover the bowl with plastic wrap or a lid. Put it in the fridge for 15 minutes. Why? Because the mixture is warm from mixing. Chilling it firms up the peanut butter and honey, making it much easier to roll into balls. If you skip this, your hands will get messy, and the balls will be flat. 15 minutes is worth it.
Step 5: Roll Into Balls (10 minutes)
Take the bowl out of the fridge. Using a tablespoon or a cookie scoop, portion out the mixture. Roll each portion between your palms. Use enough pressure to make a tight ball, but not so much that you crush the oats. Aim for 1-inch balls. If the mixture sticks to your hands, wet them slightly with water. This prevents sticking. Place the finished balls on the parchment-lined baking sheet.
Step 6: Set in the Freezer (30 minutes)
Once all the balls are rolled, put the tray in the freezer for 30 minutes. This hardens them completely. They will hold their shape perfectly. If you try to eat them right after rolling, they might be a bit soft. Freezing ensures they stay firm in your lunchbox or gym bag.
Total Time Breakdown: Prep: 5 minutes. Chill: 15 minutes. Roll: 10 minutes. Set: 30 minutes. Total active time is only about 15 minutes. The rest is waiting.
Expert Tips for Perfect Energy Balls
Here’s everything I learned from making these too many times. I’ve made mistakes so you don’t have to.
The Game-Changers
Don’t Skimp on the Chill Time
This is the #1 mistake. Warm peanut butter is sticky. Chilling the mixture is non-negotiable for clean rolling. I’ve tried skipping it on lazy days, and my balls ended up looking like lumpy blobs. 15 minutes in the fridge changes everything.
Use Natural Peanut Butter Carefully
Natural peanut butter separates. Stir it well before measuring. If it’s too oily, add a tablespoon more oats. If it’s too dry (some brands are drier), add a teaspoon more honey. Every brand is different. Adjust as you go.
Roll Them Tight
When you roll the balls, apply firm, even pressure. Loose balls fall apart in the container. Tight balls last longer. Think of it like making a snowball. Compact it.
Common Problems & Solutions
Mixture is Too Crumbly?
Add more binder. A teaspoon of honey or water at a time. Mix and test. You want it to hold together when squeezed.
Mixture is Too Sticky?
Add more dry ingredients. A tablespoon of oats at a time. Too much wet ingredient makes a mess.
Balls Are Too Sweet?
Next time, use dark chocolate chips or reduce the honey by 2 tablespoons. You can taste-test the mixture before rolling. If it’s too sweet for you, adjust now.
Pro Tricks
Add Protein Powder
If you want these to be a post-workout snack, add 2 scoops of vanilla protein powder. You’ll need to add a splash more milk or water because protein powder is dry. This turns them into a real meal replacement.
Freeze for Later
These freeze beautifully. Store them in a freezer bag for up to 3 months. Take them out the night before you want to eat them. They thaw quickly in the fridge.
Recipe Variations
Once you’ve nailed the basic version, here’s how to mix it up. I like to rotate flavors so I don’t get bored.
Coconut Lime
Swap the chocolate chips for unsweetened shredded coconut. Add the zest of one lime to the wet ingredients. It’s bright and refreshing. Great for summer.
Banana Walnut
Mash half a ripe banana into the wet ingredients. Add chopped walnuts instead of chocolate chips. It tastes like banana bread. Very comforting.
Red Velvet
Add 1 tablespoon of cocoa powder and 1 tablespoon of red food coloring to the wet mix. Use white chocolate chips. They look festive and taste like cake.
Gluten-Free
Use certified gluten-free oats. The rest of the ingredients are naturally gluten-free, but check your chocolate chips and peanut butter labels to be sure.
Vegan
Swap honey for maple syrup or agave nectar. Use dairy-free chocolate chips. That’s it. The rest is already vegan.
Low-Carb
Swap oats for crushed almond flour or coconut flour. Use sugar-free chocolate chips. Reduce the honey to 2 tablespoons and add a liquid stevia drop if needed. This changes the texture significantly, so chill longer.
Serving & Storage
Serving
I eat these straight from the container. They are perfect for breakfast on the go. I pair them with a black coffee or a glass of milk. They are also great as a pre-workout snack 30 minutes before exercise. If you are hosting a party, put them on a platter with toothpicks. They are a hit. They are healthier than game day cheese balls or loaded dips, so you can serve them without guilt.
Storage
Refrigerator: Store in an airtight container for up to 1 week. They stay firm and fresh. If your kitchen is hot, the fridge is better than the counter.
Freezer: Store in a freezer-safe bag or container for up to 3 months. They don’t freeze solid; they stay chewy. You can eat them frozen for a nice texture, or thaw them for 10 minutes.
Room Temperature: I don’t recommend keeping them out for more than a few hours. The peanut butter and honey can go rancid or get too soft in warm weather. Stick to the fridge or freezer for safety.
Nutrition Information
I’m not a nutritionist, but here’s the breakdown. These are calorie-dense because of the nuts and oats. They are nutrient-dense, too.
Per ball (approx. 15 balls per batch):
| Nutrient | Amount |
|---|---|
| Calories | 140 |
| Protein | 5g |
| Carbs | 18g |
| Fiber | 3g |
| Fat | 7g |
| Sugar | 10g |
My Take: These are not a “diet” food. They are energy-dense. One or two is plenty. They are better than a candy bar because they have protein and fiber. They keep you full. Use them as a snack, not a meal replacement unless you add protein powder.
Final Thoughts
Making your own snacks is empowering. It means you know exactly what you are eating. It means you aren’t reliant on processed bars that fall apart or taste like cardboard. These no-bake chocolate peanut butter energy balls are my answer to busy mornings. They are simple, cheap, and delicious.
If you make this, drop a comment! I love hearing how you customize them. Do you add protein powder? Do you use almond butter? Share your tips. And if you need more easy meal prep ideas, check out my budget-friendly grilled peach salad for a light lunch option.
Happy cooking!
FAQs
Q: Can I make these ahead of time?
A: Yes! This is the best part. Make them on Sunday for the whole week. They last up to a week in the fridge or three months in the freezer.
Q: Why are my energy balls crumbly?
A: Usually, this means you need more binder. Add more honey or peanut butter, a teaspoon at a time. Also, make sure you used old-fashioned oats, not instant oats.
Q: Can I use crunchy peanut butter?
A: You can, but the texture will be chunkier. Creamy peanut butter gives a smoother, more uniform ball. If you use crunchy, roll them a bit more to break up the pieces.
Q: Are these gluten-free?
A: Yes, if you use certified gluten-free oats. All other ingredients are naturally gluten-free, but always check labels for cross-contamination warnings.
Q: Can I freeze these?
A: Absolutely. They freeze perfectly. Just store them in an airtight container to prevent freezer burn. They thaw quickly in the fridge.
Q: How do I store them if I don’t have a fridge?
A: If you are traveling or camping, keep them in a cooler with ice packs. Peanut butter and honey can melt or spoil in high heat. Do not leave them out for more than 2 hours.
Q: Can I substitute honey for maple syrup?
A: Yes. Maple syrup is thinner, so you may need an extra tablespoon of oats to absorb the liquid. The flavor will be slightly different, but still delicious.
Pin This Recipe!
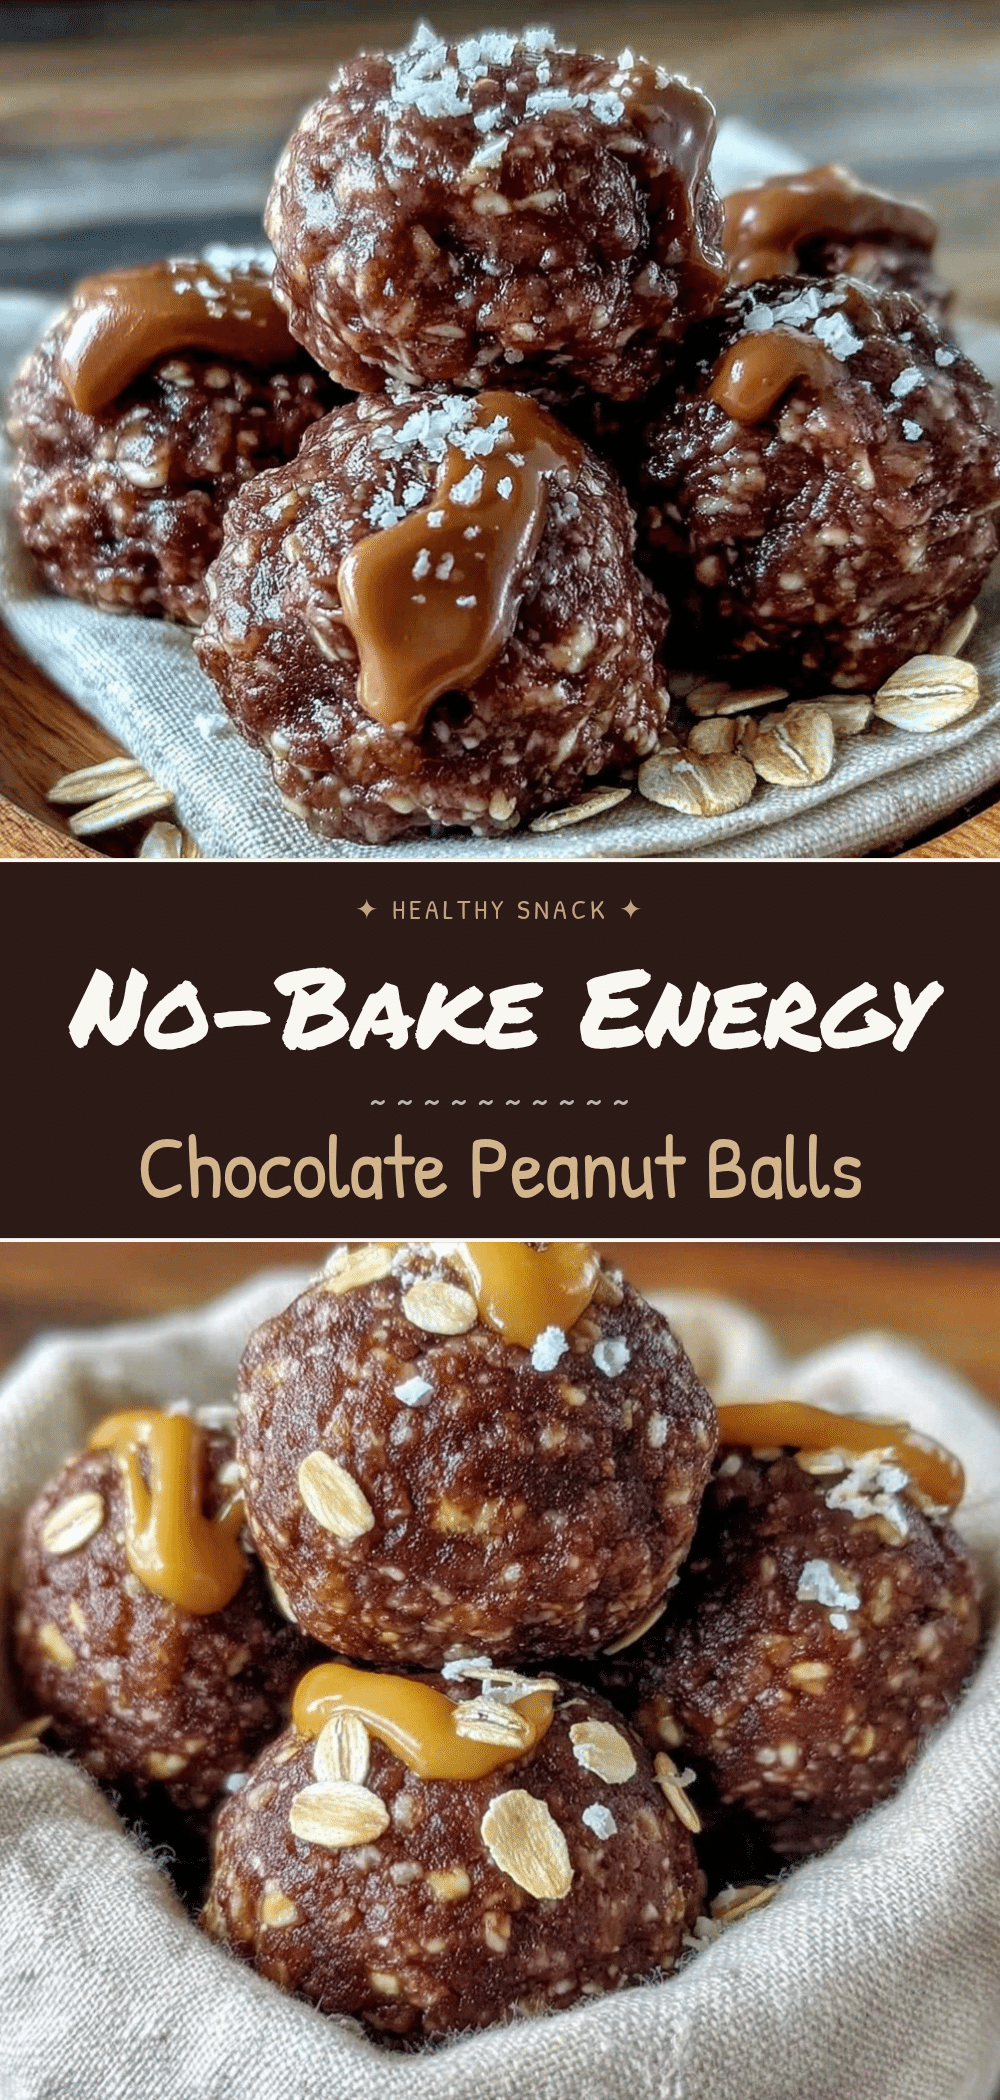
No-Bake Chocolate Peanut Butter Energy Balls
- Total Time: 45 minutes
- Yield: 15 servings 1x
Description
Simple, healthy, and delicious no-bake energy balls made with pantry staples like oats, peanut butter, and honey. Perfect for meal prep, busy mornings, or a quick snack.
Ingredients
- 1 ½ cups old-fashioned rolled oats
- 1 cup natural creamy peanut butter
- ½ cup honey
- ½ cup mini chocolate chips
- 2 tablespoons flaxseed meal
- ½ teaspoon salt
- 1 teaspoon vanilla extract
Instructions
- In a large mixing bowl, combine the old-fashioned rolled oats, flaxseed meal, and salt. Stir to distribute evenly.
- Add the peanut butter, honey, and vanilla extract to the dry ingredients. Mix vigorously with a silicone spatula until a thick, chunky dough forms. If the mixture is too stiff, microwave the peanut butter and honey for 15-20 seconds to soften.
- Fold in the mini chocolate chips until evenly distributed.
- Cover the bowl and chill the mixture in the refrigerator for 15 minutes to firm up the fats.
- Remove from the fridge. Using a tablespoon or cookie scoop, portion the mixture and roll into 1-inch balls between your palms. If the mixture sticks, wet your hands slightly with water.
- Place the rolled balls on a parchment-lined baking sheet.
- Freeze the balls for 30 minutes to harden them completely before storing or serving.
Notes
Ensure you use old-fashioned rolled oats, not instant or steel-cut, for the correct texture. Natural peanut butter should be stirred well before measuring. Chilling the mixture is crucial for easy rolling. These can be stored in the fridge for up to 1 week or frozen for up to 3 months.
- Prep Time: 15 minutes
- Cook Time: 0 minutes
- Category: Snack
- Cuisine: American
Nutrition
- Serving Size: 1 ball
- Calories: 140
- Sugar: 10
- Sodium: 50
- Fat: 7
- Saturated Fat: 2
- Carbohydrates: 18
- Fiber: 3
- Protein: 5
Keywords: no-bake, energy balls, peanut butter, chocolate, meal prep, healthy snack, gluten-free option, vegan option, quick breakfast


