
Last July, I made the mistake of buying a pint of premium mint chocolate chip ice cream from that fancy artisanal shop downtown. You know the kind—expensive, overly complex, with weird herbal notes that tasted more like toothpaste than dessert. I ate half of it, felt slightly guilty, and then spent the next three days craving that specific, cool, minty comfort.
That’s when I decided to stop buying it and start making it. After testing six different no-churn recipes (yes, six—I have the messy bowls to prove it), I finally cracked the code. It’s not just about mixing ingredients; it’s about getting the texture right so it’s scoopable, not icy. And the result? This no-churn mint chocolate chip ice cream is hands-down the best version I’ve ever made. It’s creamy, it’s intensely minty, and it’s stupidly easy.
I’ve made this at least ten times since last summer. It’s become my go-to when I want a dessert that feels indulgent but doesn’t require an ice cream machine. The best part? You only need three main ingredients to get the base right. That’s it. Three ingredients, some mini chocolate chips, and thirty minutes of hands-on time. The rest is just waiting. And while it’s freezing, you can actually relax with a glass of wine, knowing that in 6 hours, you’ll have the coolest, creamiest treat in town.
If you’re a fan of easy desserts, you’ll also want to check out my labor day frozen lemonade icebox pie. It’s another no-bake winner that’s perfect for hot days.
Why You’ll Love This No-Churn Mint Chocolate Chip Ice Cream
There are about ten reasons I keep coming back to this recipe, but here are the big ones that make it worth the freezer space.
Zero Equipment Needed — Seriously, if you have a mixer (or a whisk and elbow grease) and a loaf pan, you’re good to go. No ice cream machine, no fancy gadgets, no complicated churning process. I love that I don’t need to dig out a bulky appliance for something this simple.
Super Creamy Texture — The secret is in the ratio of heavy cream to sweetened condensed milk. Most people think no-churn ice cream is icy or watery. This one isn’t. The fat content from the cream and the sugar from the condensed milk work together to prevent ice crystals. It’s smooth, rich, and scoopable straight from the freezer.
Customizable Mint Intensity — Do you love mint? Do you hate it? This recipe lets you control that. I use peppermint extract for that sharp, clean bite, but you can dial it up or down. My kids like it mild; I like it strong enough to wake you up.
Quick Prep Time — The actual work takes less than 20 minutes. You whip the cream, fold in the rest, add chips, and freeze. That’s it. It’s the perfect “I want dessert now but don’t want to turn on the oven” solution.
Perfect for Gatherings — I’ve served this at backyard barbecues and potlucks. It’s a crowd-pleaser. Everyone loves mint chocolate chip, and they always ask for the recipe when they taste how homemade it is. It’s also a great way to use up leftover chocolate chips or even swap in different mix-ins.
This is my go-to when I need a dessert that just works. No stress, no mess, just delicious, cool, minty goodness that makes everyone happy.
Ingredients You’ll Need
Here’s the best part: you probably have most of these ingredients already. This recipe relies on pantry staples and fridge basics. I’m particular about the quality of the cream and the extract, so pay attention to those details.
For the Base
Heavy whipping cream (2 cups / 480ml) — This is non-negotiable. You need cold heavy cream with at least 35% fat. Light cream or half-and-half won’t whip up stiff peaks, and your ice cream will be soupy. I buy the carton with the red band—it’s reliable and fresh.
Sweetened condensed milk (1 can / 14oz or 397g) — Do not confuse this with evaporated milk! Condensed milk is thick, sugary, and syrupy. It’s the sugar that keeps the ice cream soft and scoopable. Use the whole can; don’t try to halve it unless you’re doubling the rest of the recipe.
Peppermint extract (1 to 2 teaspoons) — This is where the mint flavor comes from. I use pure peppermint extract, not mint extract (which is often weaker and more spearmint-like). Start with 1 teaspoon if you’re sensitive to strong flavors, but I recommend 2 teaspoons for that classic, bright mint taste. You can also use 1/4 cup crushed peppermint candies if you want a crunchier texture.
Vanilla extract (1 teaspoon) — Just a little bit to round out the flavors. It doesn’t make it taste like vanilla; it just adds depth. Use pure vanilla extract, not imitation.
Salt (a pinch) — This is crucial. Salt enhances the mint and chocolate flavors. Don’t skip it.
For the Mix-Ins

Mini chocolate chips (1 cup / 150g) — I use semi-sweet mini chips. Regular chips are too big and hard to chew when frozen. Mini chips distribute evenly and melt slightly into the cream, creating little pockets of chocolate. I also love using dark chocolate mini chips for a richer taste.
Optional: Crushed peppermint candies (1/4 cup) — For that holiday vibe and extra crunch. I crush them in a ziplock bag with a rolling pin. It’s therapeutic and fun.
Optional: Chocolate sauce drizzle — If you want to get fancy, drizzle some warm chocolate sauce into the pan before freezing. It creates those beautiful marble swirls.
Equipment Needed
You don’t need fancy equipment for this. Here’s what I actually use.
Large mixing bowl — I use a metal or glass bowl. Plastic works too, but metal stays colder, which helps the cream whip faster. Chill your bowl in the freezer for 15 minutes before starting if you have the time.
Electric hand mixer or stand mixer — You can use a whisk, but it takes about 10 minutes of arm workout. An electric mixer takes 3 minutes. I use my hand mixer because it’s easier to clean than a stand mixer bowl.
Silicone spatula — For folding. This is important. You want to fold gently to keep the air in the whipped cream. A silicone spatula is flexible and gets every bit of cream from the sides.
8×4 inch loaf pan — This is the standard size for no-churn ice cream. It fits perfectly in most freezers. Line it with parchment paper or plastic wrap for easy removal later.
Parchment paper or plastic wrap — To line the pan. This makes it super easy to lift the ice cream out once it’s frozen, so you don’t have to dig it out with a spoon.
How to Make It: Step-by-Step
Alright, let’s make this! I’m walking you through exactly how I do it, including the little tricks I’ve picked up to ensure it’s perfect every time.
Step 1: Prep Your Pan (2 minutes)
Line your 8×4 inch loaf pan with parchment paper or plastic wrap. Leave an overhang on the long sides so you can lift the ice cream out later. This step is optional but highly recommended for clean slices and easy serving.
Step 2: Whip the Cream (3-4 minutes)
Pour the cold heavy cream into your large mixing bowl. Start whipping on medium speed. It’s tempting to go high speed, but medium gives you better control. Whip until you see soft peaks—this is when the cream holds its shape but the peak droops over. Don’t over-whip it into butter! It takes about 2-3 minutes with an electric mixer. If you’re using a whisk, this will take longer, so be patient.
Step 3: Sweeten and Flavor (2 minutes)
In a separate small bowl, whisk together the sweetened condensed milk, peppermint extract, vanilla extract, and pinch of salt. Whisk it until it’s smooth and combined. This ensures you don’t get a giant glob of mint extract in one bite.
Step 4: Fold It Together (3 minutes)
Now, the delicate part. Pour the condensed milk mixture into the whipped cream. Using your silicone spatula, gently fold the two mixtures together. Start from the bottom and sweep up the sides. Rotate the bowl as you go. You’re looking for a uniform pale green color with no streaks of white cream or yellow milk. Be gentle! You want to keep all that air in the mixture. This is what makes the ice cream light and fluffy, not dense and icy. It should take about 1 minute of folding.
Step 5: Add the Chocolate (1 minute)
Stir in the mini chocolate chips. If you’re using crushed peppermint candies or chocolate sauce swirls, add them now. For swirls, drop spoonfuls of warm chocolate sauce on top and use a knife to drag through it gently. Don’t over-mix the swirls or they’ll turn brown.
Step 6: Freeze (6+ hours)
Spread the mixture evenly into your prepared loaf pan. Cover tightly with plastic wrap or a lid. Freeze for at least 6 hours, but overnight is best. The longer it freezes, the firmer it gets. If you try to scoop it after only 4 hours, it’ll be soft and icy. Patience is key.
Step 7: Serve
When you’re ready to eat, lift the ice cream out of the pan using the parchment overhang. Let it sit at room temperature for 5-10 minutes to soften slightly for easier scooping. Serve with extra chocolate chips or a drizzle of chocolate sauce. Enjoy!
Expert Tips & Tricks
Here’s everything I’ve learned from making this dozens of times. These tips will save you from my mistakes.
Cold Cream is Key
Your heavy cream must be ice-cold. If it’s warm, it won’t whip. I keep my cream in the fridge until the last second, and I even chill my mixing bowl in the freezer for 15 minutes. This gives you a head start on whipping.
Don’t Over-Whip
If you whip the cream until it’s stiff, your ice cream will be dense and heavy. Soft peaks are perfect. They’re airy but still hold their structure when folded.
Use Mini Chips
Regular chocolate chips are too big and hard to chew when frozen. Mini chips melt slightly and distribute evenly. If you only have regular chips, pulse them in a food processor for a few seconds to chop them up.
Adjust the Mint
Mint extract is potent. Start with 1 teaspoon and taste the mixture before freezing. If you want it stronger, add more. Remember, the flavor can mellow slightly as it freezes, so don’t be afraid to go a little strong.
Softening Before Serving
No-churn ice cream freezes hard. Let it sit on the counter for 5-10 minutes before scooping. It’ll be much easier to serve and have a better texture.
Variations & Substitutions
Once you’ve nailed the basic version, here’s how you can mix it up. I’ve tried all of these.
Chocolate Mint Chip
Add 1/4 cup cocoa powder to the condensed milk mixture. It turns it into a chocolate mint base. Delicious and rich.
Peppermint Patty Style
Crush peppermint candies into small pieces and mix them in. You can also add a layer of crushed peppermint patties between the ice cream for a sandwich effect.
White Chocolate Mint
Swap the dark mini chips for white chocolate chips. It’s sweeter and creamier, perfect for those who prefer a milder chocolate flavor.
Grasshopper Cocktail
Add 1 tablespoon of crème de menthe to the condensed milk mixture. This adds an alcoholic kick, perfect for adult gatherings. Note: This may affect freezing time slightly.
Gluten-Free
This recipe is naturally gluten-free as long as your chocolate chips are certified gluten-free. Most mini chips are, but check the label.
Dairy-Free
Use coconut cream (the thick part from a can of full-fat coconut milk) instead of heavy cream, and dairy-free chocolate chips. It will be denser but still creamy.
Serving & Storage
How to Serve:
I usually serve this straight from the loaf pan at the dinner table—it looks rustic and stays cold. But here are other ways I’ve enjoyed it:
Side Dishes:
It pairs well with warm brownies, apple pie, or even grilled steak (yes, really! The mint cuts through the richness). I also love it with my grilled peach burrata skewers for a refreshing summer dessert course.
Toppings Bar:
When I have guests, I put out: whipped cream, crushed peppermint candies, chocolate sauce, and chopped nuts. Everyone customizes their bowl.
Storage Instructions:
Refrigerator:
Store in an airtight container for up to 2 weeks. The mint flavor will intensify over time, which I love, but some people prefer it fresh.
Freezing:
This recipe is meant to be frozen! Keep it in the freezer until you’re ready to eat. If it gets too hard, let it sit out for 10 minutes.
Reheating:
Not applicable. This is ice cream. Eat it cold!
Pro tip:
If you’re making this ahead for a party, make it 24 hours in advance. It’ll be perfectly set and have the best texture.
Nutrition Information
I’m not a nutritionist, but here’s the breakdown if you’re tracking.
Per Serving (based on 8 servings):
- Calories: 320
- Protein: 4g
- Carbs: 32g
- Fiber: 1g
- Sugar: 30g
- Fat: 20g
- Saturated Fat: 12g
- Cholesterol: 60mg
- Sodium: 65mg
What’s Good:
- Simple ingredients
- No artificial colors or preservatives
- Can be made gluten-free
What to Know:
- High in sugar and saturated fat (it’s ice cream!)
- Contains dairy
- Calorie-dense, so portion control is key
My Take:
Look, this is ice cream with heavy cream and condensed milk. It’s not a health food. But it’s way better than store-bought, costs less, and I know exactly what’s in it. When I want to make it lighter, I use half-and-half instead of heavy cream, but it won’t be as creamy. Usually? I just eat a reasonable portion and enjoy it.
Final Thoughts
So that’s my go-to no-churn mint chocolate chip ice cream! I’ve probably talked your ear off at this point, but when you make a recipe this often, you have a lot to say about it.
This has saved summer evenings more times than I can count. It’s my answer to “what’s for dessert” when I’m tired, don’t want to bake, and still want something that tastes really good. My kids are happy, my husband’s happy, and I’m happy because I’m not stressed about cooking.
Make it yours! Try different mix-ins, swap in your favorite chocolate, adjust the mint. The best recipes are the ones you adapt to your family’s tastes.
If you make this, drop a comment and let me know what you think! I love hearing how recipes turn out in your kitchen. And if something doesn’t work, tell me that too—I’m here to help troubleshoot.
Happy cooking! And I hope your kitchen smells half as good as mine does right now (minty and sweet).
Frequently Asked Questions
Can I use mint extract instead of peppermint extract?
You can, but the flavor will be different. Mint extract is usually weaker and more spearmint-like. Peppermint extract has that sharp, clean bite that we associate with mint chocolate chip. If you use mint extract, you’ll need to use more—maybe 3-4 teaspoons—to get a strong flavor. I recommend sticking with peppermint for the best results.
Why is my ice cream icy?
This usually happens if the cream wasn’t whipped enough or if the ice cream wasn’t frozen long enough. Make sure you whip the cream to soft peaks and freeze for at least 6 hours. Also, ensure your condensed milk is fully incorporated. If you see streaks of white, fold it more gently but thoroughly.
Can I make this in a different pan?
Yes! You can use a 9×5 inch loaf pan (it’ll be thinner), a square baking pan, or even individual ramekins. Just adjust the freezing time accordingly. Smaller portions will freeze faster—maybe 4-5 hours.
How do I store leftovers?
Keep it in the freezer in an airtight container or covered tightly with plastic wrap. It’ll last for up to 2 weeks. The mint flavor may get stronger over time, which some people love and others don’t. If it gets too hard, let it sit at room temperature for 10 minutes before scooping.
Can I add alcohol?
Yes! Add 1-2 tablespoons of peppermint schnapps or crème de menthe to the condensed milk mixture. Note that alcohol can prevent ice cream from freezing as hard, so it might be softer. Also, keep in mind that this will make it an adult-only treat.
Can I use a stand mixer?
Absolutely! Use the whisk attachment on medium speed. It’s even easier than a hand mixer. Just watch it closely so you don’t over-whip the cream.
What if I don’t have a loaf pan?
Use any freezer-safe container. A plastic storage container with a lid works well. Just make sure it’s airtight to prevent freezer burn. The shape will be different, but the taste will be the same.
Pin This Recipe!
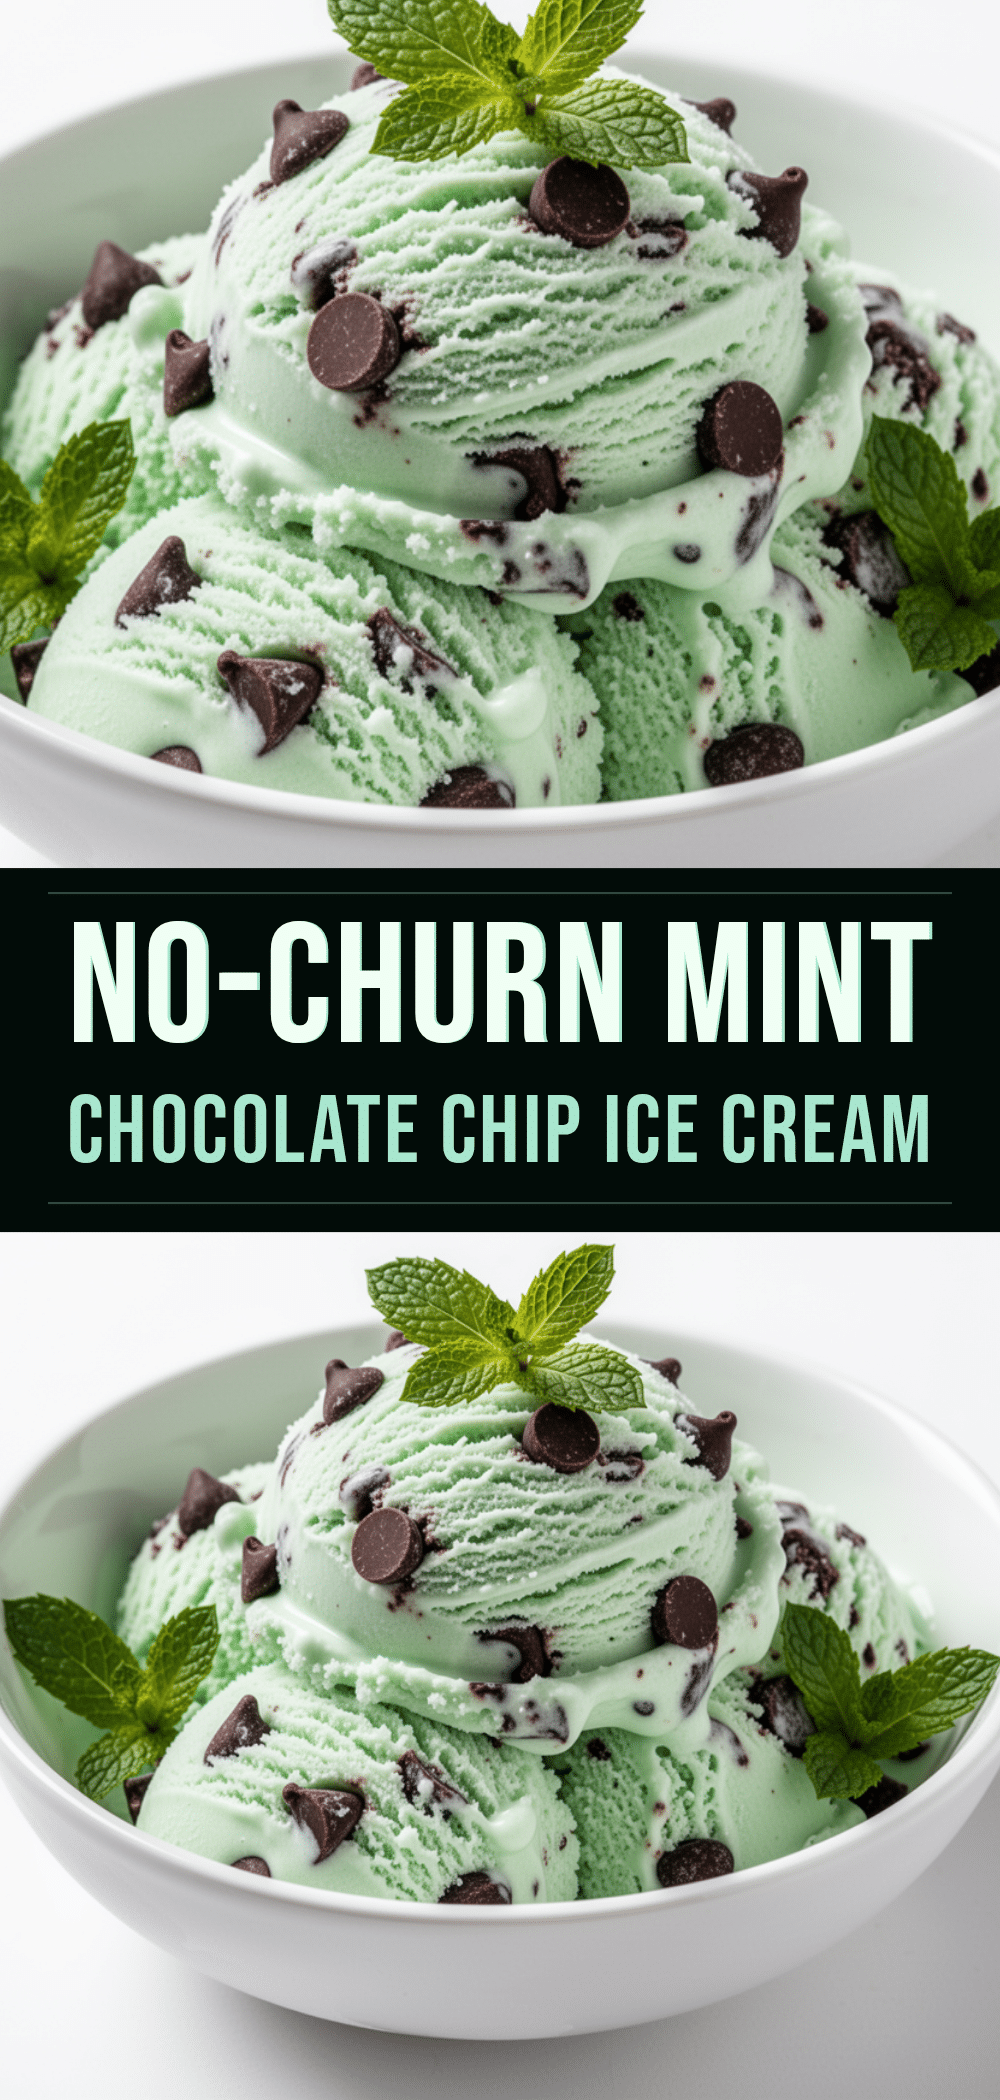

No-Churn Mint Chocolate Chip Ice Cream: 3-Ingredient Easy Recipe
- Total Time: 6 hours 20 minutes
- Yield: 8 servings 1x
Description
This incredibly easy no-churn mint chocolate chip ice cream requires only three main ingredients and no ice cream machine. It delivers a creamy, scoopable texture with intense mint flavor and chocolate chips.
Ingredients
- 2 cups heavy whipping cream (cold, at least 35% fat)
- 1 can (14oz / 397g) sweetened condensed milk
- 1 to 2 teaspoons peppermint extract
- 1 teaspoon vanilla extract
- 1 pinch salt
- 1 cup (150g) mini semi-sweet chocolate chips
- Optional: 1/4 cup crushed peppermint candies
- Optional: Chocolate sauce for drizzling
Instructions
- Line an 8×4 inch loaf pan with parchment paper or plastic wrap, leaving an overhang on the long sides for easy removal.
- Pour cold heavy whipping cream into a large mixing bowl. Whip on medium speed until soft peaks form (about 2-3 minutes with an electric mixer). Do not over-whip.
- In a separate small bowl, whisk together the sweetened condensed milk, peppermint extract, vanilla extract, and salt until smooth.
- Pour the condensed milk mixture into the whipped cream. Gently fold together using a silicone spatula until uniform in color with no streaks, taking care to keep the air in the mixture.
- Stir in the mini chocolate chips. If using crushed peppermint candies or chocolate sauce swirls, fold them in gently now.
- Spread the mixture evenly into the prepared loaf pan. Cover tightly with plastic wrap or a lid.
- Freeze for at least 6 hours, preferably overnight, until firm.
- To serve, lift the ice cream out of the pan using the parchment overhang. Let it sit at room temperature for 5-10 minutes to soften slightly before scooping.
Notes
Ensure heavy cream is ice-cold for best whipping results. Use mini chocolate chips for better distribution and texture. If the ice cream is too hard to scoop, let it sit out for 5-10 minutes before serving. The mint flavor intensifies over time in the freezer.
- Prep Time: 20 minutes
- Cook Time: 0 minutes
- Category: Dessert
- Cuisine: American
Nutrition
- Serving Size: 1/8 of the loaf pan
- Calories: 320
- Sugar: 30
- Sodium: 65
- Fat: 20
- Saturated Fat: 12
- Carbohydrates: 32
- Fiber: 1
- Protein: 4
Keywords: no-churn ice cream, mint chocolate chip, easy dessert, summer dessert, ice cream without machine, homemade ice cream, peppermint dessert


